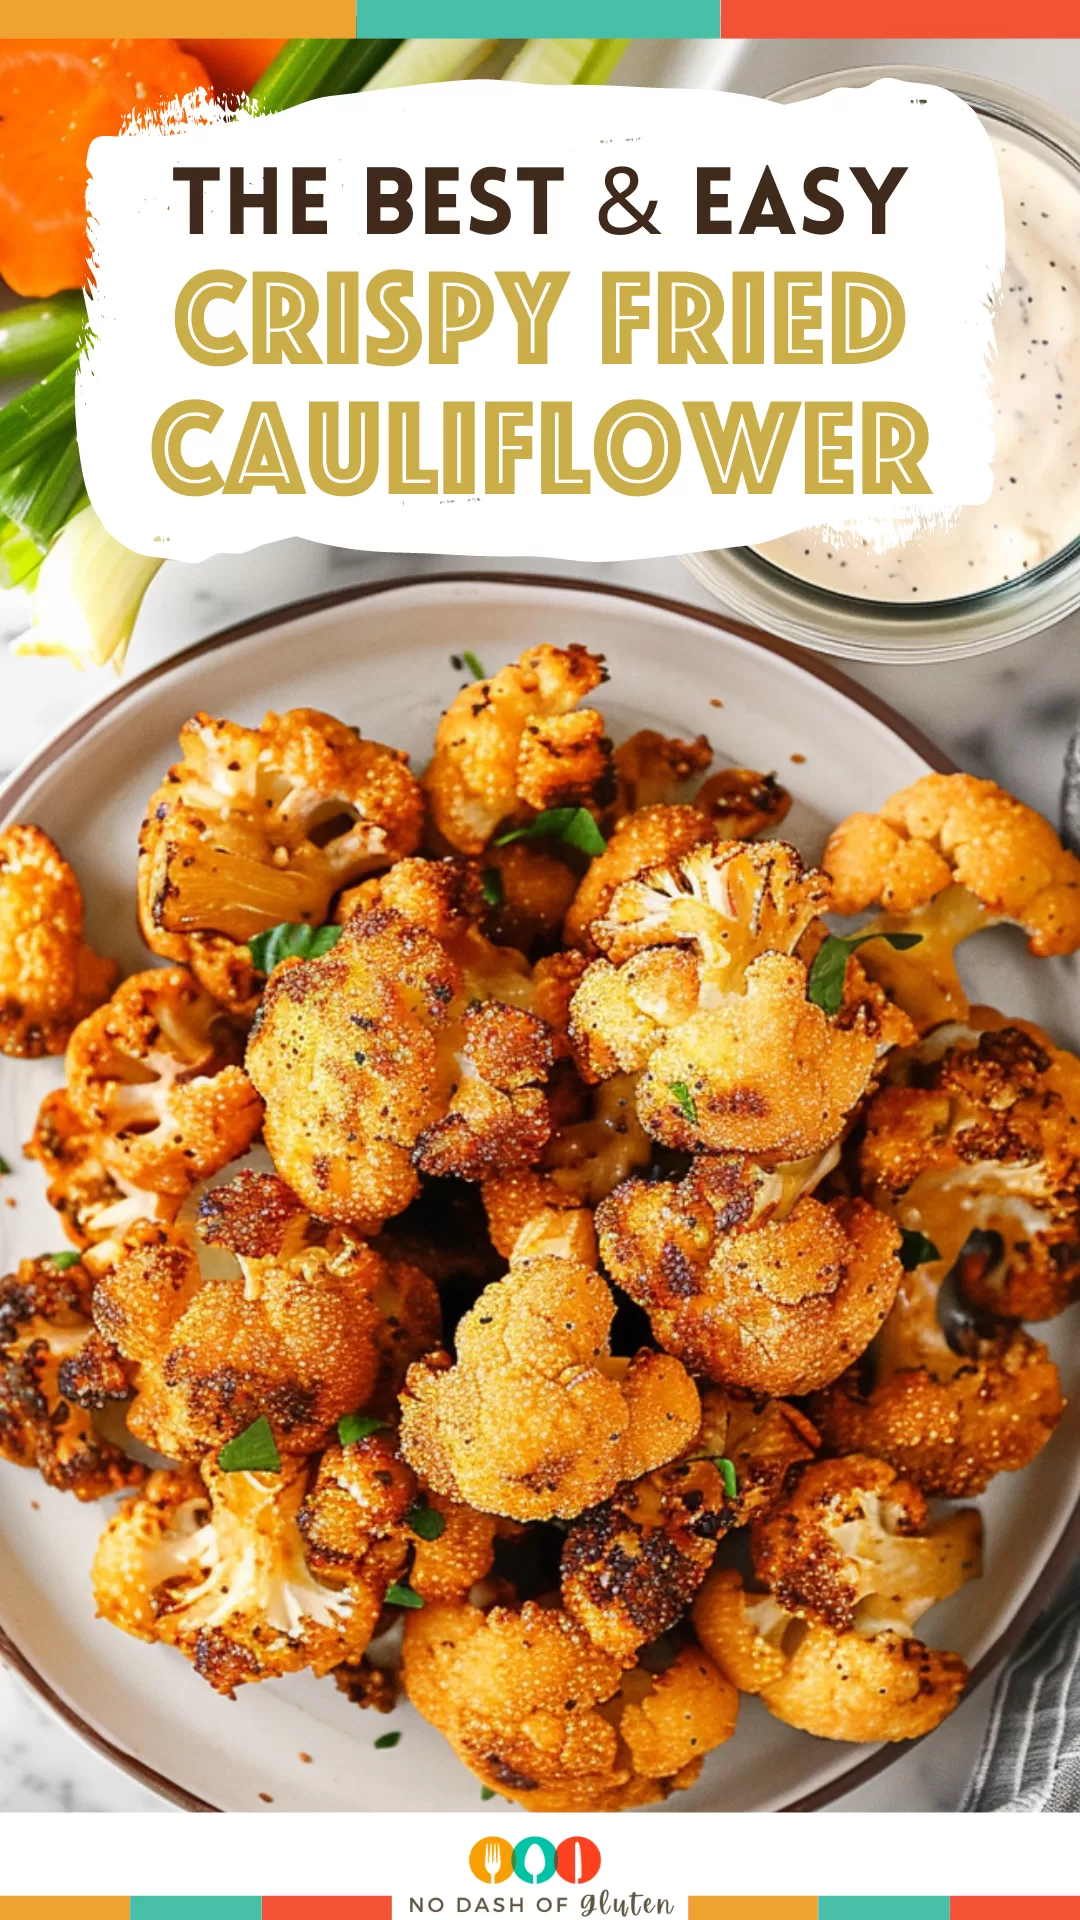
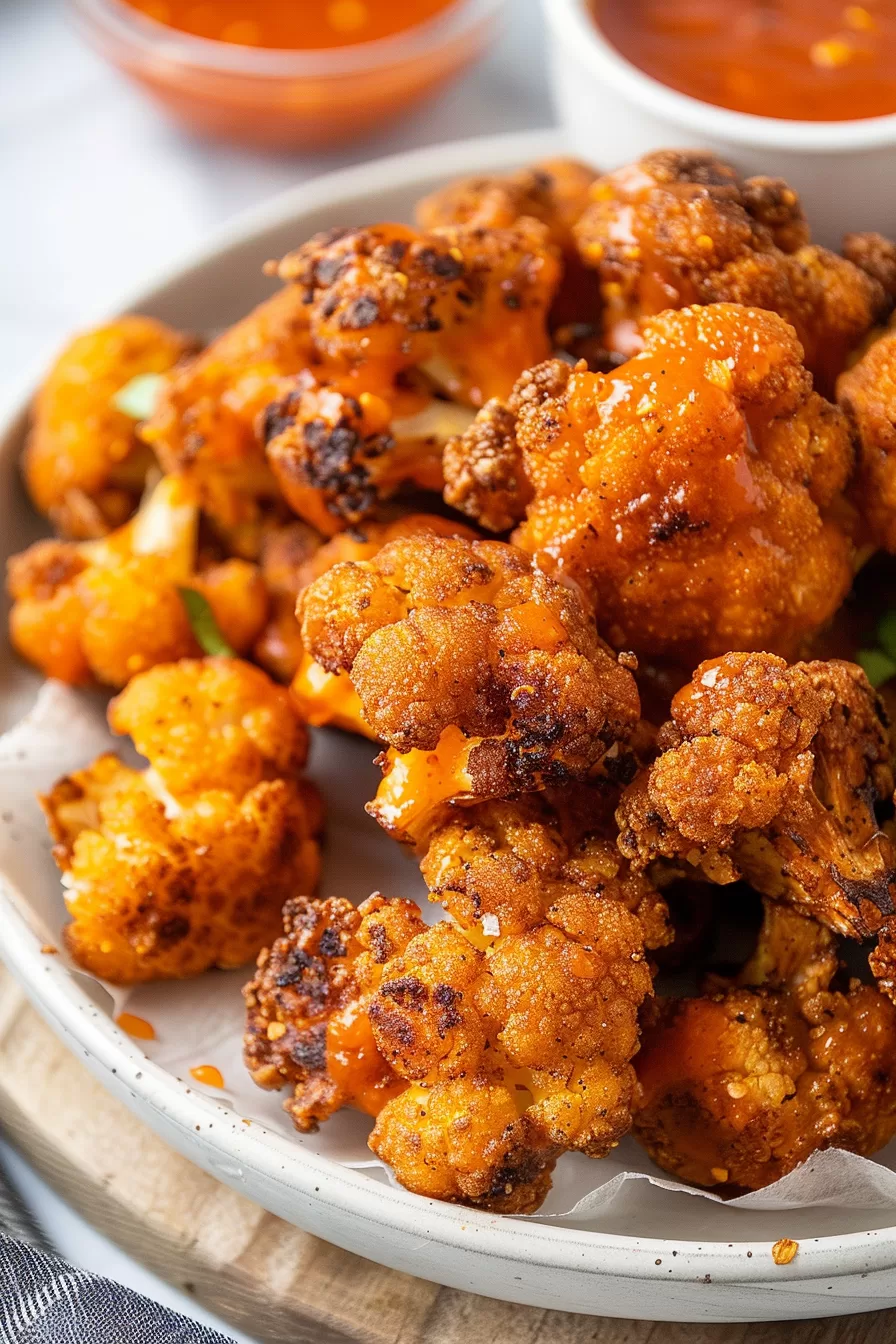
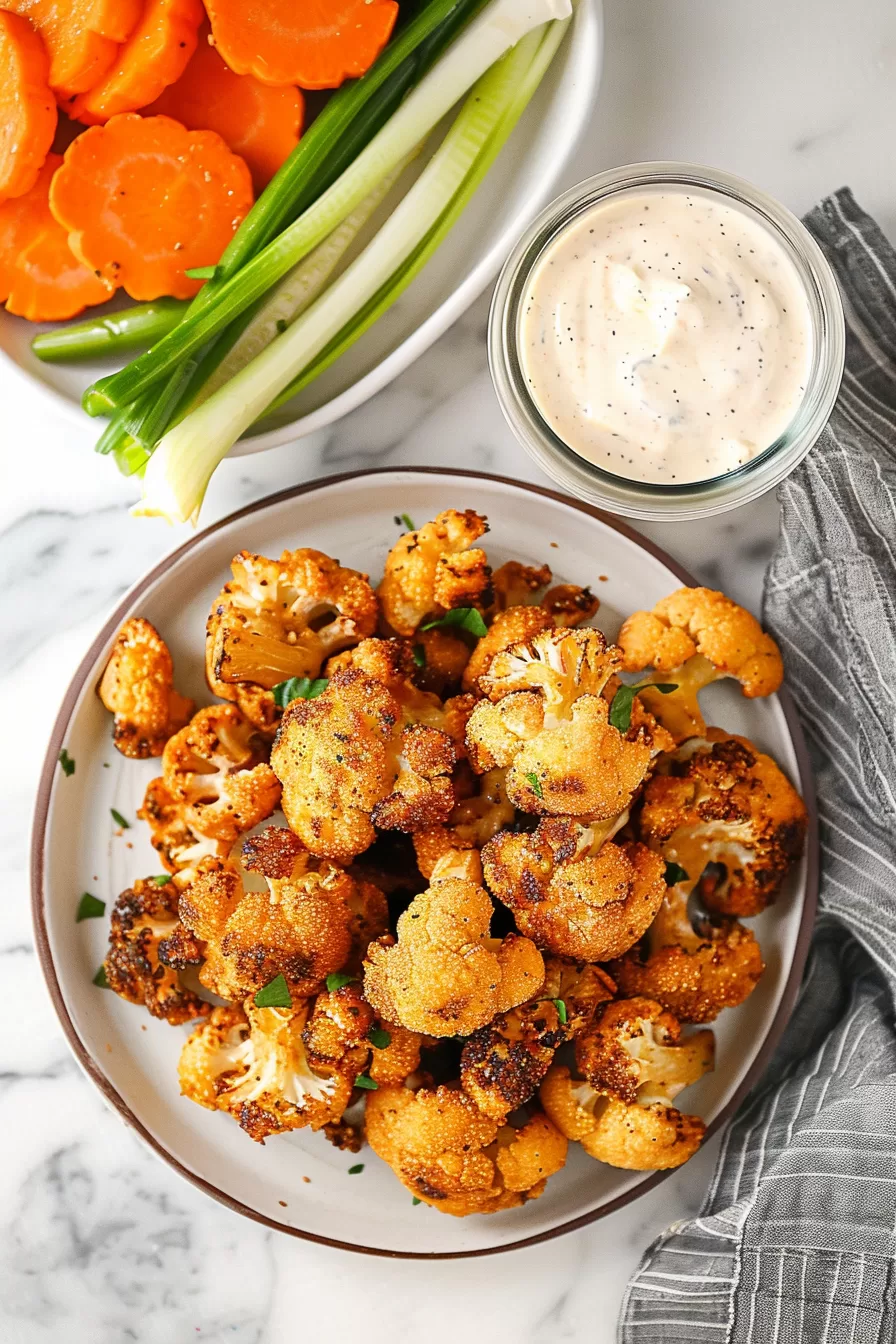
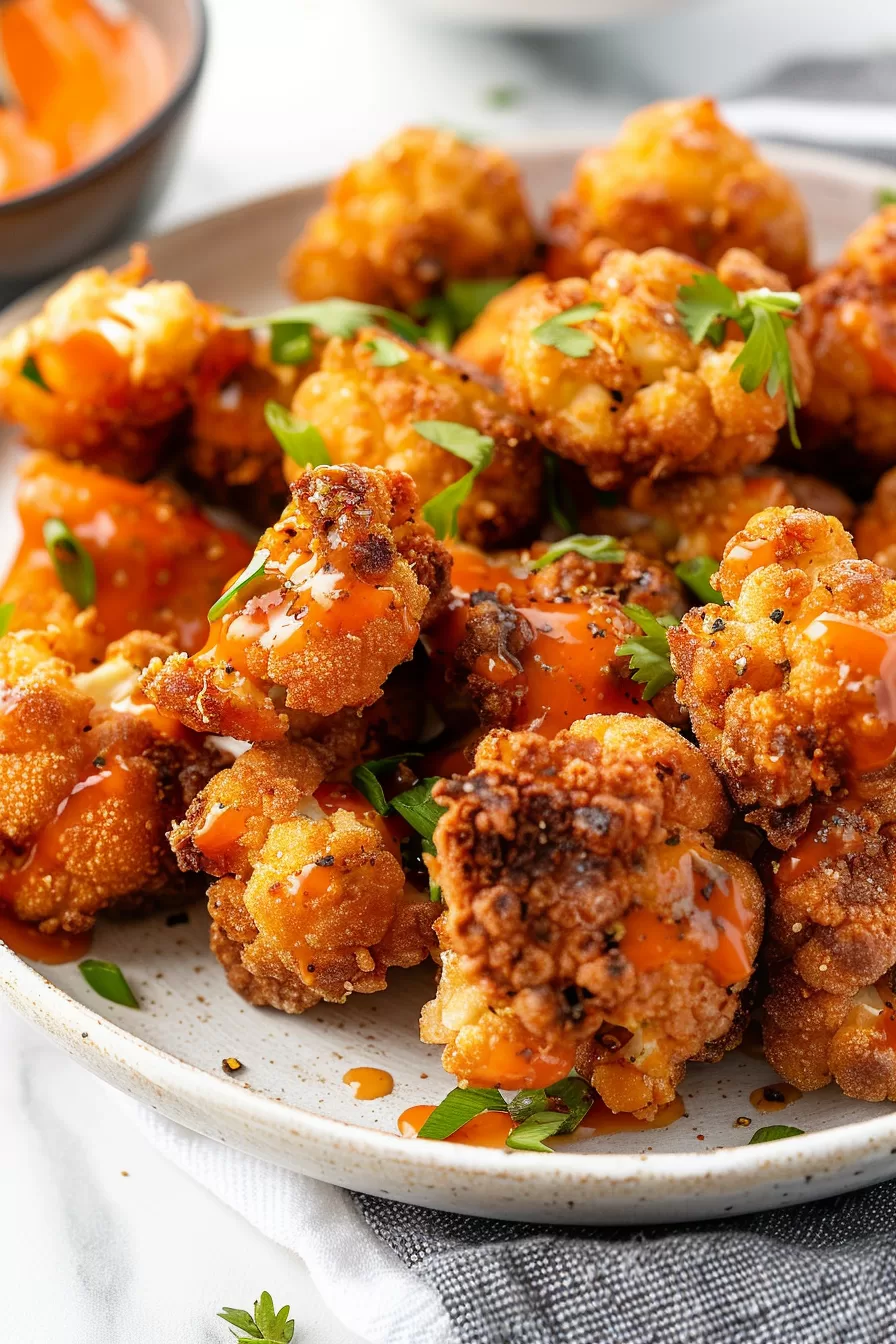
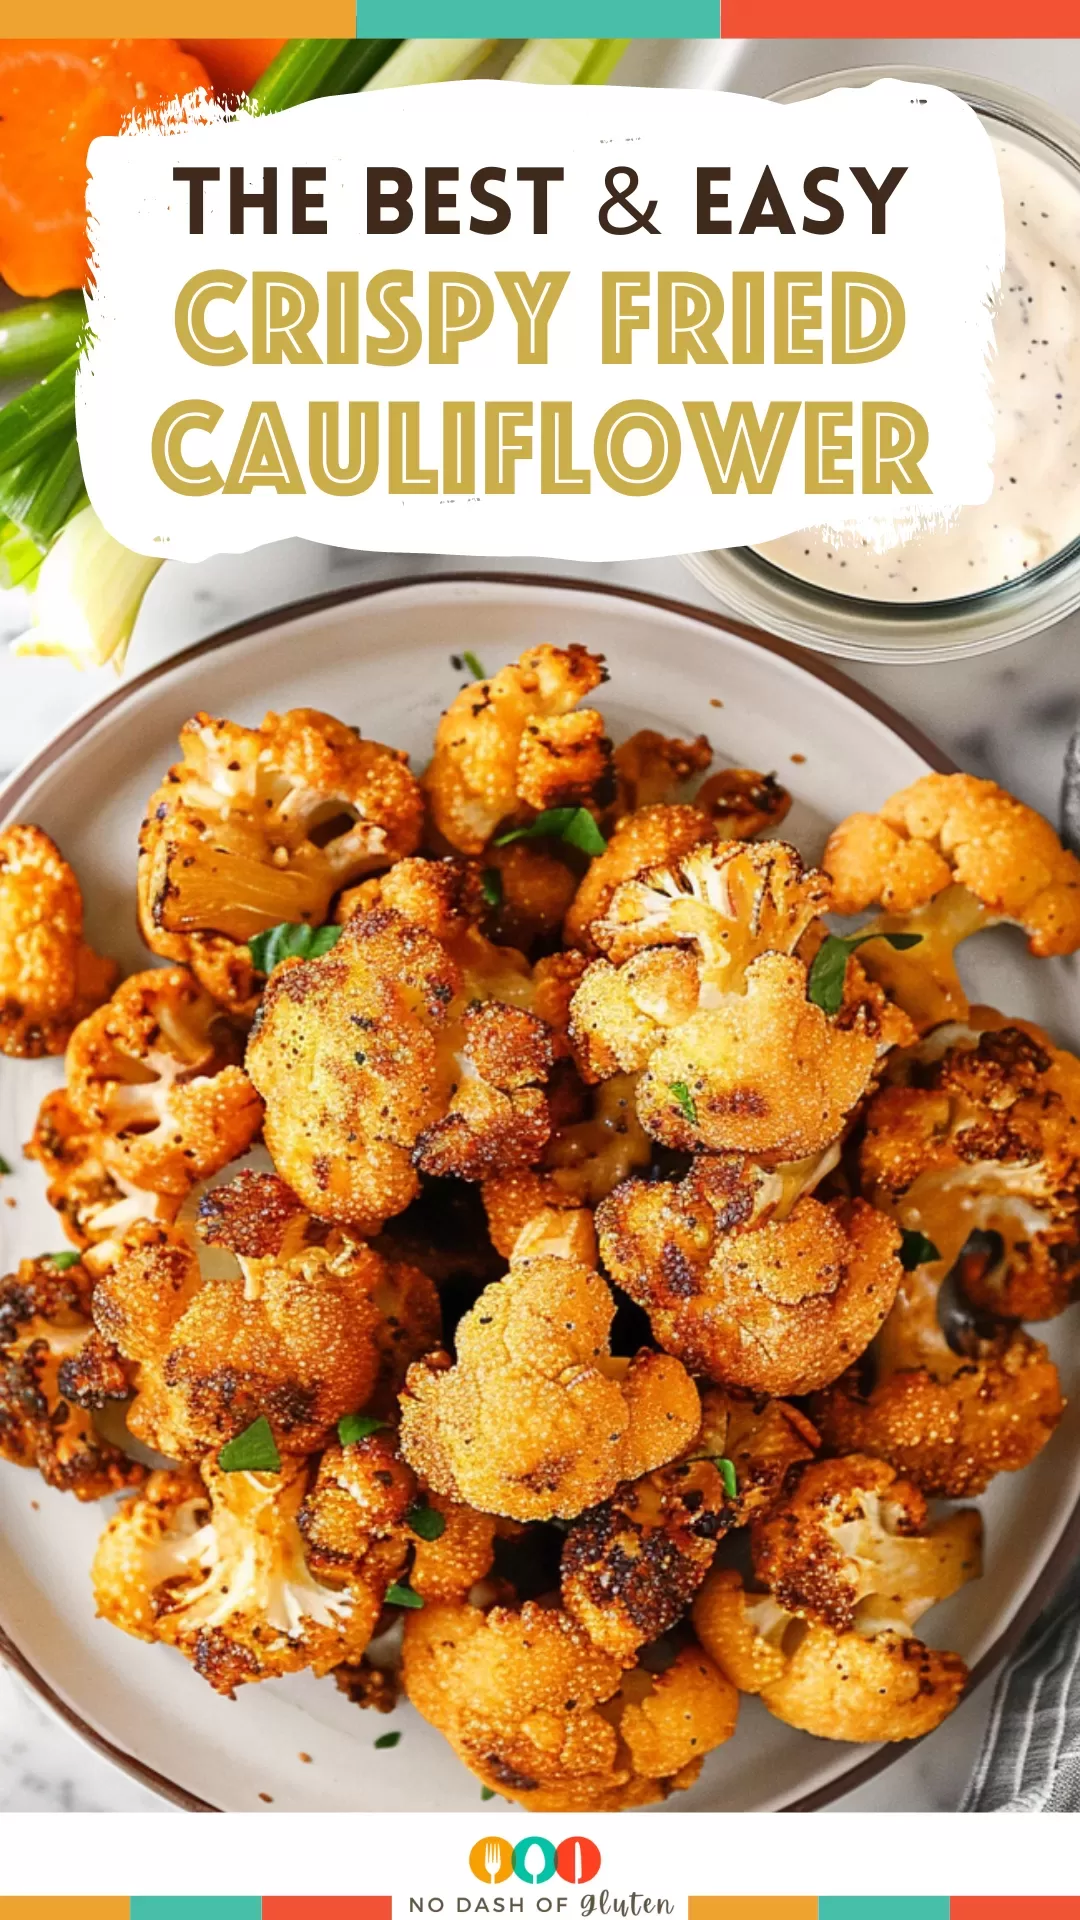
Crispy Fried Cauliflower: Golden, crispy fried cauliflower made with fresh eggs, flour, a touch of Parmesan, and seasoned with garlic and onion powder. Fried to perfection in peanut or canola oil—trust me, it’s the veggie dish you didn’t know you needed.
Alright, confession time. I never thought I’d be frying cauliflower. Growing up, cauliflower was the kind of vegetable that sat there on your plate like, “Hey, I’m healthy, but I’m also a bit boring.” You know what I mean, right? It wasn’t exactly the star of the meal. But one day, after binge-watching one too many cooking shows (we’ve all been there), I started wondering: what if I gave cauliflower a little Southern flair?

Remember it later!
Planning to try this recipe soon? Pin it for a quick find later!
Remember it later!
Planning to try this recipe soon? Pin it for a quick find later!
So, there I was, standing in my kitchen, staring down this innocent head of cauliflower. I thought, “Alright, pal, you’re getting the fried treatment today.” And let me tell you, this crispy fried cauliflower turned out to be one of those recipes that surprised me in the best possible way. The texture, the flavor—it’s everything you want when you’re craving comfort food but still feel like you’re making somewhat of a healthy choice. It also became my sneaky trick for getting the kids to eat veggies. Because let’s be real: if you fry it, they’ll eat it. That’s the rule, right?
Here’s a quick peek at what’s inside:
Table of content
What makes this Crispy Fried Cauliflower truly special?
This recipe is not just about frying some vegetables—it’s a little rebellious, and here’s why:
- Southern Charm: I mean, come on, frying is part of our DNA here in the South. Cauliflower might be the new kid in town, but it gets the royal treatment in this crispy batter, and let’s just say, it fits right in.
- Texture Heaven: If you like your food crispy on the outside and tender on the inside (who doesn’t?), then this is the recipe for you. Cauliflower’s natural creaminess contrasts beautifully with the crunchy coating, and it’s a texture combo you didn’t know you were missing.
- You Call the Spice Shots: This recipe can be your blank canvas. Want it spicy? Throw in some cayenne. Need a bit more garlic in your life? Go for it. You’re the boss in this kitchen. (But you knew that.)
- Better-for-You Oil: Peanut or canola oil is used for frying, which keeps things light enough for fried food standards. Not saying it’s a health food, but it’s definitely a smarter choice than your usual deep-fried indulgences.
- Versatile as Heck: Serve it with a side of remoulade, as an appetizer, or make it the main event—this crispy fried cauliflower holds its own. You can even snack on the crispy bits that inevitably fall off during frying (because waste not, want not, am I right?).
What You Need To Make This Fried Cauliflower Recipe?
Before you dive headfirst into this crispy cauliflower heaven, there are a few ingredients that deserve a shout-out for making this recipe what it is. Here’s a breakdown of what you’ll need and why it’s essential:
Cauliflower: Obviously, this is the star. Look for a large, firm head. You don’t want any of those sad, wilting florets hanging out in your kitchen. The fresher, the better, because we’re going to make it crispy and glorious.
Eggs: You’ll be giving those cauliflower pieces a nice egg bath. The eggs help the flour stick, creating that crunchy exterior we all crave. Simple, yet effective.
Flour: This is your crispy golden coat. All-purpose flour works like a charm, but if you’re avoiding gluten, go ahead and use a gluten-free blend. No one will know the difference once it’s fried.
Parmesan Cheese: Parmesan adds that salty, cheesy kick that takes this dish to a whole new level. Plus, a sprinkle of it after frying? Chef’s kiss.
Peanut or Canola Oil: Peanut oil has a slight nutty flavor, which I think complements the cauliflower beautifully, but canola works too. Both are great because they can handle high heat without smoking up your kitchen like a BBQ gone wrong.
Paprika (Optional): If you like a touch of smokiness, add this to your batter. It’s subtle but totally worth it.
Steps To Make Fried Cauliflower:
Let’s keep this straightforward—because we all know frying can get a little, uh, hectic sometimes. Here’s how to make the best crispy fried cauliflower you’ll ever eat:
First things first, you’ve got to deal with the cauliflower. Wash it, pat it dry, and then slice it into 1/2-inch thick pieces. This might sound tricky, but just go for it. Even if some florets fall off, they’ll still fry up nicely (and honestly, those smaller pieces get even crispier, so it’s a win-win).
Next, in a medium-sized bowl, mix your flour, spices (salt, pepper, onion powder, garlic powder), and 1 tablespoon of Parmesan cheese. Stir it up until it’s all well-combined. This is your crispy magic dust, so make sure it’s evenly mixed.
Want To Save This Recipe?
Enter your email below and we'll send the recipe straight to your inbox.
Now, heat up the oil. You don’t need to drown the cauliflower in oil; just enough to coat the bottom of the pan will do. While the oil heats, dip each piece of cauliflower into the beaten egg mixture. You want it to be fully coated but not swimming in egg.
After the egg dip, roll each piece in your flour mixture. Coat it thoroughly—this is where the crunch comes from, so don’t be stingy.
Carefully place the cauliflower in the hot oil. It should sizzle when it hits the pan (that’s how you know the oil is ready). Fry each piece for about 2–3 minutes on each side, until it’s golden brown. Watch it closely, though—overcooked cauliflower can get mushy, and nobody wants that.
Once done, let the cauliflower rest on some paper towels to drain off the excess oil. While it’s still warm, sprinkle the remaining tablespoon of Parmesan on top. Trust me, that last cheesy flourish makes all the difference.
Serve it up as a side, snack, or with a tasty remoulade sauce. Heck, you might even make it the main dish—it’s that good.
Storage Options:
Alright, so on the off chance that you actually have leftovers (though seriously, I doubt it), here’s how to keep that crispy fried cauliflower tasting great for later. First, let the cauliflower cool down completely before packing it away—this helps prevent sogginess. Store it in an airtight container in the fridge, and it’ll stay good for up to 3 days.
Now, when it comes to reheating, don’t even think about microwaving it. Microwaves are the enemy of crispy food. Instead, toss the cauliflower in the oven at 375°F for about 10 minutes. If you’re in a hurry, the air fryer is your best friend—just a few minutes at 350°F and you’re back in crispy territory.
Variations and Substitutions:
One of the best things about this recipe is how easily you can tweak it to your liking. Whether you’re making dietary changes or just want to switch things up, here are a few ways to personalize your crispy cauliflower experience:
- Gluten-Free Alternative: Swap out the all-purpose flour for your favorite gluten-free blend. Chickpea flour also works really well here and gives it a nutty flavor that’s a total bonus.
- Add Some Heat: If you like a bit of spice in your life, toss some cayenne pepper or red pepper flakes into the flour mixture. You can also add hot paprika instead of the sweet version for that smoky heat.
- Make It Vegan: No eggs? No problem. Substitute the eggs with a plant-based milk and a bit of cornstarch. The cauliflower will still get crispy, and you’ll keep it totally plant-based.
- More Cheese, Please: If you’re like me and think there’s no such thing as too much cheese, feel free to add some shredded cheddar or mozzarella to the flour mixture. It’ll melt as you fry, giving you a gooey surprise with each bite.
- Lemon Zest Twist: For a fresh, zesty kick, sprinkle some lemon zest over the cauliflower right before serving. It adds a brightness that cuts through the richness of the fried batter.
Remember it later!
Planning to try this recipe soon? Pin it for a quick find later!
Remember it later!
Planning to try this recipe soon? Pin it for a quick find later!
Keep the Flavor Coming – Try These:

Crispy Fried Cauliflower
Ingredients
- 1 large head of cauliflower washed and cut into 1/2-inch slices
- 2 large eggs beaten with 1 tablespoon of water
- 3/4 to 1 cup all-purpose flour
- 1/2 teaspoon salt
- 1/4 teaspoon black pepper
- 1/4 teaspoon onion powder
- 1/4 teaspoon garlic powder
- 2 tablespoons Parmesan cheese finely grated (divided)
- 1/8 teaspoon sweet Spanish paprika optional
- Peanut or canola oil for frying
Instructions
- Prepare the Cauliflower: Begin by washing the cauliflower thoroughly and slicing it into 1/2-inch thick sections from the top to the root, allowing for "fan-like" pieces. Remove the green leaves and excess stem, but ensure enough of the root remains to keep the sliced clusters intact. Do not be concerned if some florets break off; they can be fried as well.
- Create the Flour Mixture: In a medium bowl, combine the all-purpose flour, salt, black pepper, onion powder, garlic powder, 1 tablespoon of the Parmesan cheese, and the optional sweet Spanish paprika. Stir until the ingredients are well-blended, forming a uniform coating mixture for the cauliflower.
- Heat the Oil: In a large skillet, add enough peanut or canola oil to cover the base. Heat the oil over medium-high heat until it reaches the optimal temperature for frying. You will know the oil is ready when it begins to shimmer slightly.
- Coat the Cauliflower: While the oil is heating, dip each cauliflower slice into the beaten egg mixture, ensuring that it is thoroughly coated. After the egg dip, dredge the cauliflower in the seasoned flour mixture, covering all surfaces evenly to guarantee a crispy finish.
- Fry the Cauliflower: Gently place the coated cauliflower slices into the hot oil. Fry each side for approximately 2 to 3 minutes, or until they reach a golden-brown hue. Be mindful not to overcrowd the skillet, as this may reduce the oil's temperature and prevent proper frying. Fry in batches if necessary.
- Drain and Finish: Once the cauliflower has turned golden and crisp, remove the pieces from the skillet and transfer them to a plate lined with paper towels to drain excess oil. While still warm, sprinkle the remaining tablespoon of Parmesan cheese over the cauliflower for a final touch of flavor.
- Serve: The crispy fried cauliflower is now ready to be served. It is best enjoyed as a side dish or with a flavorful remoulade sauce for dipping. This dish offers a delightful contrast between the crispy exterior and the tender cauliflower inside, making it an excellent addition to any meal.
Notes
Nutrition

I’m Bitty, owner of nodashofgluten.com, where I share simple, delicious recipes for all tastes, including gluten-free. Check out my “About Me” page for more info!


