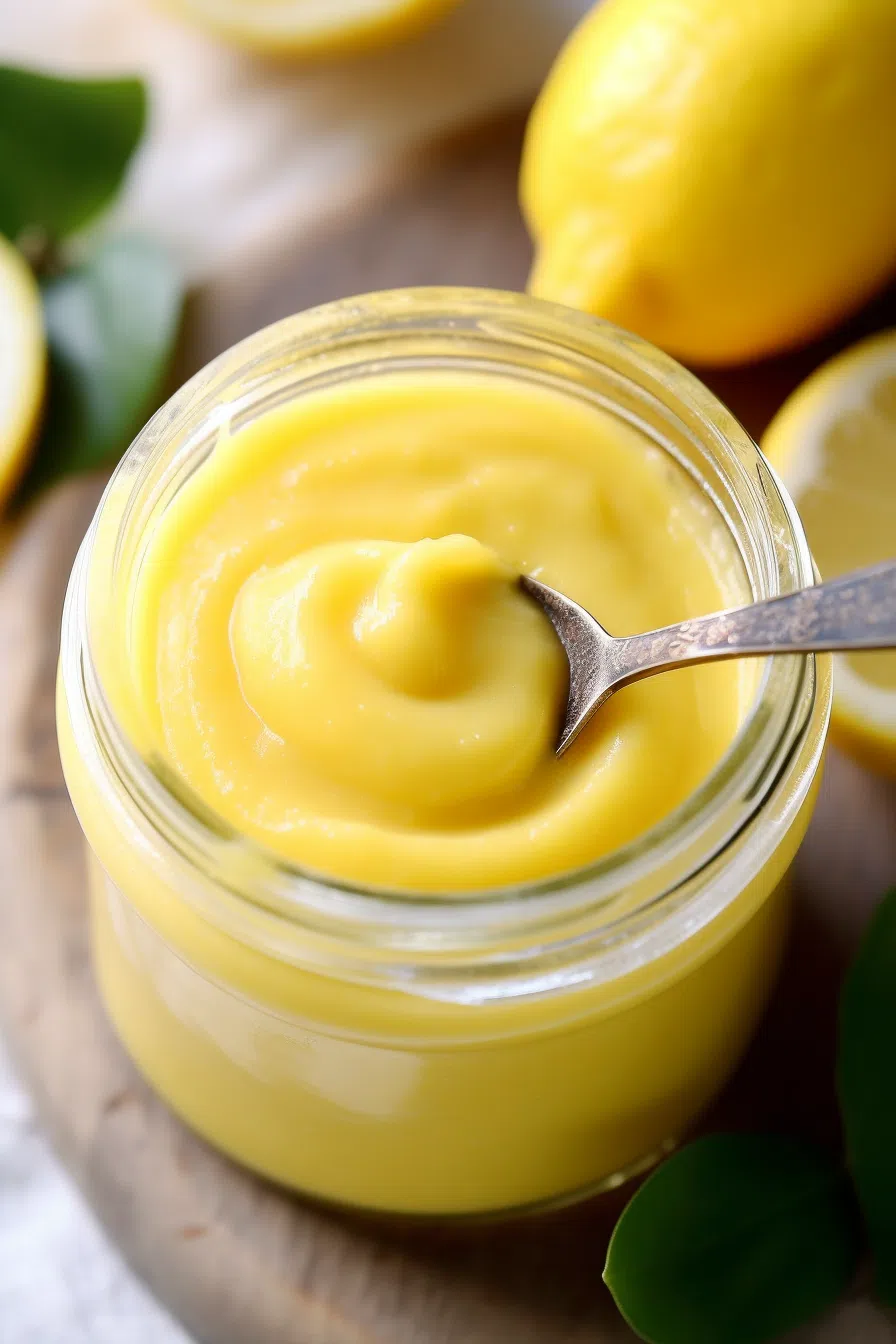
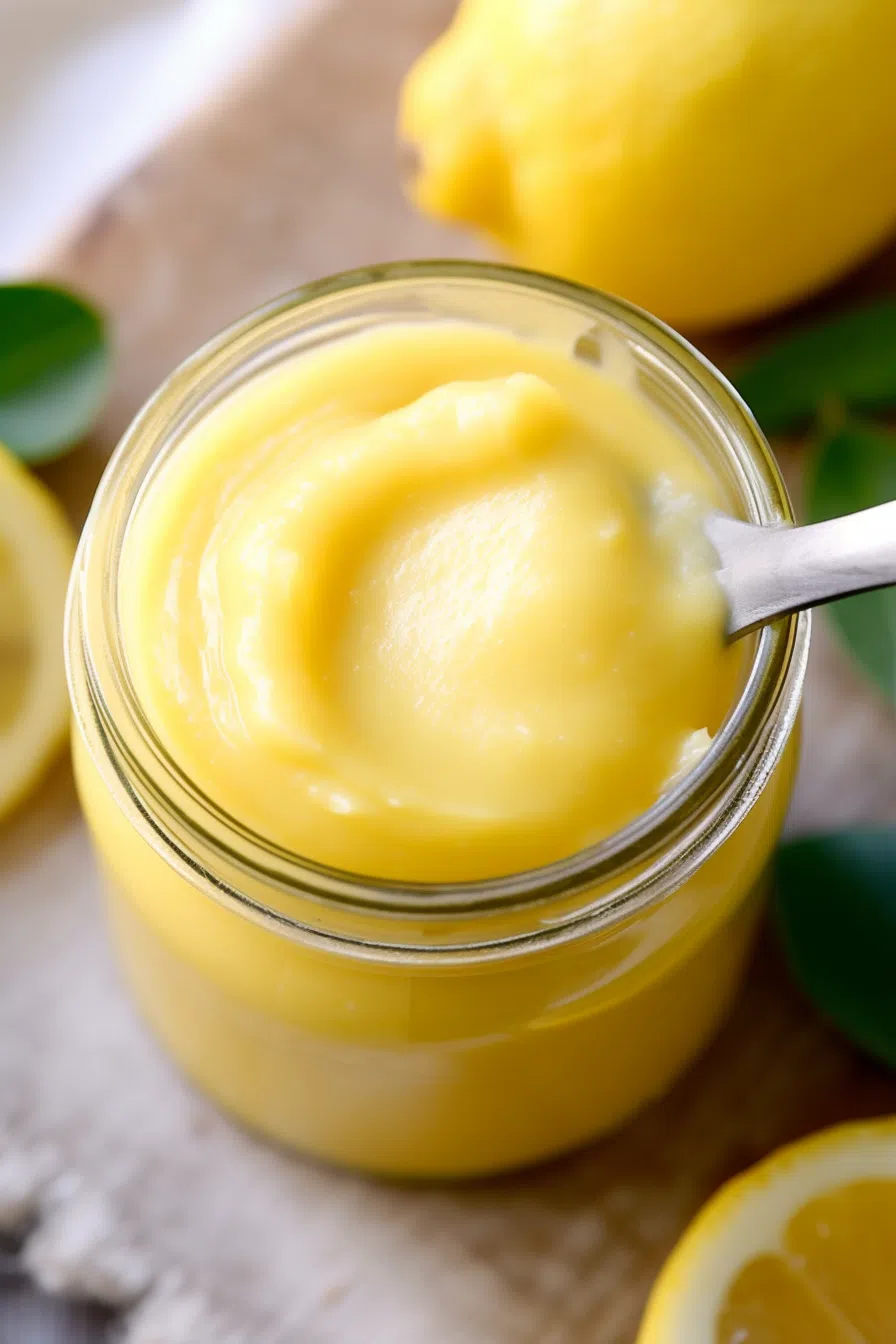
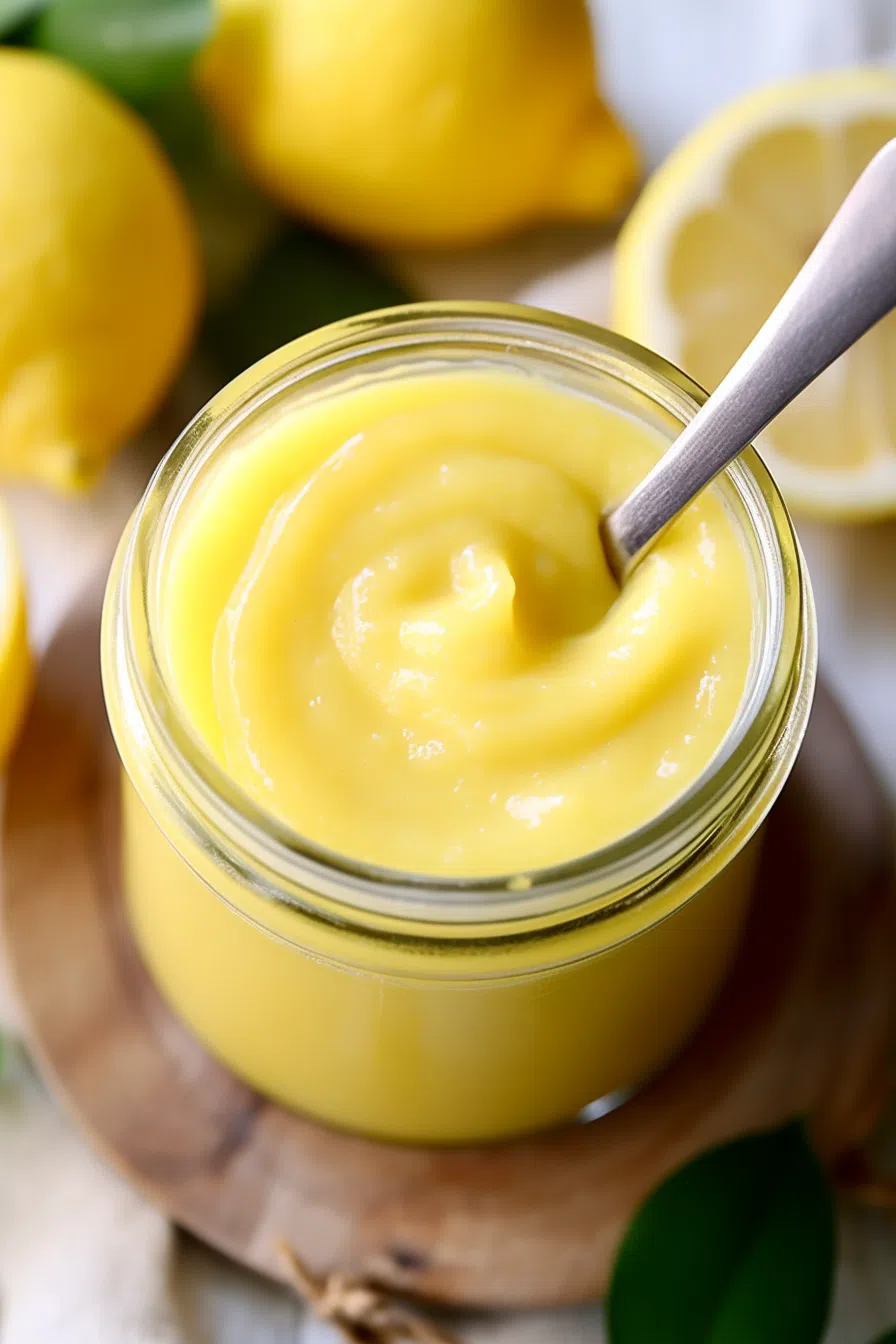
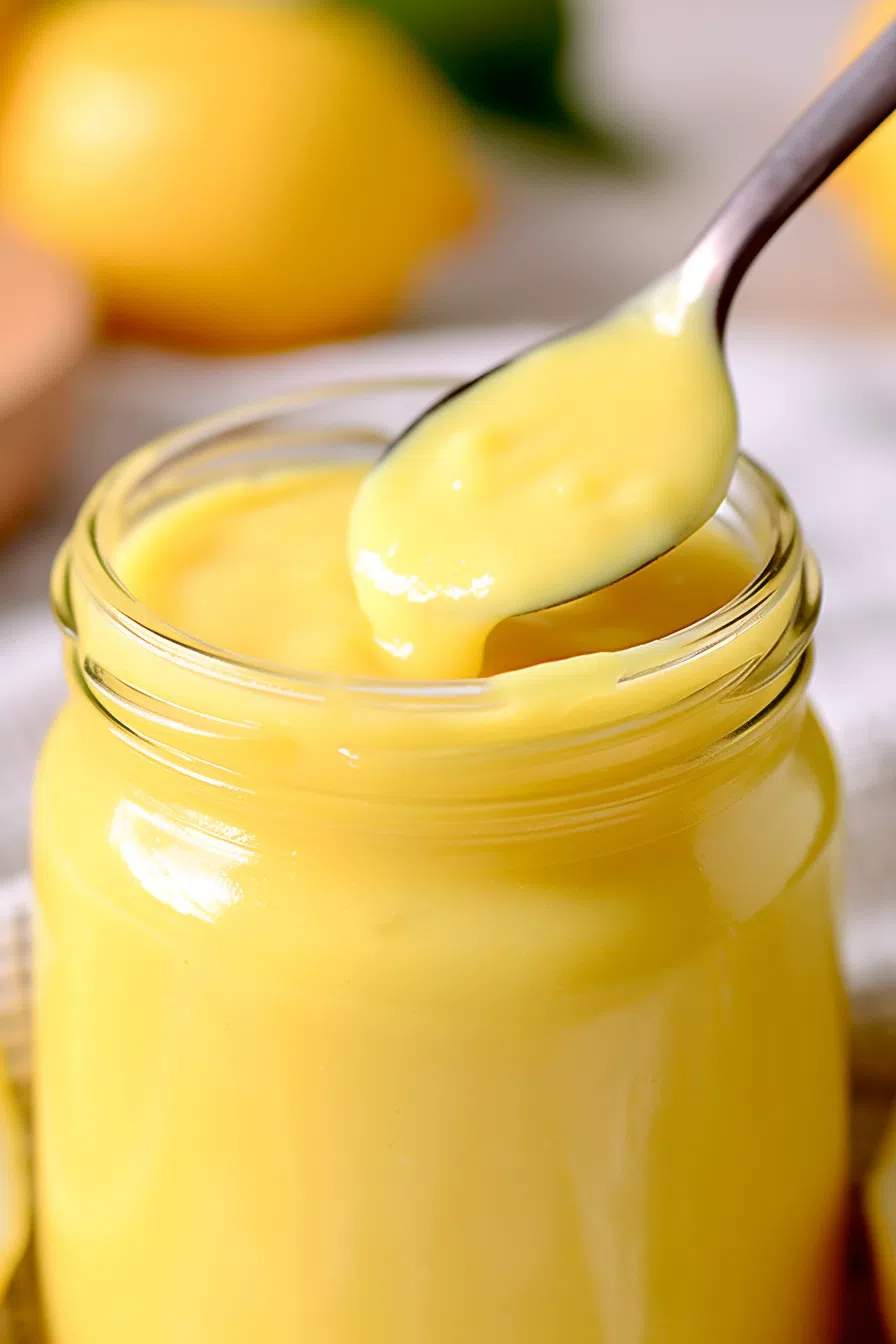
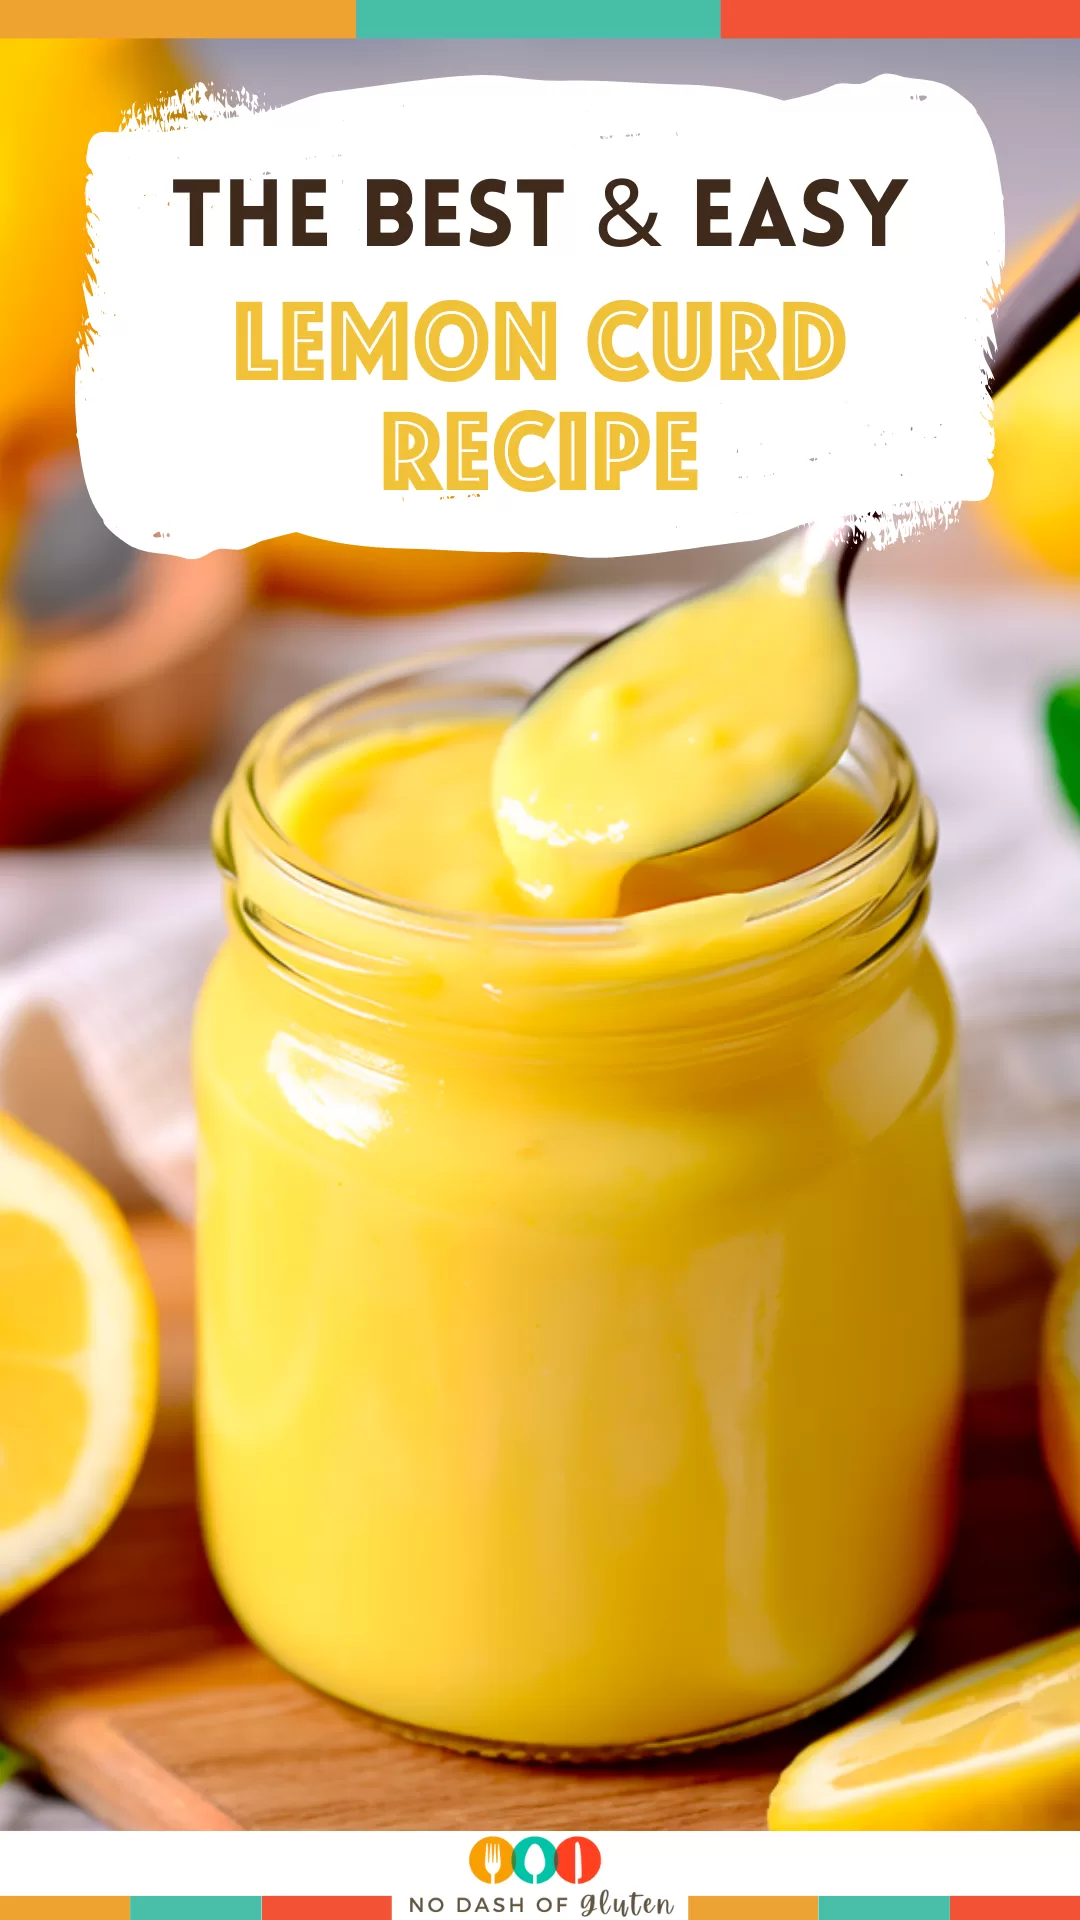
Made with fresh lemons, sugar, butter, and egg yolks, this creamy lemon curd recipe brings the perfect mix of tart and sweet to any dessert… or spoon.
Okay, can I be honest with you?
Last winter—like, deep into that gray, slushy, late-January funk—I bought this massive bag of lemons from the discount bin at the grocery store. No real plan. I just saw them sitting there like bright little balls of hope, and I thought, Why not? A normal person might’ve used them for tea or something. But me? I decided to make lemon curd.
Now, I’d never made it before. Not once. I had this vague idea of it being this fancy spread British people put on scones during tea while discussing… I don’t know, castles? But the truth is, I remembered my aunt making it once when I was little. She had this little glass jar tucked at the back of the fridge and would sneak a spoonful here and there like it was too special for the rest of us. And honestly? It kind of was.

Remember it later!
Planning to try this recipe soon? Pin it for a quick find later!
Remember it later!
Planning to try this recipe soon? Pin it for a quick find later!
So yeah—one gloomy afternoon, I juiced what felt like a million lemons, made a huge mess, overcooked the first batch (scrambled egg curd = gross), and nearly gave up halfway through. But something told me to keep going.
Batch two? Magic. Smooth. Buttery. Tart, but not harsh. I dipped a spoon in, tasted it… and just stood there, in my sweatpants, eyes wide, like I’d summoned the sun. I didn’t even care that the dog was licking lemon zest off the floor. I’d made lemon curd. And it was good.
Here’s a quick peek at what’s inside:
Table of content
Why You’ll Love This Lemon Curd Recipe?
You know how some recipes just feel like a warm hug? This is that. In edible, tangy form.
The texture is silky without being too thick. It’s not too sweet (unless you want it to be—you do you), and the fresh lemon juice gives it that kick of brightness we all need more of. Especially during those weird in-between seasons when it’s snowing in the morning and sunny by lunch.
Also, there’s something really satisfying about making something that sounds complicated (lemon curd!) and realizing it’s not that hard. Honestly, if you can whisk and stand near a stove for 10 minutes without scrolling TikTok, you can make this.
And let’s not pretend this lemon curd won’t elevate your toast game. I’ve layered it into cupcakes, swirled it into Greek yogurt, and eaten it straight off a spoon while hiding from my family in the pantry. Again—no shame here.
Ingredient Notes:
Before we get too deep into lemon curd land, let’s talk ingredients. They’re simple. But they matter.
-
Fresh Lemon Juice (1 cup): Look, I know it’s tempting to use bottled lemon juice. But please—don’t. Just… don’t. I’ve tried it, and the flavor’s flat. Squeeze real lemons. Your tastebuds will thank you.
-
Lemon Zest (2 tbsp): You want that zing. The kind that hits your nose first. Zest is the flavor bomb in this recipe. A microplane grater is your BFF here.
-
Granulated Sugar (1 cup): I’m a middle-ground kind of gal—this gives it a balanced sweetness. But you want it sweeter? Toss in another tablespoon or two. Baking isn’t a religion.
-
Egg Yolks (5): Just the yolks. Rich, smooth, luscious. You can save the whites for meringue or throw ‘em in scrambled eggs tomorrow. Or let them sit in your fridge while you “plan” to use them. (Guilty.)
-
Salt (¼ tsp): It’s tiny but mighty. Helps make the lemon flavor pop. And yes, you’ll miss it if you leave it out.
-
Cornstarch (1 tbsp): I add it for a little thickness insurance. Some people don’t, but… I like the peace of mind. Especially after batch one turned into lemon-flavored egg chowder.
-
Butter (½ cup): Stir it in at the end and watch everything transform. Seriously—it’s the final boss of flavor.
How To Make Lemon Curd?
You ready? This is where the lemony magic happens.
Step 1: Zest, then juice.
Trust me, zesting a juiced lemon is like brushing your hair after a rainstorm—pointless and annoying. Do it the right way around.
Step 2: Whisk the yolks.
In a bowl, combine the egg yolks, salt, and cornstarch. It’ll look weird. It’s okay. Set it aside for a minute like a boss.
Step 3: Heat the lemon-sugar mix.
In a saucepan, mix lemon juice, zest, and sugar. Stir and heat over medium until it just starts to bubble. Don’t boil it unless you like chaos.
Step 4: Temper the eggs.
This part’s all about gentle vibes. Take a scoop of the hot lemon mixture and slowly whisk it into the yolks. Go too fast and you’ll end up with scrambled lemon eggs. Nobody wants that.
Step 5: Combine and thicken.
Pour the yolky mix back into the pot. Keep whisking over medium heat until it thickens. You’ll know it’s done when it coats the back of a spoon and leaves a trail when you swipe your finger through.
Want To Save This Recipe?
Enter your email below and we'll send the recipe straight to your inbox.
Step 6: Butter time.
Off the heat, add butter and stir until it’s all melted and glossy. This part feels fancy. Like you suddenly know French pastry techniques.
Step 7: Cool it down.
Pour it into a jar or bowl. Press plastic wrap right on top so it doesn’t get that weird pudding skin, then chill in the fridge.
Storage Options:
If you’re lucky enough to have leftovers, stash your lemon curd in an airtight jar in the fridge. It’ll stay good for about a week. If you want to save some for a rainy day, freeze it! Yup, lemon curd freezes beautifully. It’ll keep for about 3 months—just thaw it in the fridge and give it a little stir.
Or, you know… just eat the whole thing with a spoon and skip storage altogether. I’ve done that too.
Variations and Substitutions:
-
Use oranges or limes: Just swap out the lemon for another citrus. Blood orange curd? Hello, brunch queen.
-
Add vanilla or honey: For a softer, more mellow flavor.
-
Skip the butter: It won’t be as creamy, but you’ll still get a nice, zippy spread.
-
Vegan version? Use plant-based butter and egg substitutes. Haven’t tried it myself, but I’ve seen people pull it off.
What to Serve with Lemon Curd?
You’ve got this jar of golden goodness—now what?
-
Spread it on toast or muffins.
Like jam, but fancier and more satisfying. -
Fill cupcakes or layer cakes.
Instant bakery vibes. -
Swirl into yogurt or oatmeal.
Breakfast? Elevated. -
Top cheesecake or pancakes.
Because syrup’s great, but lemon curd? Legendary. -
Mix into whipped cream.
I tried this on a whim once. Life-changing.
Frequently Asked Questions:
Can I use bottled lemon juice?
Look… technically yes. But it’s not gonna taste the same. Fresh lemons make this recipe sing. Bottled makes it hum off-key.
Why did it turn out grainy?
Too much heat too fast. Lemon curd’s a slow-burn kind of recipe. Lower the heat next time, and keep that whisk moving.
Can I double it?
Yes, but give it a little extra cook time and use a bigger pot. And maybe mentally prepare for more whisking.
So… are we doing this? Because I swear, once you taste this homemade lemon curd, store-bought just won’t cut it anymore. It’s bright, buttery, a little messy, and 100% worth it.
If you try it, let me know. Or tell me how your first batch went totally sideways—I’ve been there. Let’s trade lemon stories in the comments.
Remember it later!
Planning to try this recipe soon? Pin it for a quick find later!
Remember it later!
Planning to try this recipe soon? Pin it for a quick find later!
Keep the Flavor Coming – Try These:
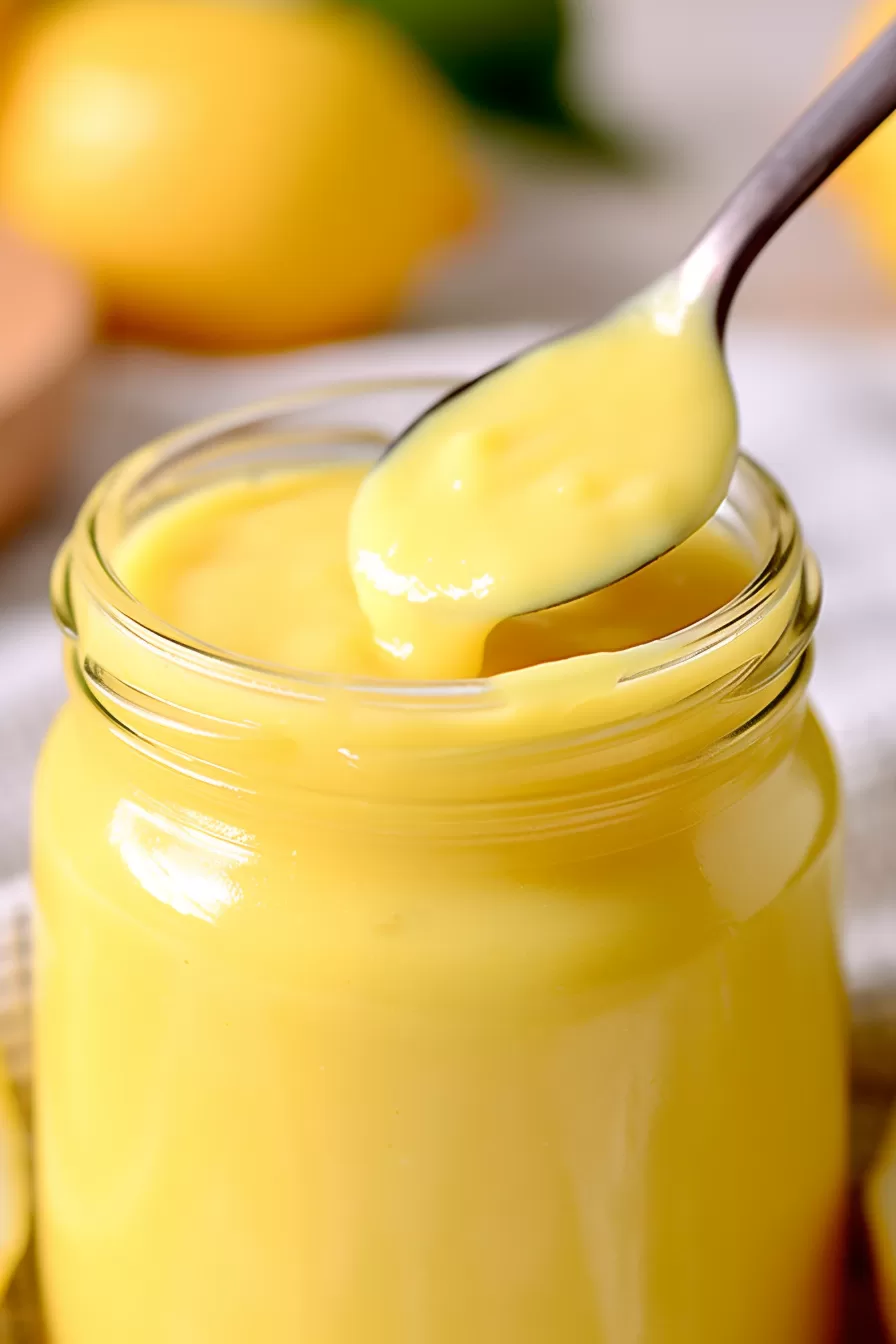
Creamiest Lemon Curd Recipe
Ingredients
- 8 oz lemon juice 1 c – About 6 large fresh lemons
- 2 tbsp lemon zest
- 6 oz granulated sugar 1 c – add 2 more oz for a sweeter lemon curd
- 5 egg yolks
- ¼ tsp salt
- 1 tbsp cornstarch
- 4 oz unsalted butter ½ c
Instructions
- Start by preparing the lemons; grate the zest. Extract the juice making sure to remove any seeds that may be present.
- In a bowl whisk together the egg yolks, cornstarch and salt. Set this mixture aside for now.
- Next combine the lemon juice, sugar and zest in a sauté pan. Stir everything together. Heat it until it begins to simmer.
- To temper the eggs without curdling them slowly add 1 cup of the hot lemon mixture to the bowl with the egg yolks. Keep whisking as you do this.
- After tempering the eggs pour this tempered egg mixture back, into the sauté pan. Continue whisking over medium heat until it thickens to your desired consistency.
- Once it has thickened sufficiently remove it from heat. Add in butter. Stir until it melts completely and becomes well incorporated.
- For cooling purposes transfer your lemon curd into a jar or bowl. Make sure to cover its surface with plastic wrap, for protection before placing it in the refrigerator to chill.
Notes

I’m Bitty, owner of nodashofgluten.com, where I share simple, delicious recipes for all tastes, including gluten-free. Check out my “About Me” page for more info!


