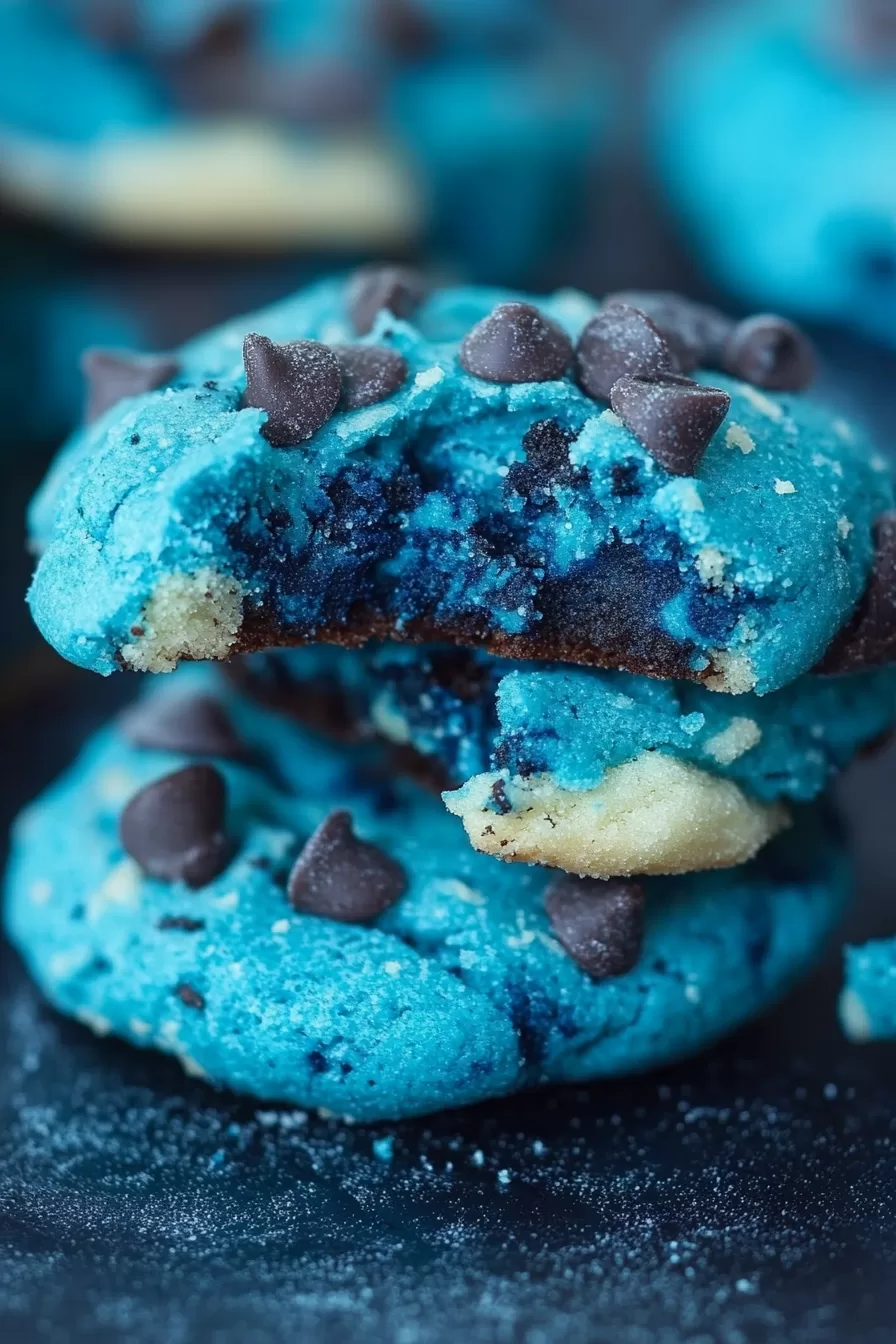
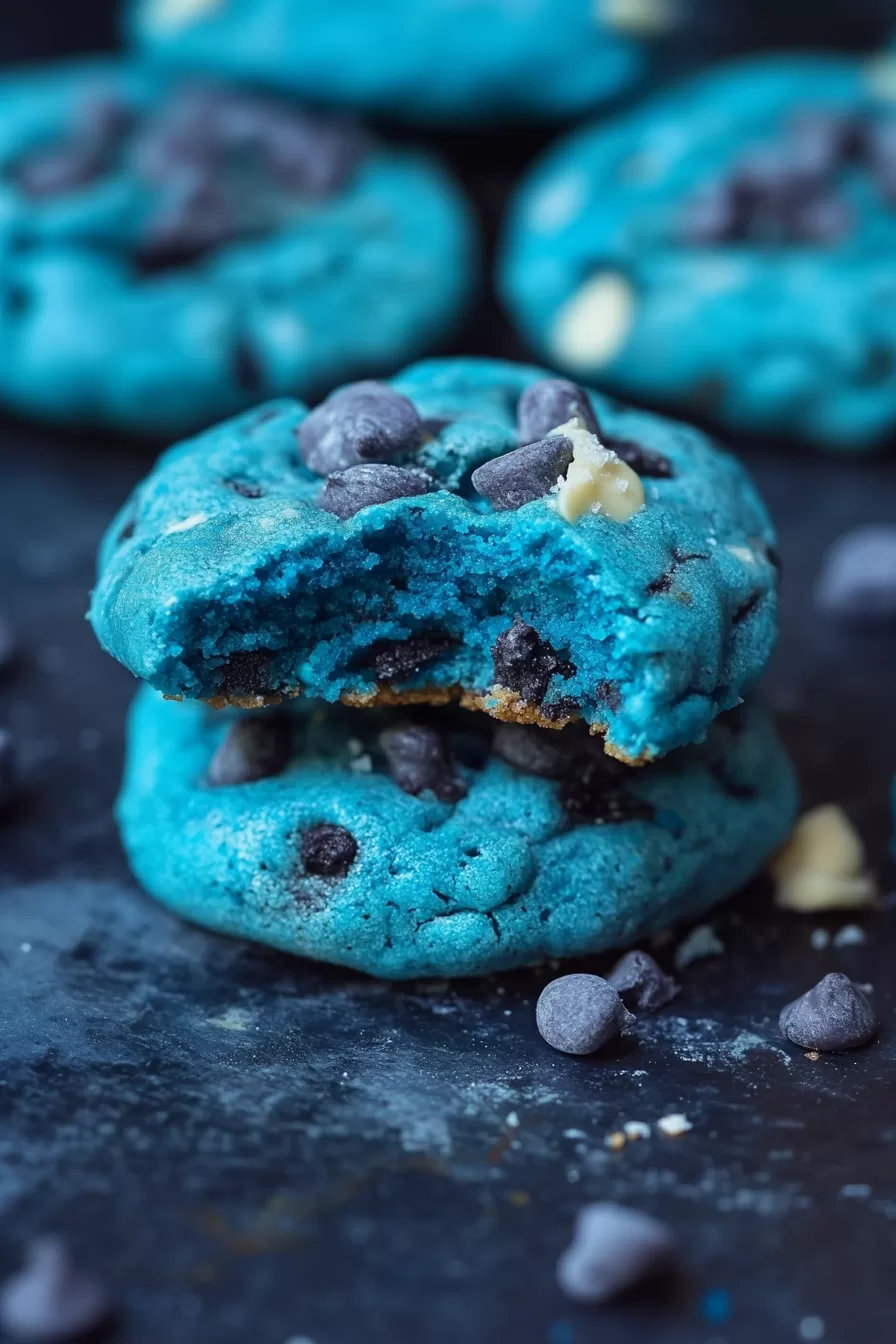
Soft, chewy Cookie Monster Cookies packed with chocolate chips, Oreos, and mini cookies. A playful, chocolate-filled treat for all ages!
Okay, confession time. These cookies weren’t supposed to happen the way they did. I started out planning to make something “classic,” like plain old chocolate chip cookies (yawn, right?), but then I spotted a bag of mini cookies in the pantry and thought, What if? It snowballed from there—before I knew it, I was dyeing cookie dough blue and stuffing Oreos inside. Honestly, I don’t even remember making that decision. It was like Cookie Monster himself took over my brain.

When they came out of the oven, I knew I’d hit the jackpot. The kids were thrilled. My husband, who “doesn’t like sweets” (sure, buddy), couldn’t stop eating them. And me? Let’s just say I’m still finding blue food coloring in the weirdest places. These cookies didn’t just turn into a recipe; they turned into a memory. You’ll get it when you try them.
Why You’ll Love This Cookie Monster Cookies Recipe?
These aren’t just cookies—they’re a dessert adventure. You’ve got the bright blue color that makes everyone smile (and ask what’s in them), the chewy texture, and the surprise Oreo in the middle. They’re messy, playful, and absolutely indulgent. Plus, they’re easy to customize—swap the food coloring, change the filling, or add extra toppings. It’s like the cookies know how to adapt to your mood. Perfect for a party, a rainy-day baking project, or just because you feel like treating yourself.

Ingredient Notes:
Alright, let’s break down what makes these cookies so special. Every ingredient does its job, and honestly? They’re the real MVPs.
- Butter: This is what makes the cookies rich and soft. Use softened butter for that smooth mix. Oh, and if you’re dairy-free, vegan butter totally works.
- Sugars (Granulated + Brown): These are the tag-team duo for sweetness and chewiness. You could almost call them the soul of a cookie.
- Vanilla Extract: It’s subtle but makes the cookies taste like home. You know what I mean, right?
- Blue Food Coloring: This is where the fun begins. Use as much or as little as you want—there’s no right shade of Cookie Monster blue.
- Mini Cookies: The crunch factor. I love using Chips Ahoy, but you can mix it up. Have leftover cookies? Chop them up and toss them in.
- Oreos: These are the surprises inside. You could stick to regular ones, but double-stuffed? They’re extra for a reason.
Pro Tip: Chill the dough if you want thick, bakery-style cookies. No one likes a sad, flat cookie.

How To Make Cookie Monster Cookies?
These cookies are so fun to make that even the prep feels like a mini party.
Step 1. Prep Like a Pro
Preheat your oven to 350°F and line your baking sheets with parchment paper. (Because scrubbing burnt bits off a pan is not how I want to spend my day.) Chop up some Oreos and mini cookies for the mix. Don’t snack too much—save room for the finished product.
Step 2. Cream It Up
In a mixing bowl, beat your butter and sugars until they’re all fluffy and dreamy. It’s a workout for your mixer, but worth it. Then, mix in the egg, vanilla, and food coloring. Go ahead and make it as blue as you want. This is where the fun starts.
Step 3. Dry Meets Wet
Add in your dry ingredients: flour, salt, and baking soda. Mix it just enough so everything comes together. Now fold in the chopped Oreos, mini cookies, and chocolate chips. Try not to eat the dough straight from the bowl (or at least save some for baking).
Step 4. Stuff and Shape
Scoop out big chunks of dough—monster-sized, remember? Press an Oreo into the middle of each one and cover it with more dough. They’ll look like cookie mountains, and that’s exactly what we’re going for.
Want To Save This Recipe?
Enter your email below and we'll send the recipe straight to your inbox.
Step 5. Bake to Perfection
Pop them into the oven and bake for 8-10 minutes. The edges should look set, but the centers might still look soft—that’s okay! Let them cool on the baking sheet for 10 minutes before transferring them to a rack. That Oreo needs time to settle into its gooey glory.
Storage Options:
If by some miracle you don’t eat them all at once, here’s how to store them:
- Room Temperature: Keep them in an airtight container for up to four days. They’ll stay soft and chewy the whole time.
- Freezing Dough: Roll the dough into balls (with the Oreo inside) and freeze them. That way, you can bake fresh cookies whenever you need a pick-me-up.
- Freezing Baked Cookies: Let them cool completely, then toss them in a freezer bag. Thaw before eating—or eat them frozen, no judgment.
Variations and Substitutions:
Want to put your own spin on these cookies? Go for it. Here are some ideas:
- Switch the Color: Try red for Valentine’s Day, green for St. Patrick’s, or no color at all for the purists.
- Different Fillings: Replace the Oreo with a peanut butter cup, caramel candy, or even a marshmallow.
- Add Extras: Crushed pretzels, sprinkles, or toffee bits take these cookies to the next level.
- Gluten-Free: Swap the flour and cookies for gluten-free alternatives. The magic stays the same.
What to Serve with Cookie Monster Cookies?
These cookies are great on their own, but pairing them makes them even better:
- Cold Milk: Obviously. Dunking is a must.
- Ice Cream: Sandwich some between two cookies for a dessert worth bragging about.
- Hot Chocolate: Dunking these into cocoa is basically a winter wonderland in snack form.
- Coffee: For the adults who need balance with all that sweetness.
Frequently Asked Questions:
Can I make the dough ahead of time?
Yep! Keep it in the fridge for up to 48 hours or freeze it for months. Chilled dough makes even better cookies.
My cookies spread too much—what did I do wrong?
It’s probably the butter. Make sure it’s not too soft, and don’t skip the chilling step.
Can I use different food coloring?
Absolutely. No one’s going to complain about purple or green cookies.
Now it’s your turn! What color will your Cookie Monster Cookies be? Whatever you choose, I’d love to hear how they turned out. Share your baking adventures—I’m all ears (and cookies)!
<Remember it later>
Planning to try this recipe soon? Pin it for a quick find later!
<Remember it later>
Planning to try this recipe soon? Pin it for a quick find later!
Keep the Flavor Coming – Try These:

Cookie Monster Cookies
Ingredients
- ⅔ cup butter softened (regular or vegan)
- ½ cup granulated sugar
- ½ cup light brown sugar
- 1 large egg
- 1 tablespoon vanilla extract
- ¼ to ½ teaspoon blue food coloring adjust to preference
- 2 cups + 2 tablespoons all-purpose flour
- ¾ teaspoon salt
- ¾ teaspoon baking soda
- ¼ to ½ cup chocolate chips a mix of semisweet and white chocolate chips (regular or vegan)
- ⅓ cup mini chocolate chip cookies e.g., Chips Ahoy or Enjoy Life mini cookies
- 14 Oreo cookies regular or vegan
Instructions
Preheat the oven
- Preheat your oven to 350°F (175°C). Prepare two large baking sheets by lining them with parchment paper. Chop 3–4 Oreos and mini chocolate chip cookies into small pieces; reserve the remaining 10 Oreos for later.
Cream the butter and sugars
- In a mixing bowl, use a handheld or stand mixer with a paddle attachment to cream together the softened butter, granulated sugar, and light brown sugar. Mix until the texture becomes light and fluffy, approximately 1–2 minutes.
Incorporate wet ingredients
- Add the egg, vanilla extract, and blue food coloring to the butter mixture. Blend until the ingredients are fully incorporated and the color is evenly distributed.
Combine dry ingredients
- In a separate bowl, whisk together the flour, salt, and baking soda. Gradually add the dry mixture to the wet mixture, mixing just until combined to avoid overworking the dough.
Fold in mix-ins
- Gently fold in the chocolate chips, chopped Oreos, and chopped mini cookies. Ensure that the mix-ins are evenly distributed throughout the dough.
Assemble the cookies
- Scoop out 10 heaping tablespoons of dough and place them on the prepared baking sheets. Press one whole Oreo into the center of each dough portion. Cover the Oreo with additional dough to completely enclose it. Each assembled cookie should weigh approximately 3 ounces.
Bake
- Place one baking sheet in the preheated oven and bake for 8–10 minutes, or until the edges are set and the tops appear firm. Repeat with the second sheet. Allow the cookies to cool on the baking sheets for 10 minutes before transferring them to a wire rack.
Notes

I’m Bitty, owner of nodashofgluten.com, where I share simple, delicious recipes for all tastes, including gluten-free. Check out my “About Me” page for more info!


