

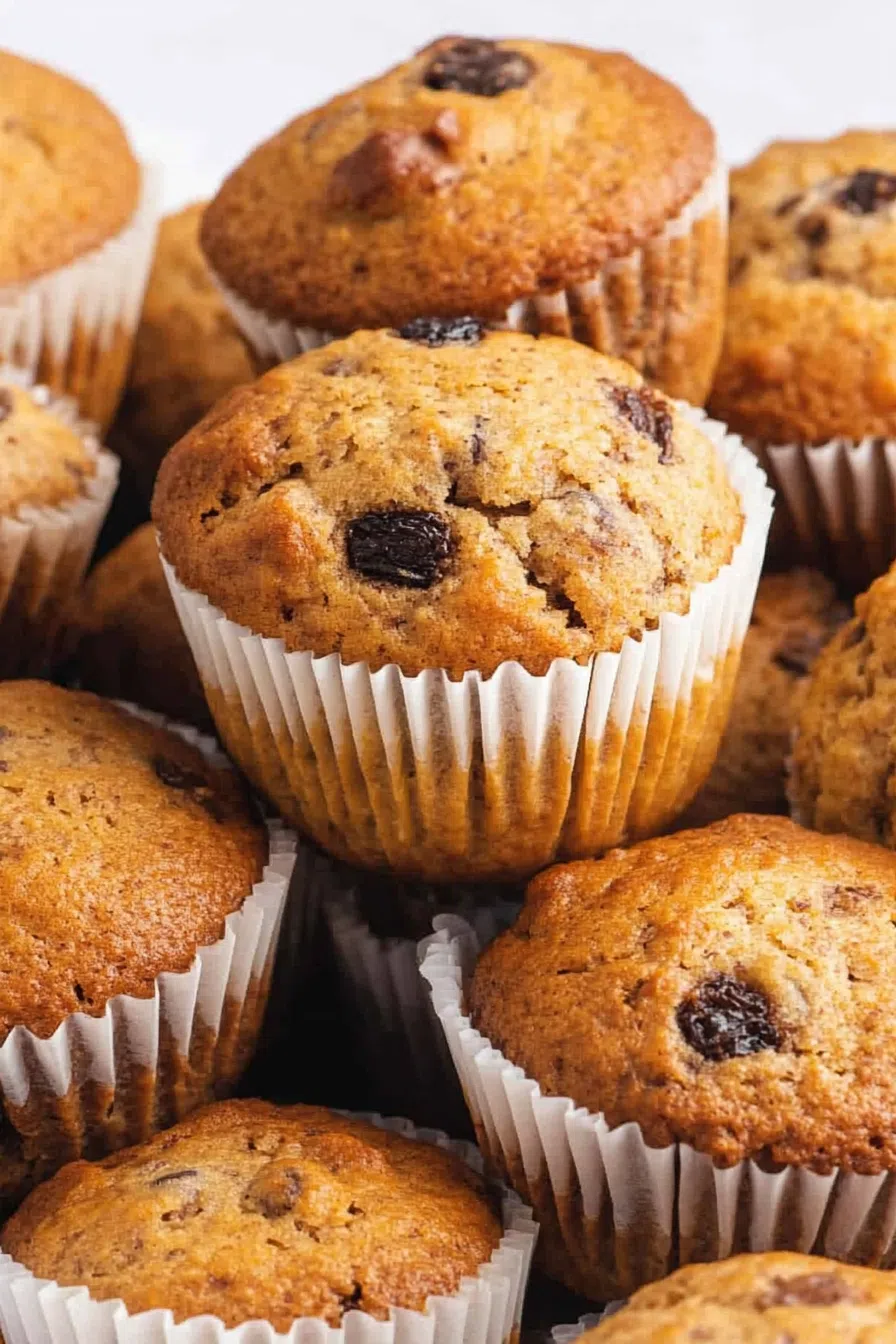
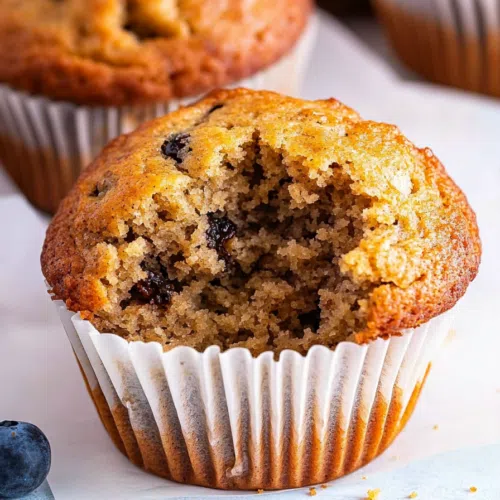
Wholesome and cozy, this classic bran muffin recipe includes wheat bran, buttermilk, brown sugar, raisins, and vanilla. Quick, fiber-packed, and delicious!


Let me start by saying I used to roll my eyes every time someone mentioned bran muffins. Growing up, my only reference point was a rock-hard, flavorless one my grandpa used to eat every morning with a side of prune juice. (Sorry, Grandpa. Love you, but your taste buds were wild.)
Then, my mom dusted off her old church cookbook and pulled out this recipe—the real deal. And just like that, I became a bran muffin convert. These babies are soft, just sweet enough, and taste like comfort in muffin form. They remind me of early mornings in fuzzy socks with a cup of coffee and absolutely zero shame in going back for seconds.
Why You’ll Love This Classic Bran Muffin Recipe?
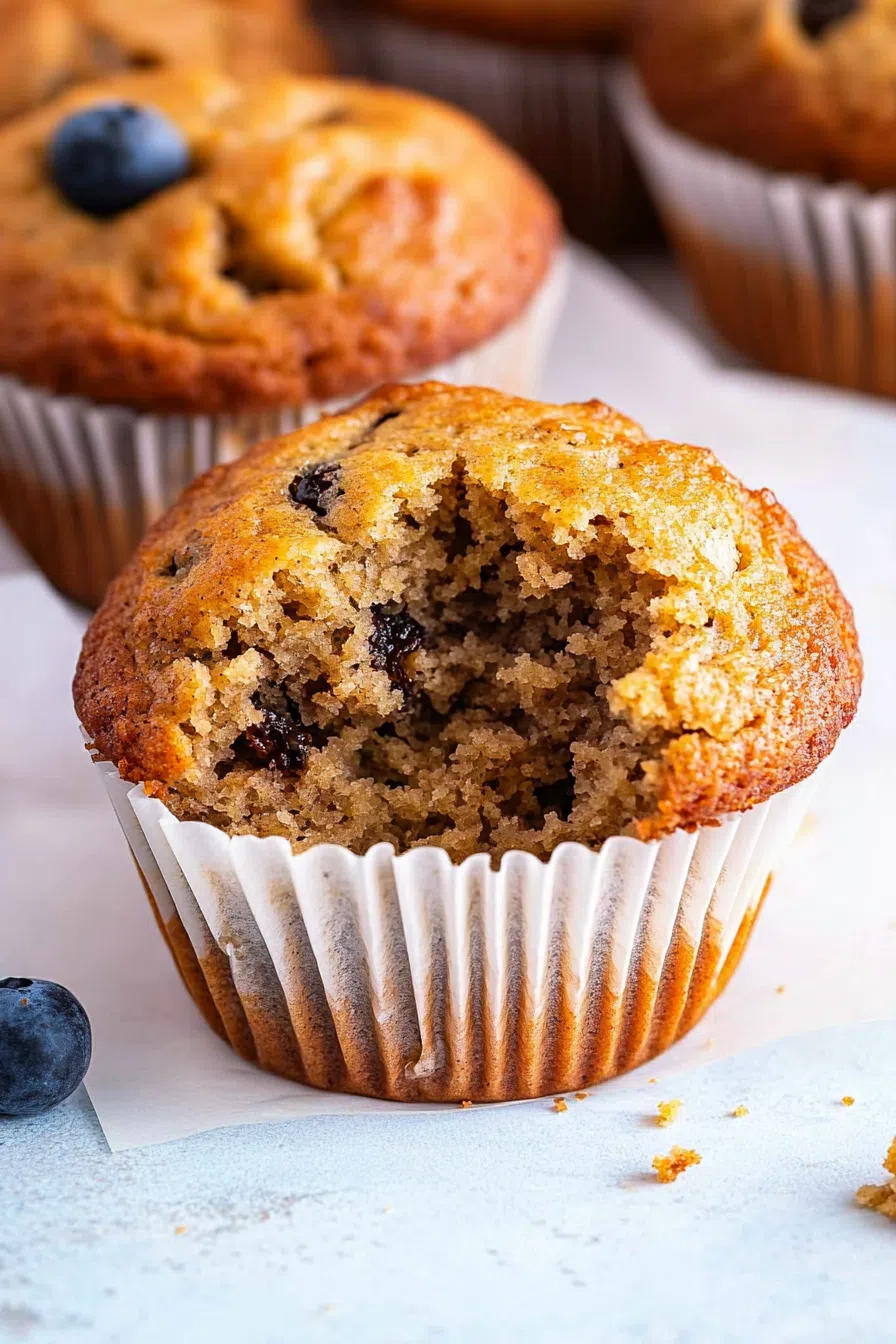
Honestly? It’s the simplicity. No trends. No funky ingredients. Just that cozy, wholesome goodness you remember (or wish you remembered) from childhood. They’re naturally packed with fiber thanks to wheat bran, and they somehow manage to be filling and snackable.
The best part? They’re unfussy. You don’t need a stand mixer or a food processor or even any brainpower before your morning coffee. These muffins just work. Every. Single. Time.
Ingredient Notes:
Before we jump into the how-to, let’s break down the what’s what behind each ingredient.
-
Wheat Bran – This is the soul of the muffin. Don’t skip it. It gives that earthy, toasty flavor and all that fiber you keep saying you need more of.
-
Buttermilk – Adds a gentle tang and makes the muffins super soft. If you don’t have any, just stir a splash of lemon juice into milk and let it sit for 5 minutes. Magic.
-
Brown Sugar – Adds that warm, molasses-y sweetness. Not too much. Just enough to make you feel like you’re having a treat without crashing at 10 a.m.
-
Vegetable Oil – Keeps things moist without any fuss. Butter works too if you want more richness, but oil gives that consistent texture.
-
Egg & Vanilla – The usual suspects, and for good reason. They tie everything together.
-
Flour, Baking Soda, Baking Powder, Salt – The structural crew. Don’t skip ’em.
-
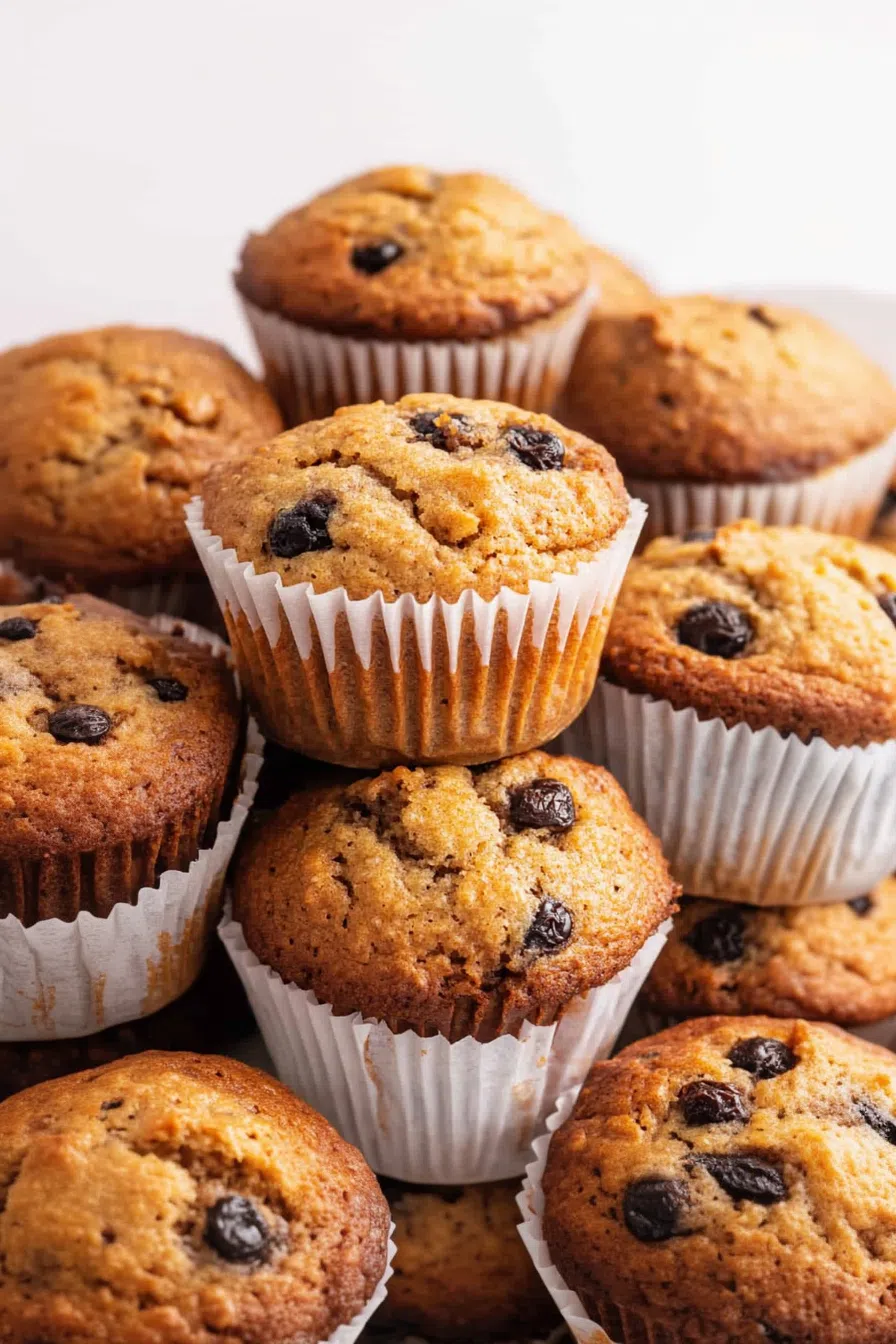
Raisins – This is where it gets divisive. I love them. If you don’t, swap in chopped dates, dried cranberries, or mini chocolate chips if you’re feeling wild.

How To Make Classic Bran Muffin?
Step 1: Soften That Bran
In a large bowl, mix your wheat bran and buttermilk. Then? Walk away. Seriously. Let it sit for 10 minutes while you sip something warm and wonder why you don’t do this more often.
Step 2: Mix the Wet Stuff
In another bowl, beat together brown sugar, oil, egg, and vanilla. It doesn’t have to be fancy. Just get it looking smooth and cozy.
Step 3: Bring It All Together
Add that sugar-egg mix into your bran bowl. Give it a nice stir. Nothing over the top—just until it’s combined like old friends.
Step 4: Dry Ingredients and Drama
Sift in the flour, baking soda, baking powder, and salt. Stir until just combined. I mean it—just. We’re making muffins, not bricks. Fold in the raisins (or your chaos ingredient of choice).
Step 5: Bake the Beauty
Preheat that oven to 375°F (190°C). Grease or line your muffin tin. Fill each cup about 2/3 full and bake for 15–20 minutes. They’re done when they spring back like a memory when lightly pressed.
Step 6: Cool Down (or Don’t)
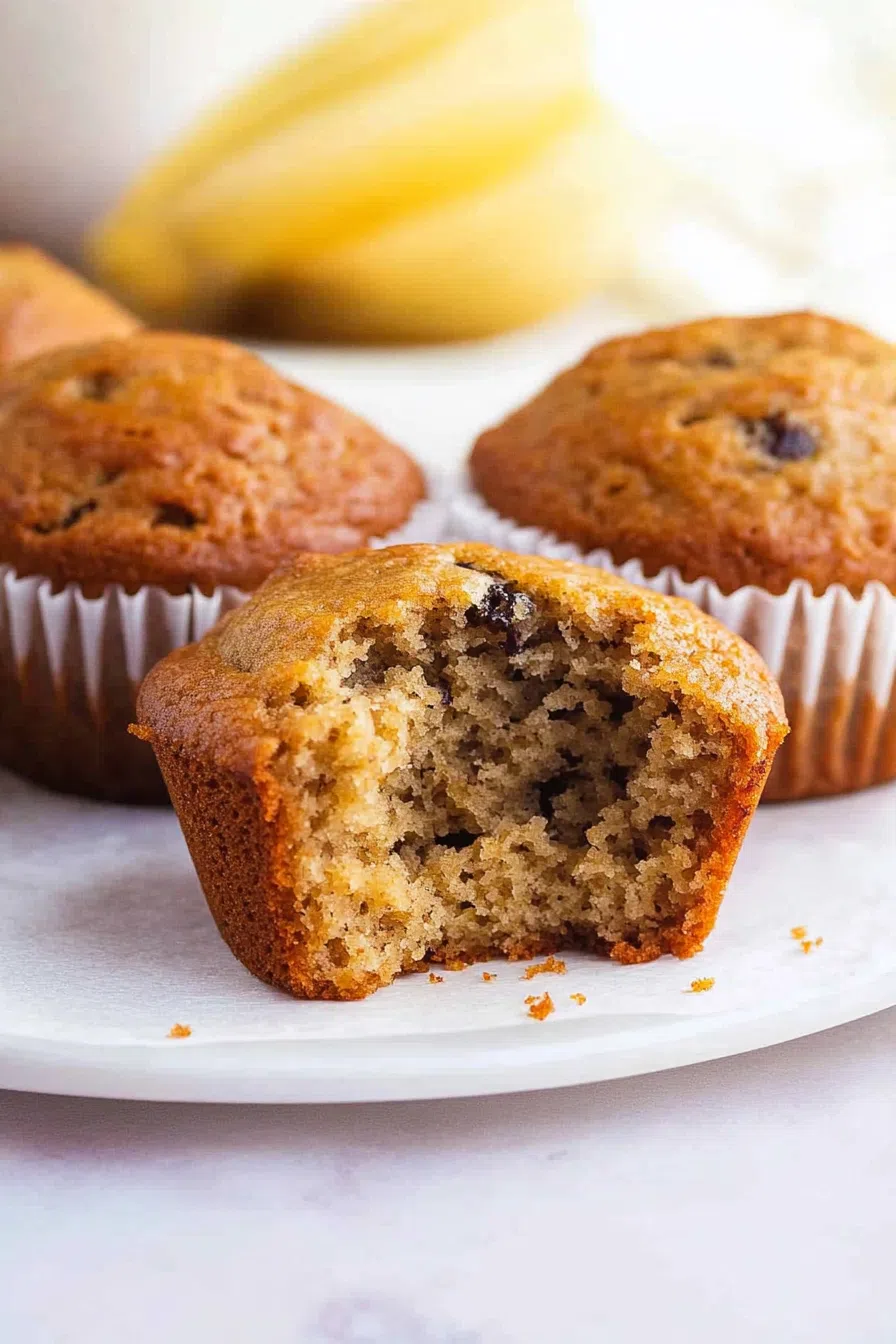
Let them rest in the tin for a few, then move to a wire rack. Or just eat one warm with a pat of butter and no regrets.
Want To Save This Recipe?
Storage Options:
These muffins last up to 3 days on the counter in an airtight container. Want to make them last longer? Freeze ’em. Wrap individually in plastic wrap, toss in a freezer bag, and boom—breakfast is sorted for the week.
Variations and Substitutions:
-
No Buttermilk? Use regular milk + a teaspoon of lemon juice or vinegar.
-
Want More Texture? Add chopped walnuts or sunflower seeds.
-
Make It Vegan? Use flax egg + plant-based milk and oil. It works better than you’d think.
-
Craving Chocolate? Throw in some dark chocolate chips. Balance, baby.
What to Serve with Classic Bran Muffin?
Serve with:
-
Coffee, hot or iced, depending on your mood
-
A smear of butter or nut butter (almond butter is chef’s kiss)
-
Greek yogurt and berries for a full-on brunch moment
-
A side of eggs if you’re feeling protein-rich and adult-ish
Frequently Asked Questions:
Can I make the batter ahead of time?
Sure, but don’t let it sit too long—overnight might dull the rise. I prefer baking them fresh and freezing the extras.
Are they freezer friendly?
Totally. Just wrap them individually. Reheat in the microwave for 20-30 seconds, and boom—like new.
Can I go gluten-free?
Absolutely! Use a 1:1 gluten-free flour blend and make sure your bran is certified gluten-free. The texture may shift a bit, but it still works.
I hope this classic bran muffin recipe finds its way into your breakfast rotation. Whether you’re rushing out the door or savoring a slow Sunday morning, these muffins are always a win.
If you try them, let me know what you think—and don’t be afraid to share your weird and wonderful variations. I’m all ears.
Keep the Flavor Coming – Try These:

Classic Bran Muffin Recipe
Ingredients
- 1½ cups wheat bran
- 1 cup buttermilk
- ⅔ cup brown sugar firmly packed
- ⅓ cup vegetable oil
- 1 large egg
- ½ teaspoon vanilla extract
- 1 cup all-purpose flour
- 1 teaspoon baking soda
- 1 teaspoon baking powder
- ½ teaspoon salt
- ½ cup raisins
Instructions
Prepare the Oven and Muffin Tin:
- Preheat the oven to 375°F (190°C). Grease a 12-cup muffin tin or line with paper muffin liners.
Soften the Wheat Bran:
- In a large mixing bowl, combine the wheat bran and buttermilk. Allow the mixture to rest for approximately 10 minutes, enabling the bran to soften and hydrate fully.
Mix the Wet Ingredients:
- In a separate bowl, whisk together the brown sugar, vegetable oil, egg, and vanilla extract until the mixture becomes light and cohesive.
Combine with the Bran Mixture:
- Add the sugar and egg mixture to the softened bran and buttermilk mixture. Stir until just combined.
Incorporate the Dry Ingredients:
- Sift together the flour, baking soda, baking powder, and salt. Gently fold these dry ingredients into the wet mixture until just moistened. Do not overmix.
Add the Raisins:
- Carefully fold in the raisins, ensuring even distribution throughout the batter.
Fill the Muffin Cups:
- Spoon the batter into the prepared muffin cups, filling each approximately two-thirds full.
Bake:
- Bake in the preheated oven for 15 to 20 minutes, or until the tops of the muffins spring back lightly when pressed.
Cool and Serve:
- Allow the muffins to cool in the tin for a few minutes before transferring them to a wire rack to cool completely. Serve warm or at room temperature.
Notes
I’m Bitty, owner of nodashofgluten.com, where I share simple, delicious recipes for all tastes, including gluten-free. Check out my “About Me” page for more info!

One Response
Great muffin recipe! Super Easy and they are delicious! They look amazing too.