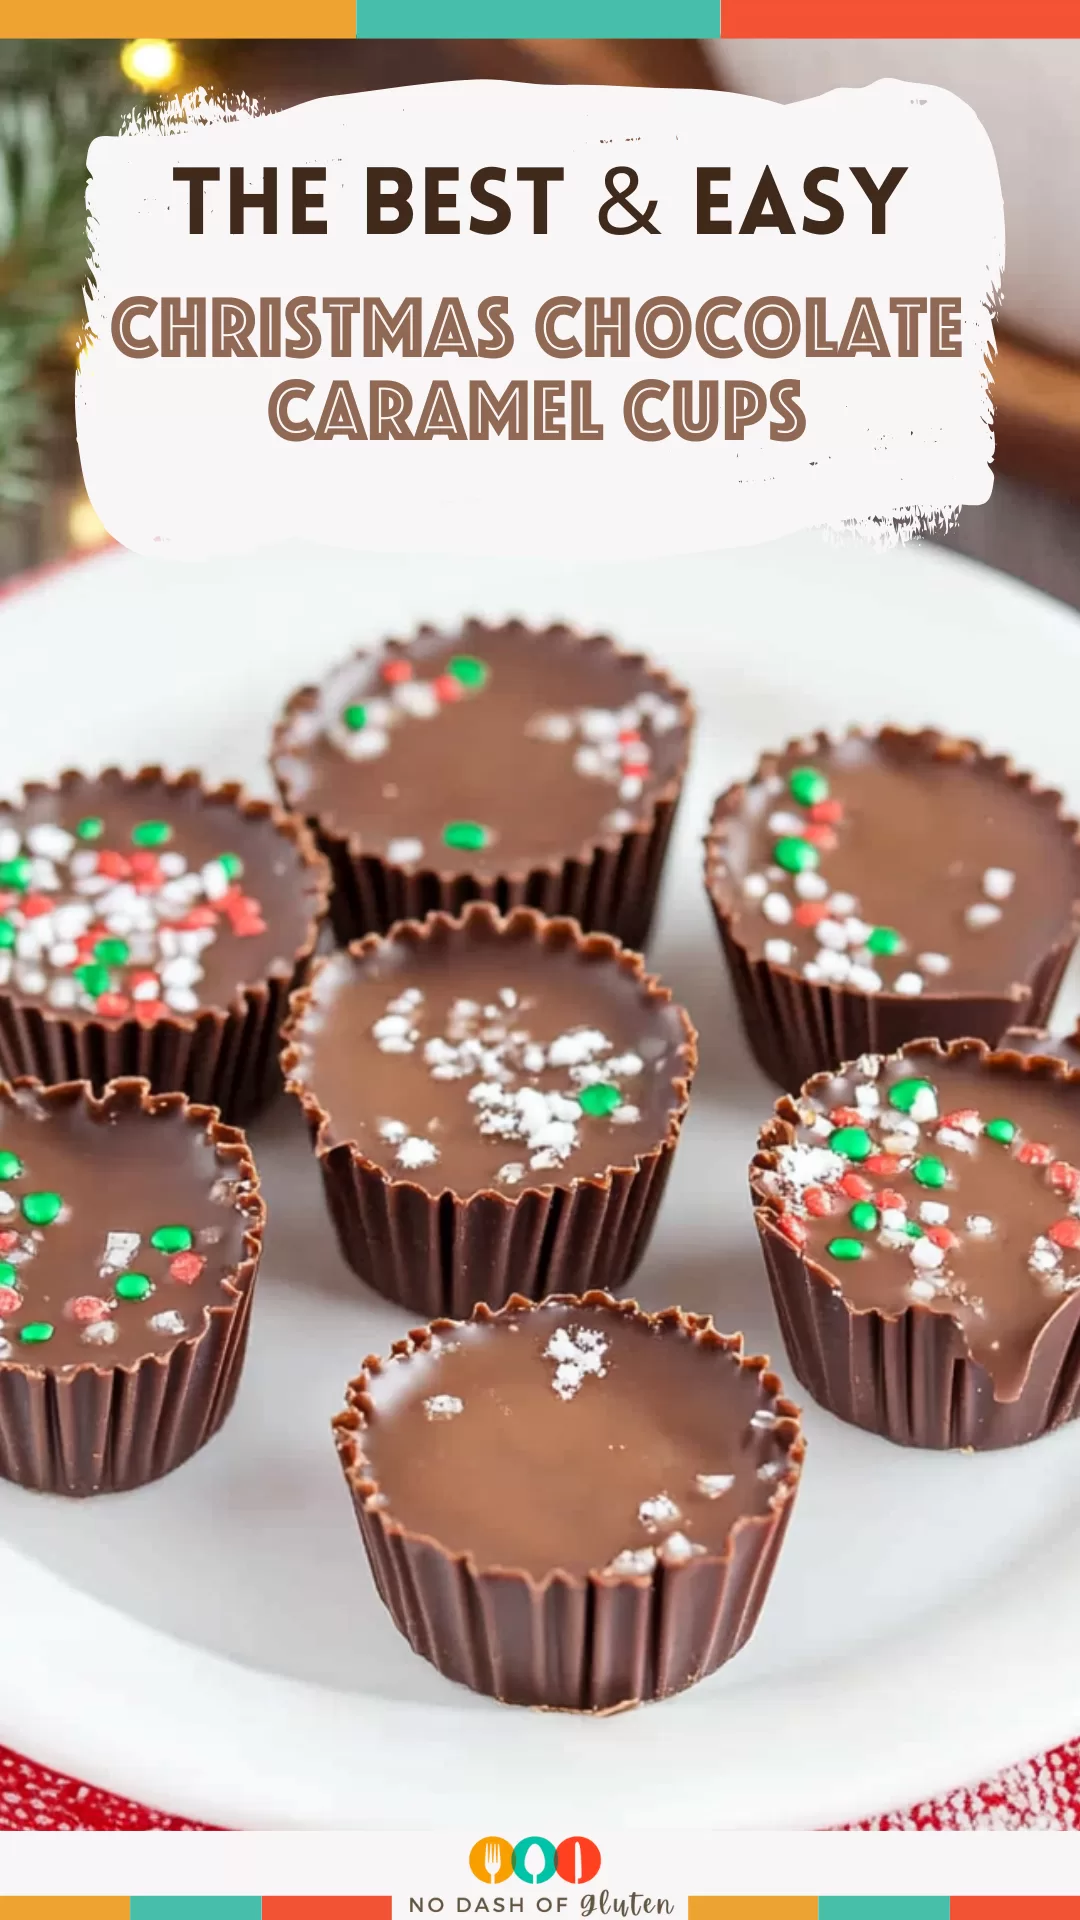
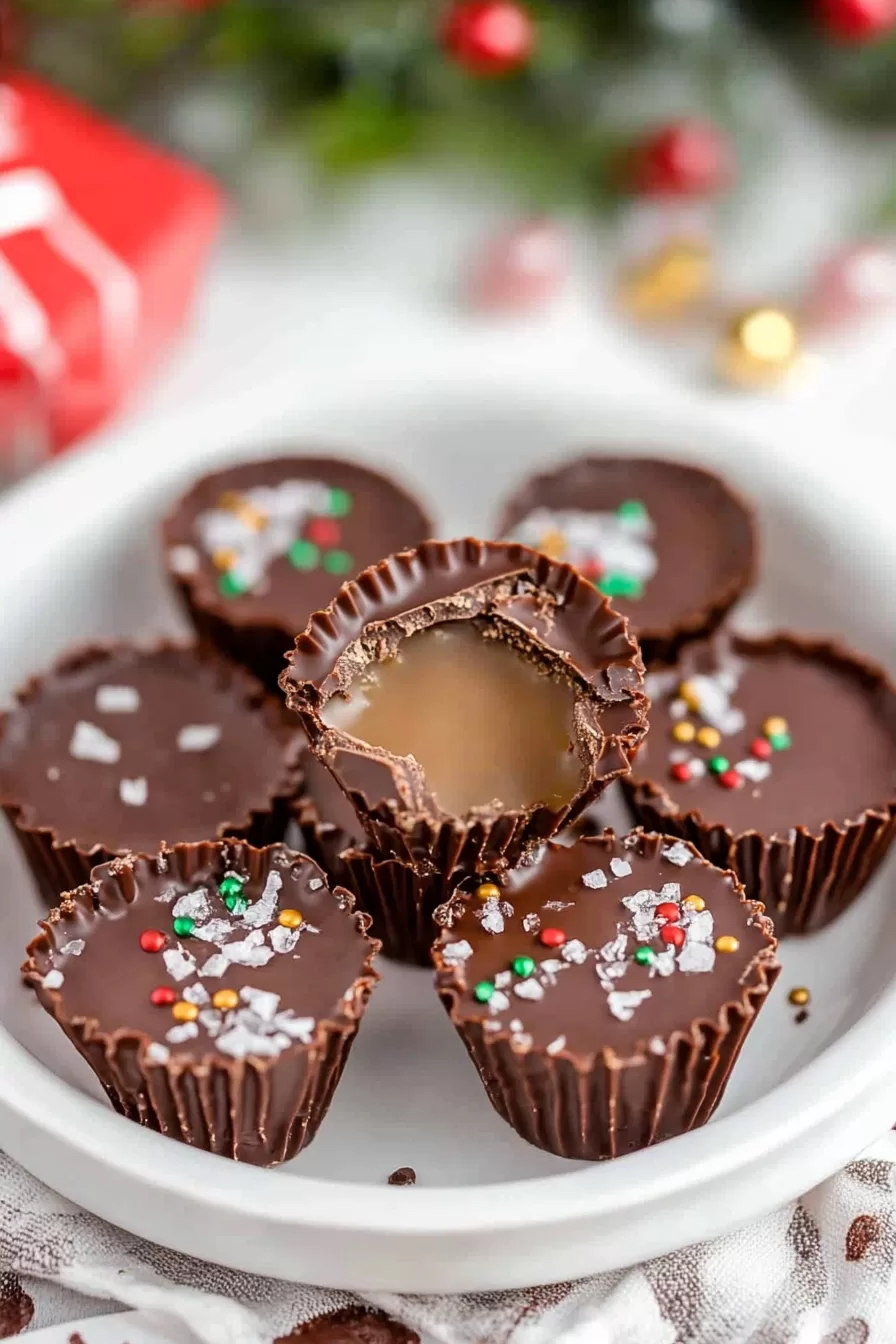
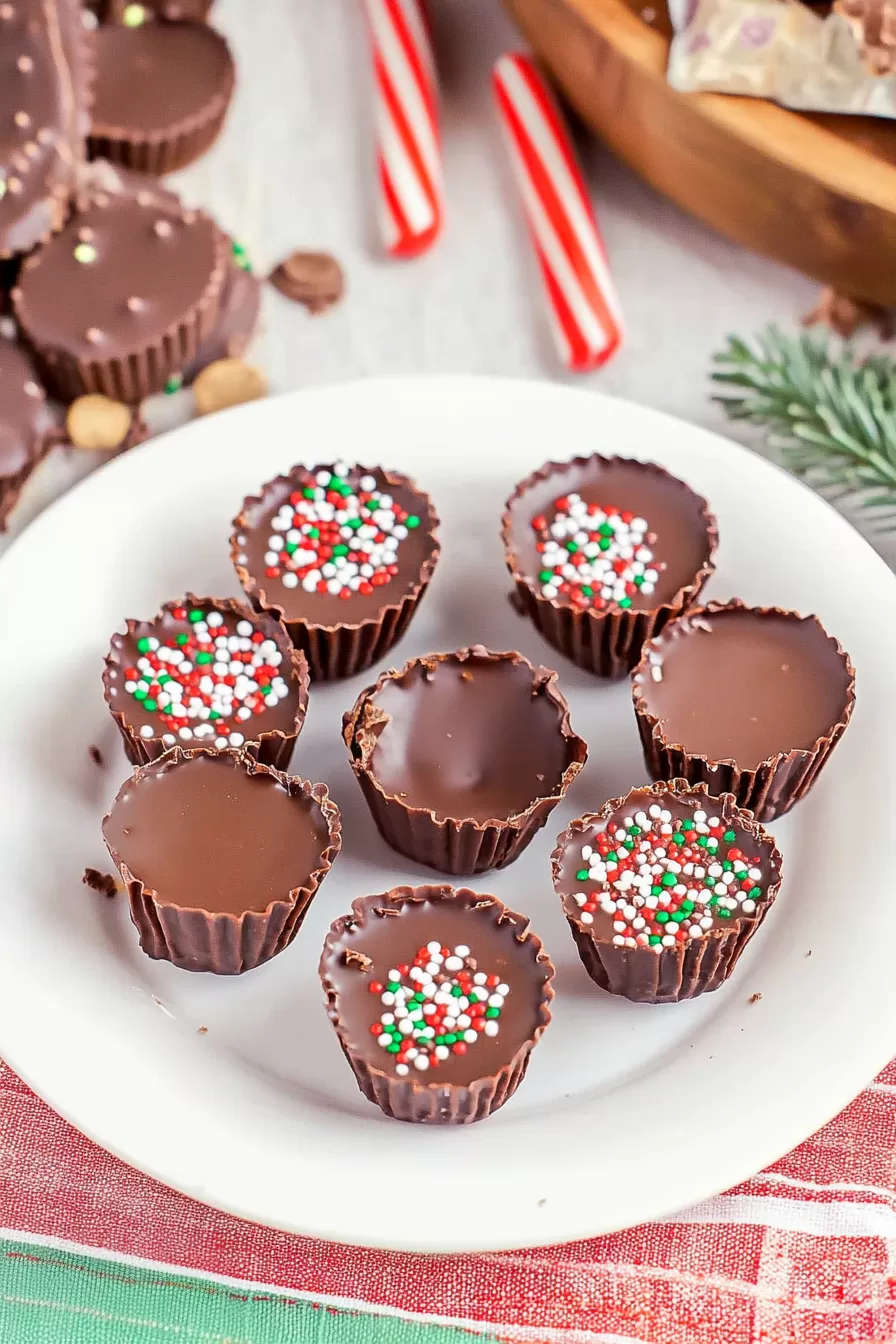
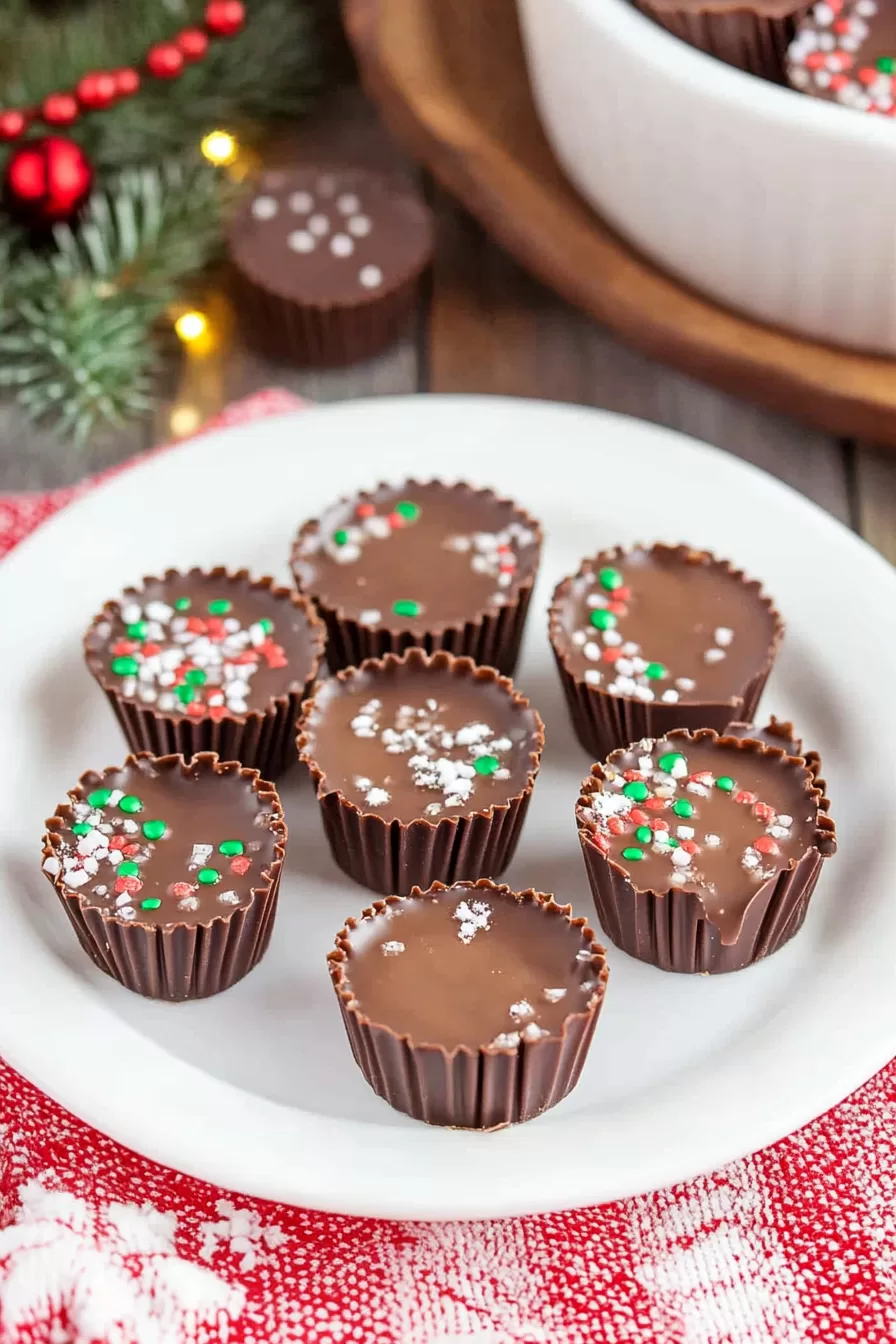
These no-bake Christmas Chocolate Caramel Cups combine rich chocolate, creamy caramel, and festive sprinkles for an easy, irresistible holiday treat.
Okay, confession time: I’m a bit of a Christmas candy addict. You know how some people get obsessed with decorating their trees or curating the perfect gift list? For me, it’s all about those homemade sweets that make the holidays feel extra special.

Remember it later!
Planning to try this recipe soon? Pin it for a quick find later!
Remember it later!
Planning to try this recipe soon? Pin it for a quick find later!
These Christmas Chocolate Caramel Cups started as a happy accident. I was in a mad dash to whip up something festive for my family’s holiday movie night—think “Home Alone,” flannel pajamas, and way too much hot cocoa. I had leftover chocolate almond bark, some cream, and sugar, and voilà! These little cups of joy were born. Everyone devoured them so fast I almost didn’t get to try one. (Almost.)
Since then, these have become a Christmas must-make. My kids now claim they’re “Santa-approved,” and honestly, I wouldn’t be surprised if he swipes a few off the cookie plate when he visits.
Here’s a quick peek at what’s inside:
Table of content
Why You’ll Love This Christmas Chocolate Caramel Cups Recipe?
These cups have a way of making you feel like a holiday baking pro without all the fuss. Here’s why:
- No Oven? No Problem! They’re completely no-bake, so they’re perfect for when your oven’s already occupied by cookies, pies, or the occasional turkey.
- They Look Fancy: Despite being super simple to make, these little beauties look like something out of a gourmet candy shop.
- Crazy Delicious: Chocolate and caramel? Together? Need I say more? Plus, the festive sprinkles give them that extra holiday magic.
- Perfect for Gifting: Pop a few into cute tins or cellophane bags, and you’ve got yourself the ultimate edible gift.
Ingredient Notes:
You only need a few simple ingredients for this recipe, but let’s chat about what makes each one shine:
- Chocolate Almond Bark: This stuff is gold for candy-making. It melts like a dream and sets up beautifully. If you don’t have almond bark, melted chocolate chips or baking chocolate will work too.
- Sugar & Heavy Cream: These are the stars of your homemade caramel. Keep an eye on the sugar while it melts—it can go from perfect to burned faster than you can say, “Oops.”
- Holiday Sprinkles: This is where you get to have some fun. Go for classic red and green, add a dash of gold, or even toss in some crushed candy canes for extra flair.
How To Make Christmas Chocolate Caramel Cups?
I promise, this recipe is as easy as it gets. Let’s walk through it together.
Step 1: Prep the Liners
First things first, line a mini cupcake tin with 36 liners. Trust me, this saves you from any sticky disasters later.
Step 2: Melt the Chocolate
Melt half of the chocolate almond bark in 30-second intervals in the microwave, stirring after each zap. This keeps it smooth and avoids burning.
Step 3: Form the Chocolate Shells
Spoon a little chocolate into each liner and spread it up the sides. I’ve even used a clean paintbrush to get the edges perfect (messy hands just make it more fun, though). Let the chocolate shells harden while you move on.
Step 4: Make the Caramel
Now for the magic—homemade caramel! In a heavy-bottomed pot, melt the sugar over medium heat. Resist the urge to stir too much and just let it do its thing. Once it turns a golden amber color, carefully whisk in the heavy cream. It’ll bubble like crazy at first, but that’s when you know it’s coming together. Let it cool and thicken in the fridge for about 30 minutes.
Step 5: Assemble the Cups
Spoon that gorgeous caramel into the chocolate shells, filling them almost to the top. You don’t want them to overflow! Melt the rest of the almond bark and spread a layer over the caramel to seal it all in.
Step 6: Add the Finishing Touches
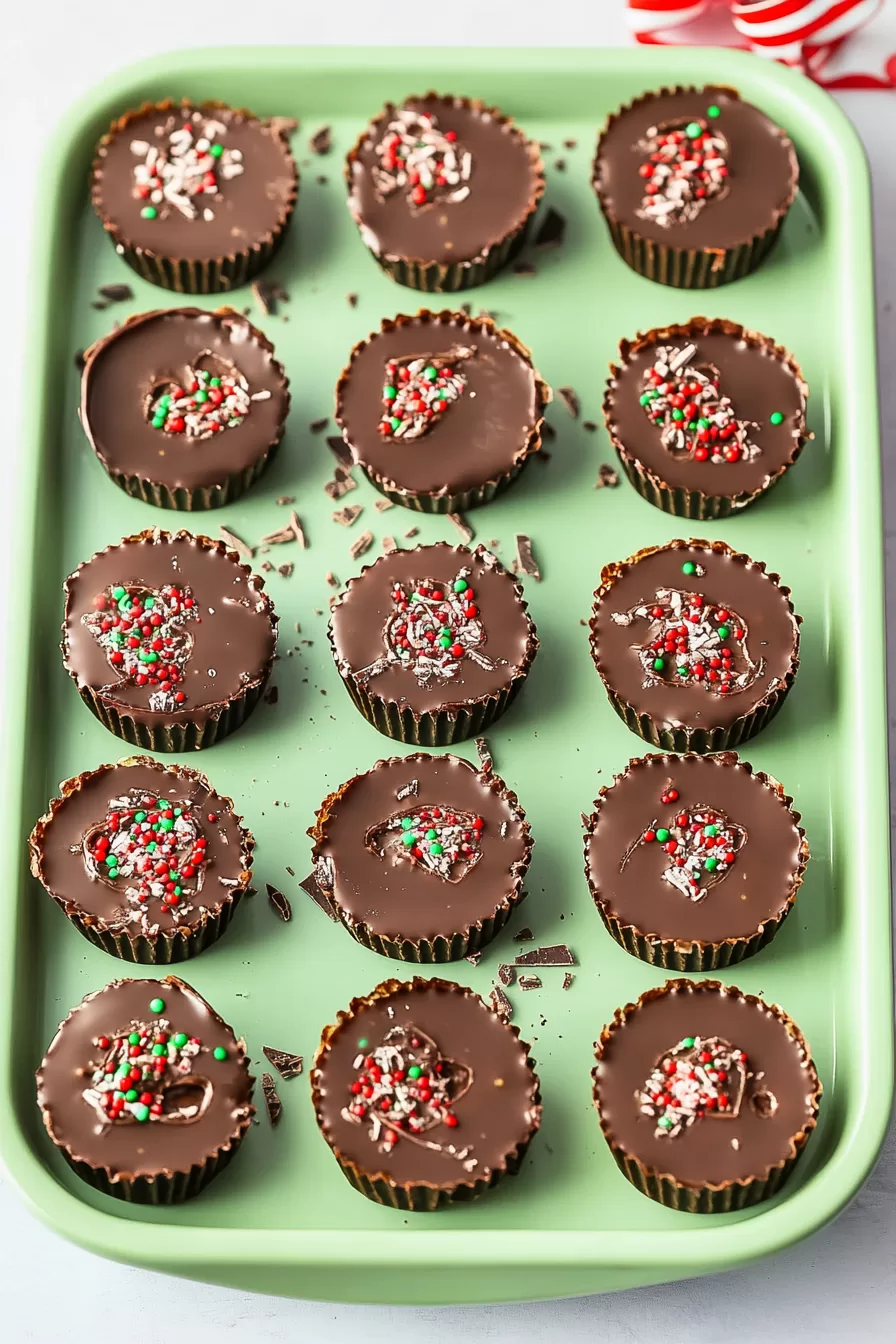
Sprinkle on those festive sprinkles while the chocolate is still soft. Then pop the cups into the fridge for about an hour to set. That’s it—your Christmas Chocolate Caramel Cups are ready to impress.
Storage Options:
These little treats are low-maintenance, which I absolutely love:
Want To Save This Recipe?
Enter your email below and we'll send the recipe straight to your inbox.
- Room Temperature: If your kitchen isn’t too warm, store them in an airtight container for 2–3 days.
- Refrigerator: Keep them in the fridge for up to two weeks. They stay firm and taste just as amazing.
- Freezer: Want to make them ahead of time? Freeze them for up to three months, then thaw in the fridge before serving.
Variations and Substitutions:
Feel like switching things up? Here are a few fun ideas:
- Salted Caramel Twist: Sprinkle a pinch of sea salt over the caramel layer before sealing it with chocolate. Pure chef’s kiss perfection.
- Nut Lovers’ Version: Add chopped pecans, almonds, or cashews to the caramel for extra crunch.
- White Chocolate Delight: Swap the almond bark for white chocolate if you want a snowy, festive look.
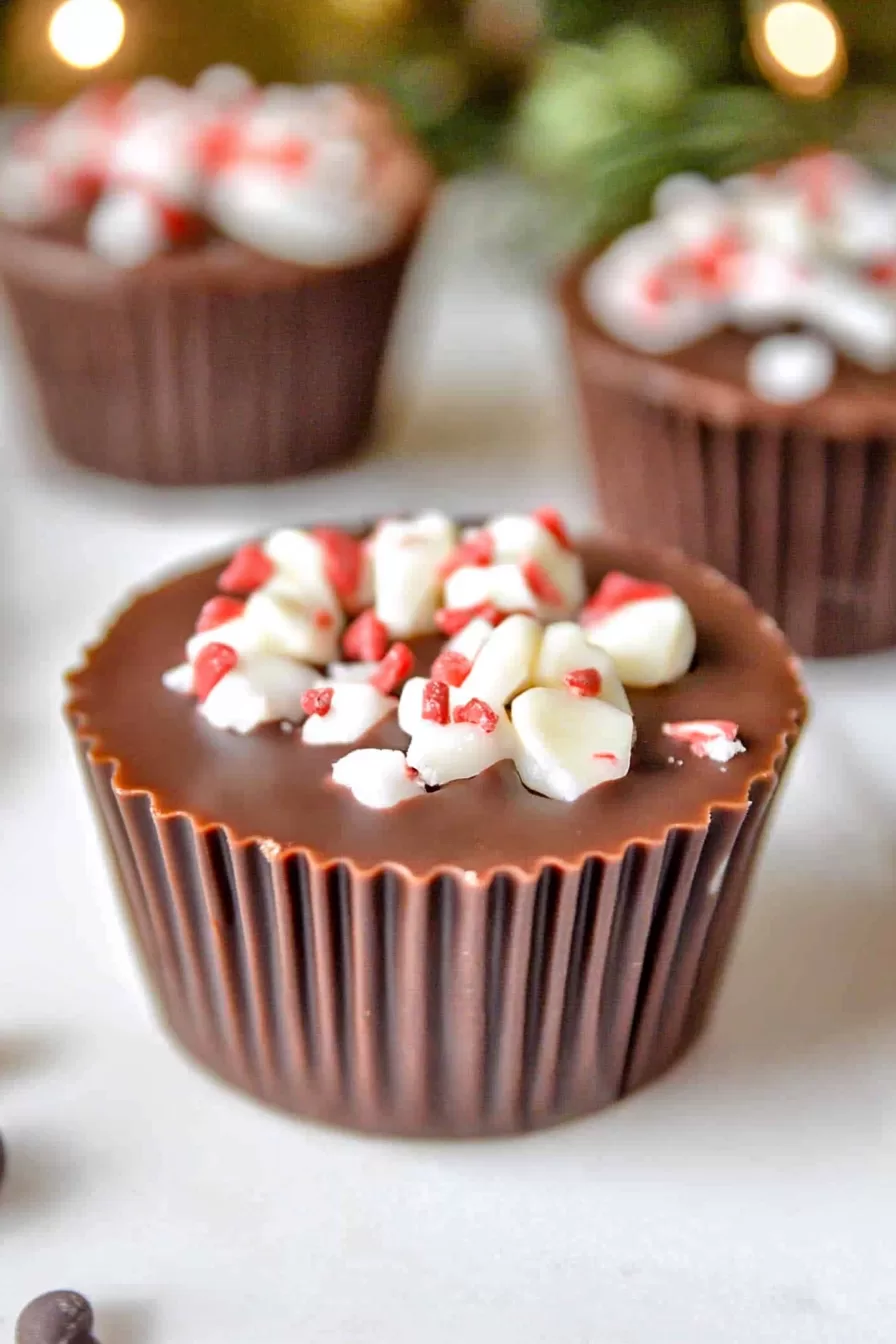
- Minty Fresh: Add a touch of peppermint extract to the caramel and sprinkle crushed candy canes on top.
What to Serve with Christmas Chocolate Caramel Cups?
These little cups are delicious on their own, but here’s how to make them even better:
- Hot Cocoa: Because chocolate on chocolate is never a bad idea.
- Coffee or Espresso: The slight bitterness of coffee pairs perfectly with the sweet caramel.
- Holiday Dessert Board: Arrange them with sugar cookies, fudge, and truffles for the ultimate Christmas dessert spread.
Frequently Asked Questions:
Can I use store-bought caramel instead of homemade?
Absolutely! If you’re short on time, pre-made caramel works great. Just make sure it’s thick enough so it doesn’t ooze out.
What if I don’t have almond bark?
No worries! Chocolate chips or baking chocolate are great substitutes. Just add a tiny bit of coconut oil to help it melt smoothly.
How long do these take to set?
About an hour in the fridge should do the trick. If you’re really impatient (been there), 30 minutes in the freezer speeds things up.
If you’re looking for a holiday treat that’s easy, festive, and crazy delicious, these Christmas Chocolate Caramel Cups are for you. Whether you’re sharing them with friends, gifting them to family, or sneaking a few for yourself (we all do it), they’re sure to bring a little extra joy to the season.
Try them out, and let me know how they turned out for you. Did you add a special twist? I’d love to hear about it!
Remember it later!
Planning to try this recipe soon? Pin it for a quick find later!
Remember it later!
Planning to try this recipe soon? Pin it for a quick find later!
Keep the Flavor Coming – Try These:
Ingredients
- 1 cup granulated sugar
- ⅔ cup heavy cream
- 1 pound chocolate almond bark
- ¼ cup holiday sprinkles
Instructions
Prepare the Cupcake Liners:
- Arrange 36 mini cupcake liners in a mini cupcake tin. This ensures the cups hold their shape as the chocolate sets.
Melt the Chocolate Almond Bark:
- In a microwave-safe bowl, melt half of the chocolate almond bark in 30-second intervals, stirring between each session, until fully melted and smooth. Avoid overheating to prevent burning.
Create the Chocolate Shells:
- Spoon a small amount of melted chocolate into each cupcake liner. Use the back of a spoon or a clean brush to carefully spread the chocolate up the sides of the liners, ensuring the bottom is fully coated and the layer is thick enough to hold the caramel. Set the tray aside to allow the chocolate to harden.
Prepare the Caramel Filling:
- In a heavy-bottomed pot over medium heat, slowly heat the sugar, stirring minimally to prevent crystallization. Allow the sugar to melt and turn a golden amber color—this typically takes a few minutes. Remove from heat immediately and carefully whisk in the heavy cream, adding it in a slow, steady stream. Be cautious, as the mixture will bubble vigorously. Continue whisking until smooth, then transfer the caramel to a bowl and refrigerate for 30 minutes to thicken.
Fill the Chocolate Shells:
- Once the caramel has cooled and thickened, spoon it into the prepared chocolate shells, filling each cup almost to the top, but not overflowing.
Seal with Chocolate and Garnish:
- Melt the remaining chocolate almond bark using the same method as before. Spoon a layer of melted chocolate over the caramel to seal the cups, spreading gently to the edges. Before the chocolate sets, decorate each cup with holiday sprinkles for a festive touch.
Set the Caramel Cups:
- Transfer the tray to the refrigerator for approximately 1 hour to ensure the chocolate and caramel fully set.
Serve and Enjoy:
- Once set, carefully remove the cups from the liners, arrange them on a serving platter, and enjoy this indulgent holiday treat!
Notes

I’m Bitty, owner of nodashofgluten.com, where I share simple, delicious recipes for all tastes, including gluten-free. Check out my “About Me” page for more info!


