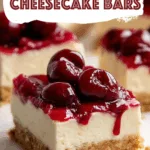
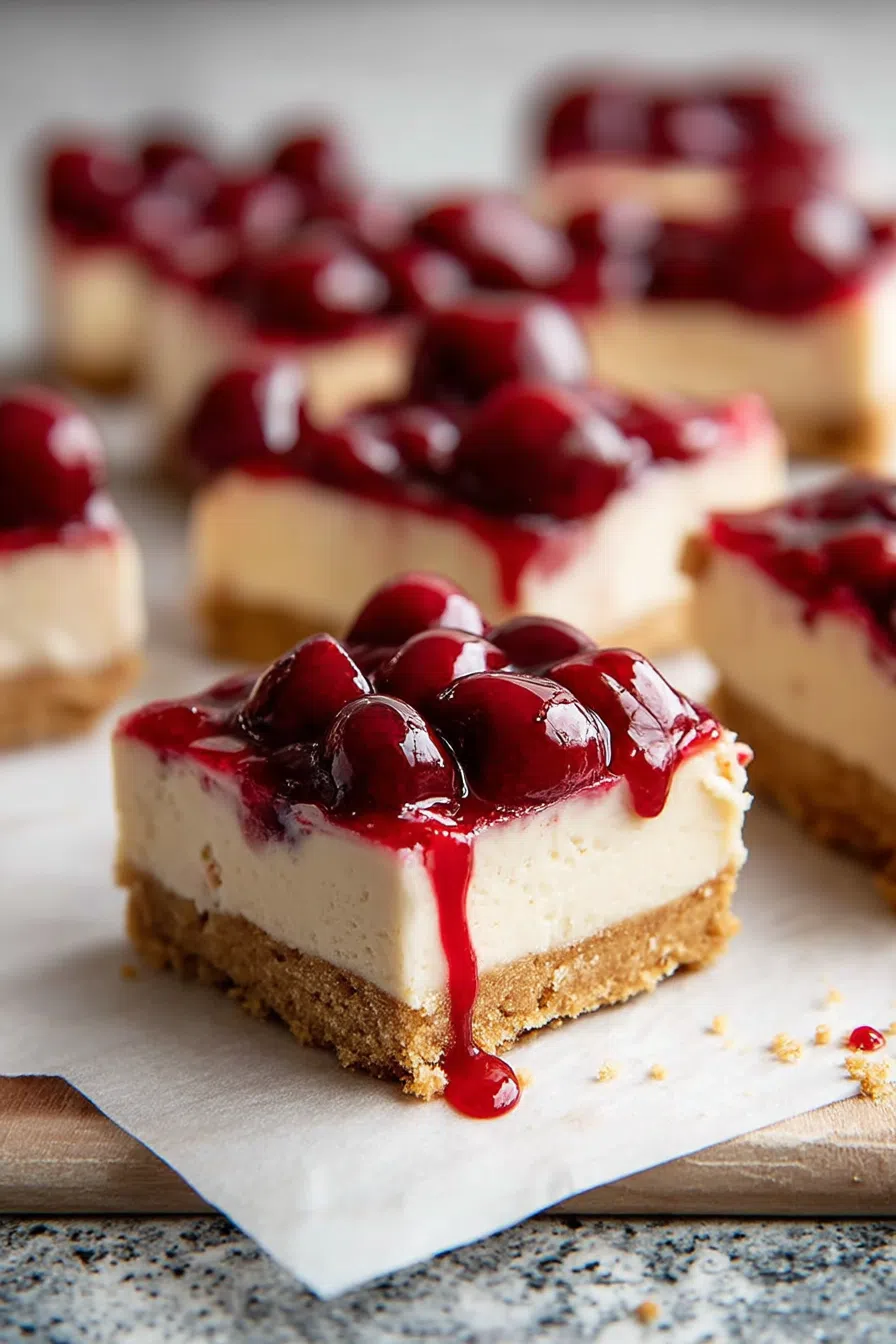
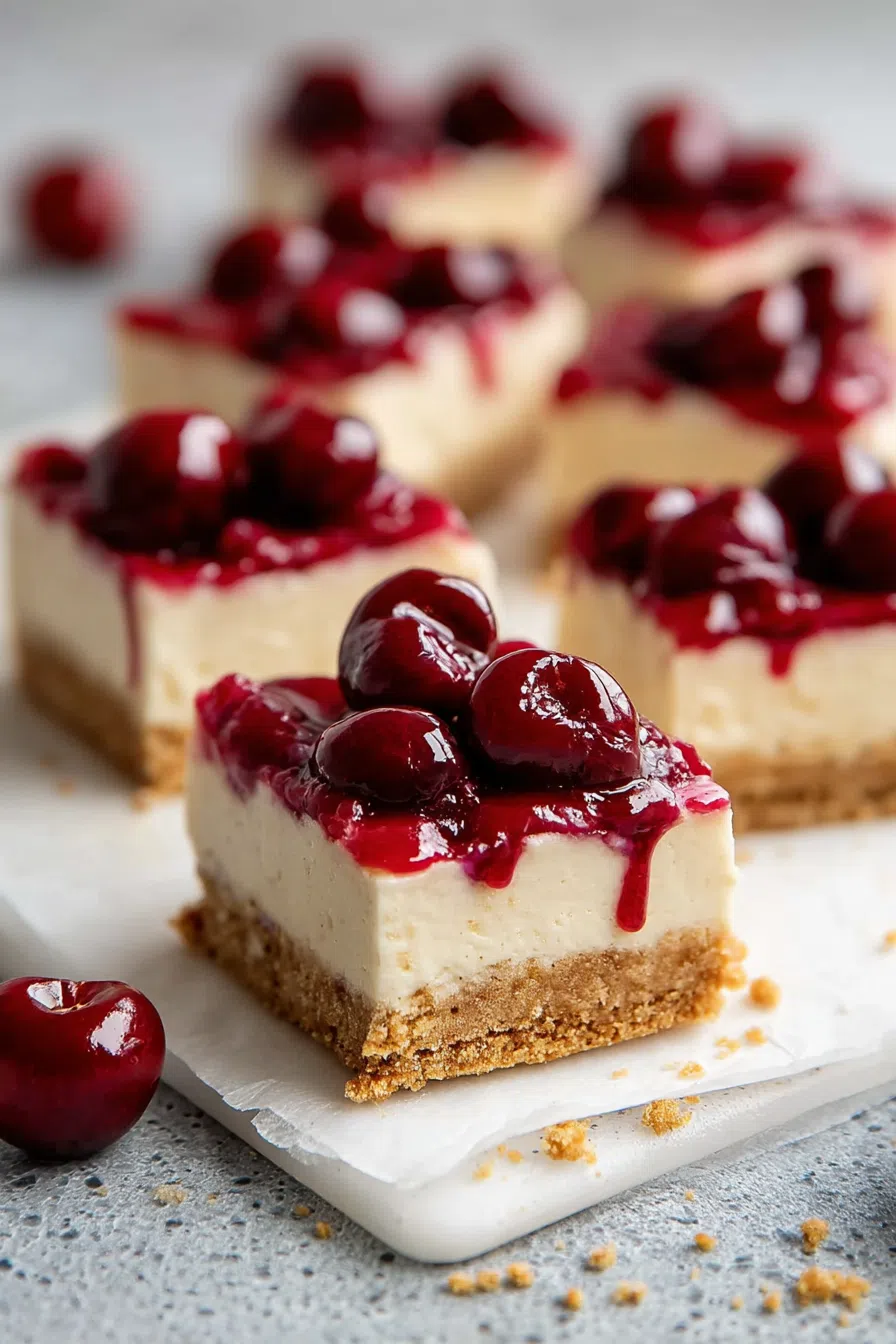
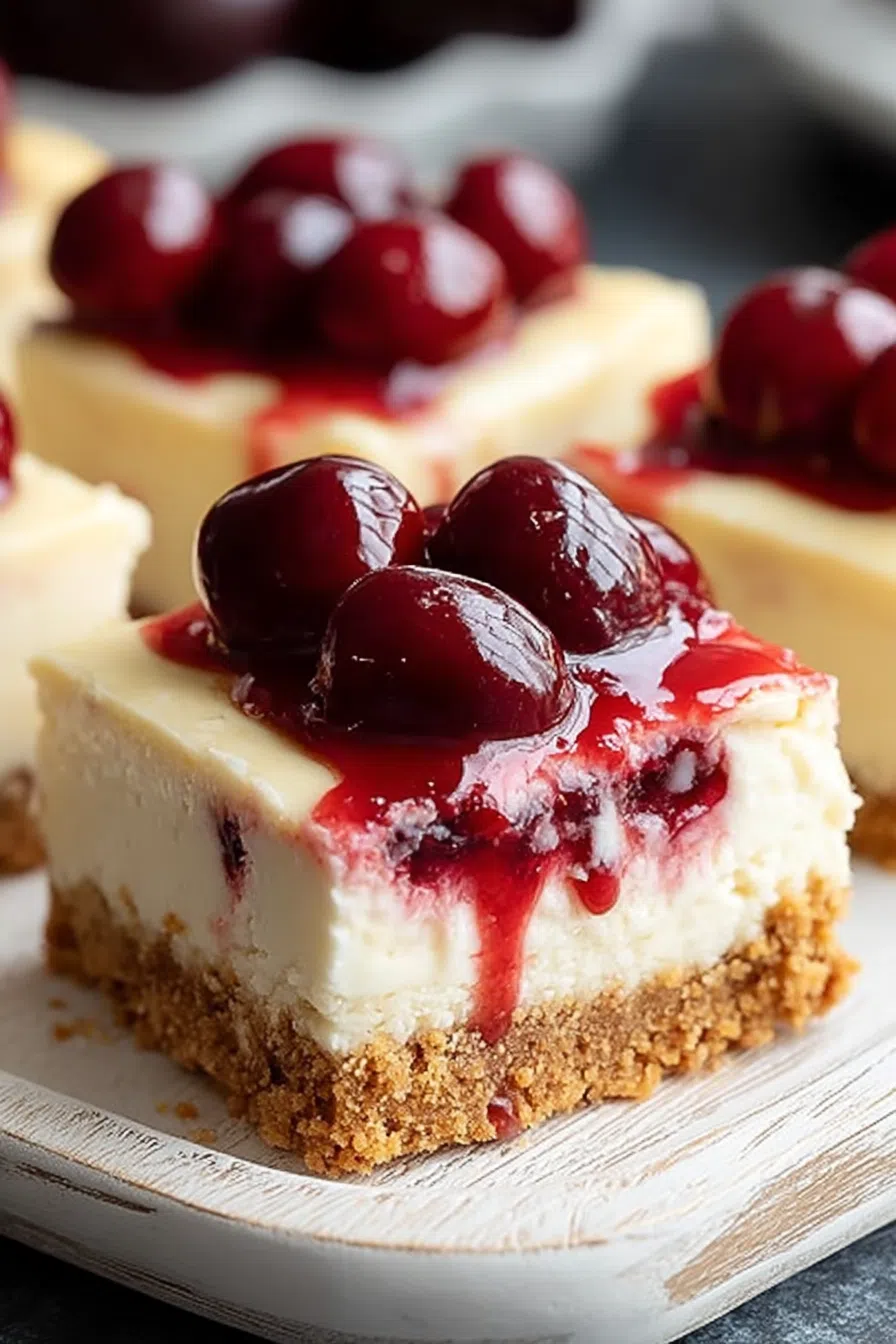
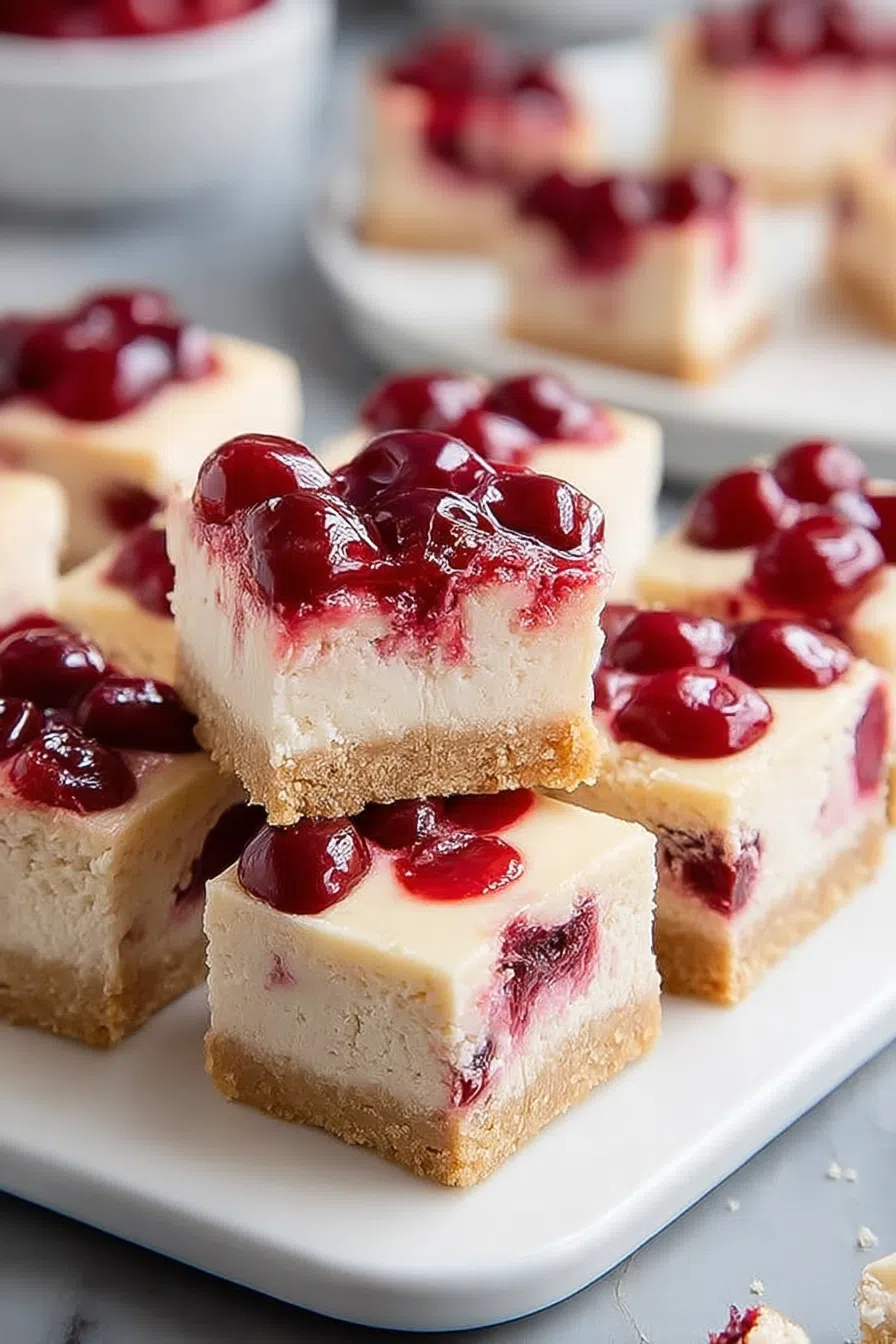
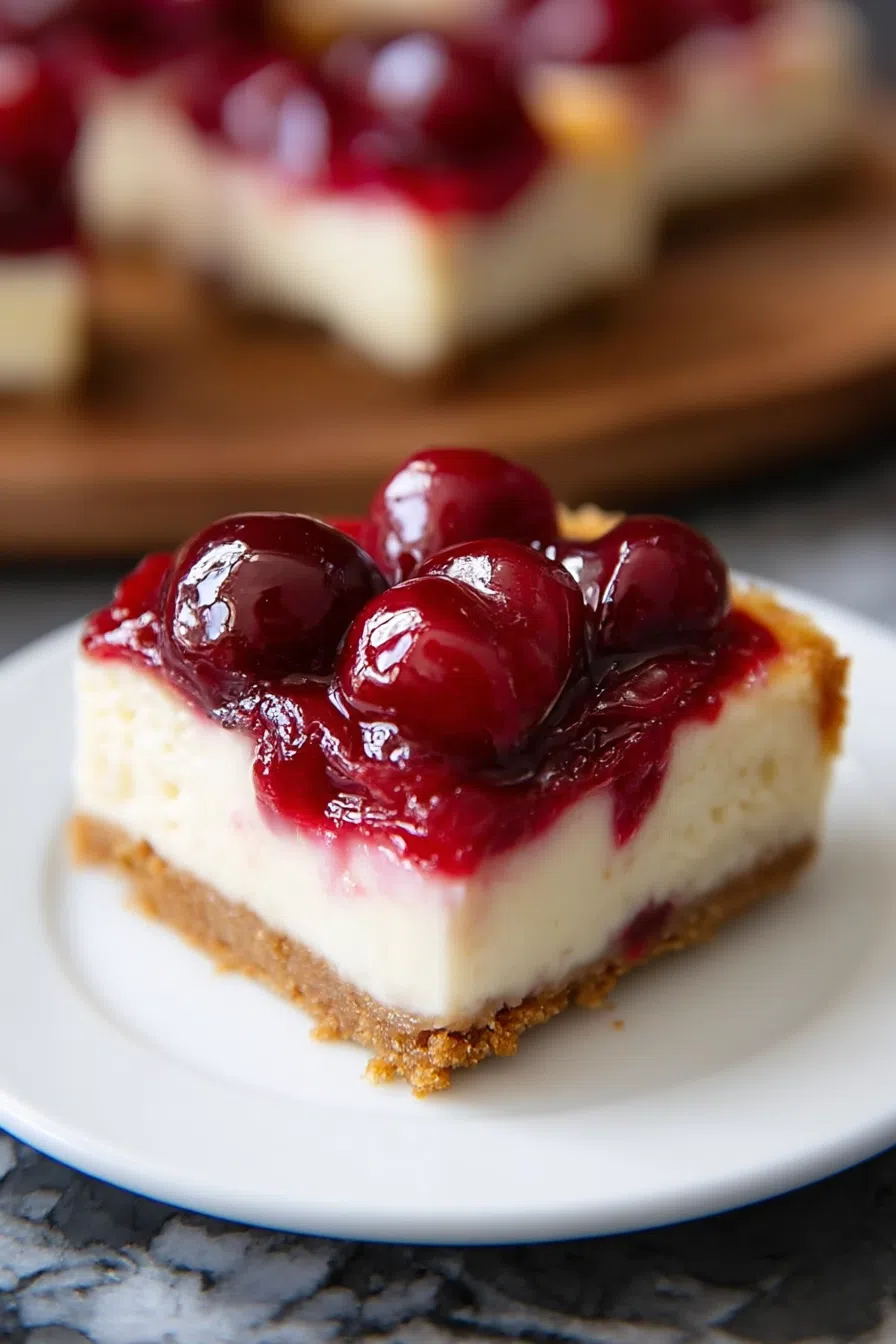
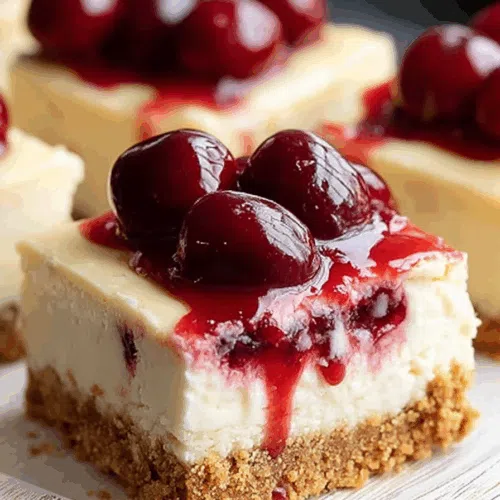
Graham cracker crust, cream cheese, eggs, and cherry pie filling come together in these rich, creamy, easy-to-make cherry cheesecake bars.
Okay, so here’s how this all started: it was Thanksgiving. I was supposed to bring pie. Classic, right? But life had been… a lot. My kid had just sneezed directly into my coffee (twice), the laundry pile was giving Everest vibes, and I completely blanked on the whole dessert thing until the night before.
I panicked. No time to roll a crust. No frozen backups. Just a can of cherry pie filling in the pantry, some graham crackers, and a couple blocks of cream cheese in the back of the fridge (thankfully not moldy—small win). So, I improvised. Crushed the crackers, whipped the filling, crossed my fingers, and slid the pan into the oven at midnight, fully expecting chaos.


Except… they were good. Like, weirdly good. My sister texted the next morning asking if I had more. My aunt asked for the recipe. My uncle said he doesn’t even like cheesecake, and then helped himself to seconds. And just like that, Cherry Cheesecake Bars became “my thing.”
Now I make them for birthdays, bake sales, awkward work potlucks, and yes—still for Thanksgiving. They’re cozy, a little retro, and just the right mix of creamy and sweet without being fussy. And if you ask me, that’s the best kind of dessert.
Why You’ll Love This Cherry Cheesecake Bars Recipe?
Let’s be real—cheesecake can be intimidating. Water baths, springform pans, praying to the cheesecake gods that the top doesn’t crack like dry pavement… it’s a lot. These bars? Way more forgiving. No water bath. No fancy tools. Just a baking dish, a mixer, and a little cherry magic.
They’re rich but not heavy. Sweet but still balanced. The graham cracker crust is buttery and golden, the filling’s smooth and dreamy, and that glossy cherry topping? It looks like effort even though it’s literally from a can. Which, by the way, I will never apologize for using. It’s iconic. Fight me.
Plus, the bars slice up cleanly, they travel well, and they get even better after a night in the fridge. Honestly, they’re the kind of dessert you make once and then never stop making. Like, ever.
Ingredient Notes:
No long grocery list here. These are made with ingredients I almost always have on hand, especially if I’ve panic-bought cream cheese on sale again.
-
Graham Cracker Crumbs (2 cups): The base. Slightly sweet, slightly salty, super nostalgic. You can crush your own or cheat and buy the pre-crushed bag. I’ve done both.
-
Granulated Sugar (¼ cup for crust + ⅔ cup for filling): Sweetens but doesn’t overpower.
-
Unsalted Butter (½ cup): Melted and mixed into the crust. Makes it taste like those “good” bake sale bars.
-
Cream Cheese (2 blocks, softened): The creamy center of it all. Don’t use the low-fat stuff unless you’re into regret.
-
Eggs (2): Help the cheesecake set and give it that classic texture.
-
Vanilla Extract (2 tsp): Adds warmth and that “homemade” flavor.
-
Salt (¼ tsp): Don’t skip it. It balances all the sweet and keeps it from being one-note.
-
Cherry Pie Filling (1 can): The hero. Tart, shiny, and deeply nostalgic in the best way.
How To Make Cherry Cheesecake Bars?
Step 1: Preheat & Line
Crank your oven to 325°F. Line a 9×13-inch pan with parchment, leaving a little extra hanging over the sides. This isn’t just for looks—it makes lifting out the bars later about a million times easier.
Step 2: Mix the Crust
Combine the graham cracker crumbs, sugar, and melted butter in a bowl. It should feel like slightly damp sand. Press it into your pan—really pack it down. I use a flat-bottomed glass for this because I once tried with my hand and it came out… lumpy. Bake it for 10 minutes, then let it cool a bit while you make the filling.
Step 3: Beat the Filling
In a big bowl, beat your softened cream cheese and sugar until it’s smooth and fluffy—no lumps! Then add the eggs one at a time. Don’t rush it. Add the vanilla and salt. Mix just until combined. Overmixing turns cheesecake into something more rubbery than creamy (ask me how I know).
Step 4: Pour & Bake
Pour the cheesecake mixture over your crust. Smooth the top, pop it in the oven, and bake for 35–40 minutes. The edges should look set, but the center? A little jiggle is okay. That’s your sweet spot.
Step 5: Cool Down
Let it cool on the counter first. Then chill it in the fridge for at least four hours—overnight is better. I know it’s hard, but cutting too early = messy bars, and you deserve better than that.
Step 6: Cherry Time
Once fully chilled, spoon that cherry pie filling all over the top. Don’t worry about spreading it too evenly. The casual, slightly-messy look is part of the charm. Lift the bars out with the parchment, slice, and serve. I like them cold. Actually, I love them cold.
Want To Save This Recipe?
Storage Options:
These bars keep great in the fridge for up to 5 days, though I’ve never had them last that long. Store them in an airtight container and stack with parchment between layers if needed.
Want to freeze them? Go for it. Skip the cherry topping, wrap the bars tightly in plastic, and freeze for up to 2 months. Add the topping after thawing for best texture.
Variations and Substitutions:
-
Other Pie Fillings: Blueberry? Stunning. Apple? Oddly great. Strawberry? A little sweet for me, but you do you.
-
Chocolate Crust: Crushed Oreos instead of grahams. Skip the sugar in the crust if you try this one.
-
Swirled Cherry Topping: Dollop and swirl the pie filling into the cheesecake before baking. It looks fancy, and nobody needs to know you didn’t plan it.
-
Mini Bars: Use a muffin tin with liners for single-serve cuties. Great for bake sales or portion control. (If you believe in that.)
-
Gluten-Free: Easy. Just use gluten-free graham crackers for the crust. Everything else is naturally GF.
What to Serve with Cherry Cheesecake Bars?
-
Strong coffee or espresso: Balances the richness like a dream.
-
Whipped cream: Not necessary, but kind of wonderful.
-
Fresh fruit on the side: Makes you feel like you made a healthy choice.
-
Tiny forks and real plates: Not required. But highly recommended if you’re trying to impress.
-
Your favorite cozy playlist: Because dessert should be an experience, not a chore.
Frequently Asked Questions:
Can I make them ahead?
Absolutely. Make them the night before, chill overnight, and top with cherries before serving.
Do I need to use full-fat cream cheese?
Yes. Sorry. Light cream cheese is sad in cheesecake form. This isn’t a salad. Go big.
Can I make this in a smaller pan?
Sure! Just halve the recipe for an 8×8 pan. Same steps, shorter bake time—keep an eye on it.
Seriously, these Cherry Cheesecake Bars are everything I love in a dessert: simple, nostalgic, unfussy, and just a little over the top. They’re the kind of thing people remember—and ask for again. And again.
Make them for your next family dinner, girls’ night, or random Tuesday. Keep one in the fridge just for you. Or two. I’m not judging.
And when you do? Come back and tell me. Did you go classic or switch things up? Did someone actually say “I don’t like cheesecake” and then eat three? I need to know.
Let’s talk cherry bars.
Keep the Flavor Coming – Try These:


Cherry Cheesecake Bars
Ingredients
For the Crust:
- 2 cups graham cracker crumbs approximately 16 full sheets
- ¼ cup granulated sugar
- ½ cup 1 stick unsalted butter, melted
For the Cheesecake Filling:
- 16 ounces 2 blocks cream cheese, softened to room temperature
- ⅔ cup granulated sugar
- 2 large eggs
- 2 teaspoons pure vanilla extract
- ¼ teaspoon salt
For the Topping:
- 1 can 21 ounces cherry pie filling
Instructions
Prepare the Oven and Pan:
- Preheat the oven to 325°F (163°C). Line a 9×13-inch baking pan with parchment paper, ensuring an overhang on both sides for easy removal after baking.
Prepare the Crust:
- In a medium-sized bowl, combine the graham cracker crumbs, granulated sugar, and melted butter. Stir until the mixture resembles damp sand. Press the mixture evenly into the bottom of the prepared baking pan, creating a firm base. Bake for 10 minutes. Remove from the oven and set aside to cool slightly.
Make the Cheesecake Filling:
- In a large mixing bowl, beat the softened cream cheese and granulated sugar together using an electric mixer on medium speed until smooth and creamy, approximately 2 minutes. Add the eggs one at a time, mixing on low speed after each addition until just incorporated. Stir in the vanilla extract and salt, mixing gently to avoid overbeating.
Assemble the Bars:
- Pour the cheesecake mixture over the slightly cooled crust, spreading it evenly with a spatula.
Bake the Cheesecake Layer:
- Return the pan to the oven and bake for 35 to 40 minutes, or until the edges appear set and the center is slightly jiggly when gently shaken.
Cool and Chill:
- Allow the bars to cool completely at room temperature. Once cooled, refrigerate the bars for a minimum of 4 hours, or ideally overnight, to ensure proper setting.
Add the Cherry Topping:
- Before serving, evenly spread the cherry pie filling over the chilled cheesecake layer.
Slice and Serve:
- Using the parchment paper overhang, lift the entire dessert from the pan. Cut into squares using a sharp knife. Serve chilled.
Notes
I’m Bitty, owner of nodashofgluten.com, where I share simple, delicious recipes for all tastes, including gluten-free. Check out my “About Me” page for more info!