


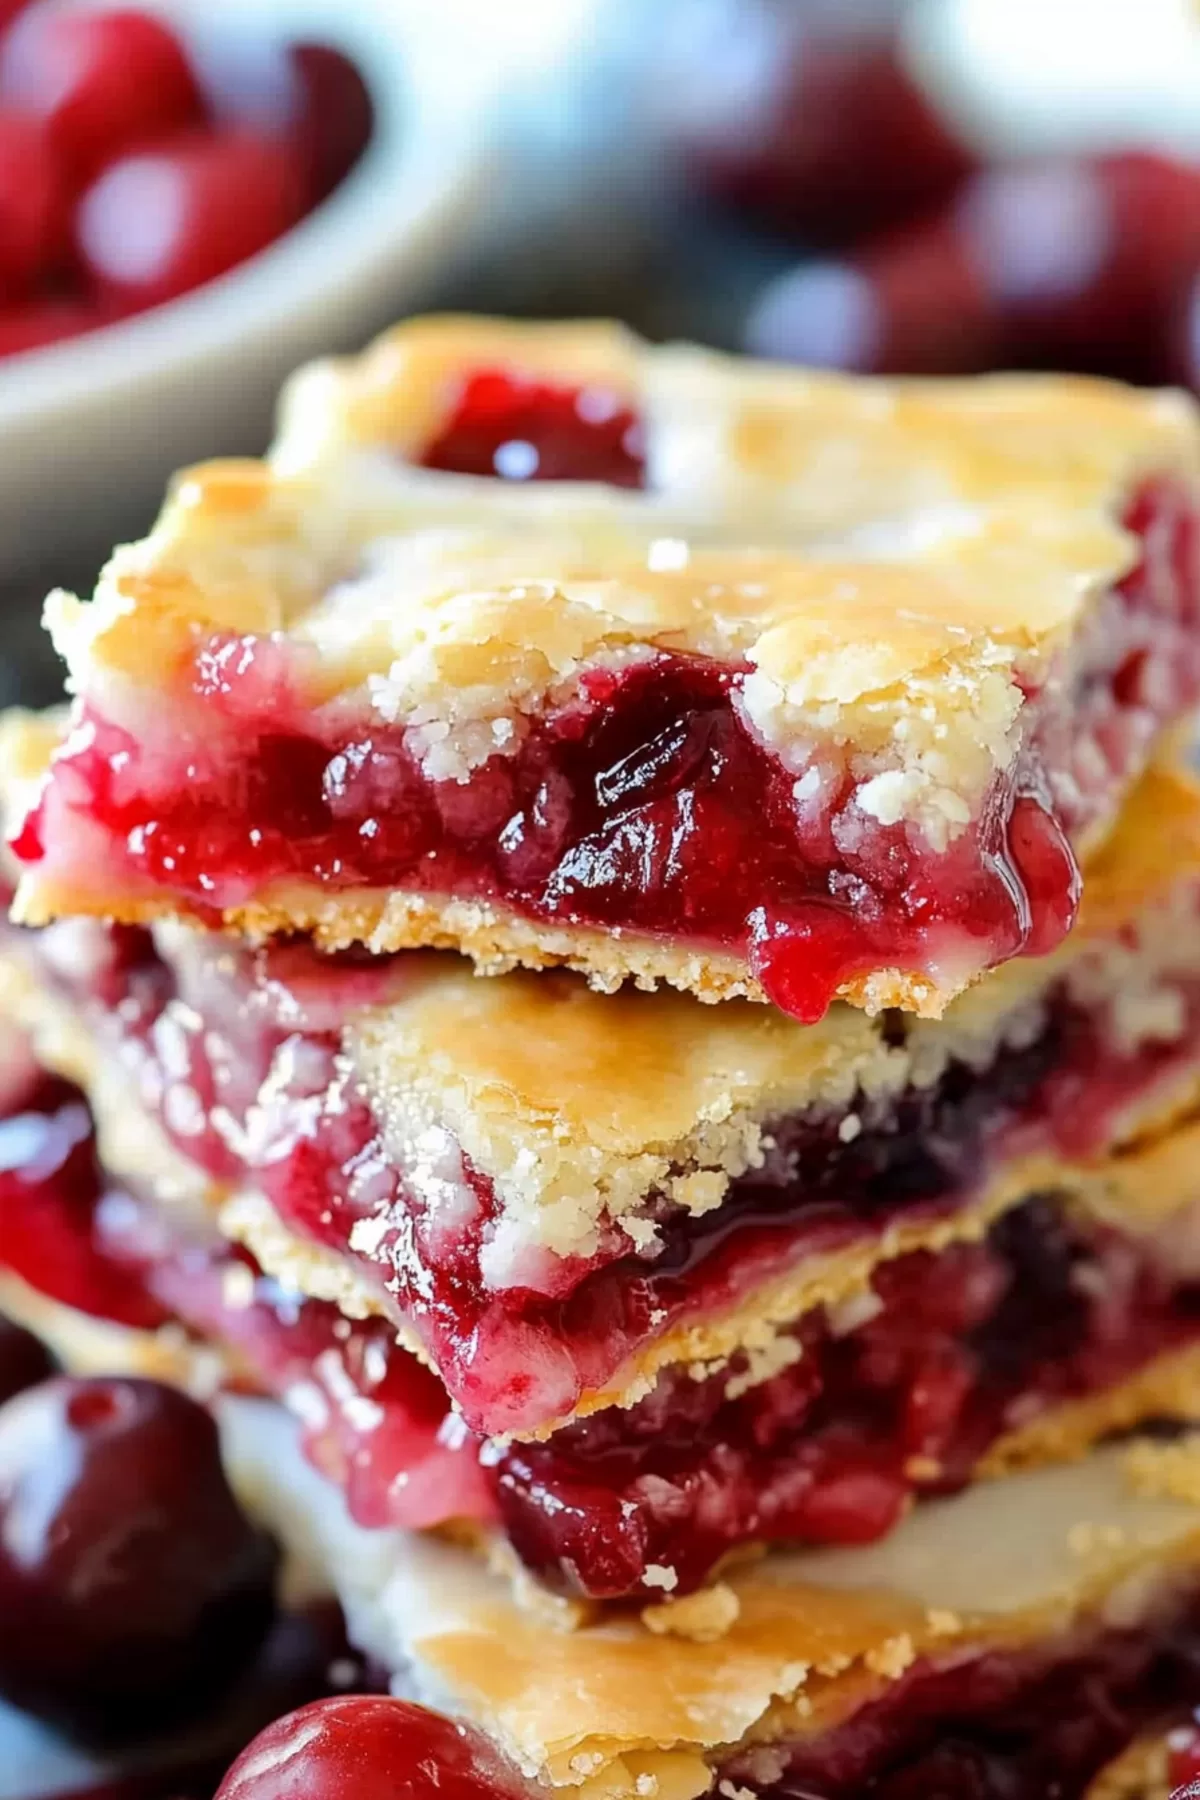
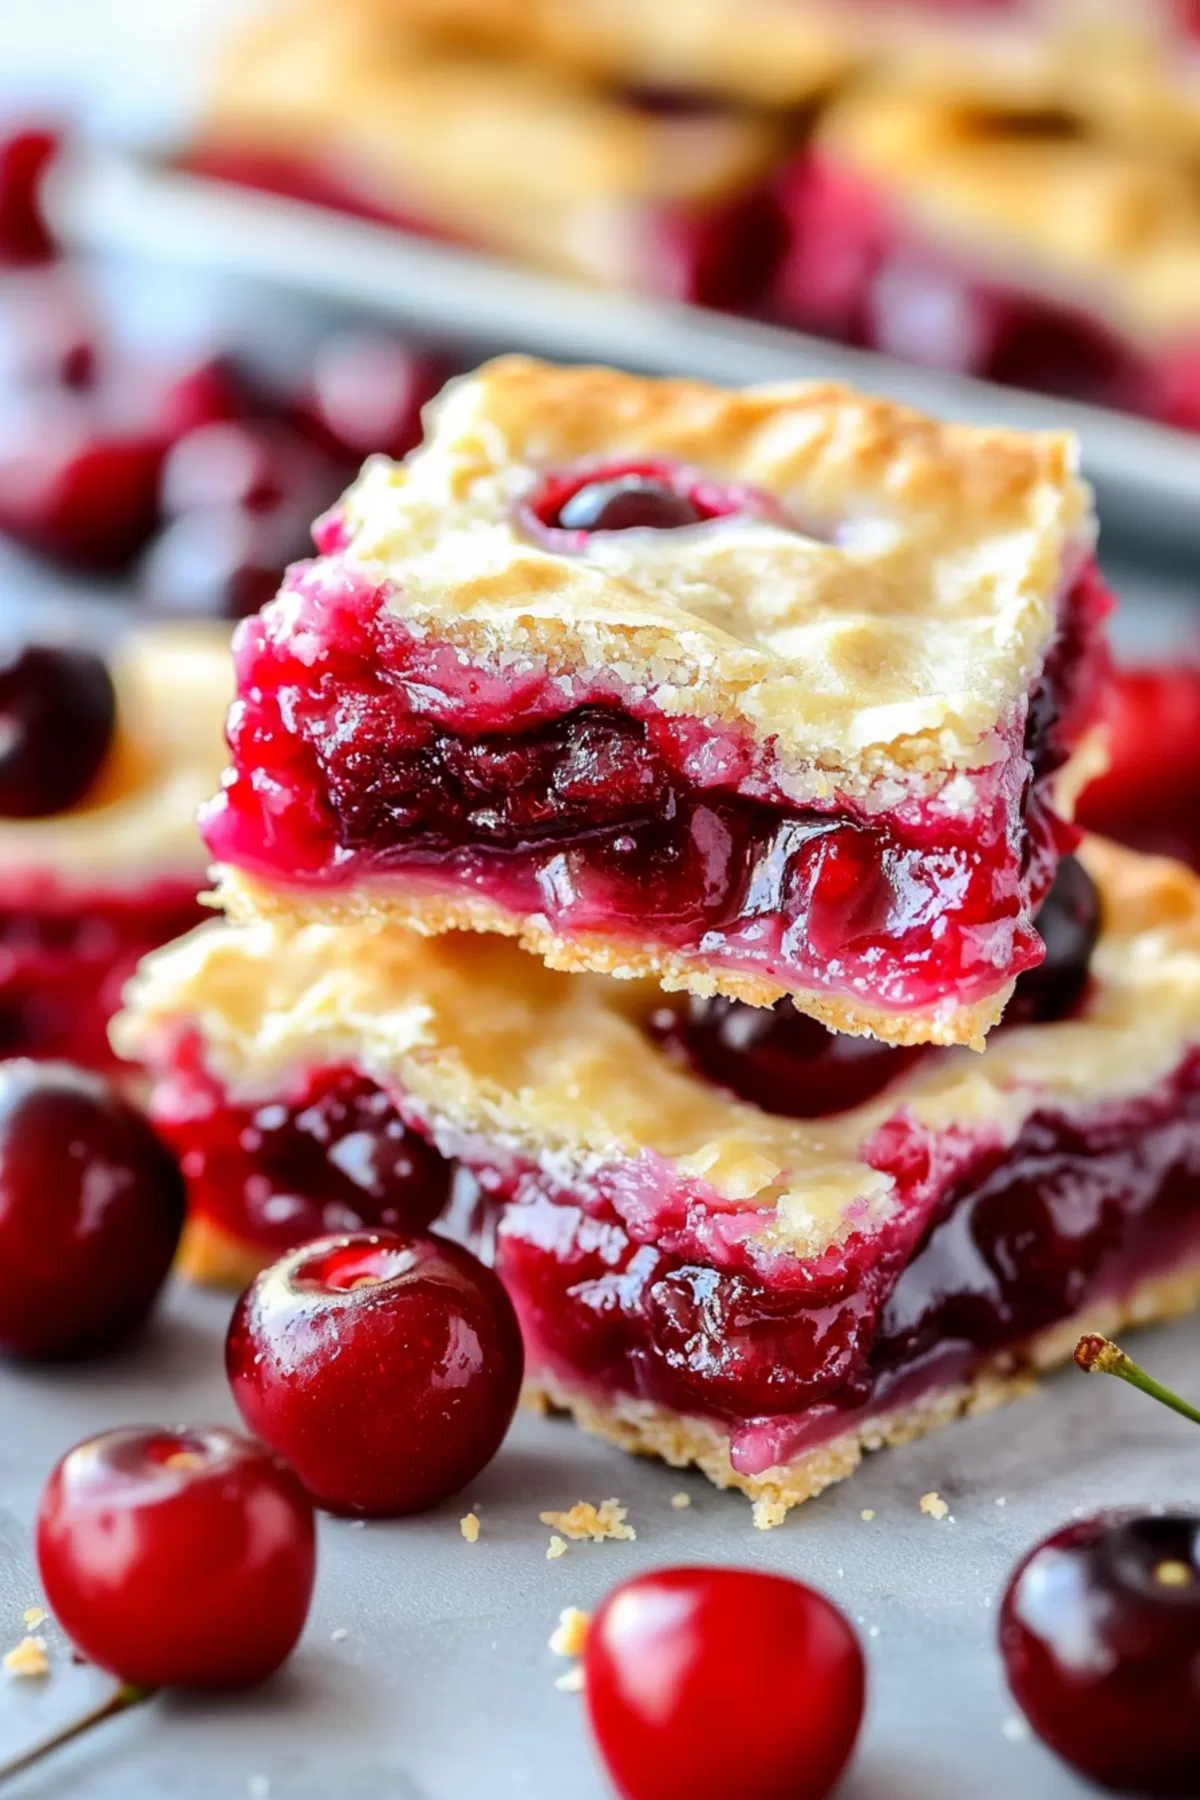
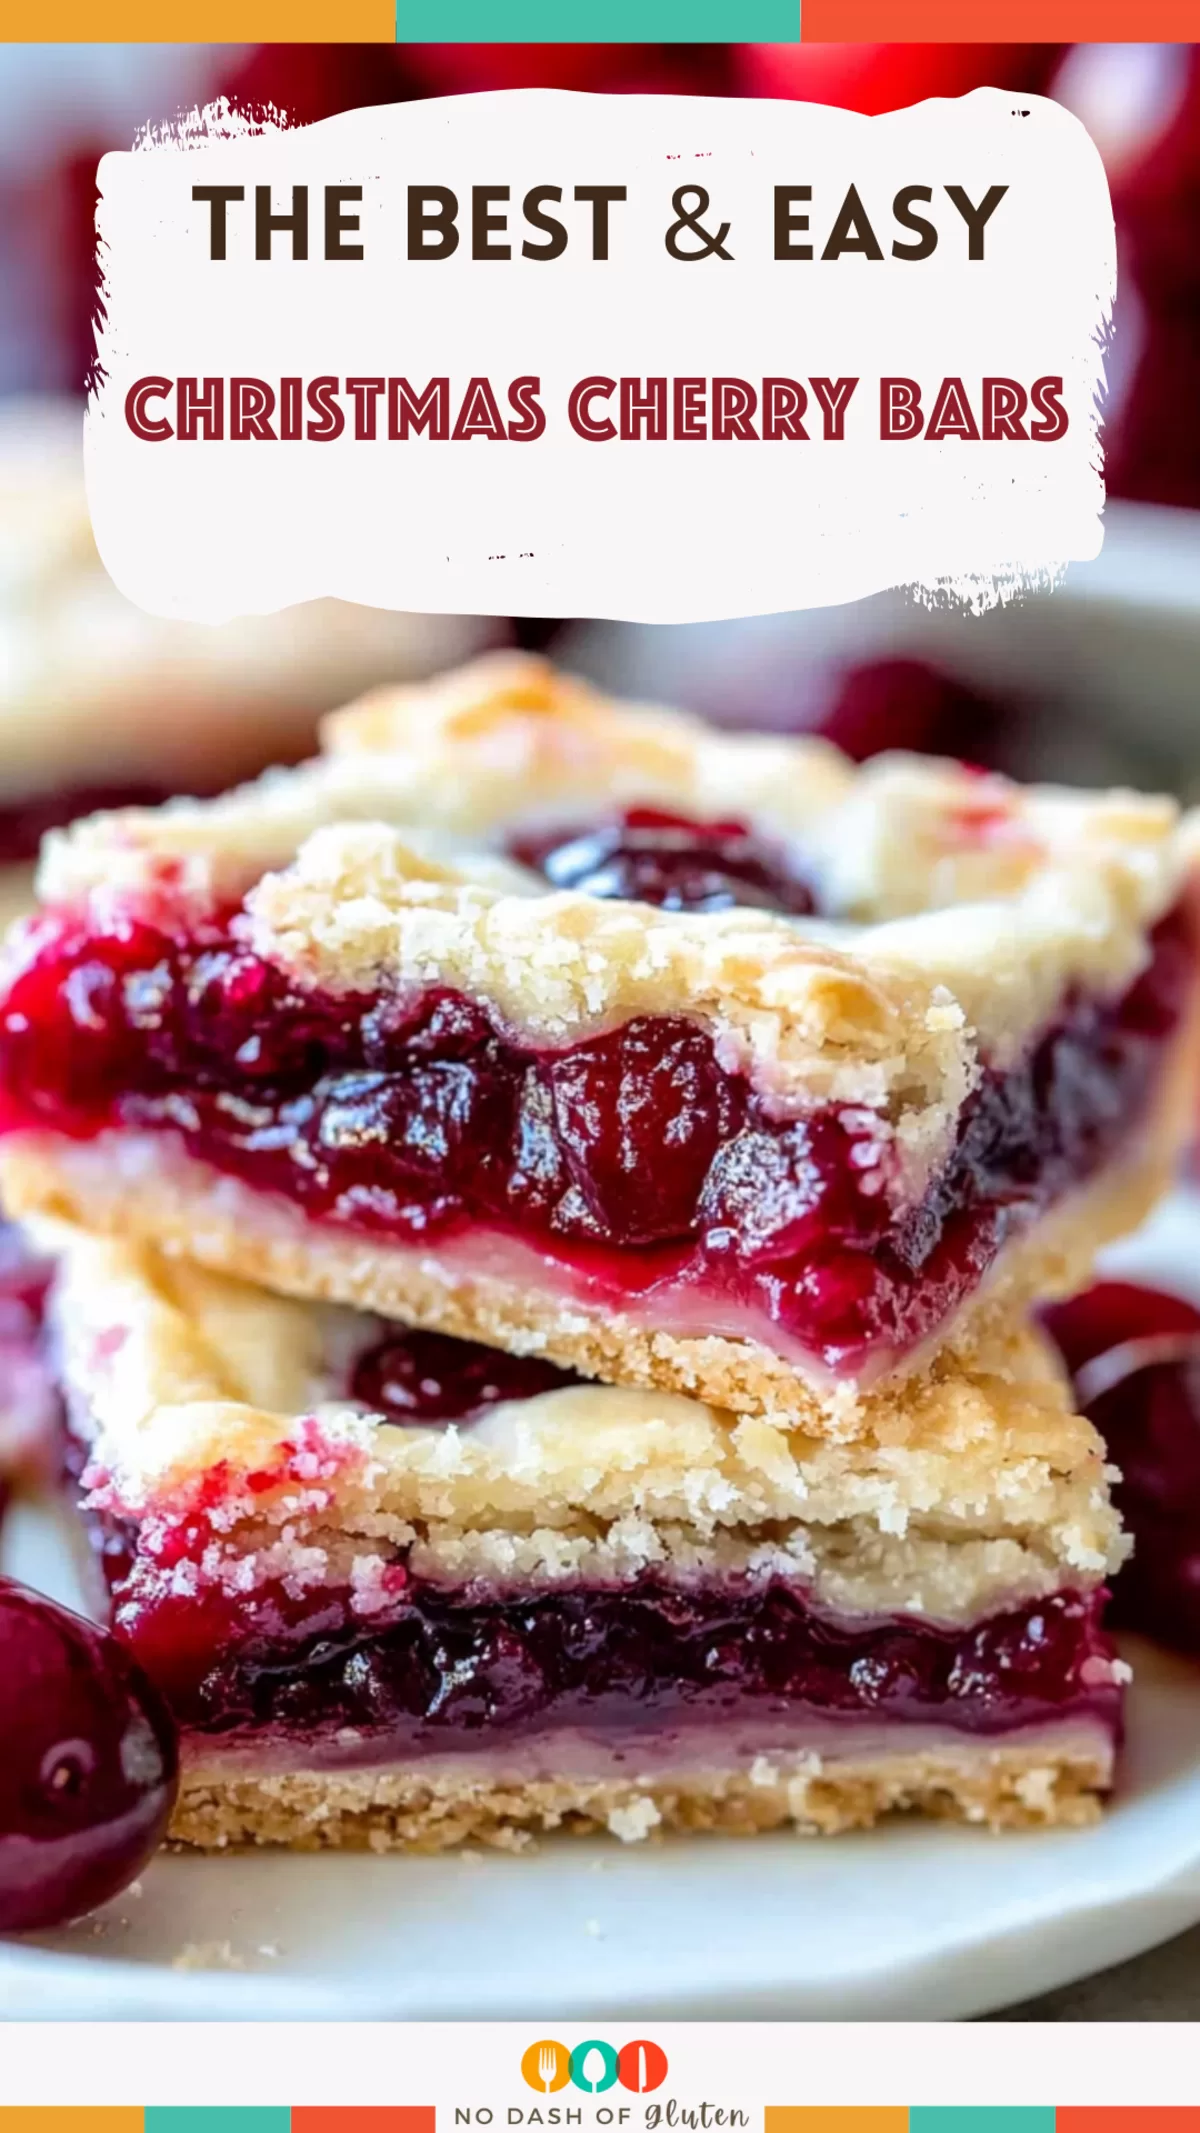
Christmas Cherry Bars – Get into the holiday spirit by indulging in these Cherry Bars. This recipe combines the sweetness of cherry pie filling with a buttery base, topped off with a glaze. It’s a treat to infuse your kitchen with the warmth and joy of Christmas. Key ingredients include cherry pie filling, flour, butter, and powdered sugar.
I remember the first time I made these Christmas Cherry Bars—it was a snowy evening just days before Christmas. In search of something to try during the holiday season, I decided to blend the rich flavors of cherry and almond in a bar form. The outcome was truly magical. My husband, who is a fan of cherries, instantly fell in love with them. My child couldn’t get enough of these sweet and festive bars. Since then, they have become a family tradition that brings smiles every holiday season.
Why You’ll Love This Christmas Cherry Bars
So, what makes these cherry bars stand out? Firstly, it’s their balance between tart flavors, owing to the cherry pie filling. The addition of almond extract gives them a depth that enhances the cherry flavor even more. Another great thing about these bars is how easy they are to prepare—a joy to bake when things get hectic during the holiday rush. Lastly, their festive appearance makes them an exquisite addition to any Christmas table.
Ingredient notes
Softened Butter: The heart and soul of our Christmas Cherry Bars. I always let it sit out for a while to reach the softness. Softened butter blends smoothly, ensuring our bars have that tender, melt-in-your-mouth quality, like falling snowflakes.
Granulated Sugar: Our partner! It not only adds sweetness to the bars but also helps create that beautiful golden crust on top, reminiscent of a sunlit winter morning.
Salt: Just a teaspoon, but incredibly important! It’s like a pinch of magic that balances and enhances all the flavors, ensuring every bite sings a chorus of deliciousness.
Large Eggs (At Room Temperature): They bring our ingredients together in harmony. Room-temperature eggs blend easily, giving our bars a smooth texture, just like an immaculate ice skating rink.
Vanilla Extract: The essence of coziness in our recipe. It adds a comforting aroma that brings back memories of gatherings and joyful laughter around the fireplace.
Almond Extract: A hint of almond extract adds a sophisticated depth to our bars. It’s the ingredient that guests will adore but can’t quite pinpoint, like discovering an ornament on a Christmas tree.
All-Purpose Flour: The base of our bars. It provides a foundation for our blend of cherry and almond, just like a fresh layer of snow that sets the stage for a magical winter wonderland.
Cherry Pie Filling: The star attraction! Bursting with the balance of sweetness and tartness, it brings the Christmas spirit alive with every bite. I adore the hue and juicy cherries—they remind me of the joy and thrill that comes with presents.
Powdered Sugar (For Glaze): It adds a snowy finish to our bars. Like the touch of frost on a windowpane, it completes the picturesque wintry scene.
Whole Milk (For Glaze): This ingredient helps us achieve a glaze with the right consistency for drizzling. It’s akin to the ribbon that beautifully ties together our Christmas gift in the form of these cherry bars.
How To Make Cherry Bars
Step 1: Begin by preheating your oven to 350°F. Prepare a 15×10-inch sheet pan with baking spray. Start the magic by creaming together softened butter, sugar, and salt in a stand mixer. The key is to get it light and fluffy, just like fresh snow. Introduce the eggs one by one, blending each fully before adding the next. Then, stir in the vanilla and almond extracts for that festive aroma.
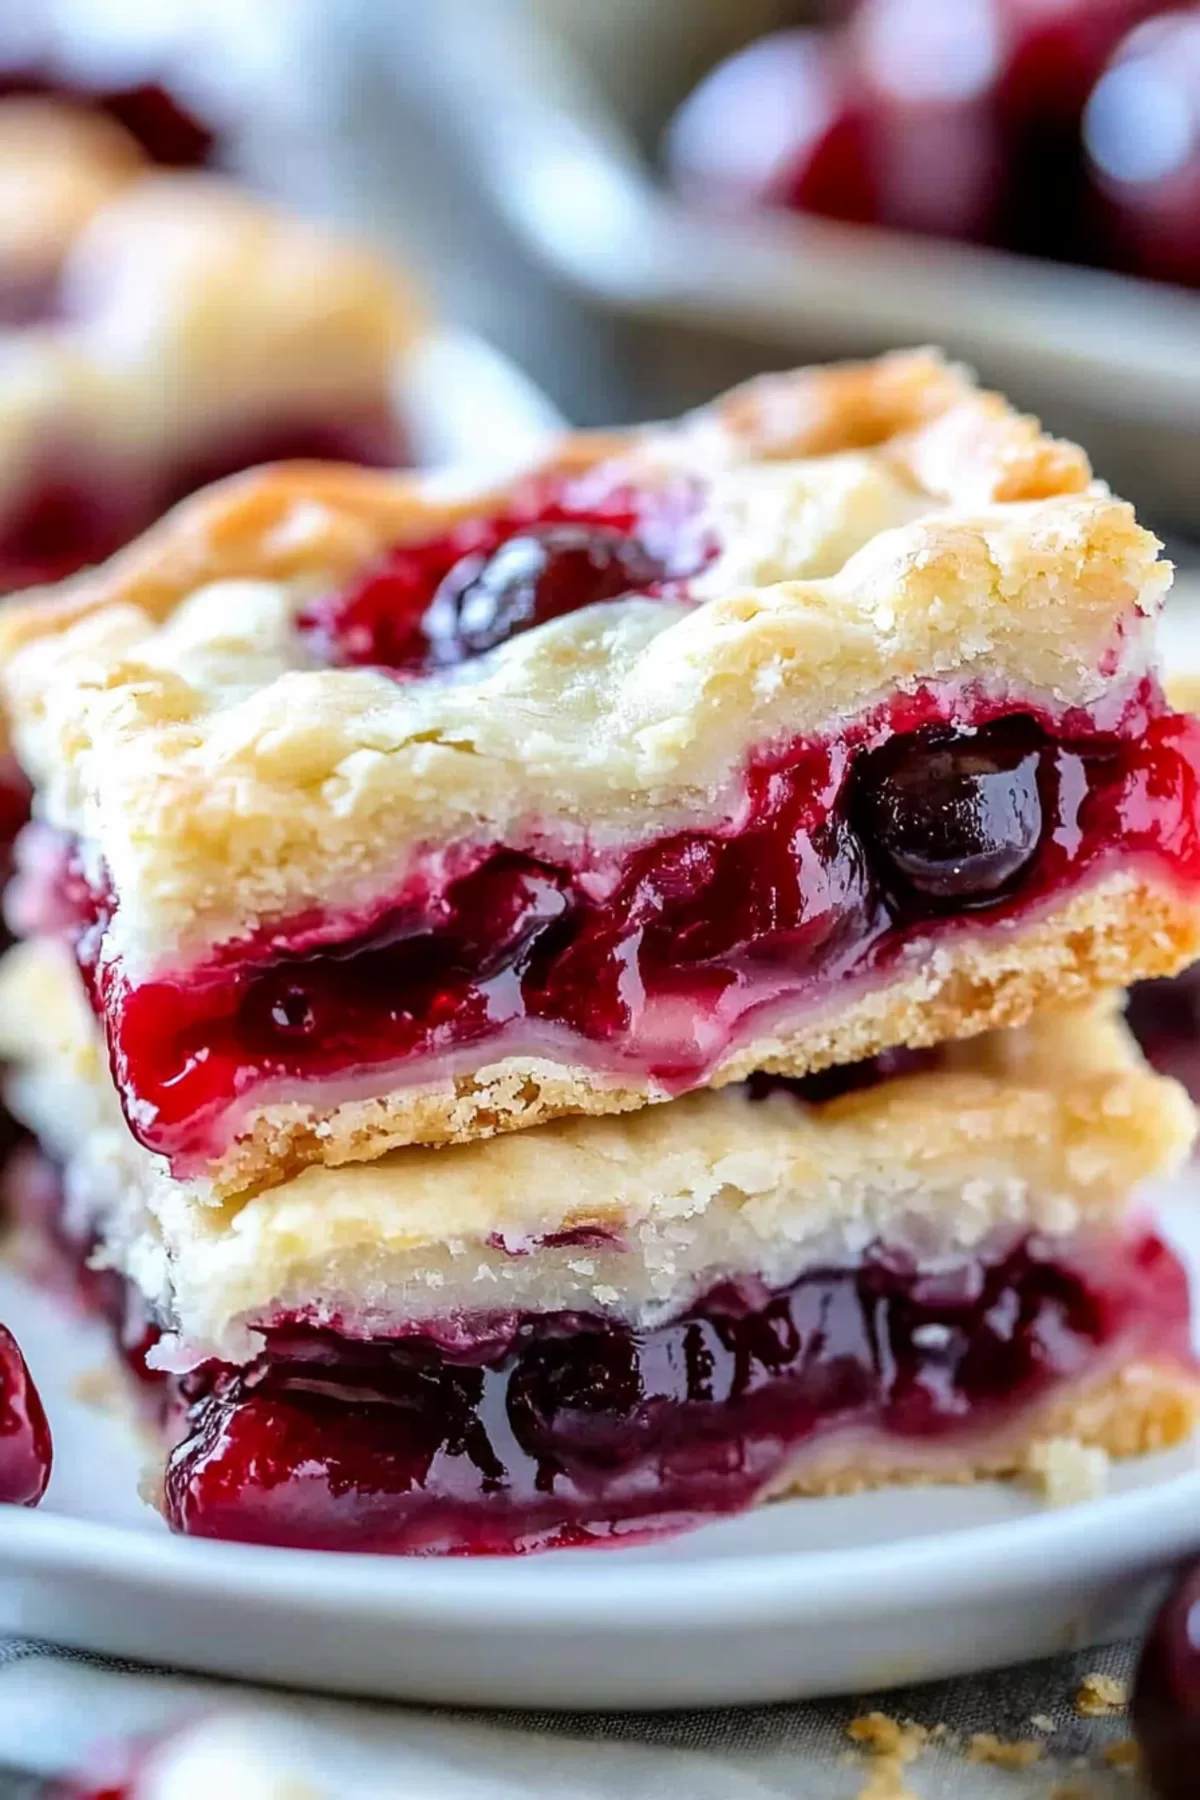
Step 2: Gradually fold in the flour until a dough forms. This is where your bars start to take shape. Press about 3 cups of this dough into your prepared pan. Here comes the star—spread the cherry pie filling evenly over the dough. Then, with a spoon, drop little dollops of the remaining dough over the cherry layer.
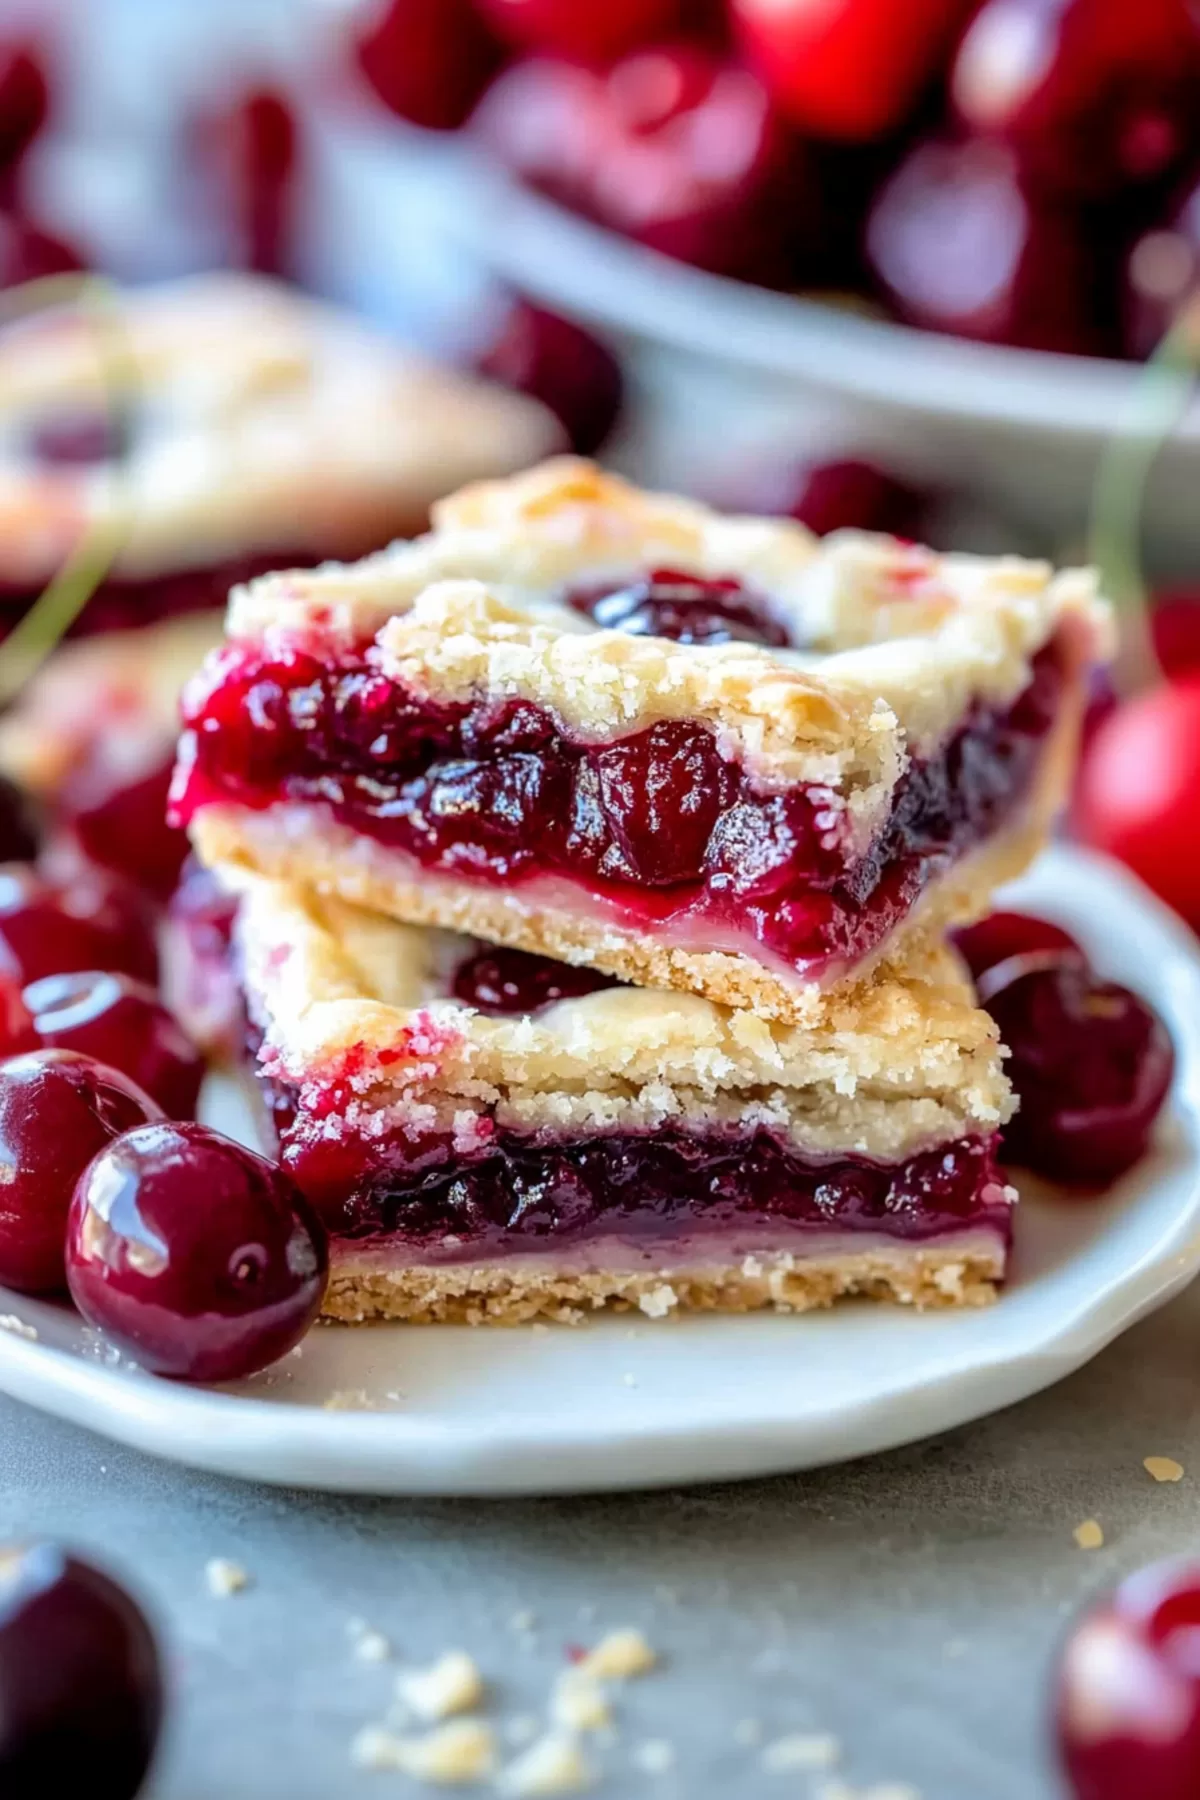
Step 3: Bake for 35-40 minutes, until it’s golden like a Christmas star. Patience is key—let it cool completely before adding the final touch.
Step 4: For the glaze, whisk together powdered sugar, extracts, and milk until smooth. Drizzle this over your cooled bars for that perfect snowy finish.
Pro tip: While the recipe suggests using cherry pie filling, which is convenient and delicious, you can add a personal touch by customizing it. If you have some time, consider simmering the filling with a hint of cinnamon, a sprinkle of nutmeg, or even a splash of orange liqueur. These additions will deepen the flavor and give it a festive twist that perfectly complements the cherries. Not only will this personalize the bars, but it will also bring an element of surprise and sophistication to the traditional taste. It’s like adding your ingredient to a cherished family recipe, creating a new tradition that your loved ones will eagerly anticipate each holiday season.
Storage Options
Let’s be real—these bars probably won’t last long because they’re that good, but if you need to store them, you’ve got options. And yes, I’ve been guilty of sneaking one straight from the container while everyone else was asleep. Who’s judging?
Want To Save This Recipe?
For short-term storage, keep the bars in an airtight container on the counter. They’ll stay soft, buttery, and irresistible for about five days—perfect if you’re making them ahead of a party or just pacing yourself (good luck with that).
For longer storage, freeze them! Wrap each bar in
Variations and Substitutions
Here’s the thing: while I love this recipe just the way it is, sometimes you’ve got to mix it up. Maybe you’re out of something (been there) or just feeling adventurous. Either way, these bars are super flexible.
- Fruit swaps? Absolutely. If cherries aren’t your jam (pun intended), go ahead and try blueberry, raspberry, or even peach pie filling. Once, I even used blackberry filling because it was all I had, and honestly? It was a moment.
- Going gluten-free? No problem. Just sub the all-purpose flour for a gluten-free blend. A good one will keep that tender, melt-in-your-mouth texture intact. Bonus points if you check the labels on the pie filling and glaze ingredients to make sure they’re gluten-free too.
- Almond extract not your thing? Skip it. Vanilla alone works just fine, or you could swap in orange extract for a citrusy vibe. (Orange and cherry together? Chef’s kiss.)
- Want to fancy things up? Sprinkle crushed candy canes or edible glitter over the glaze. Once, I tried this for a cookie exchange, and it felt so extra—in the best way. People actually thought I’d bought them from a bakery.
- Dialing down the sweetness. If you’re someone who prefers desserts that aren’t too sweet (looking at you, my husband), you can reduce the sugar in the base or use a tart cherry filling. It balances things out while keeping all the holiday magic.
What to Serve or Pair with These Cherry Bars?
Okay, confession time: I’ve definitely eaten these bars standing over the counter with a mug of coffee in my other hand. No shame. But if you’re serving them at a gathering (or just want to be fancy), here are some pairing ideas that’ll take them over the top:
- Hot drinks are a must. Think spiced cider, hot cocoa, or even mulled wine. There’s something about that buttery base and tart cherry filling paired with a warm drink that just screams cozy.
- Ice cream lovers, this one’s for you. A scoop of vanilla or even almond ice cream on the side is pure magic. It’s like a sundae but better because… cherry bars.
- Whipped cream for the win. A dollop of whipped cream with a sprinkle of cinnamon feels like something out of a Hallmark movie. Bonus points if you serve it on fancy plates.
- Surprise pairing: cheese. I know, it sounds weird, but hear me out. Soft cheeses like brie or mascarpone pair surprisingly well with the cherry filling. It’s the kind of thing that makes people think, “Wow, they really know what they’re doing.”
Avoiding Common Mistakes When Making Christmas Cherry Bars
Every great baker has had their share of kitchen mishaps (trust me, I’ve been there), but these tips should save you from any cherry bar disasters:
- Cold butter is a no-no. You’ve got to let it soften. One time, I got impatient and tried to cream cold butter—let’s just say the mixer was not happy, and neither were my arms. Room-temp butter makes all the difference.
- Don’t overmix the dough. Once the flour goes in, mix just until it comes together. Overmixing = tough bars. And tough bars = sad holiday vibes.
- Skipping the dollops on top. Those little spoonfuls of dough you drop over the cherry filling aren’t optional—they’re essential. They create those golden, buttery bites that everyone fights over.
- Glazing too soon. I get it, waiting for bars to cool is hard. But if you glaze them while they’re warm, you’ll end up with a runny mess instead of that picture-perfect drizzle. Patience, my friend.
Why Are Christmas Cherry Bars So Popular?
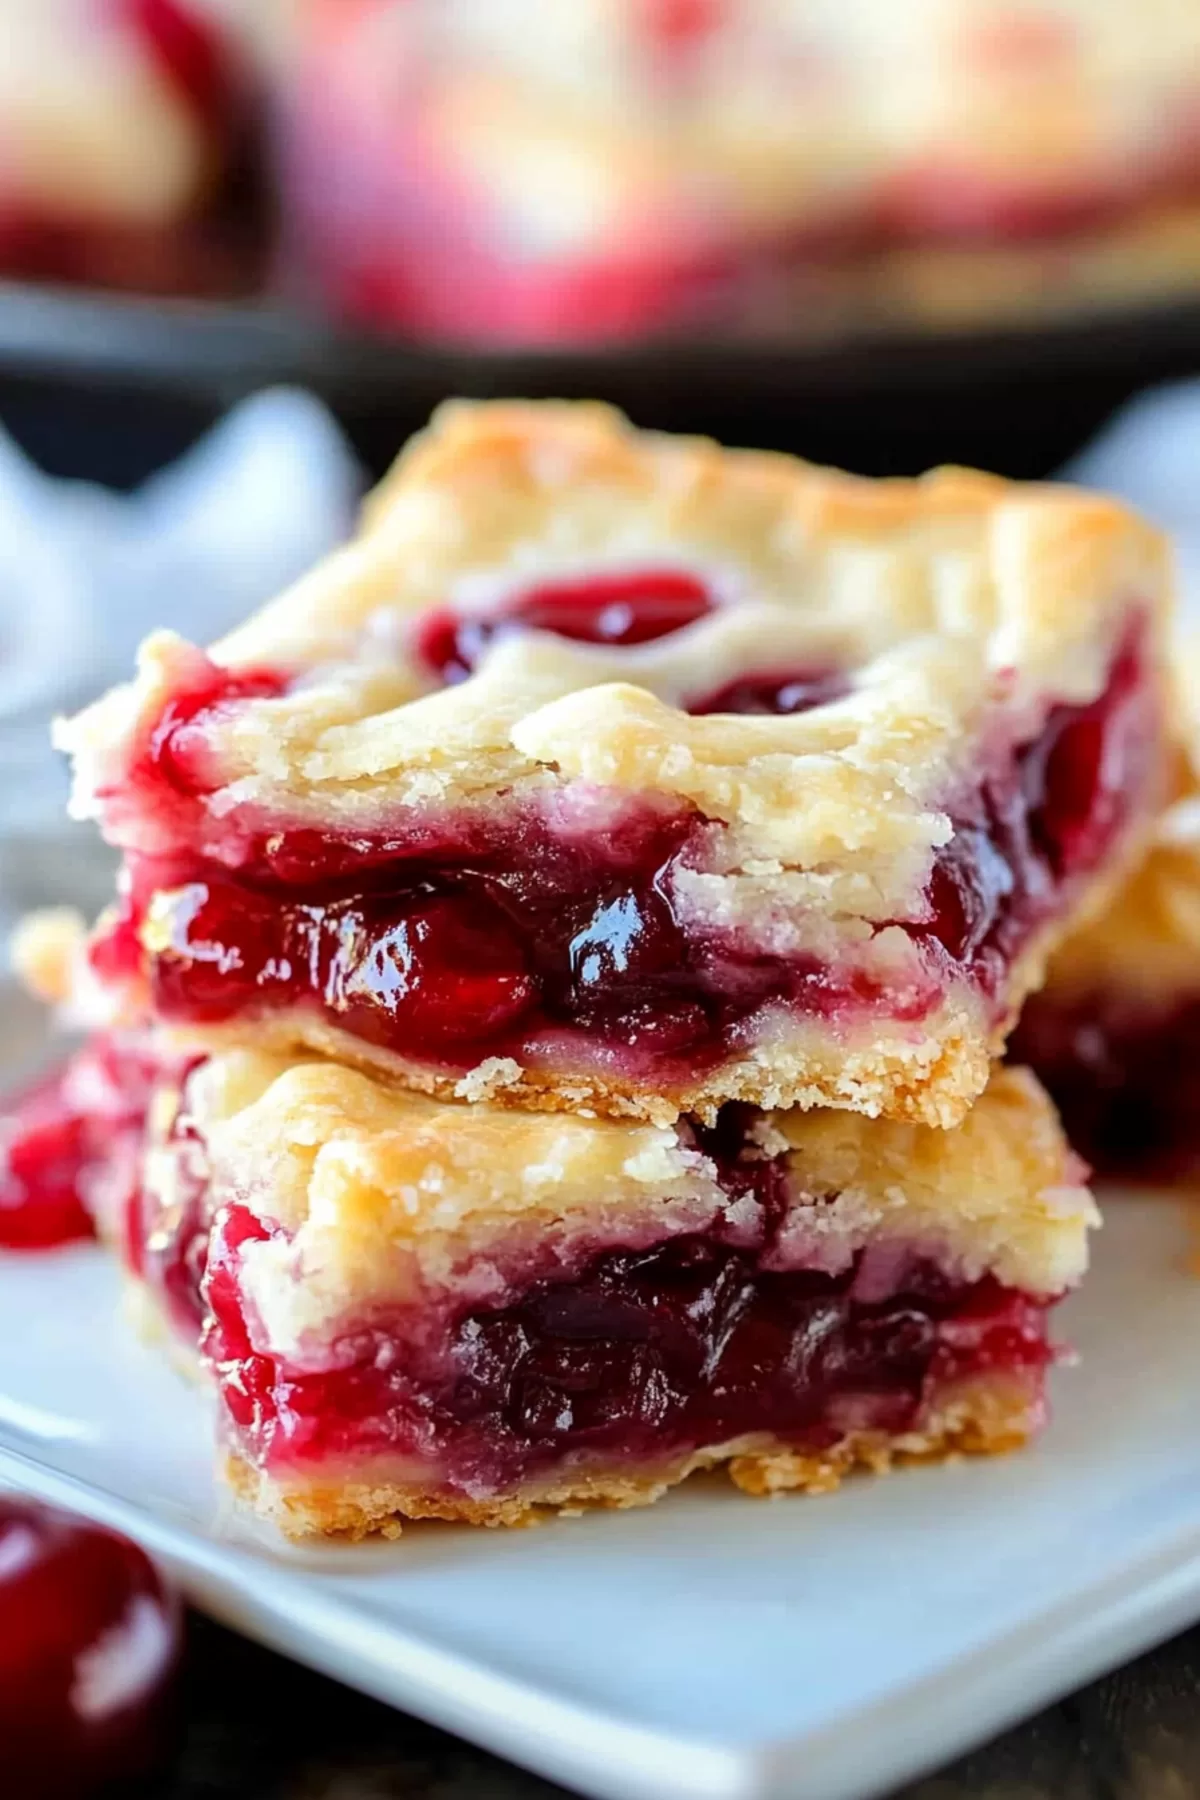
You know how some desserts just feel like Christmas? That’s exactly what these bars are. They’re festive, they’re nostalgic, and they’re ridiculously easy to make. Plus, that pop of red from the cherries with the snowy white glaze? They’re basically the dessert equivalent of a Christmas sweater—classic, cozy, and always a hit.
But here’s the real secret: they taste like you spent hours on them, even though they’re crazy simple. I think that’s why they’ve become a staple in so many homes (mine included). They remind me of snowy evenings, family gatherings, and that moment of quiet joy when you take a bite and think, This is what Christmas tastes like.
Frequently Asked Questions
Can I use a different fruit filling?
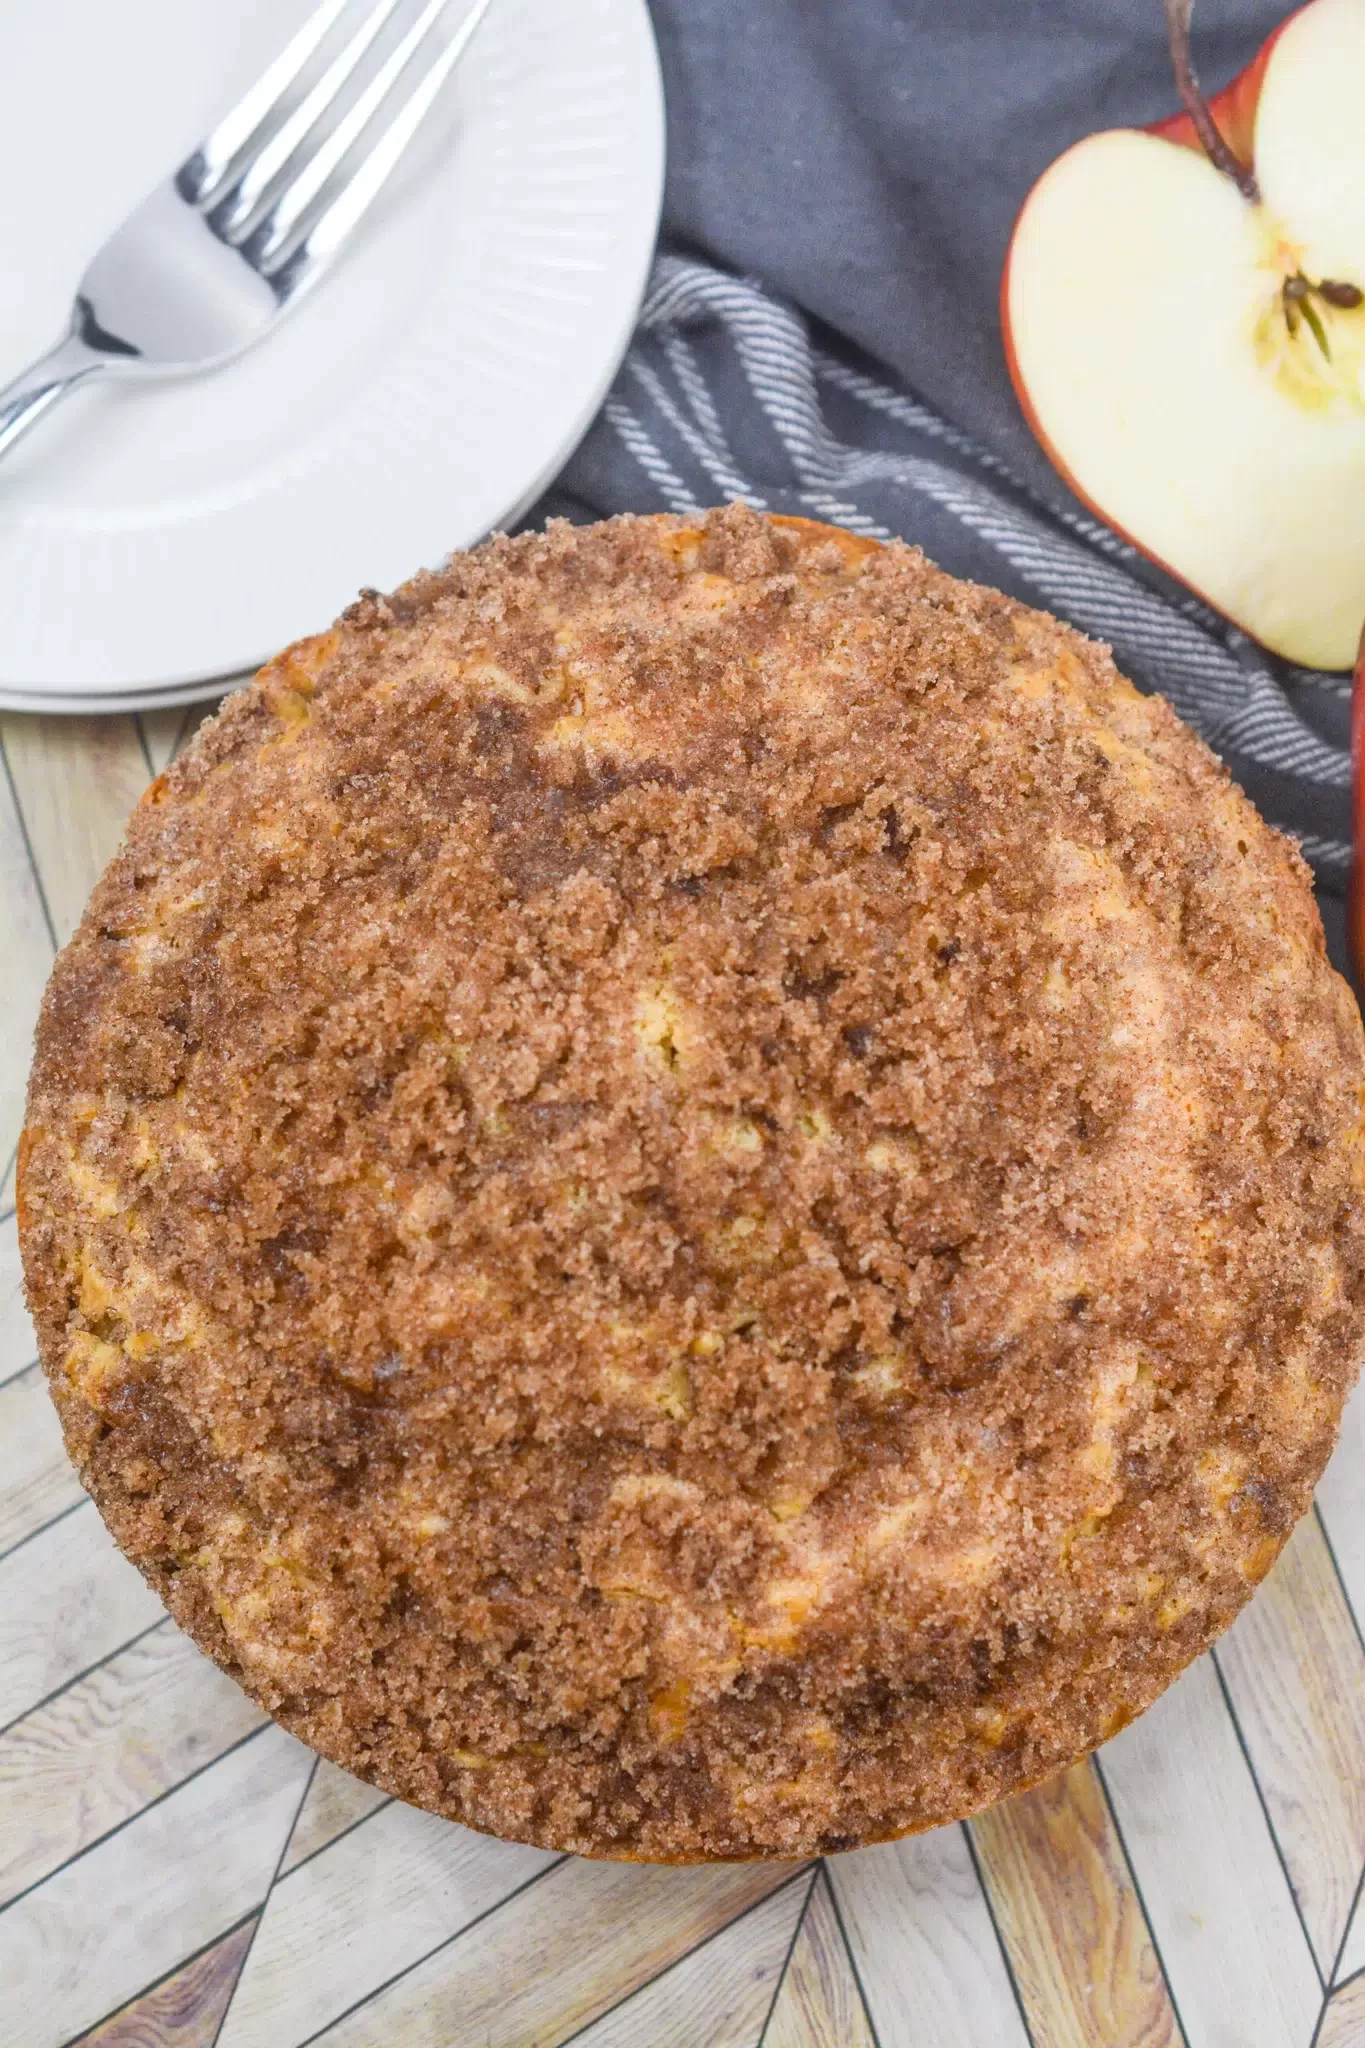
Sure, you can definitely experiment with fruit fillings. Feel free to give blueberry, raspberry, or apple pie filling a try. Just make sure to choose extracts that complement your chosen fruit.
How should I store these bars?
To store these bars, it’s best to keep them in an airtight container at room temperature for one week. In case you decide to freeze them, remember to add the glaze after thawing.
Can I make this recipe gluten-free?
Absolutely! If you prefer a gluten-free version of this recipe, simply substitute the all-purpose flour with a gluten-free baking flour blend.
There you go! Got a variation you’ve tried or a pairing idea I didn’t mention? I’d love to hear it—after all, the best recipes are the ones we make together. 😊
Keep the Flavor Coming – Try These:


Christmas Cherry Bars
Ingredients
Cherry Bars:
- 1 c butter softened
- 2 c sugar
- 1 tsp salt
- 4 large eggs room temperature
- 1 tsp vanilla extract
- 1/4 tsp almond extract
- 3 c flour
- 2 cans cherry pie filling 21 oz each
Glaze:
- 1 c confectioners' sugar
- 1/2 tsp vanilla extract
- 1/2 tsp almond extract
- 2-3 tbsp whole milk
Instructions
- Begin by preheating the oven to 350°F (175°C). Spray a 15x10-inch sheet pan with baking spray.
- To make the dough use a mixer to cream the butter, sugar and salt until it becomes light and fluffy. Add the eggs one at a time then stir in the vanilla and almond extracts. Gradually mix in the flour until a dough forms.
- Next press 3 cups of the dough into the bottom of your pan. Spread the cherry pie filling evenly over the dough. Take spoonfuls of the remaining dough. Drop them over the filling.
- Bake for 35 to 40 minutes. Until golden brown. Once done allow it to cool completely while still in the pan.
- In order to prepare the glaze combine confectioners sugar, vanilla and almond extracts and milk until you achieve a smooth consistency.
- Finally drizzle this glaze over your cooled bars, for a touch of sweetness.
- Enjoy!
Notes
Nutrition
I’m Bitty, owner of nodashofgluten.com, where I share simple, delicious recipes for all tastes, including gluten-free. Check out my “About Me” page for more info!

9 Responses
Can you make these in a 9 x 13 pan?
Hi Nancy! Yes, you can definitely make these in a 9×13 pan! Just keep in mind that the bars might be a bit thicker, so you may need to add a few extra minutes to the baking time. Just keep an eye on them—they should turn golden on top when they’re ready. Hope they bring a little extra cheer to your holiday table! 🎄😊
Hi Nancy, I just tried this recipe for the first time and used a 9 x 13 pan, had to add about 10 mins to the recipe, waiting for it too cool to do my icing. The bottum looks a little darker than I would expect but will try to remember to let you know in a few hours how it completely turned out.
Turned out great!! I will definitely be adding this recipe
I would like to make them this weekend for Thanksgiving. What is the best way to store them?
Hi Denise! If you’re making them a day or two ahead, store them in an airtight container at room temp for up to 5 days. For longer storage, freeze without the glaze, then thaw and glaze before serving. Enjoy and happy Thanksgiving!
These look so festive and delicious! Saving this to make for Christmas—my family will love it!
Hi, i’m just putting these bars together and question when you say forms a dough do you mean something like a pie crust dough that you can pick up and mould with your hands?
Thank you so much.Cindy
Hi Cindy! Thanks for your question! When I say the dough “forms,” it should come together into a soft dough that you can spread and press into the pan, but it won’t be as firm as a pie crust dough that you can pick up and mold with your hands. You can press it easily into the pan to create a nice base for the cherry filling. I hope this helps! Enjoy making the Cherry Bars—they’re always a holiday hit! 😊