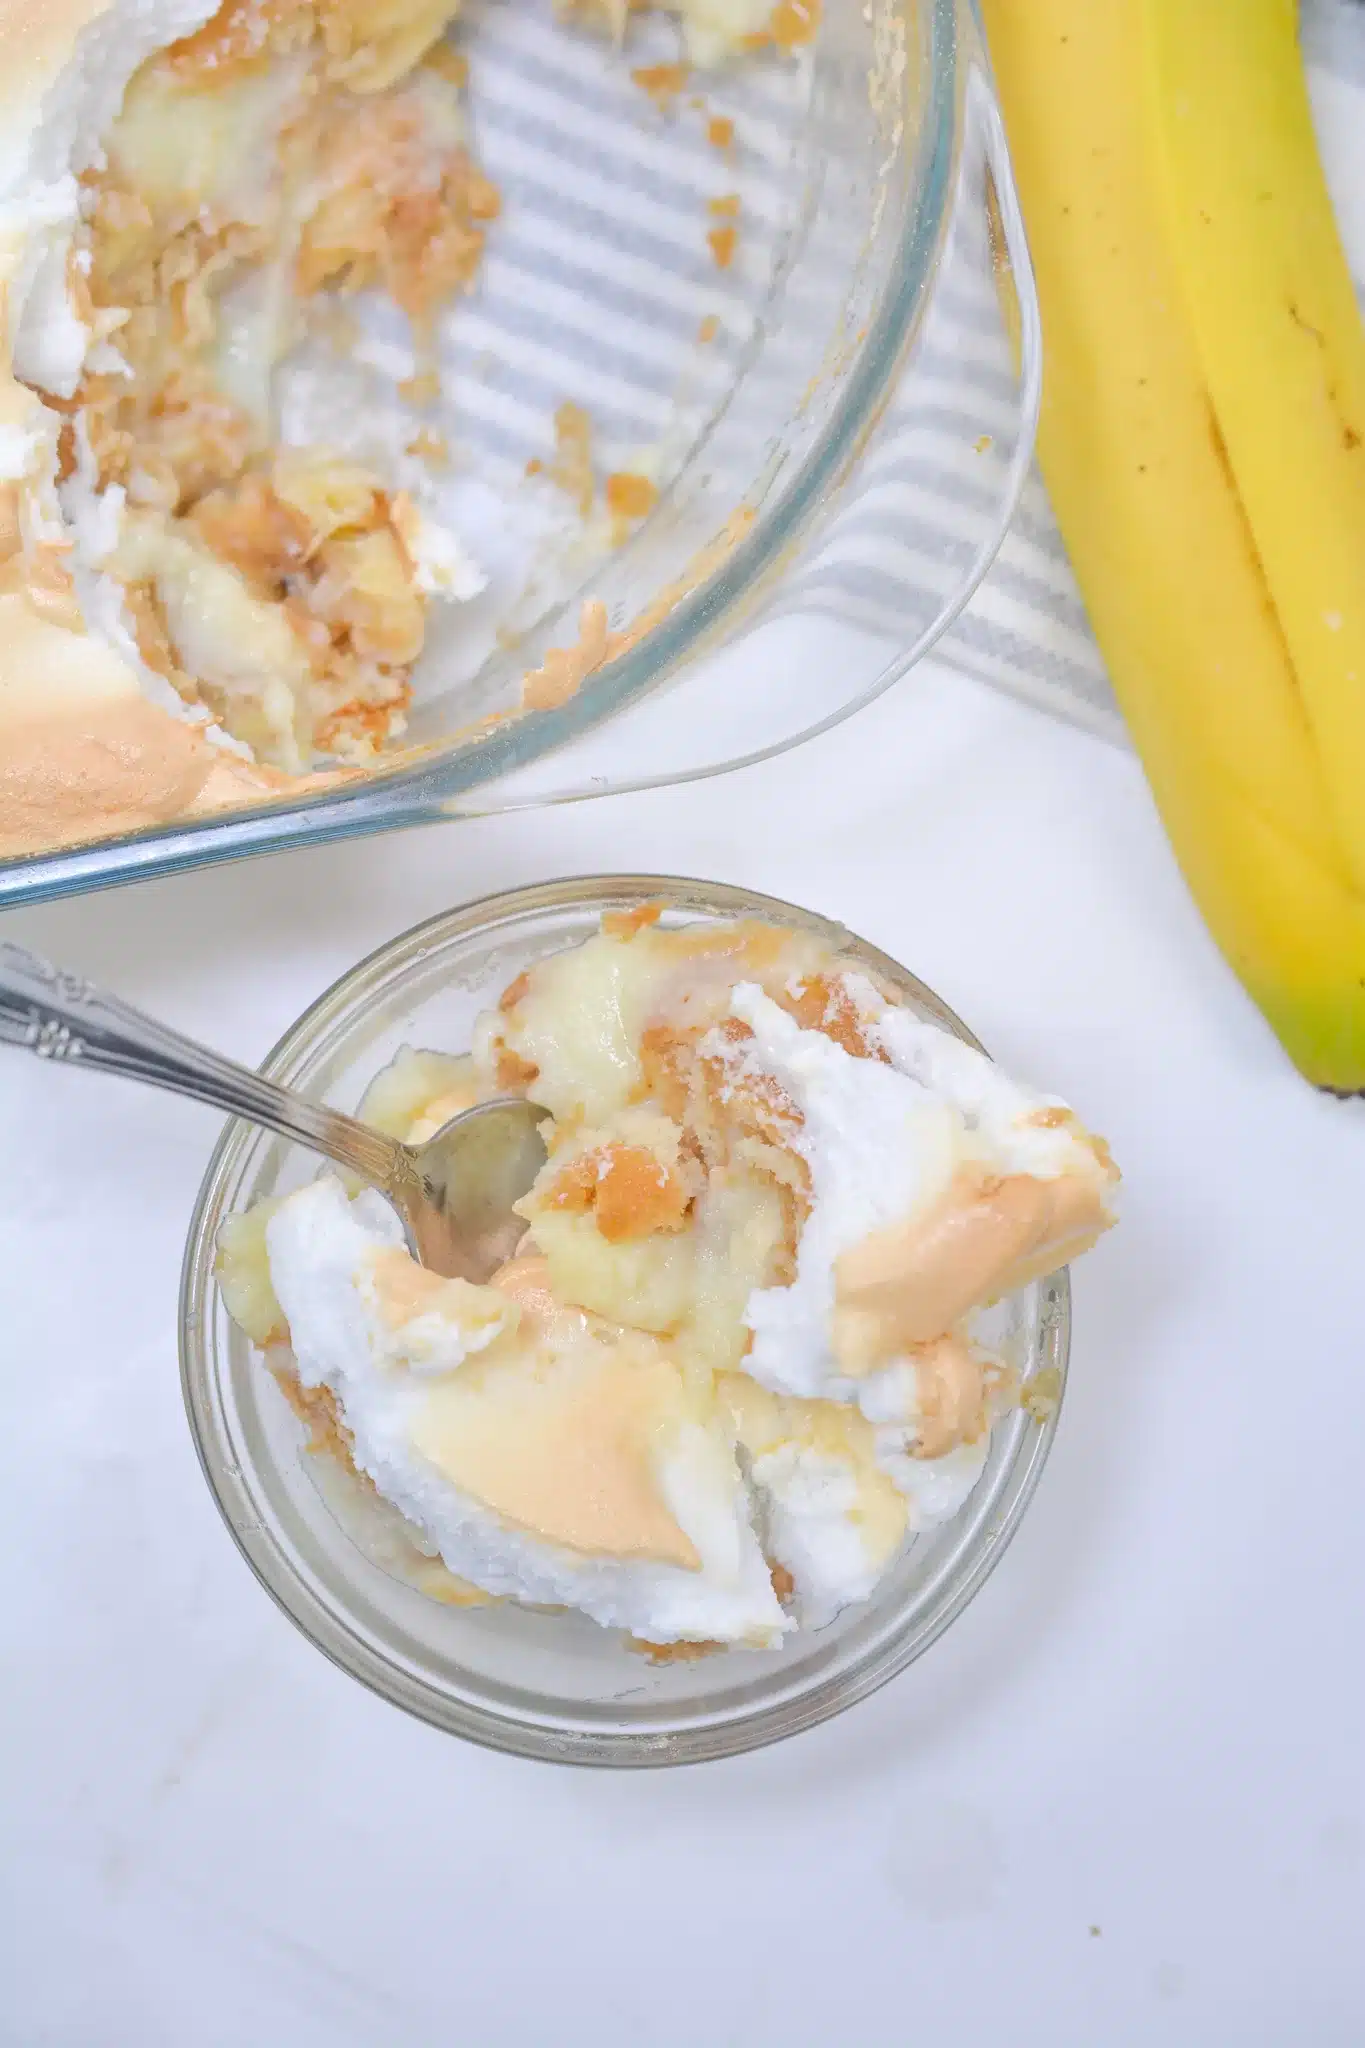
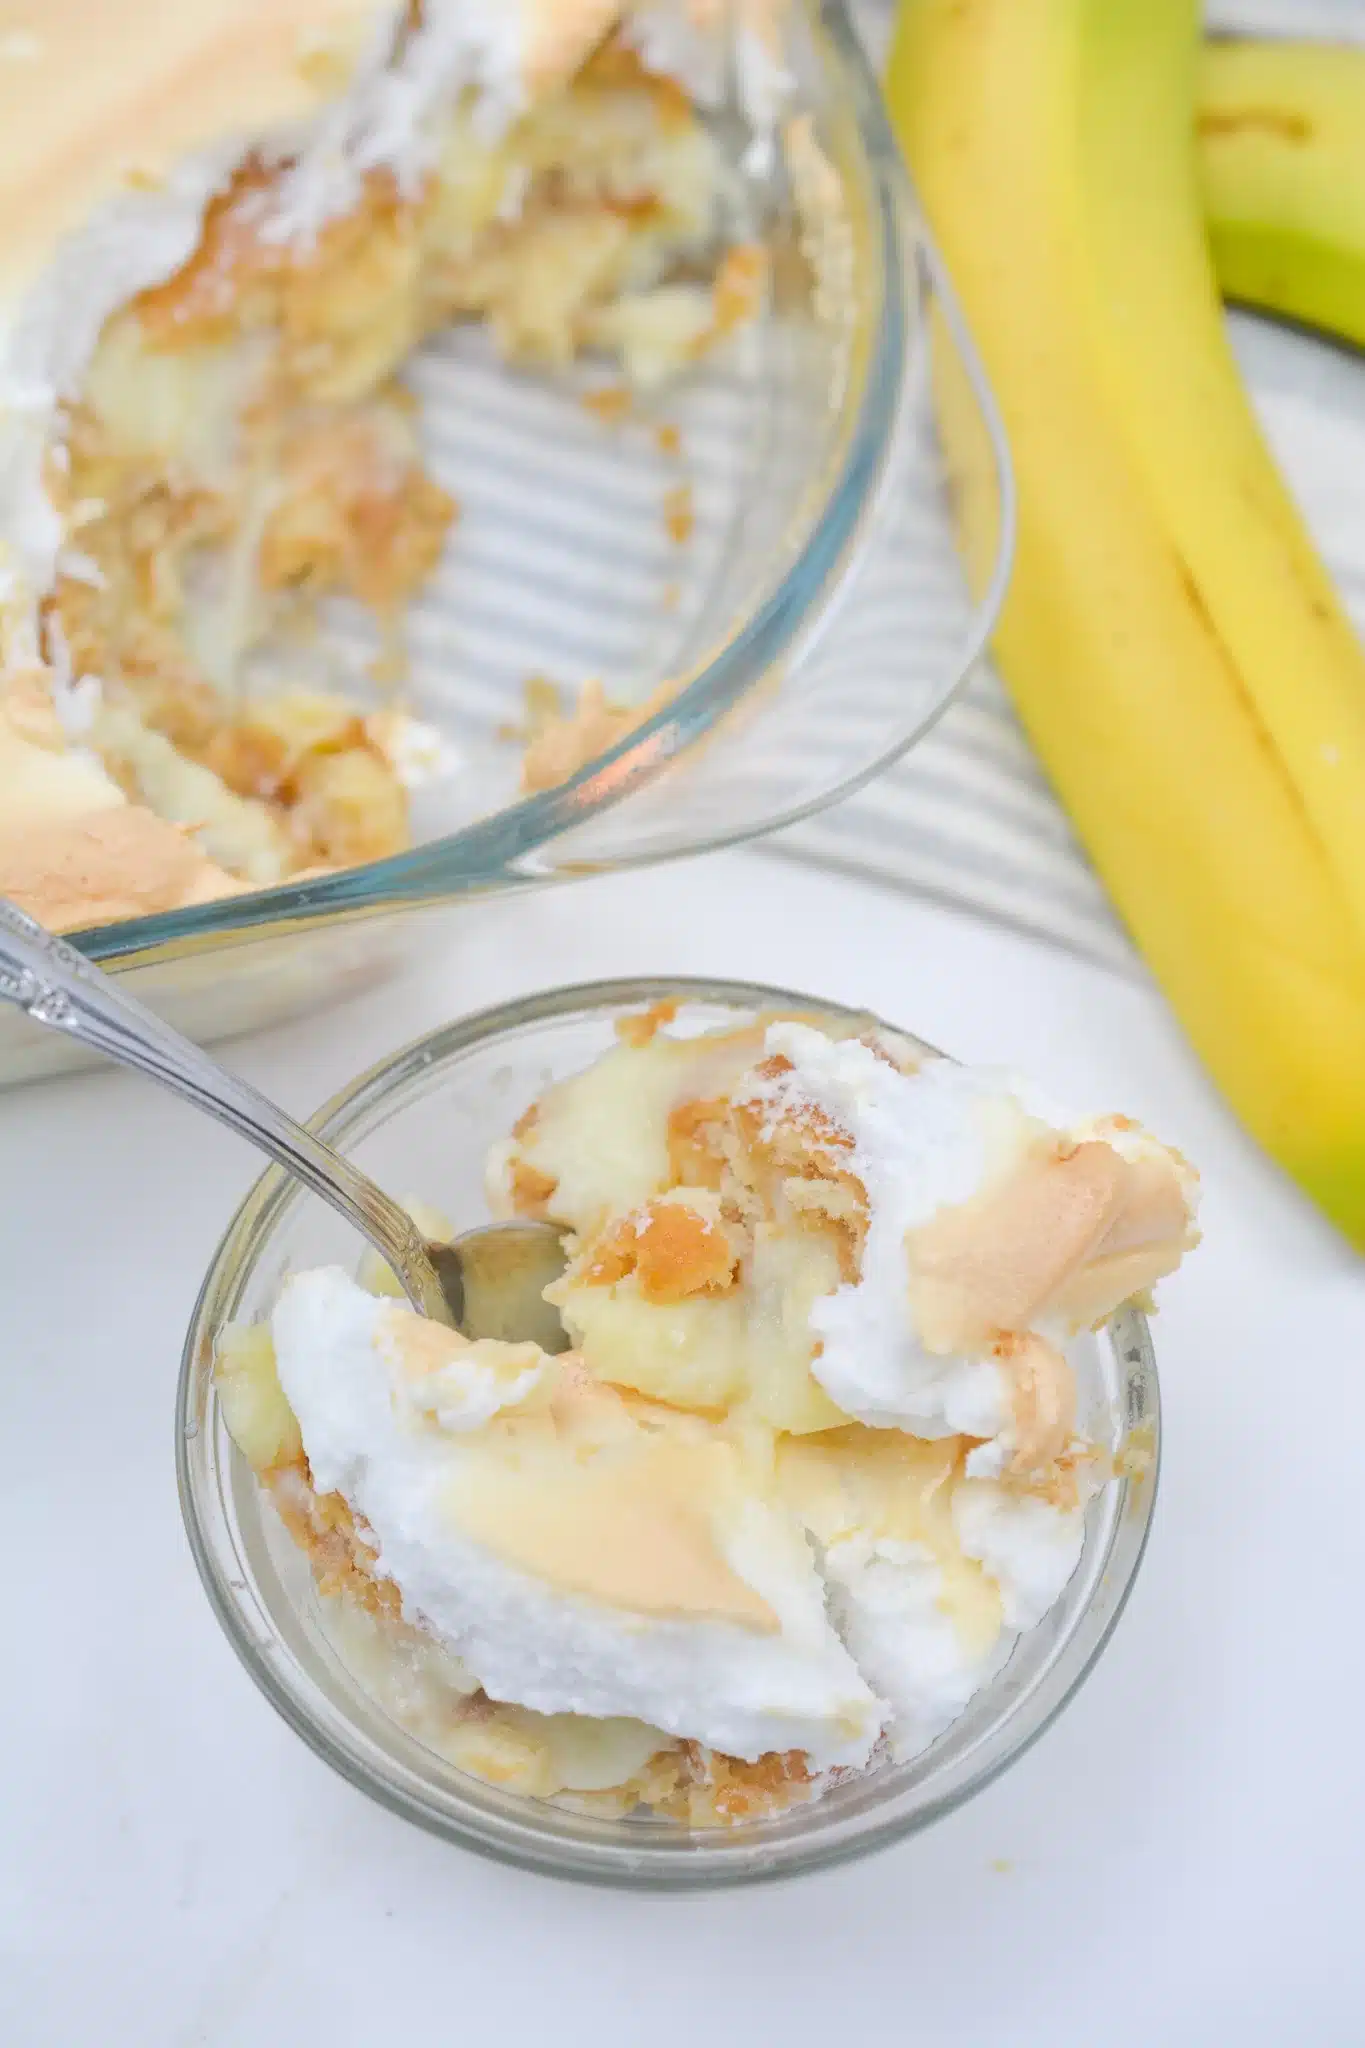
This Banana Pudding Recipe is made with layers of creamy homemade custard, fresh bananas, vanilla wafers, and golden meringue—perfect for any gathering!
You know that dessert that feels like pure comfort? The kind where just a spoonful can make you feel all warm and nostalgic? For me, it’s banana pudding.
Growing up, my mom made this exact recipe for every special occasion. Birthdays, holidays, random Sundays when she wanted to make us feel extra loved. She had this glass casserole dish—slightly worn with a tiny crack on the side—and somehow, banana pudding always tasted better in that dish.
I’d hover around the kitchen, watching her layer the bananas and vanilla wafers like it was some kind of magic trick. And yes, I definitely snuck a few wafers when she wasn’t looking. She always knew but never said a word.
Years later, when I tried making it on my own, I’ll be honest—it was a hot mess. The custard was too thin, the meringue was practically weeping, and the bananas? Let’s just say they were a little… past their prime. But after some trial (and error), I finally got it right. And this version? It’s everything I remember—cozy, creamy, and downright irresistible.

Remember it later!
Planning to try this recipe soon? Pin it for a quick find later!
Remember it later!
Planning to try this recipe soon? Pin it for a quick find later!
If you’ve never made banana pudding from scratch before, don’t stress—I’ll walk you through it. Messy layers and all.
Here’s a quick peek at what’s inside:
Table of content
Why You’ll Love This Banana Pudding Recipe?
- Comfort Food Classic: Creamy custard, soft bananas, and a cloud of meringue? Pure bliss.
- No Box Mix Here: This custard’s made from scratch—so worth it.
- Simple Ingredients: Nothing fancy. Just good, basic pantry staples.
- Perfect for Sharing: Potlucks, BBQs, or just because—it’s always a hit.
- Make-Ahead Friendly: It tastes even better the next day (if it lasts that long).
Ingredient Notes:
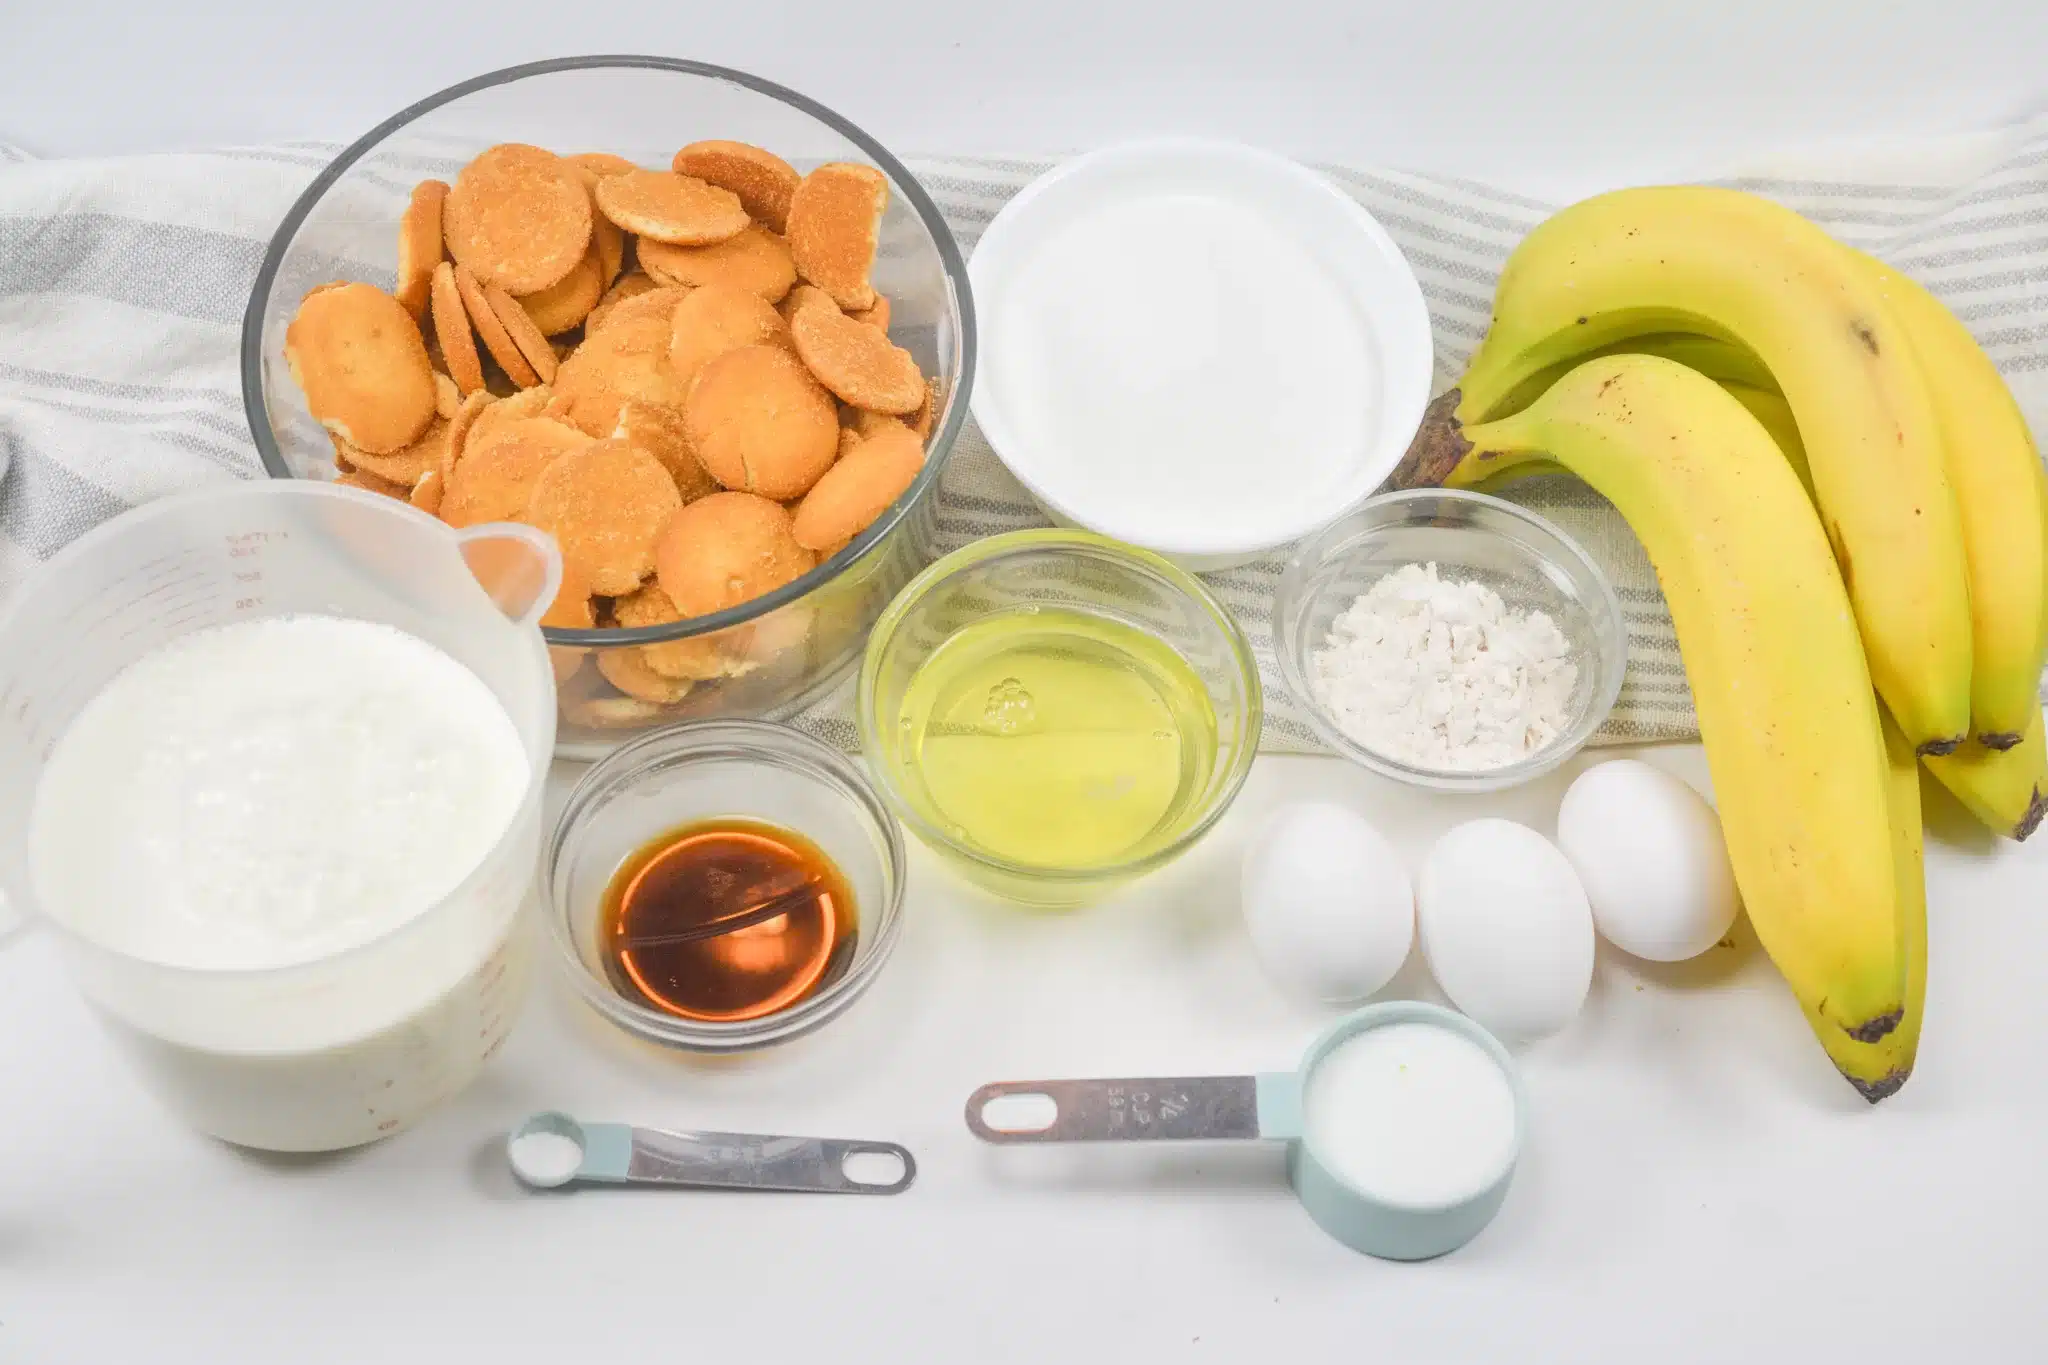
You only need a handful of basics here, but each one plays a big part.
- Bananas: Go for ripe but not overripe. You want sweet, not mushy.
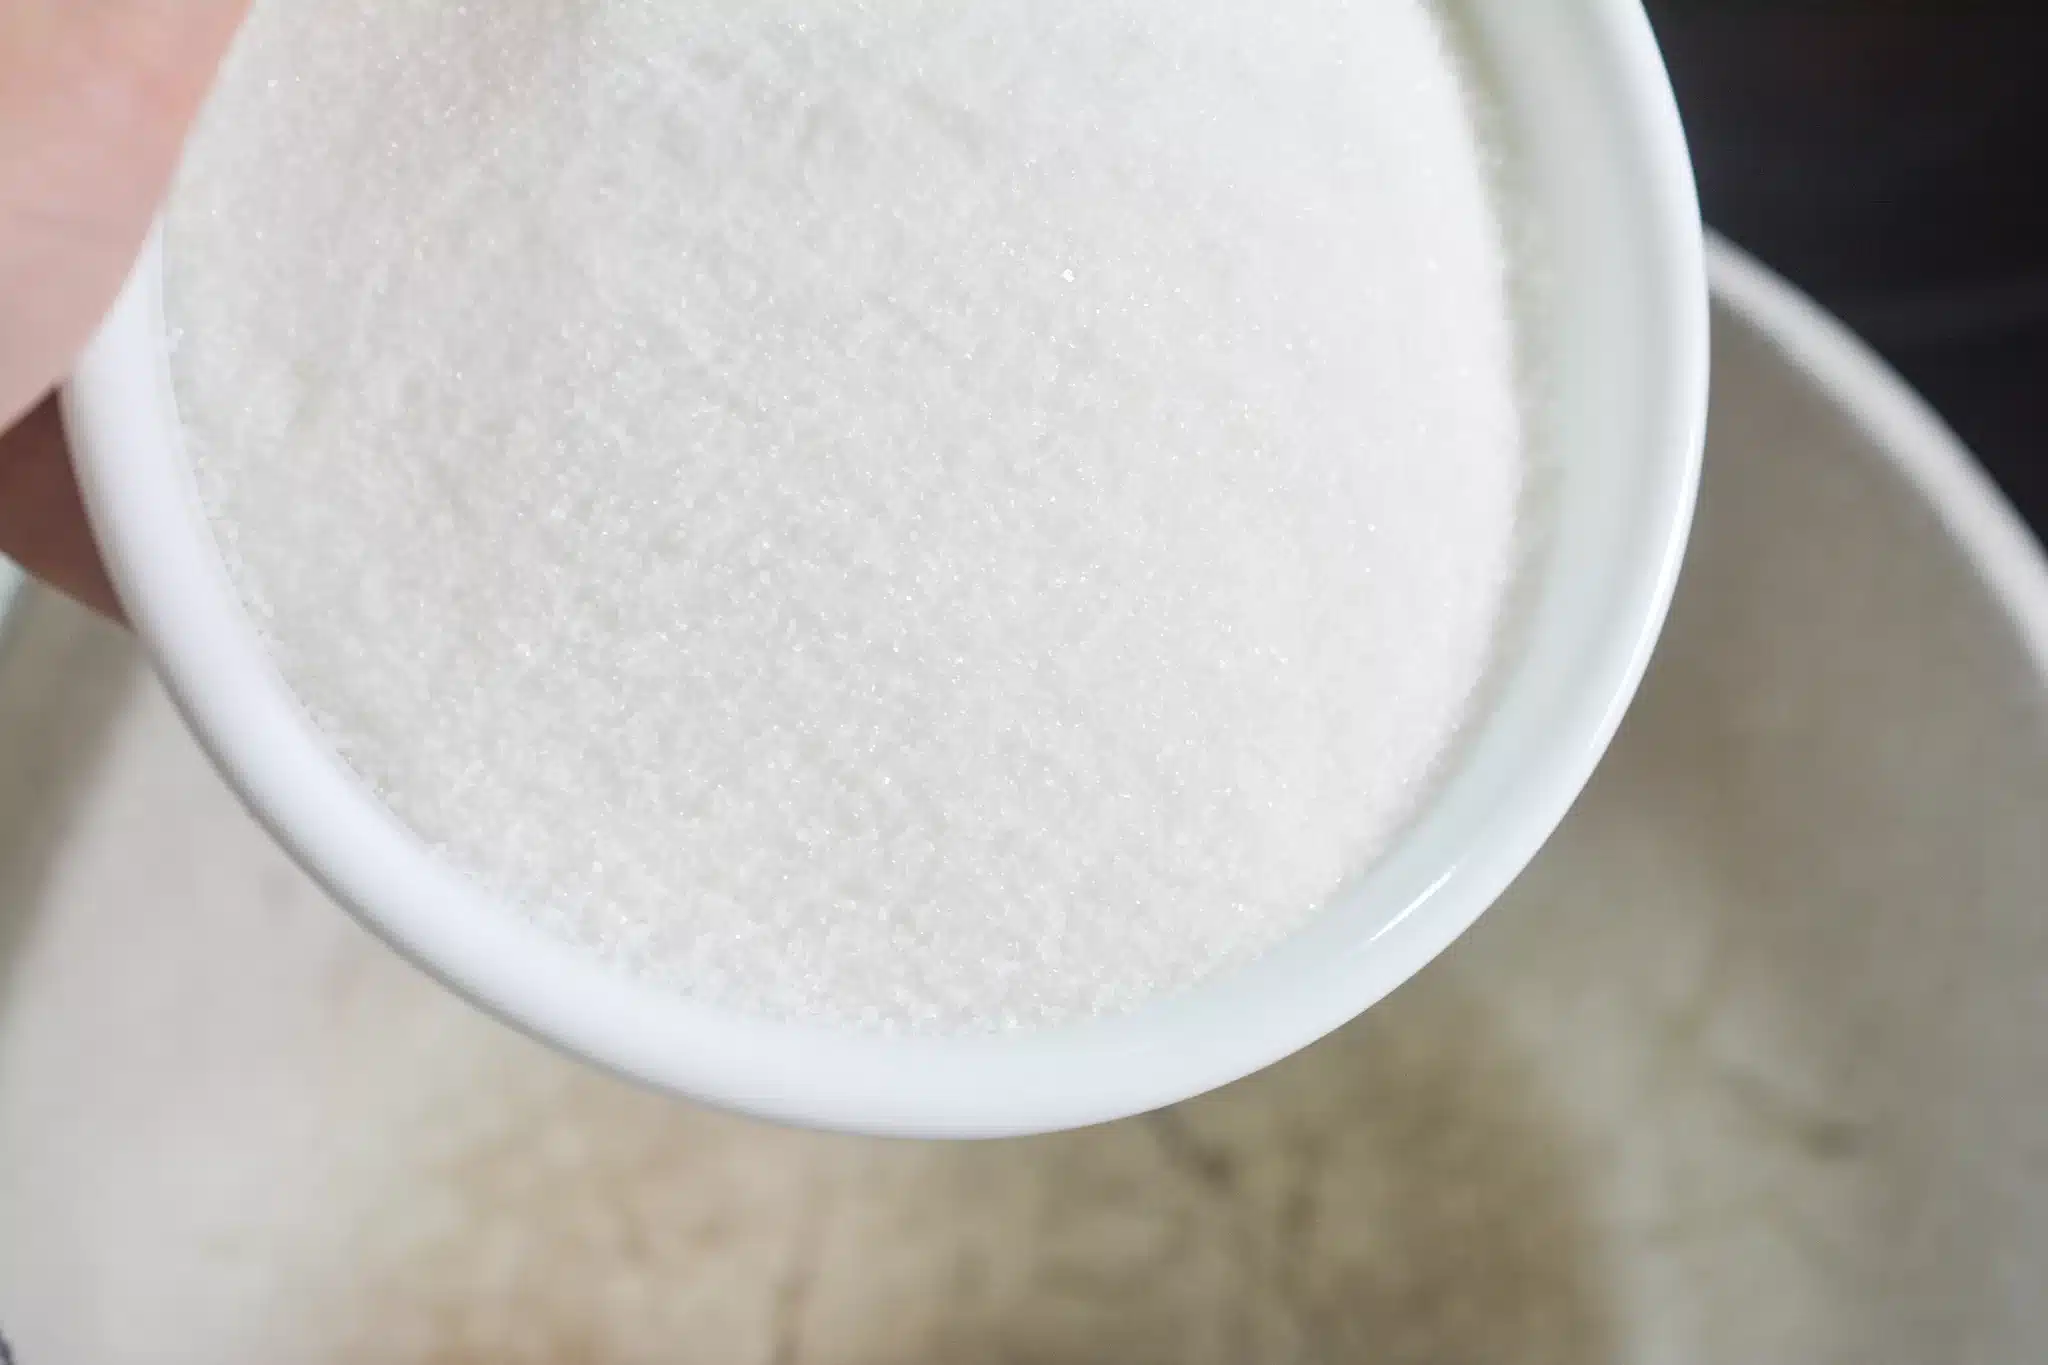
- Sugar: For both the custard and the meringue. Granulated works best here.
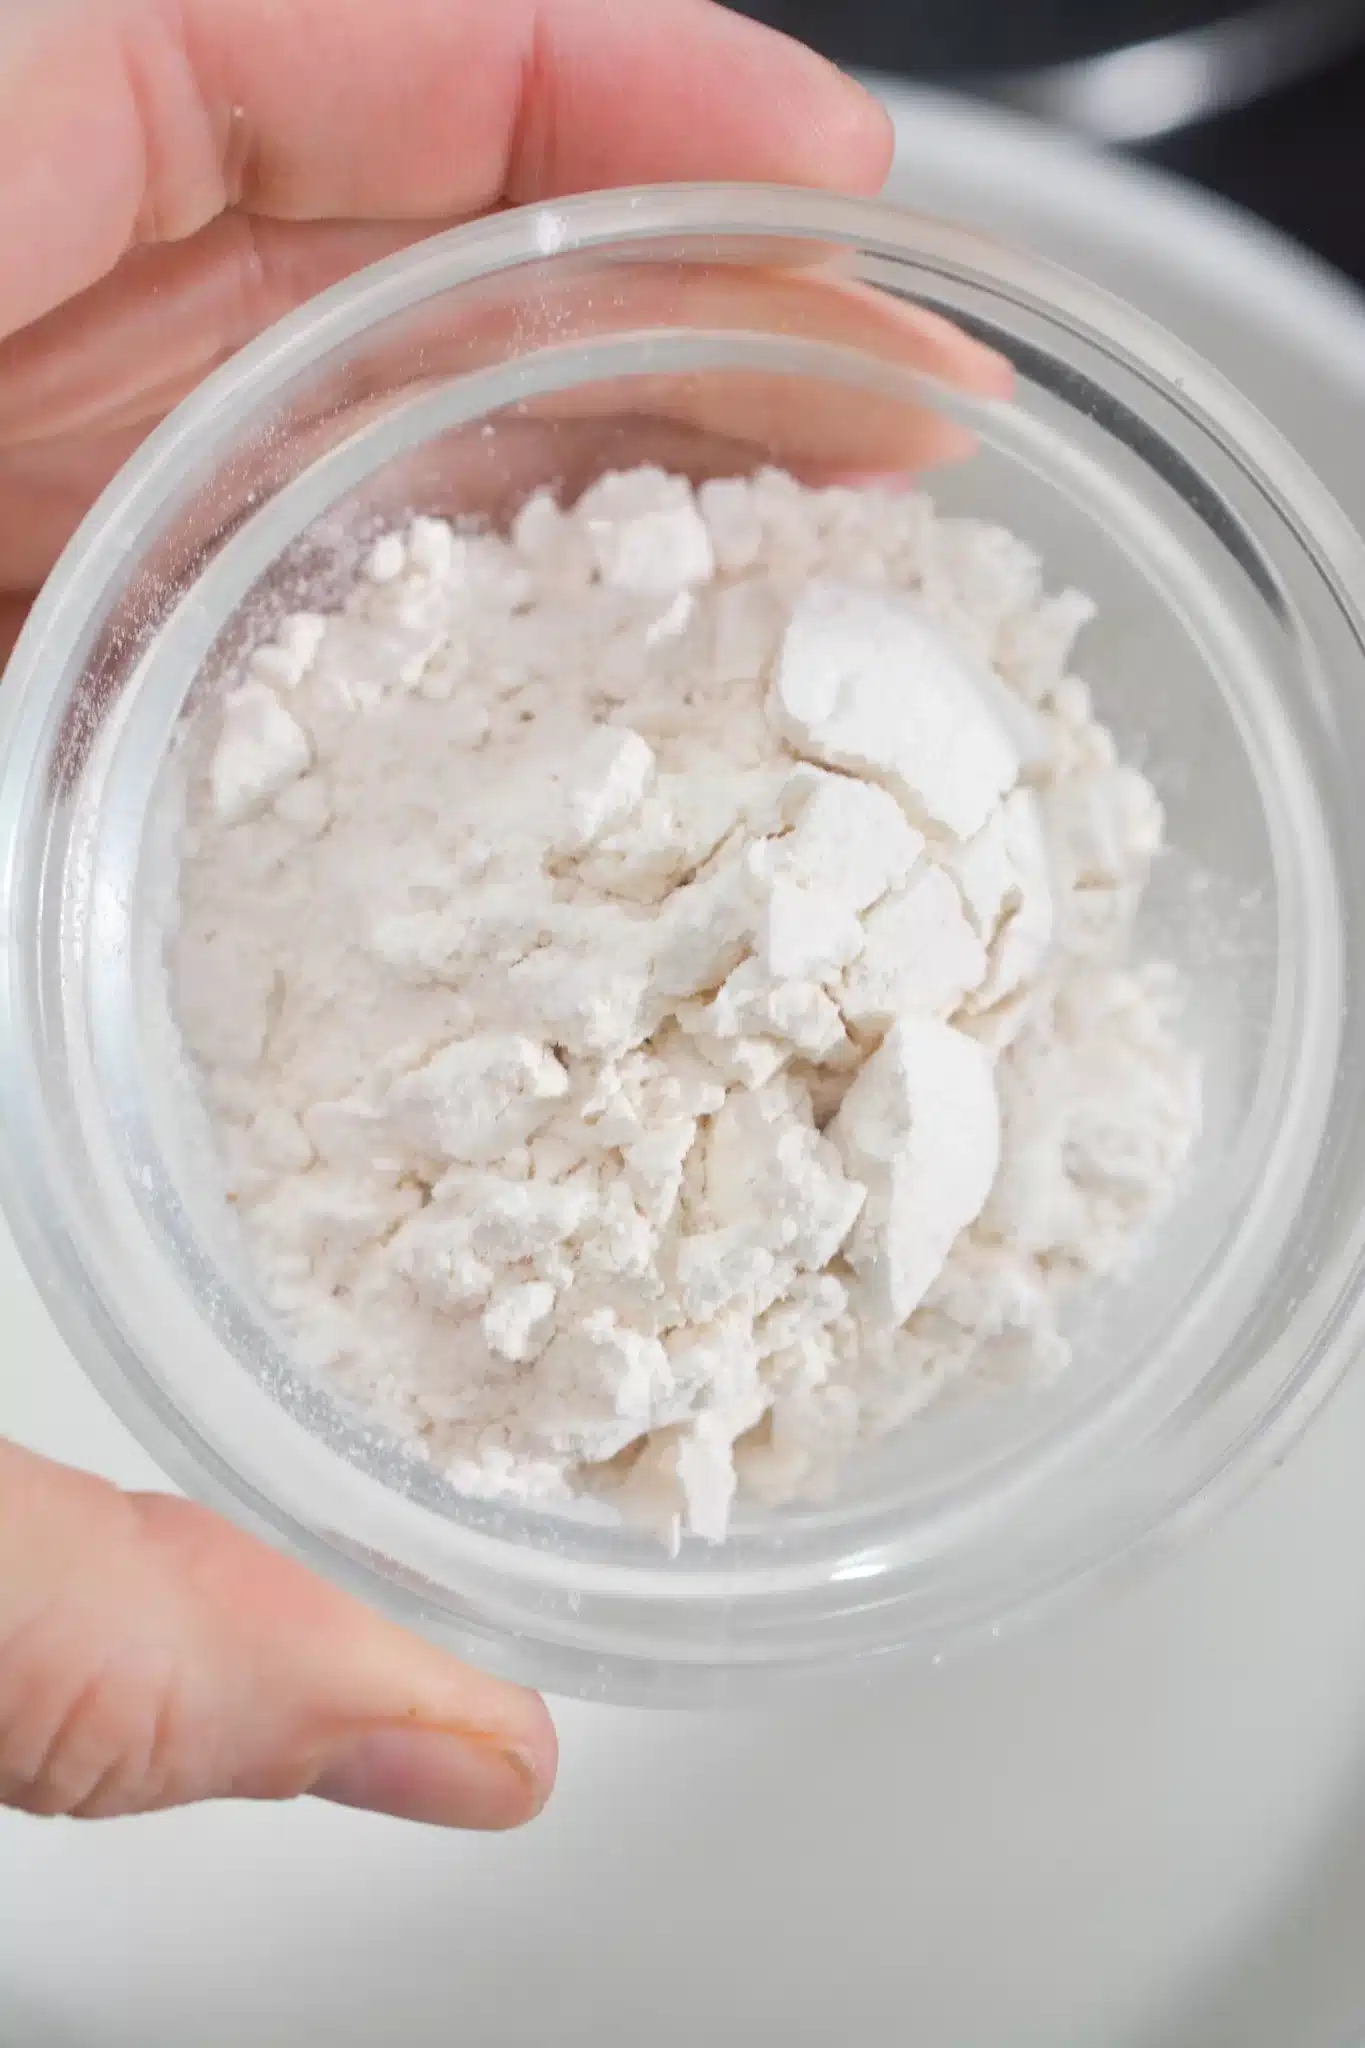
- All-Purpose Flour: This thickens the custard just right—no runny pudding here.
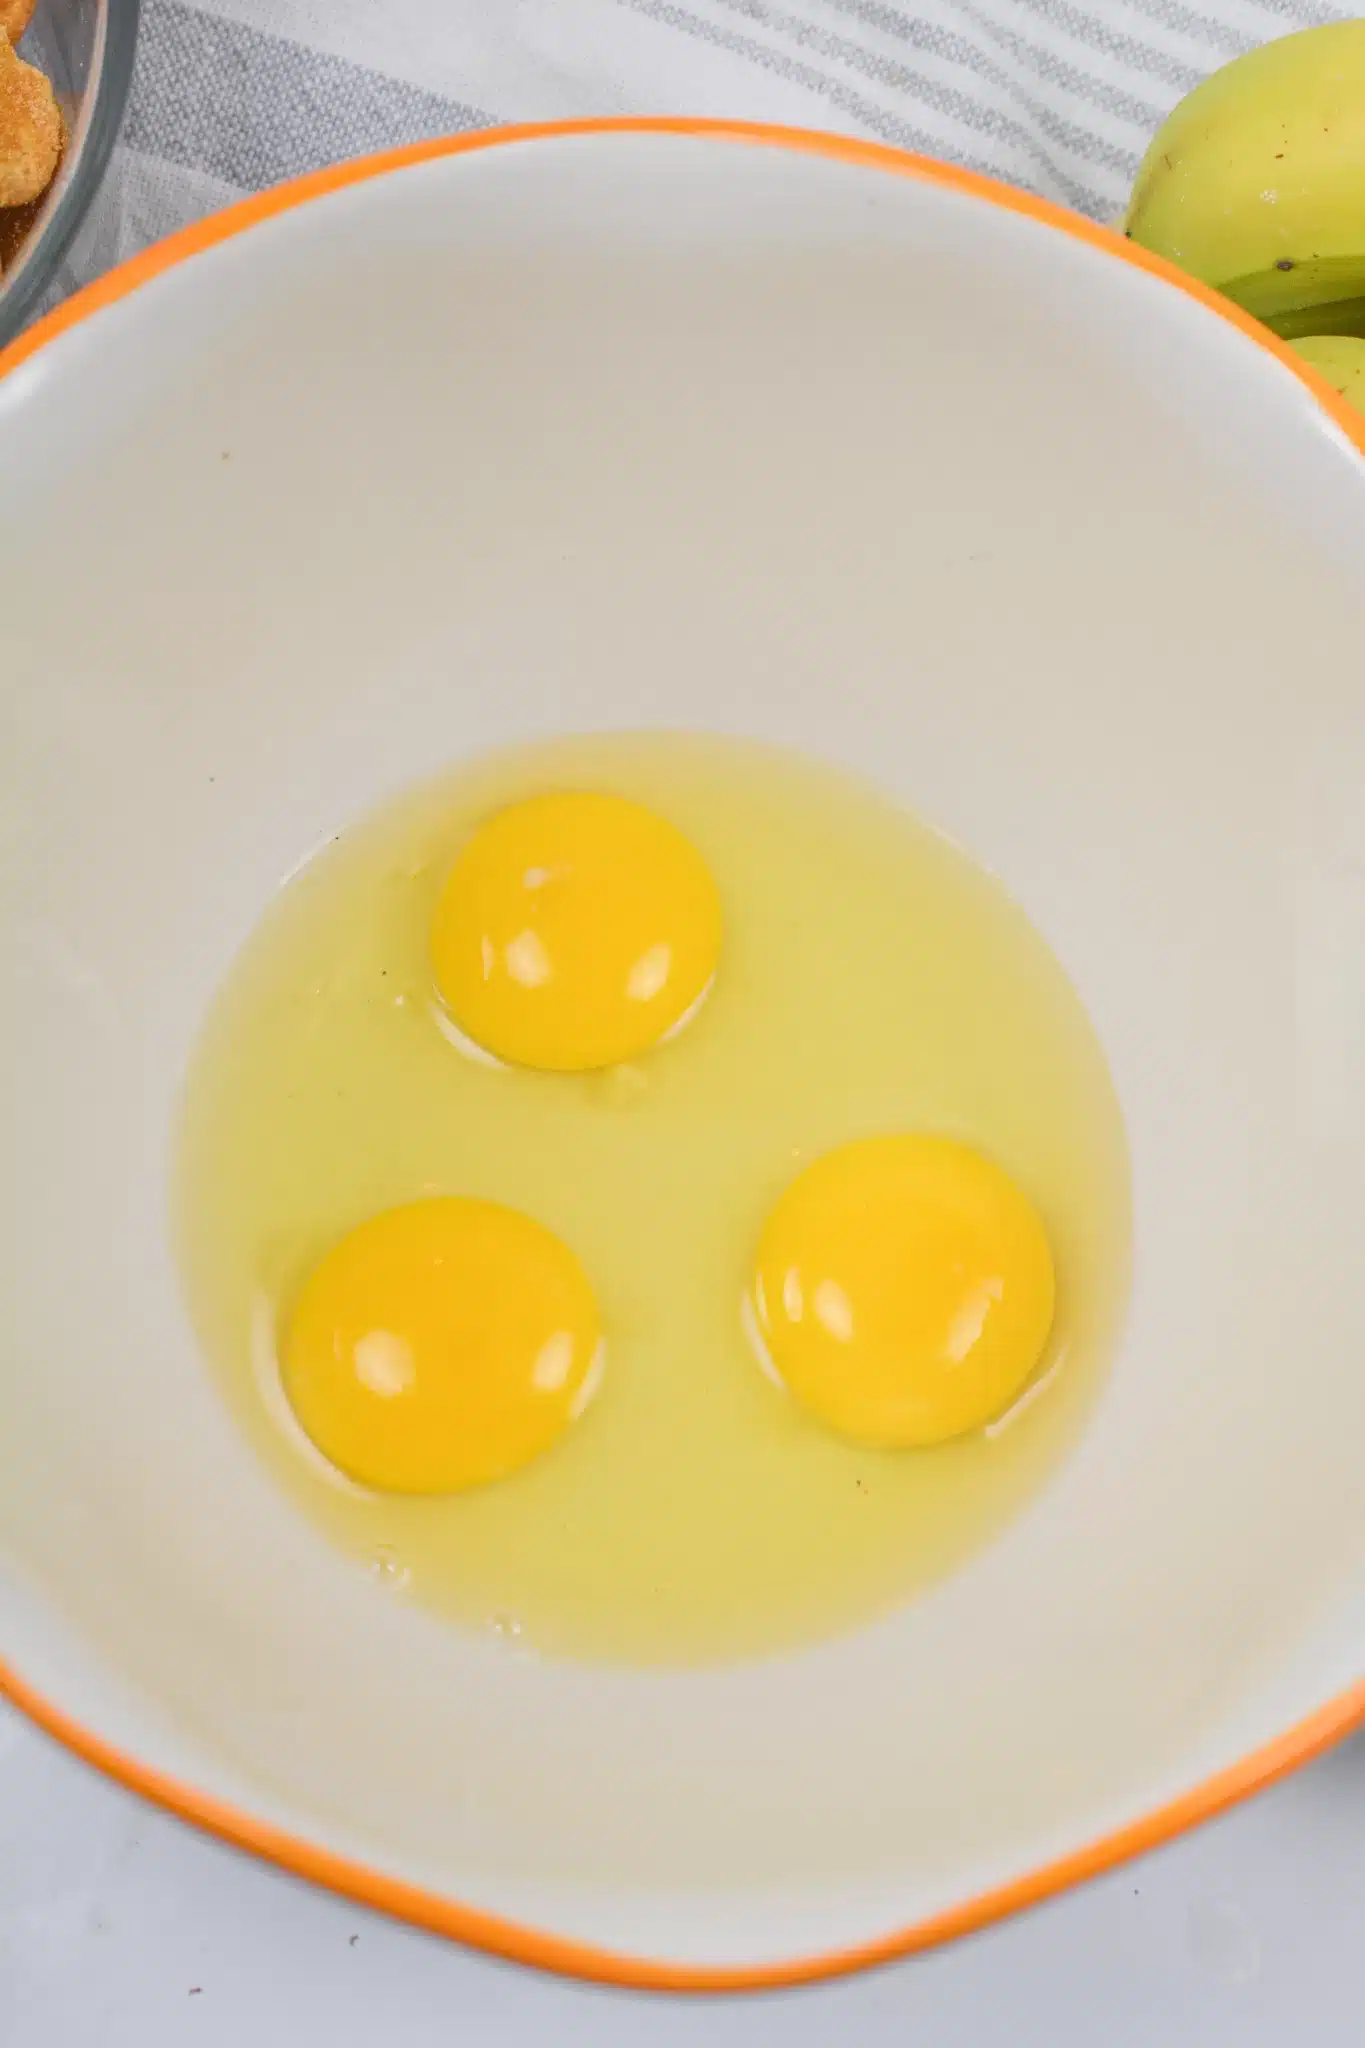
- Eggs: Yolks for the custard, whites for the meringue.
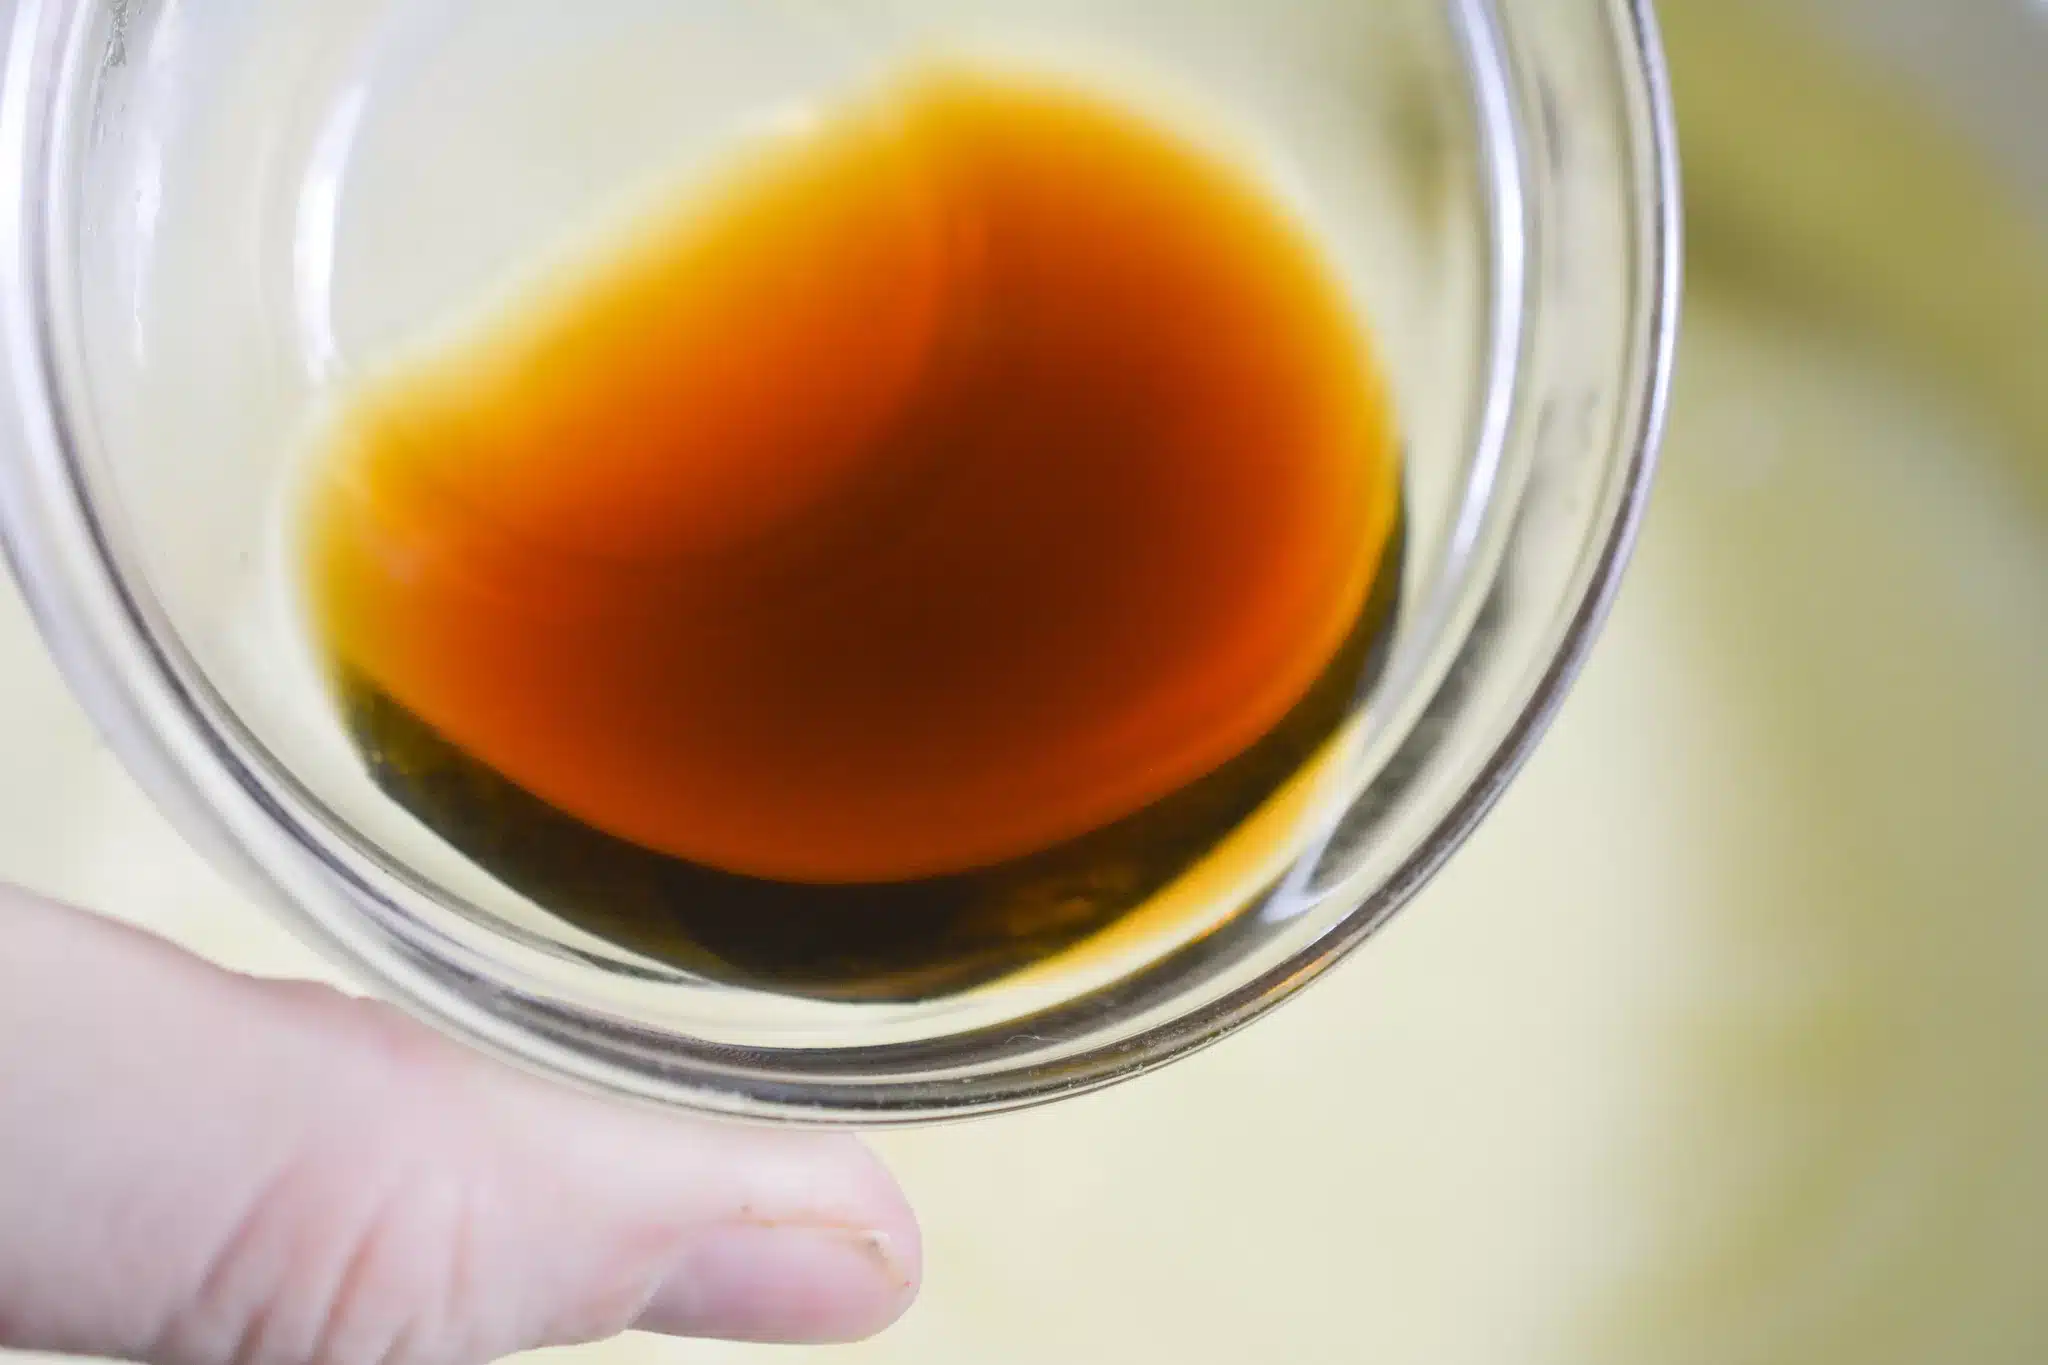
- Vanilla Extract: Adds warmth and richness—don’t skip it!
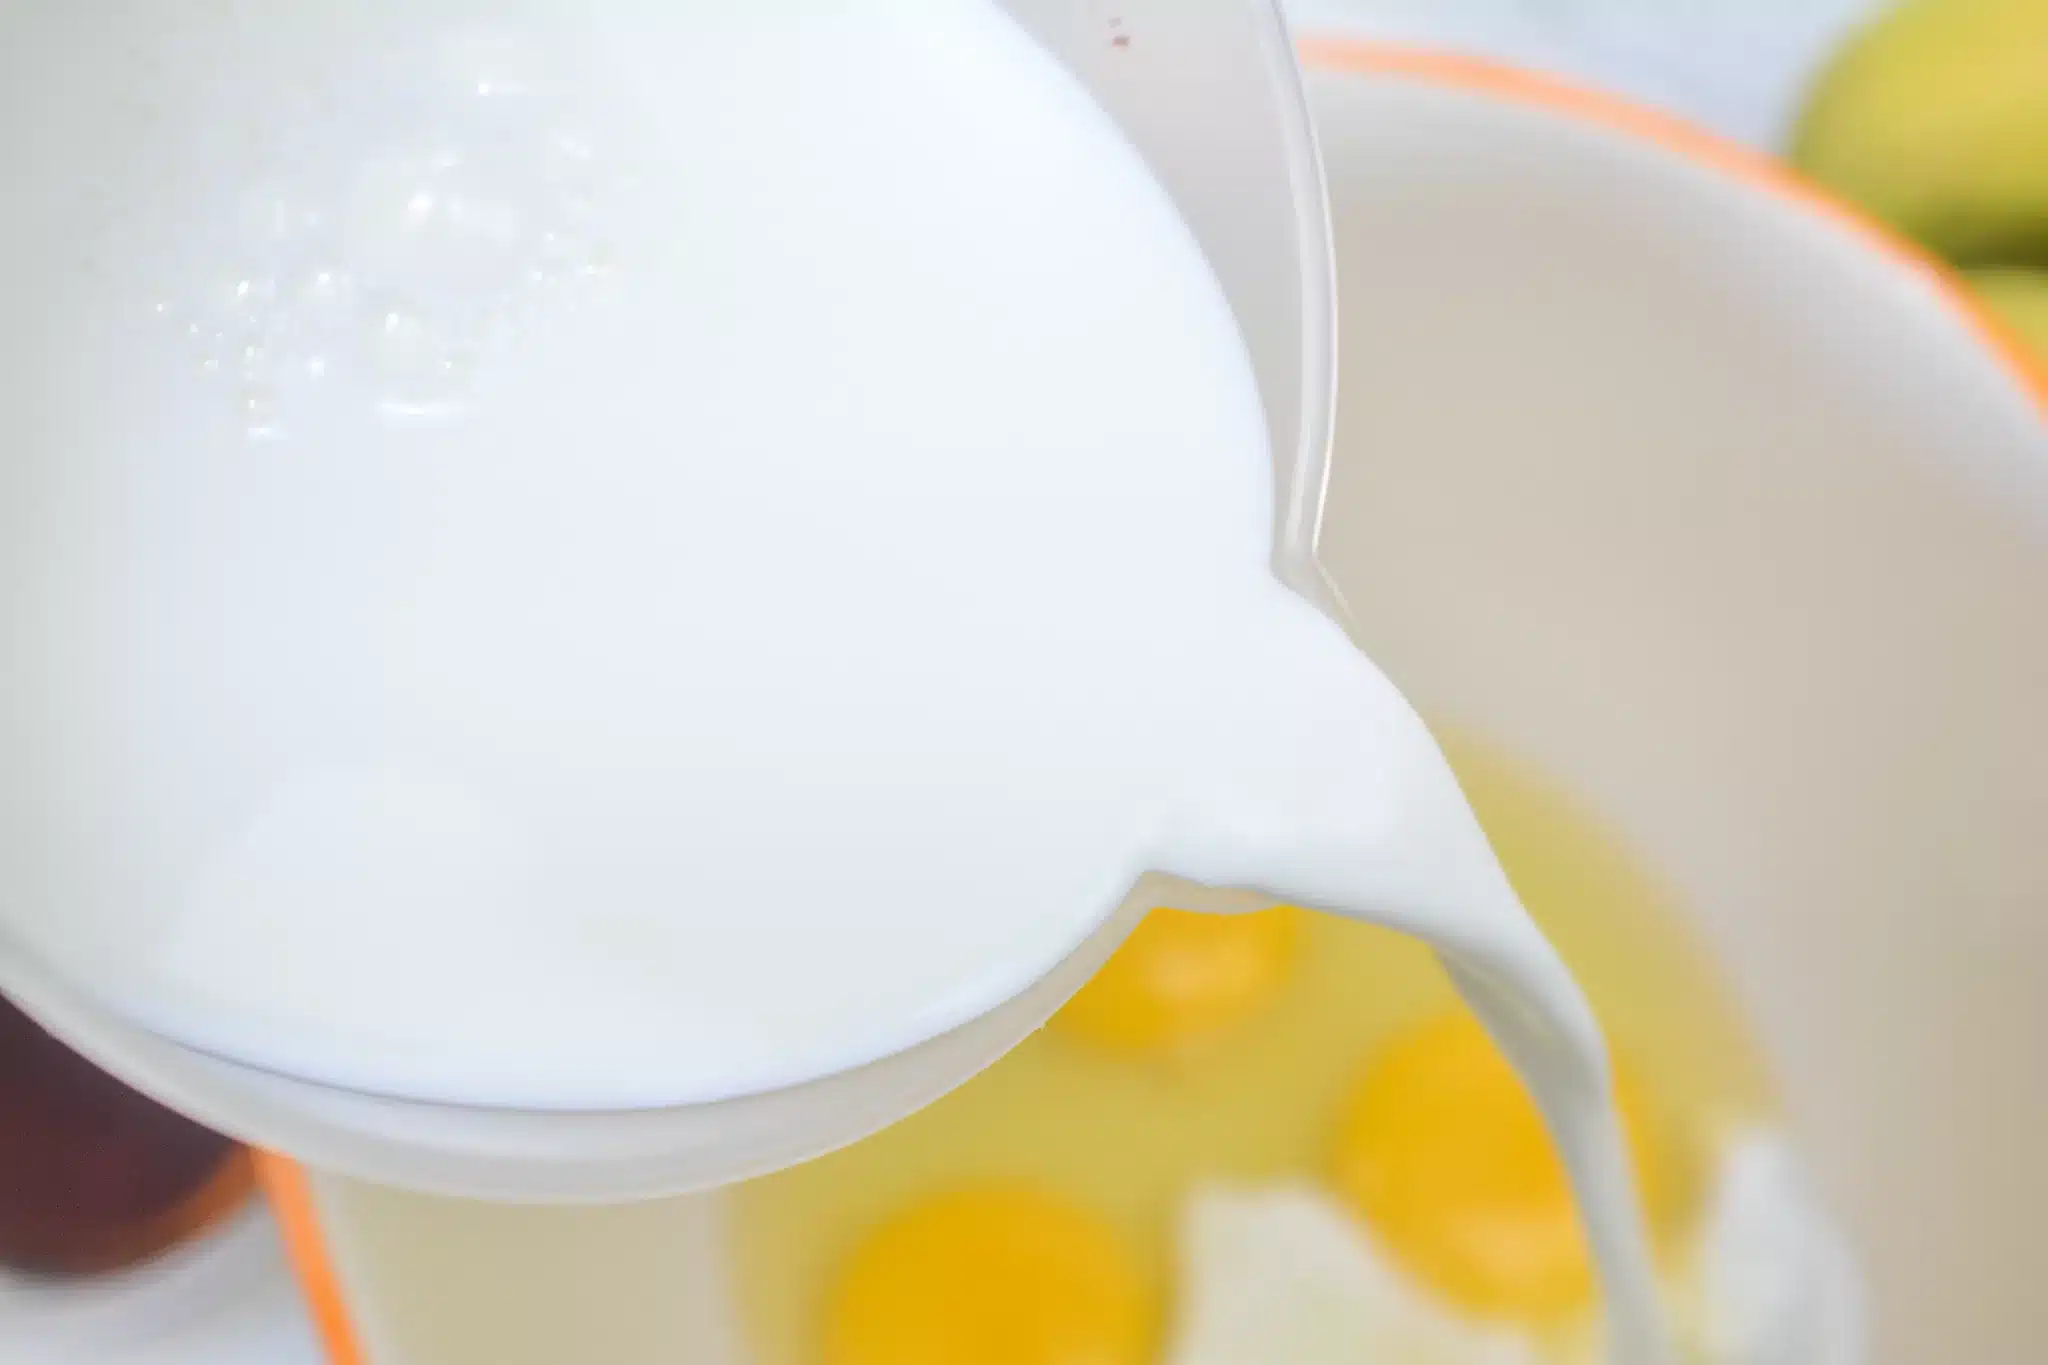
- Milk: Whole milk gives the custard its velvety texture.
- Vanilla Wafers: The classic choice. They soften just enough under the custard but keep a bit of bite.
- Cream of Tartar: Keeps the meringue fluffy and stable.
Pro Tip: For deeper flavor, try roasting the bananas first! It brings out a whole new level of sweetness.
How To Make Banana Pudding?
This pudding is all about layers—and patience. But trust me, it’s so worth it.
Step 1. Prep the Oven and Tools
Preheat your oven to 325°F. Chill your mixing bowl and beaters in the fridge—it makes a huge difference when whipping the meringue later.
Step 2. Make the Custard
In a large saucepan, whisk together the sugar, flour, and a pinch of salt.
In a separate bowl, beat the egg yolks and mix them with the milk. Slowly pour the egg-milk mixture into the saucepan while stirring.
Cook over low heat, stirring constantly (yes, constantly—no walking away to check your phone). When it thickens into a smooth custard, take it off the heat and stir in the vanilla extract.
Step 3. Layer It Up
Now for the fun part! Grab a 2-quart oven-safe dish.
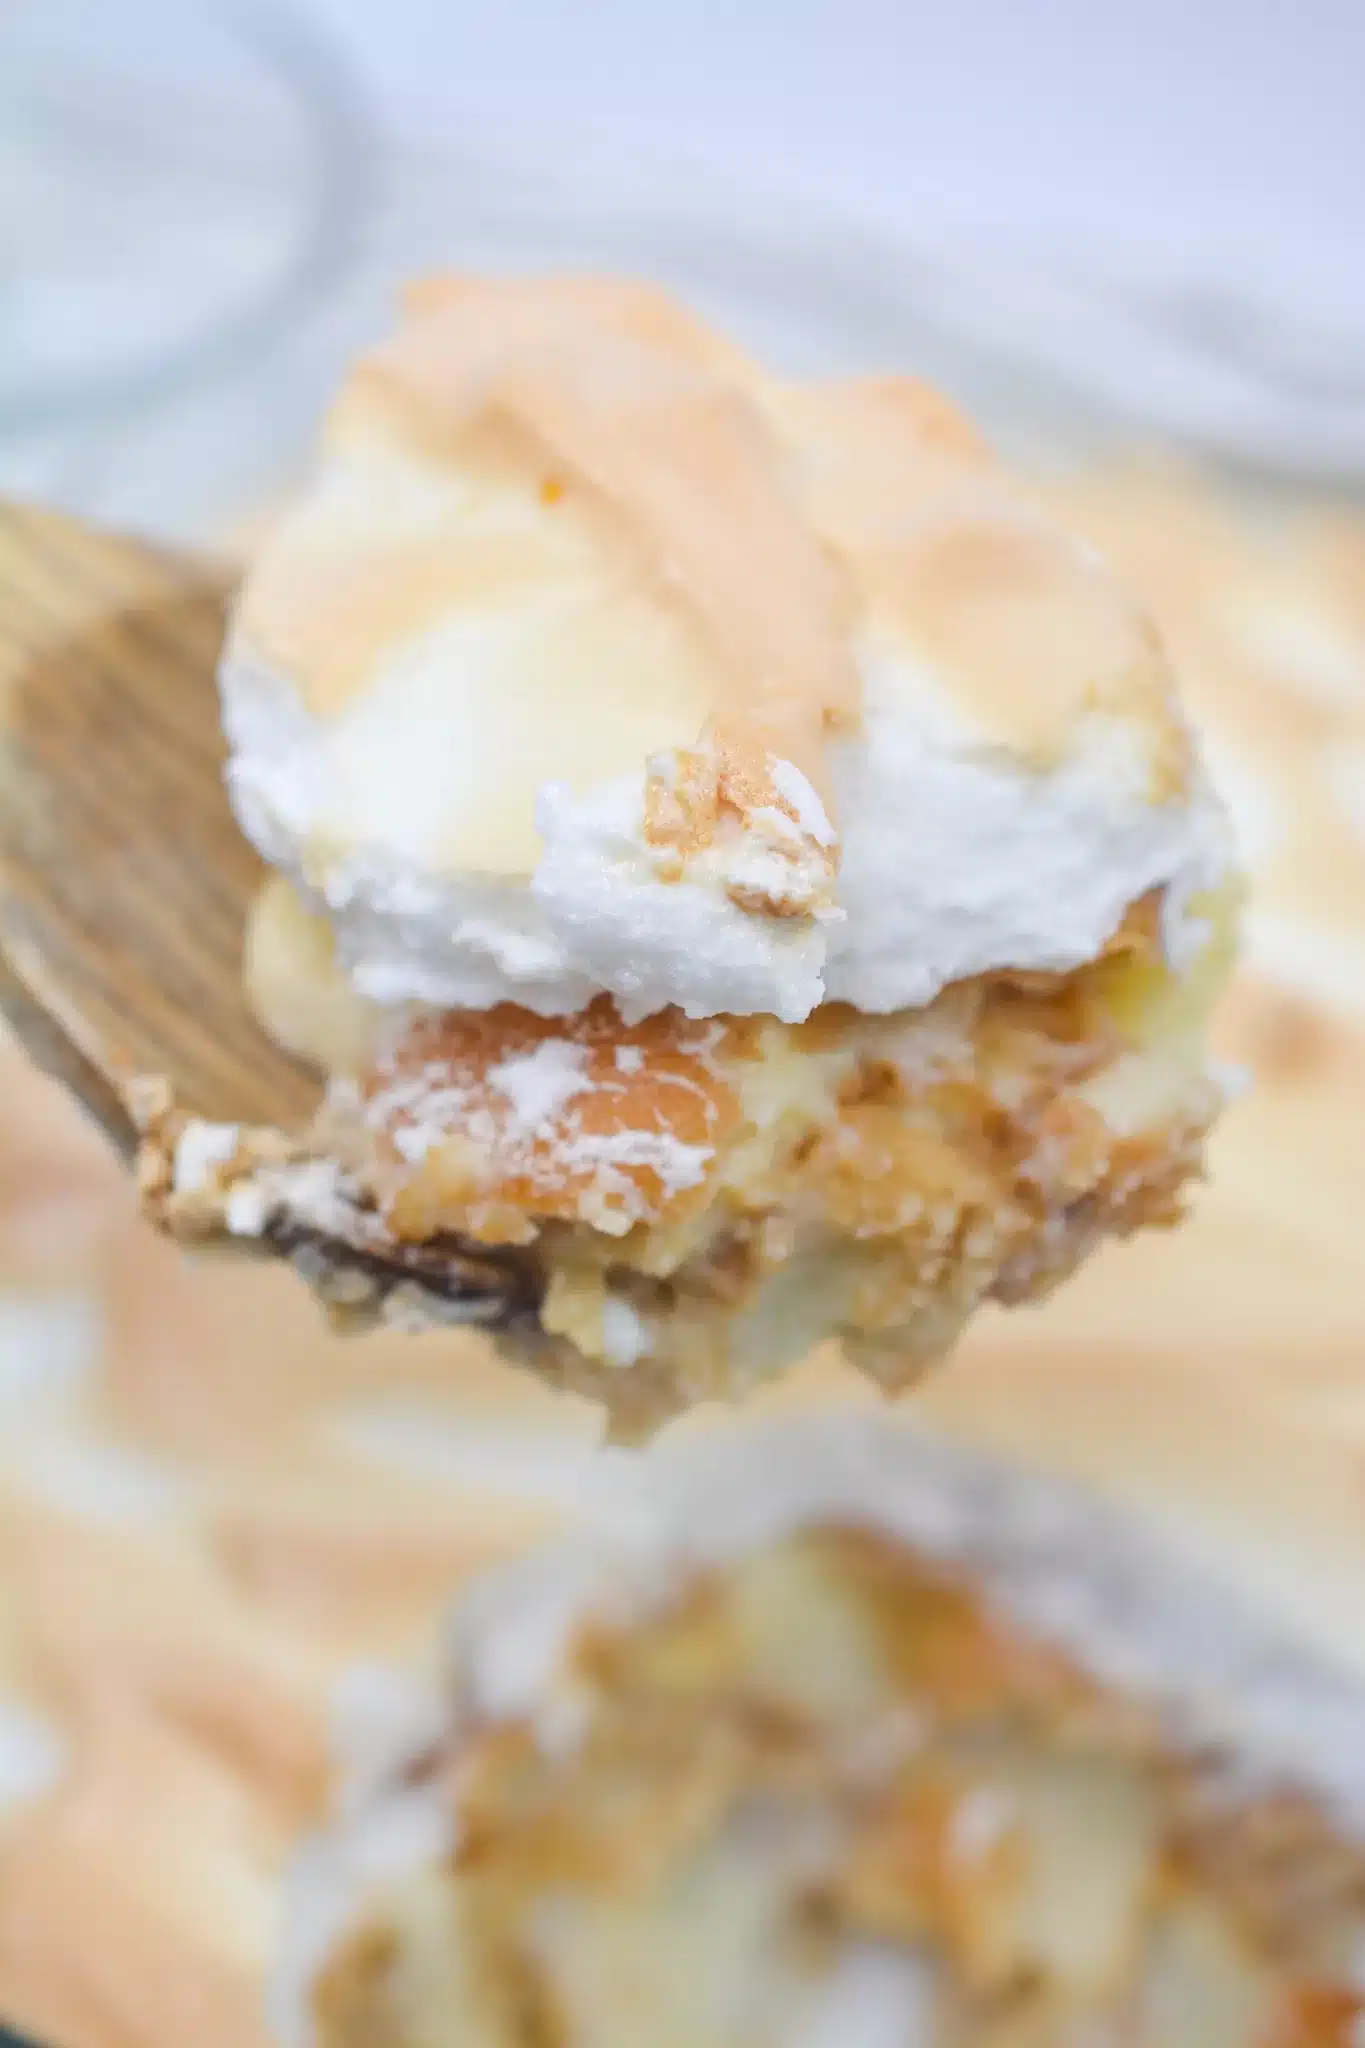
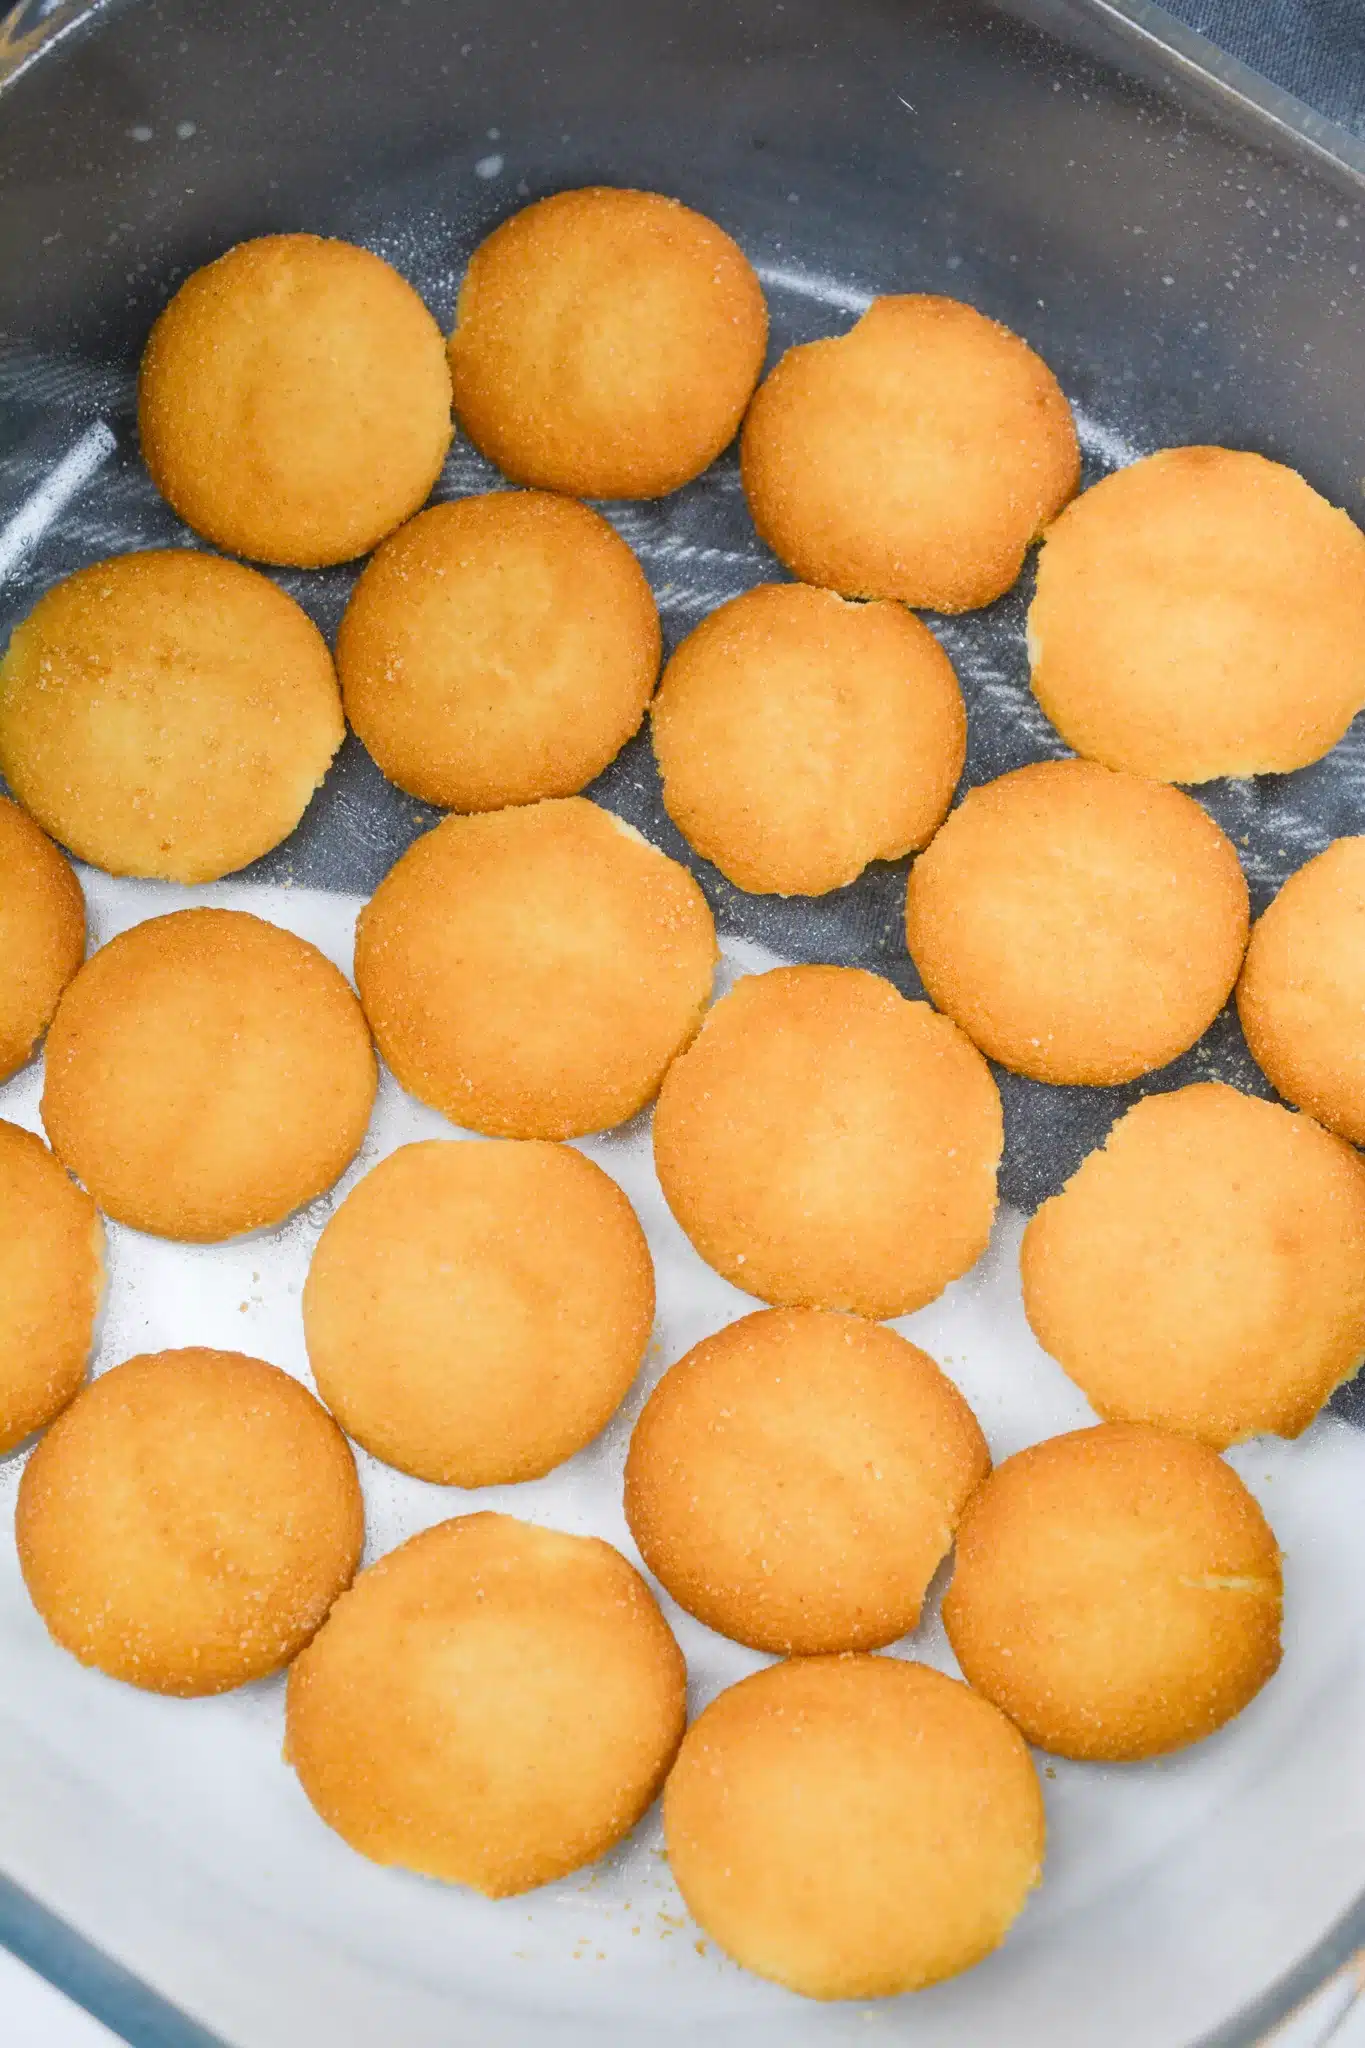
- Start with a layer of vanilla wafers.
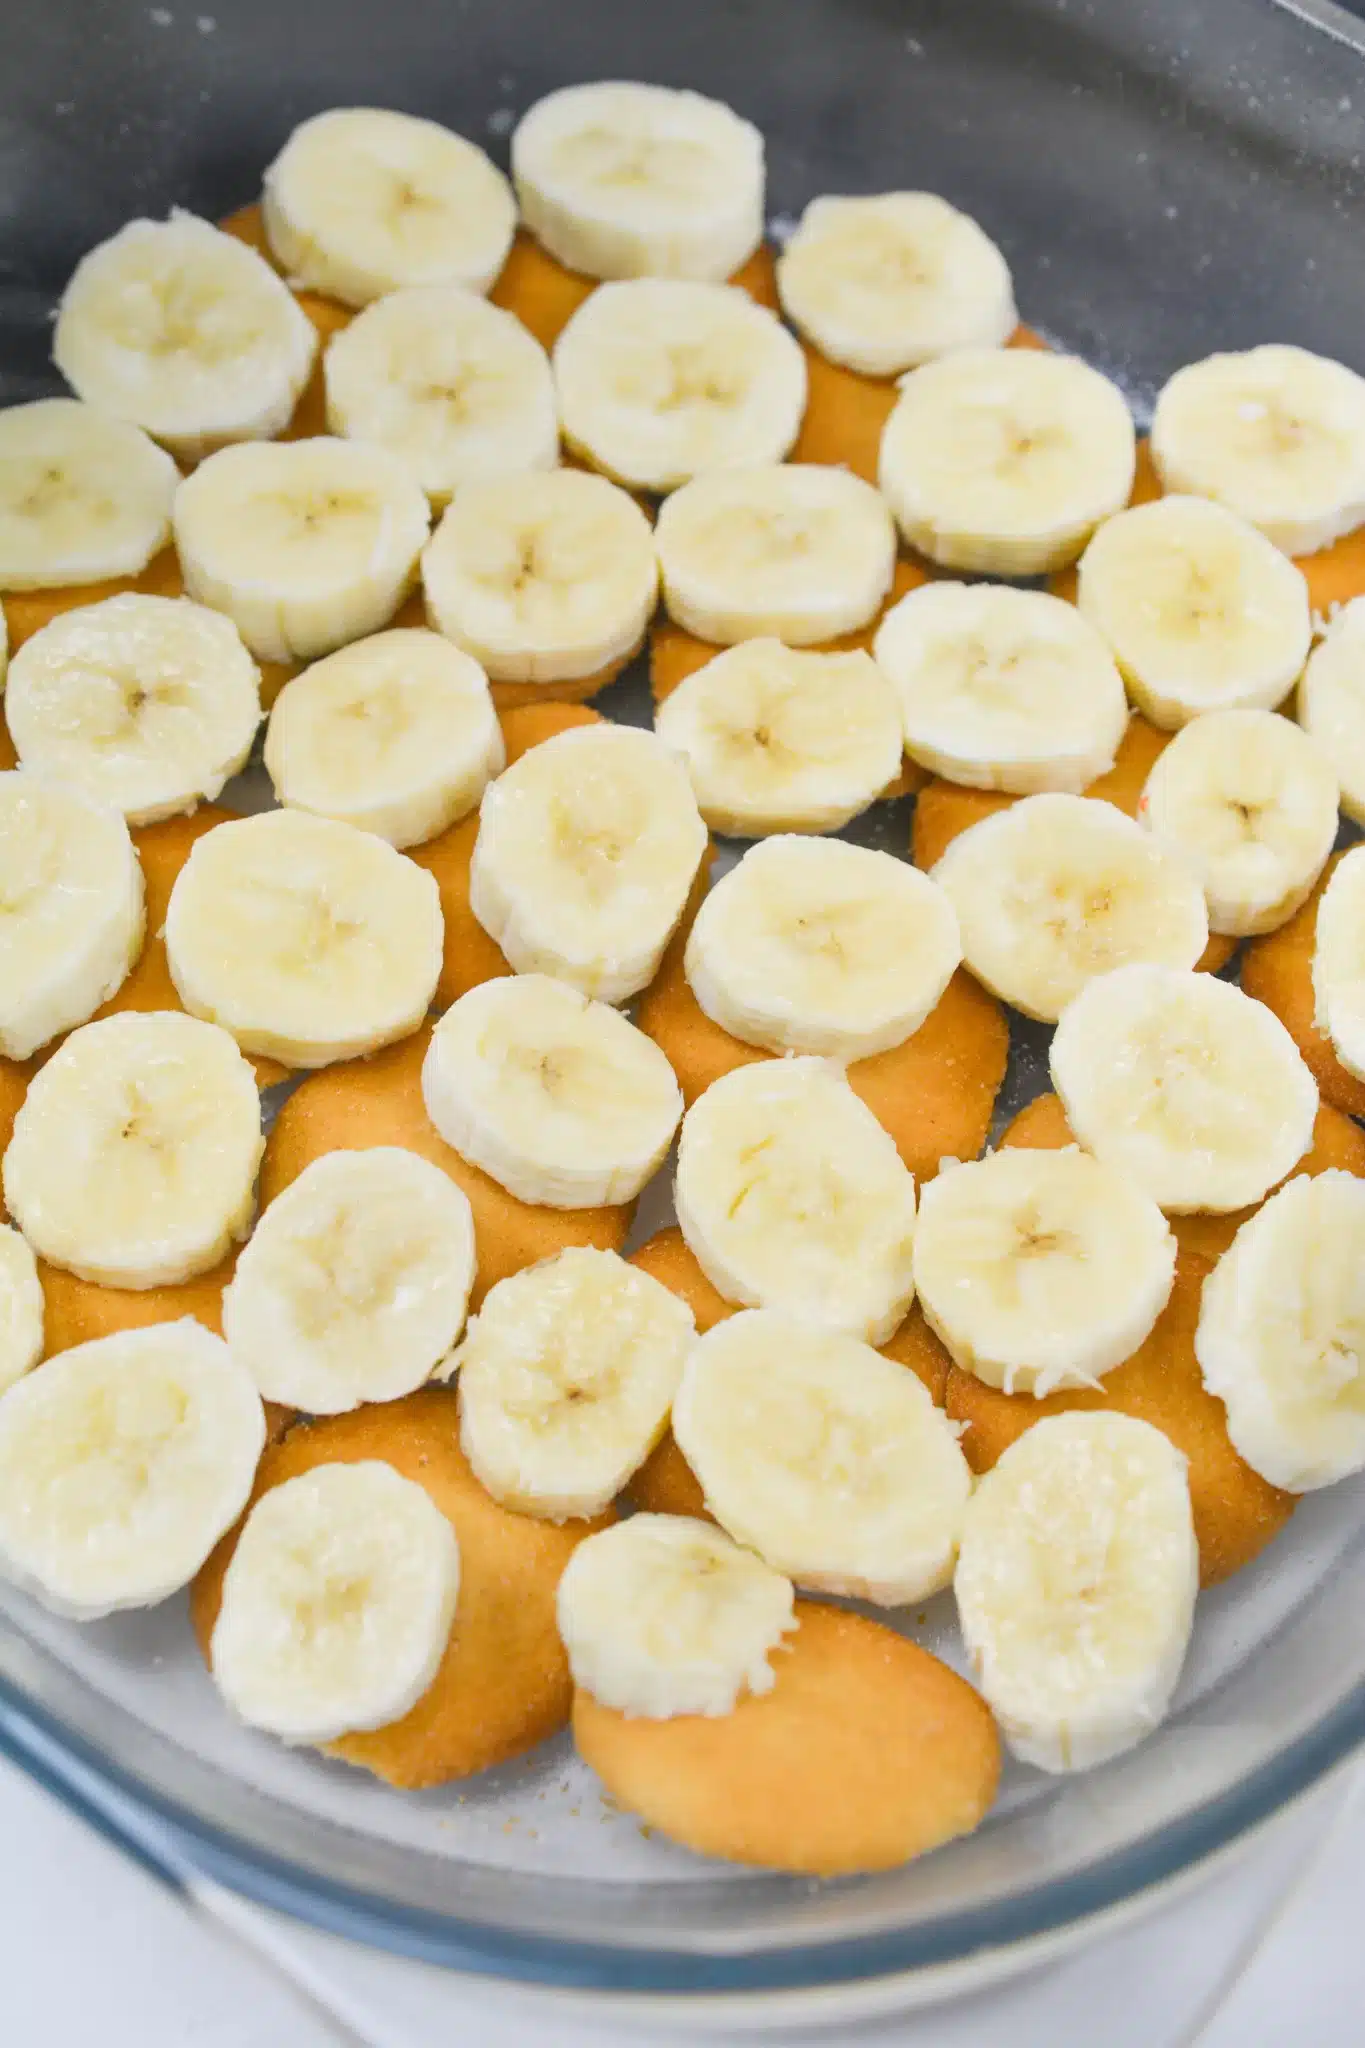
- Add a layer of sliced bananas.
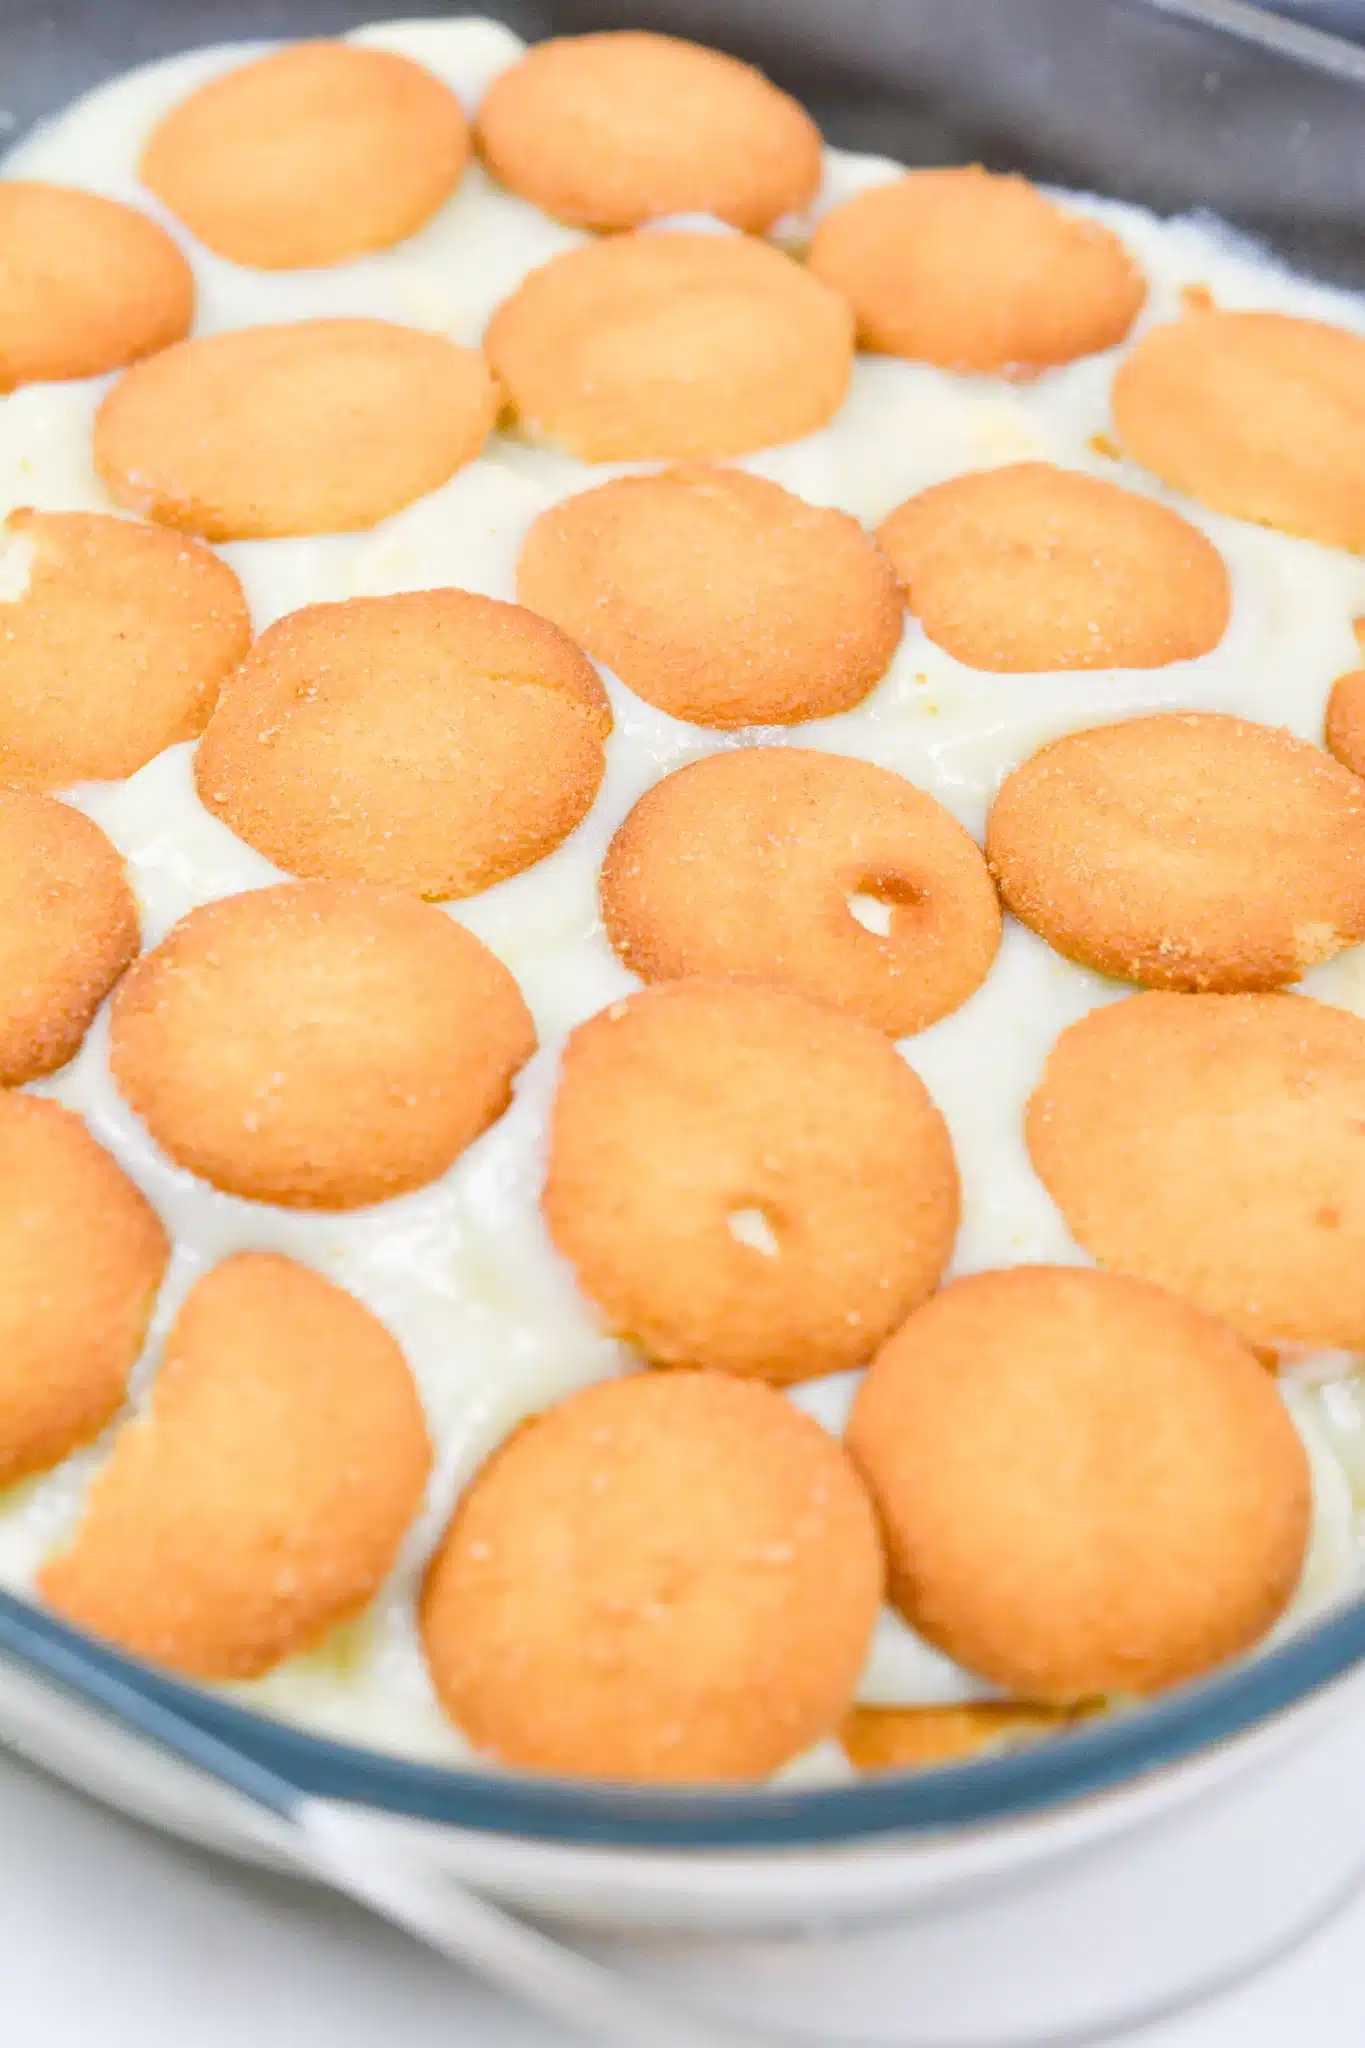
- Pour a third of the custard over the top.
Repeat until you’ve used up everything, finishing with a layer of wafers.
Want To Save This Recipe?
Enter your email below and we'll send the recipe straight to your inbox.
Step 4. Whip the Meringue
Time for that fluffy topping!
Beat the egg whites on high speed until foamy. Add the cream of tartar and start adding the sugar, one tablespoon at a time, until stiff peaks form. You’ll know it’s ready when the meringue holds its shape and looks glossy. Stir in the vanilla for a sweet finish.
Step 5. Top and Bake
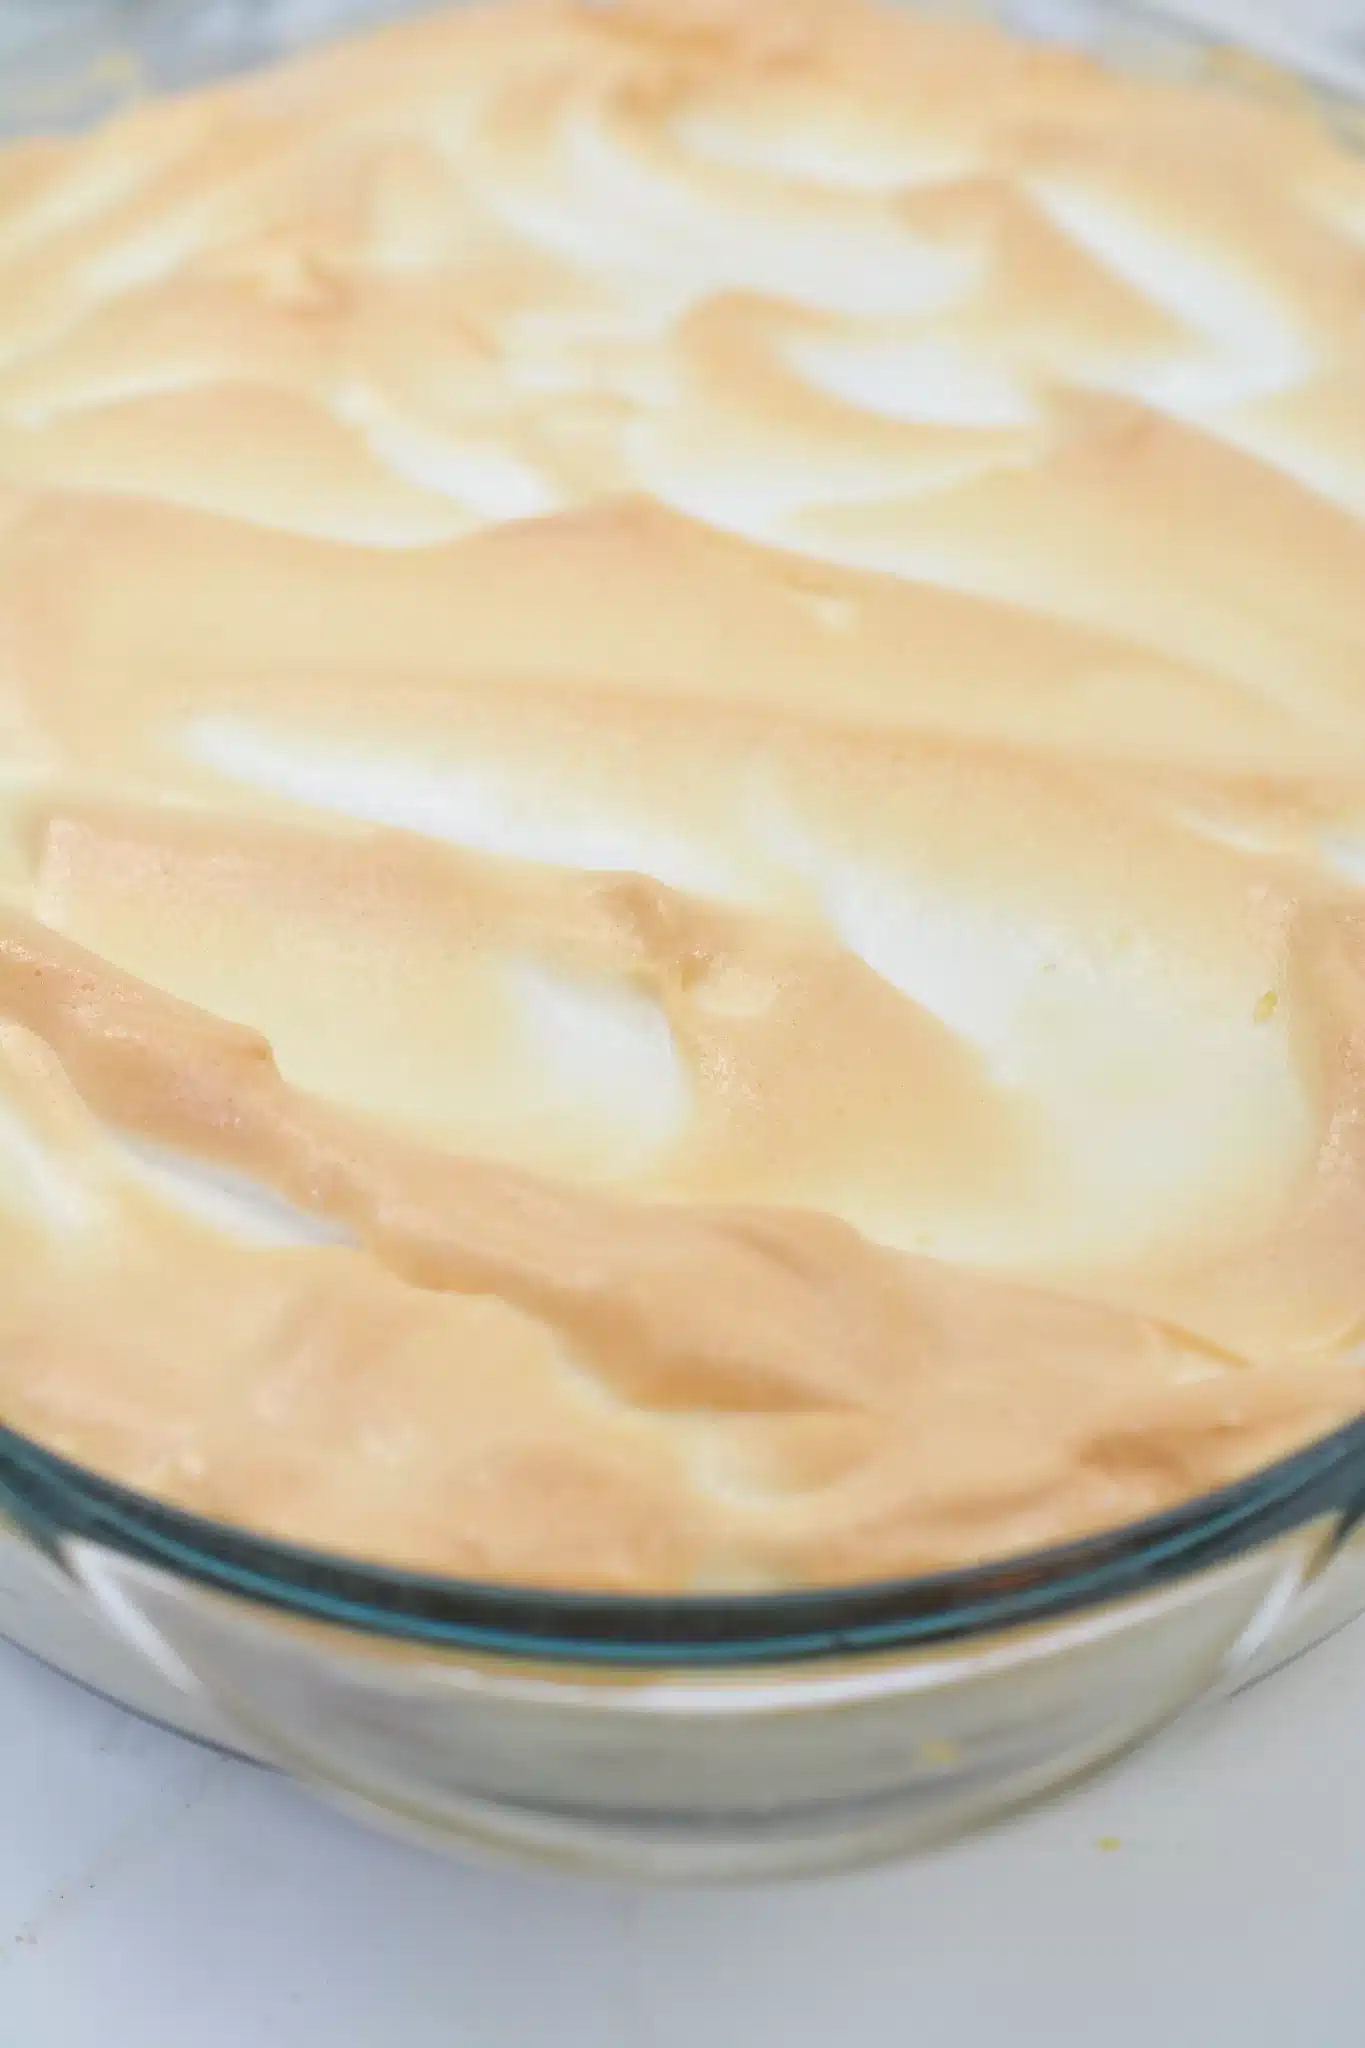
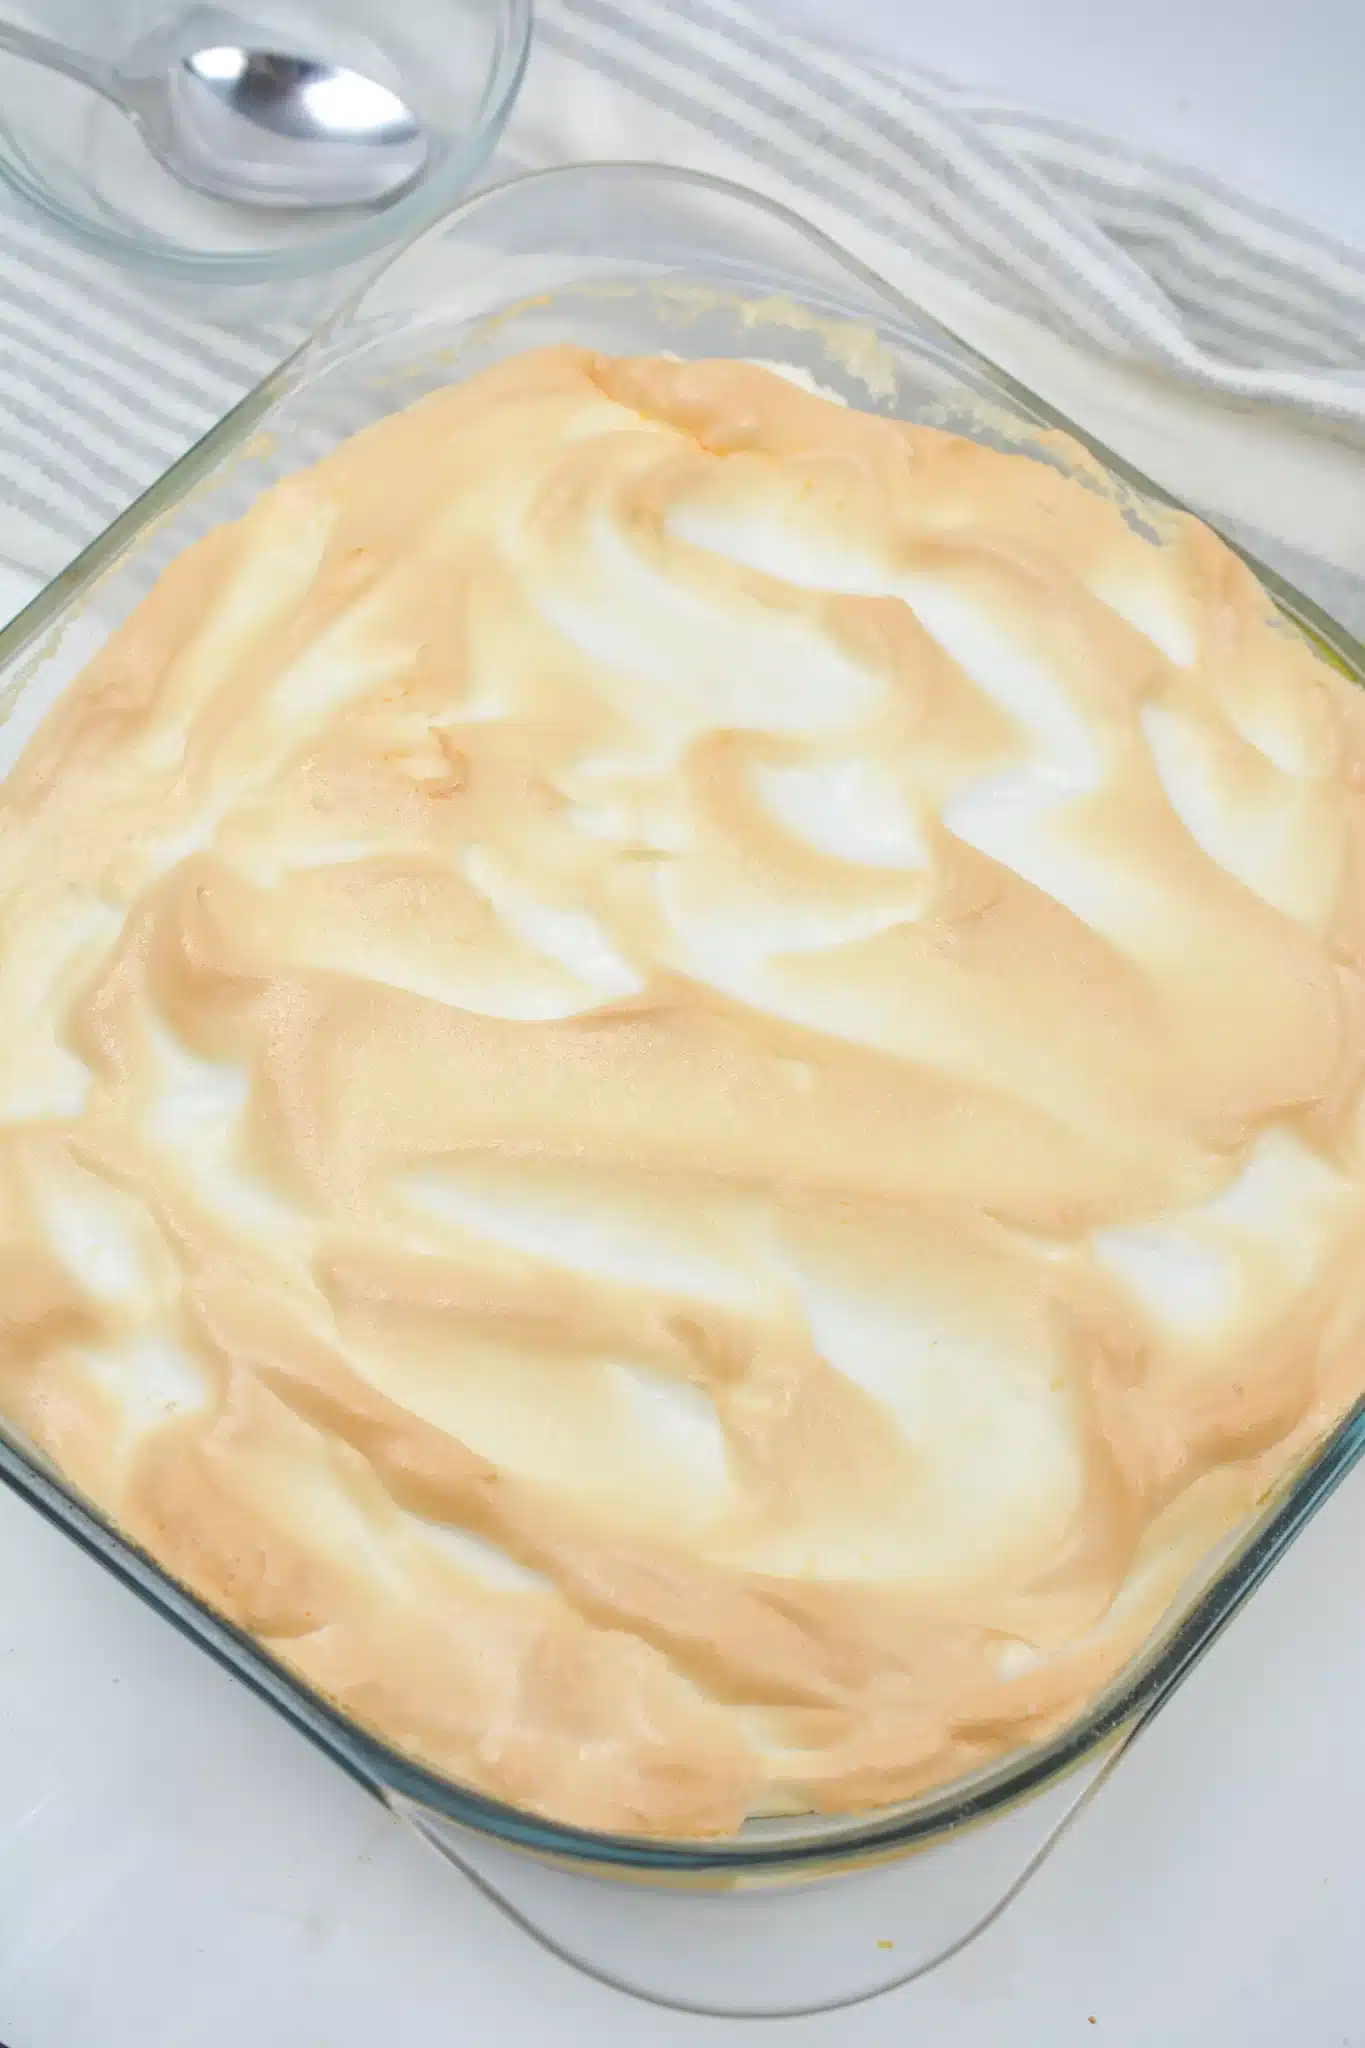
Spread the meringue over the pudding, making sure it touches the edges of the dish (this helps prevent shrinking).
Bake for about 25 minutes or until the meringue is golden brown.
Step 6. Cool and Serve
Let the pudding cool for about 30 minutes. It’s amazing warm, but I actually prefer it chilled after a few hours in the fridge.
Storage Options:
- Refrigerator: Cover and refrigerate for up to 3 days. The bananas will soften a bit, but the flavors? Still amazing.
- Freezer: Honestly? Not the best choice. The meringue doesn’t hold up well, and bananas can get mushy.
- Pro Tip: If you’re planning to make this ahead, wait to slice the bananas until just before assembling to keep them fresher.
Variations and Substitutions:
Want to mix things up? Try these twists:
- Cookie Swap: Try graham crackers or shortbread cookies instead of vanilla wafers.
- Chocolate Lover’s Twist: Add a drizzle of chocolate sauce between the layers.
- Boozy Version: A splash of bourbon in the custard? Yes, please.
- Dairy-Free: Use full-fat coconut milk and skip the meringue for a no-bake version.
- Extra Crunch: Toasted coconut or crushed nuts make a great topping!
What to Serve with Banana Pudding?
Banana pudding can totally steal the show, but here are a few pairing ideas to make it a whole spread:
- Iced Tea: Southern classic for a reason.
- BBQ Mains: Pulled pork, brisket, or ribs. The sweetness balances the smoky.
- Fresh Berries: Strawberries or raspberries for a fruity contrast.
- Coffee: A hot cup of coffee + pudding = perfection.
Frequently Asked Questions:
Can I make this pudding ahead of time?
Absolutely! In fact, it tastes even better after chilling overnight.
How do I keep bananas from turning brown?
A light squeeze of lemon juice can help, but don’t overdo it—too much can alter the flavor.
What if I skip the meringue?
No problem! Whipped cream works just as well.
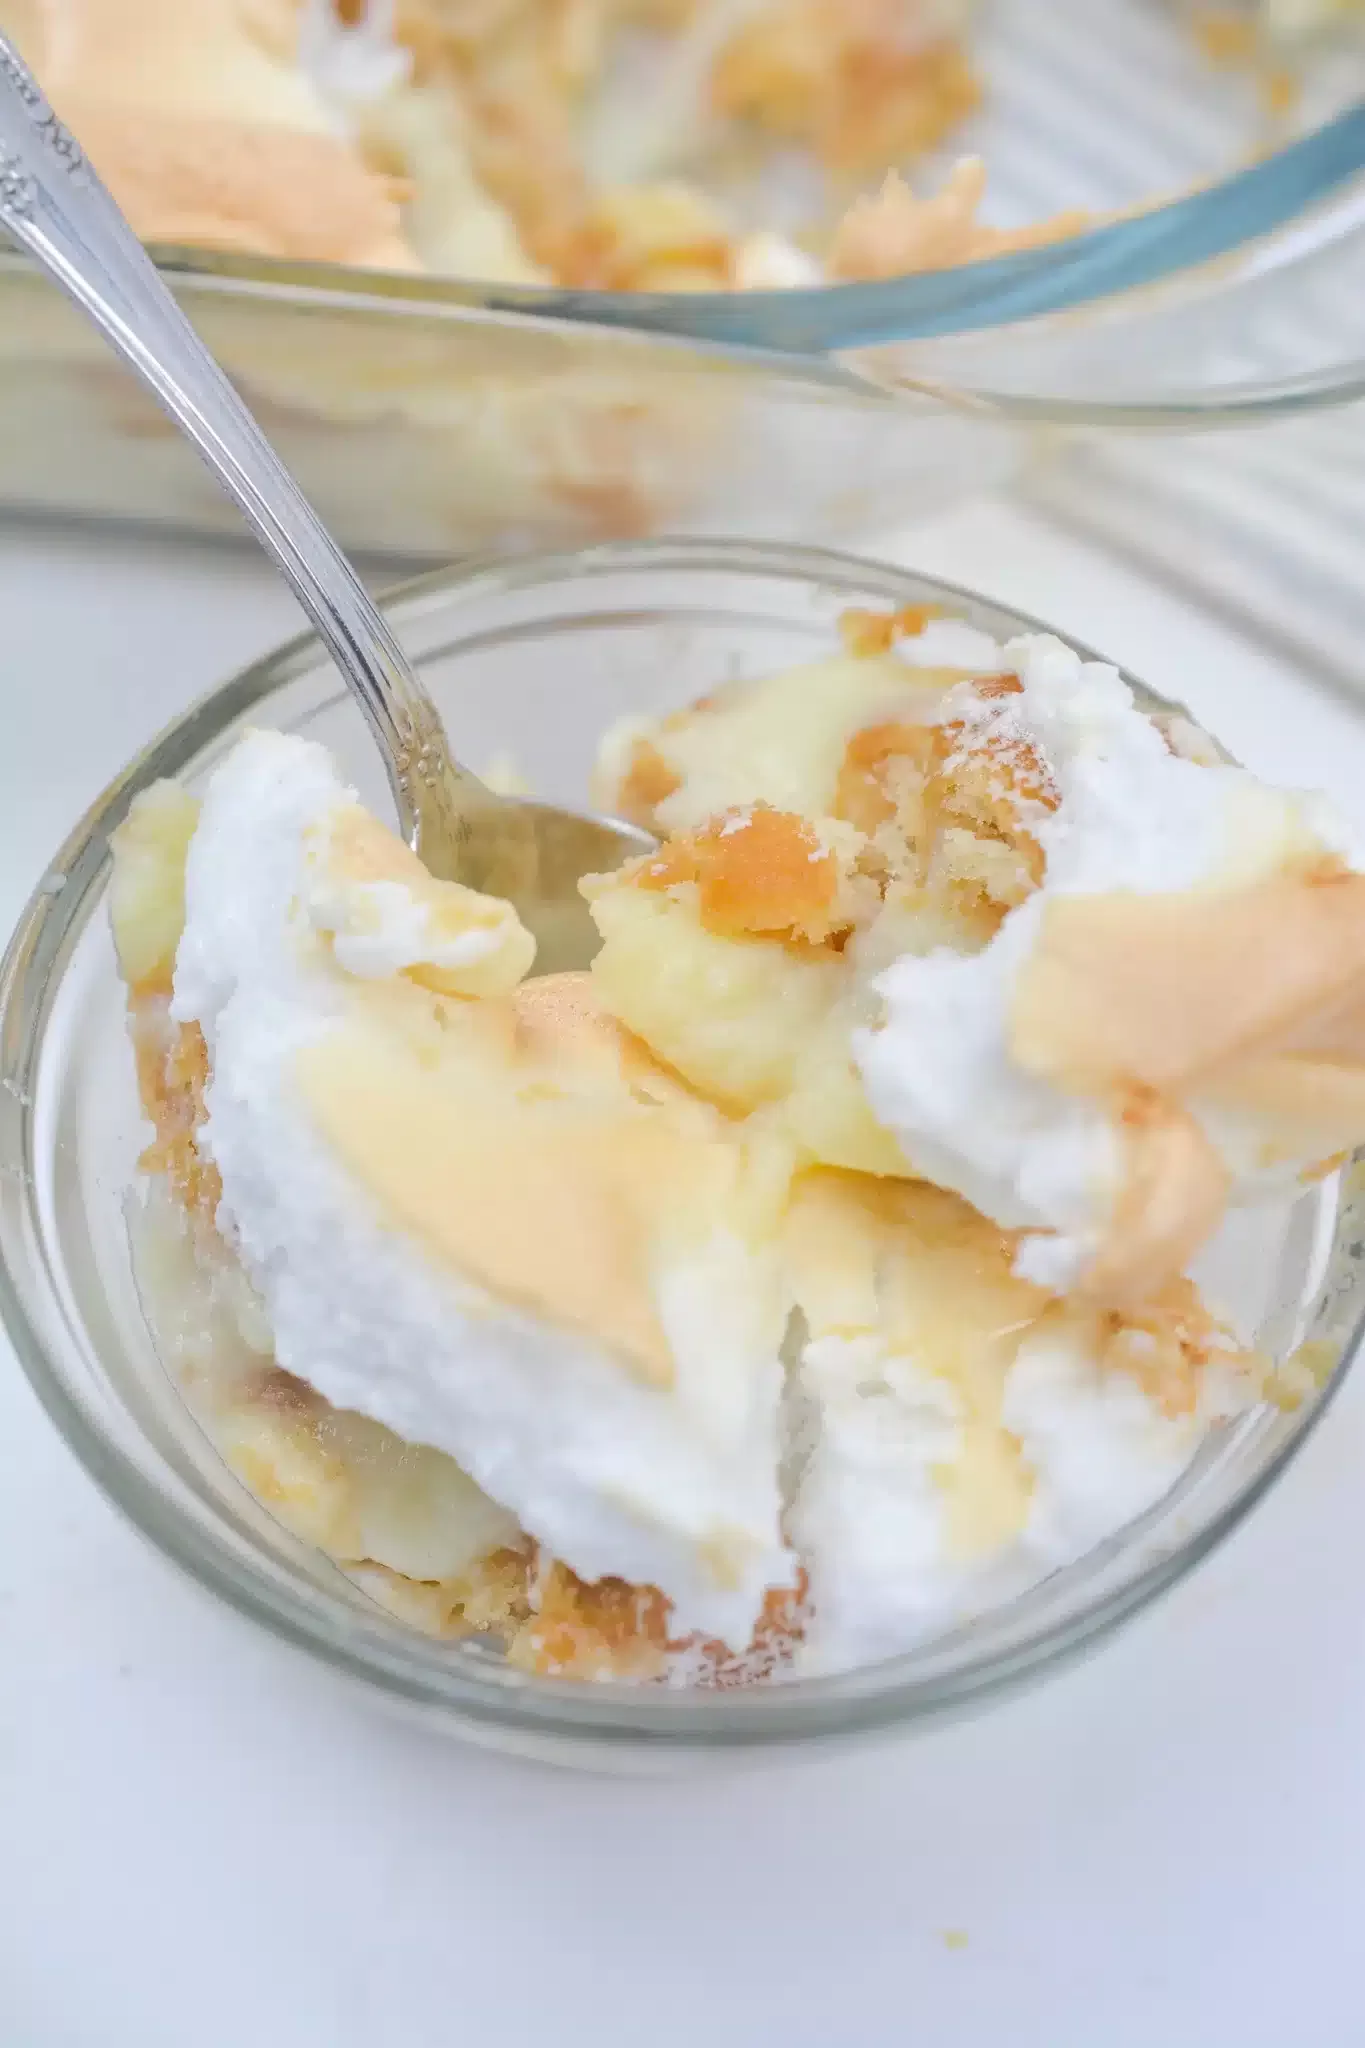
This Banana Pudding Recipe is more than just a dessert—it’s a taste of home. Whether you’re making it for a family gathering or just a cozy weekend treat, it’s guaranteed to be a hit.
So, what do you think? Ready to give it a try? If you make it, snap a pic and tag me—I’d love to see your pudding masterpiece!
Remember it later!
Planning to try this recipe soon? Pin it for a quick find later!
Remember it later!
Planning to try this recipe soon? Pin it for a quick find later!
Keep the Flavor Coming – Try These:
Ingredients
- 5-6 bananas
- 1 1/2 c. sugar
- 4 tbsp all-purpose flour
- pinch salt
- 3 large eggs separated reserve the whites for the meringue
- 1 tsp vanilla extract
- 3 c. milk
- 1 11-oz/ package of vanilla wafers approximately 45 wafers
- 1/4 c. sugar
- 1/8 tsp cream of tartar
- 1 tsp vanilla extract
- 3 egg whites reserved from above
Instructions
- Set the oven to 325 degrees F. Place the bowl and beaters in the fridge to chill for making the meringue.
To make the Custard:
- In a large, heavy saucepan, mix the flour, sugar, and salt.
- Lightly whisk the egg yolks and mix them with milk. Into the dry ingredients, add the egg-milk mixture. Cook while constantly stirring on low to medium heat until the mixture is smooth and thickened. Take off the heat before stirring in the vanilla.
To Assemble:
- On the bottom of a 2-quart oven-safe glass bowl or baking dish, layer 1/3 of the vanilla wafers. Top with 1/3 of the sliced bananas and pour over 1/3 of the custard.
- Do the same layers two more times, ending with the layer of the final wafer.
To make the Meringue:
- Using the chilled electric mixer, whip the egg whites at high speed.
- Let the egg whites foam before adding in the cream of tartar. Then, slowly add the sugar (1 tbsp at a time). Keep whipping until the sugar is completely dissolved. Once stiff peaks have formed, add the vanilla and whip until well blended.
- Over the banana pudding and the edges of the dish, spread the meringue.
- Place in the oven and bake for approximately 25 minutes until the meringue turned light brown.
Notes
CHECK OUT THESE AWESOME, EASY RECIPES:
- Cajun Chicken Alfredo with Broccoli
- Crock Pot Great Northern Beans
- Crockpot BBQ Chicken Wings (3 Ingredients)

I’m Bitty, owner of nodashofgluten.com, where I share simple, delicious recipes for all tastes, including gluten-free. Check out my “About Me” page for more info!


