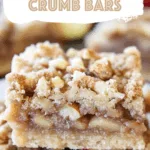
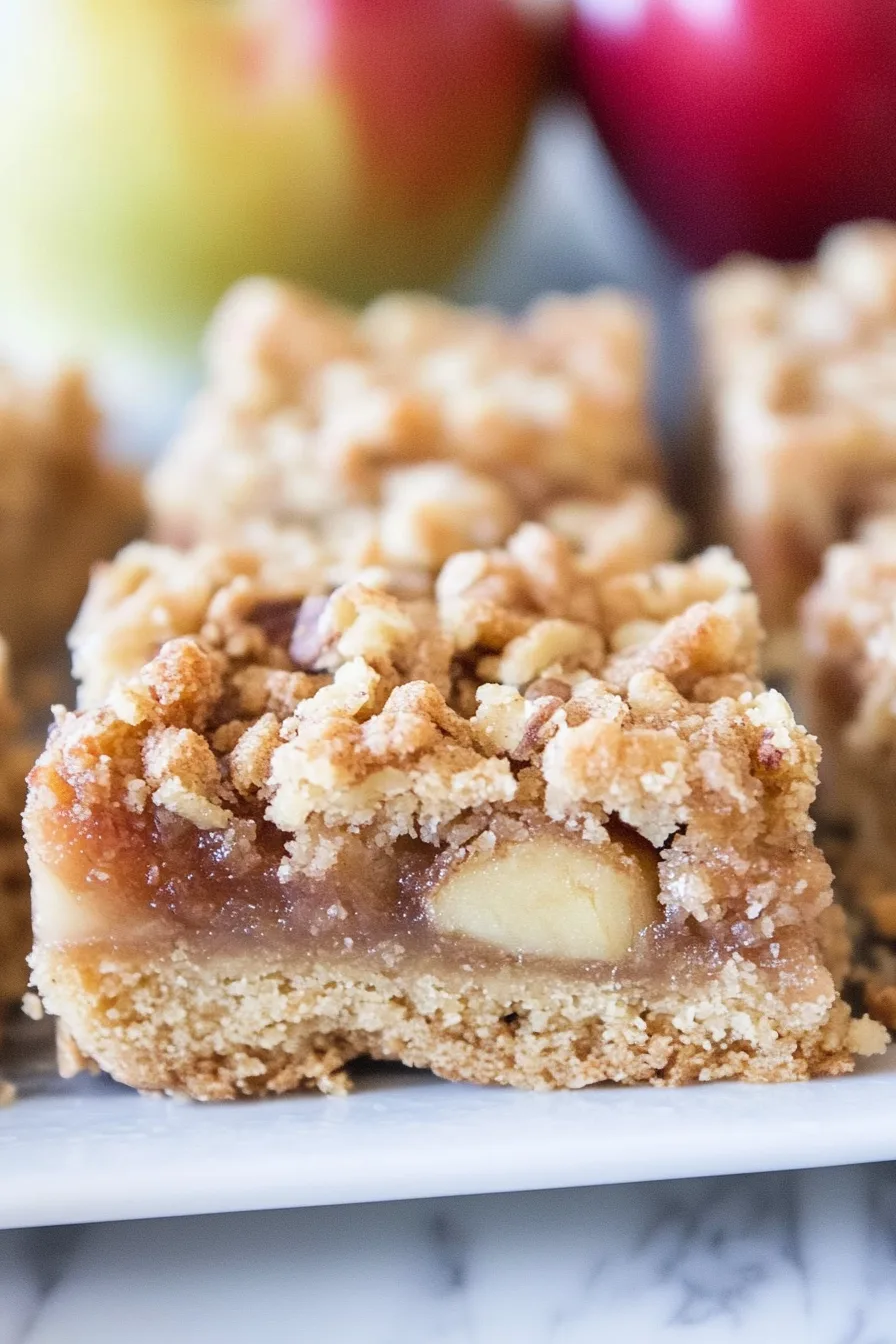
Soft apples, toasted walnuts, brown sugar, oats, and buttery crumb topping—these Apple Walnut Crumb Bars are fall in a bite.


You ever make something and then immediately regret offering to “bring some to the neighbors”? Yeah. That was me with these bars. I’d picked up this big bag of apples from the farmer’s market—you know, the kind that smell like a crisp fall morning? I had zero plans. Until I didn’t. I tossed them into a pan with some brown sugar, oats, cinnamon… and boom. These gooey, nutty, fall-flavored bars were born. And let’s just say… the neighbors? They got store-bought cookies instead. Whoops.
Why You’ll Love This Apple Walnut Crumb Bars Recipe?
These bars are like the cozy sweater of desserts. They’ve got a soft apple filling that’s not too sweet, a buttery oat crust that tastes like grandma’s best effort, and a nutty crunch from chopped walnuts that makes you go, “Oh okay, now we’re getting serious.” They’re rustic, homey, and honestly, they just taste like a hug from October. Plus, no mixer needed—just a bowl, your hands, and a little bit of fall spirit.

Ingredient Notes:
Before we dive in, here’s a little chat about what makes each ingredient tick. This isn’t just your average lineup—each one plays a part.
-
All-purpose flour – Classic. Holds everything together like the mom friend of baking ingredients.
-
Dark brown sugar – You could use light brown sugar, but the dark kind gives this molasses-y richness that’s just… more.
-
Rolled oats – Not quick oats! We want that hearty texture that doesn’t disappear into mush.
-
Baking soda + baking powder – Together, they give us just the right amount of lift and chew.
-
Cinnamon – You could add more. I mean, when is more cinnamon a bad idea?
-
Apples – Peeled, cored, diced. Use something tart like Granny Smith if you want contrast, or Honeycrisp if you like it sweet.
-
Walnuts – Toast them for more flavor, or swap them if you hate ‘em. We’ll get to that in the variations.
-
Lemon juice + zest – It brightens up the apples so they’re not just… mushy sweetness.
-
Butter – This is a “don’t skimp” situation. You’ll taste it in every bite.

How To Make Apple Walnut Crumb Bars?
Let’s walk through this like we’re baking together in your kitchen. I’ll bring the coffee, you grab the apron.
Step 1. Preheat + prep the pan.
Get that oven going at 350°F. Butter a 9×13 baking dish, then line it with parchment that hangs off the sides for easy removal. Butter the parchment too. (I know, butter on butter, but trust me.)
Step 2. Make the crust/crumb.
In a food processor, blend your flour, sugar, oats, leaveners, salt, and cinnamon. Add cold butter and pulse till it looks like damp sand. Not dry. Not dough. Crumbly but clumpy. Save 1 ¼ cups of that for later—that’s your top layer.
Step 3. Press the rest into the pan.
Use your hands or the back of a spoon to press the mixture into the bottom of the pan. It should go right to the edges. Bake for 12–15 mins until golden. Let it cool while you do the filling.
Step 4. Apple filling time.
In a bowl, mix more brown sugar, lemon zest, cinnamon, flour. Toss in the apples, lemon juice, melted butter, and chopped walnuts. Use your hands—it’s messy but worth it.
Step 5. Assemble + bake again.
Spread that apple mix over the cooled crust. Sprinkle the reserved crumb mix over the top. Bake another 35–45 mins until the edges are bubbly and the top’s all golden and crisp.
Step 6. Cool completely.
Let it cool before slicing. I know, the waiting is the worst. But the bars set as they cool, so don’t skip this step!

Storage Options:
These bars keep well in the fridge for about 2 days. I like to store them in an airtight container with parchment between the layers so they don’t stick together. You can freeze them too—just wrap each bar in plastic wrap, then toss in a freezer bag. Pop ‘em in the microwave for a quick 20-second warm-up later. Still delicious.
Want To Save This Recipe?
Variations and Substitutions:
Not into walnuts? Allergic? Forgot something at the store? I got you.
-
Nuts: Swap walnuts for pecans or almonds. Or skip them if you’re nut-free.
-
Apples: Pears or even peaches can work here, depending on the season.
-
Flour: Sub whole wheat flour for half the AP for a little nuttier flavor.
-
Spices: Nutmeg, allspice, or even a little cardamom can cozy things up.
-
Butter: You could try vegan butter, but I haven’t personally done it. If you try it, tell me how it goes!

What to Serve with Apple Walnut Crumb Bars?
These bars are kind of a vibe all on their own, but here’s how you can dress them up:
-
Vanilla ice cream. Warm bar + cold scoop = yes, please.
-
Whipped cream. Just a dollop makes them fancy enough for guests.
-
Coffee or chai. The spice and sweetness pair beautifully.
-
Maple glaze drizzle. Feeling extra? Whisk powdered sugar with maple syrup and drizzle that magic on top.
Frequently Asked Questions:
Can I make these gluten-free?
Yep! Use a good 1:1 gluten-free flour blend and certified GF oats. Don’t skip the parchment lining—GF crusts can be crumbly.
Can I use apple pie filling instead?
Ehh… it’ll be sweeter and softer. These bars really shine with fresh apples. But if you’re short on time, go for it—maybe reduce the added sugar.
Why did my bars fall apart?
You probably cut them too soon. Let them cool completely before slicing, or they’ll crumble like bad first dates.

Can’t wait to hear what you think about these Apple Walnut Crumb Bars! If they remind you of fall, your grandma’s kitchen, or just make your Tuesday better—I call that a win.
Want more cozy bar desserts like this one? Stick around, I’m just getting warmed up.
Keep the Flavor Coming – Try These:
Apple Walnut Crumb Bars
Ingredients
For the crust and topping:
- 1½ cups all-purpose flour
- 1 cup firmly packed dark brown sugar
- 1¼ cups rolled oats
- ¾ teaspoon salt
- ¾ teaspoon baking powder
- ½ teaspoon baking soda
- ½ teaspoon ground cinnamon
- ¾ cup 1½ sticks unsalted butter, cold and cut into 1-inch cubes
For the apple filling:
- ¼ cup firmly packed dark brown sugar
- 1 tablespoon finely grated lemon zest
- ½ teaspoon ground cinnamon
- 2 tablespoons all-purpose flour
- 1 pound apples peeled, cored, and diced
- ½ cup walnuts finely chopped
- ¼ cup fresh lemon juice
- 2 tablespoons unsalted butter melted and cooled
Instructions
Preheat and Prepare the Pan
- Preheat the oven to 350°F (175°C). Lightly grease a 9-by-13-inch baking pan with butter. Line the bottom with parchment paper, allowing excess to hang over the short sides of the pan for easy removal. Butter the parchment as well.
Prepare the Crust and Crumb Topping
- In a food processor, combine the flour, brown sugar, oats, salt, baking powder, baking soda, and cinnamon. Pulse several times until the ingredients are evenly mixed. Add the cold butter pieces and pulse again until the mixture resembles coarse crumbs.
Form the Base
- Reserve 1¼ cups of the crumb mixture and set aside. Press the remaining mixture firmly into the bottom of the prepared pan, making sure to distribute it evenly across the surface. Bake for 12 to 15 minutes, or until lightly golden. Remove from oven and allow the crust to cool while preparing the filling.
Prepare the Apple Filling
- In a medium bowl, combine the brown sugar, lemon zest, cinnamon, and flour. Add the diced apples, chopped walnuts, lemon juice, and melted butter. Gently toss the mixture with your hands or a spatula until the apples are well coated.
Assemble and Bake
- Evenly spread the apple filling over the cooled crust. Sprinkle the reserved crumb mixture over the top of the filling. Bake for 35 to 45 minutes, rotating the pan halfway through baking, until the topping is golden brown and the filling begins to bubble at the edges.
Cool and Slice
- Allow the bars to cool completely on a wire rack. Once fully cooled, use the parchment paper to lift the bars from the pan. Slice into squares and serve.
Notes
I’m Bitty, owner of nodashofgluten.com, where I share simple, delicious recipes for all tastes, including gluten-free. Check out my “About Me” page for more info!