

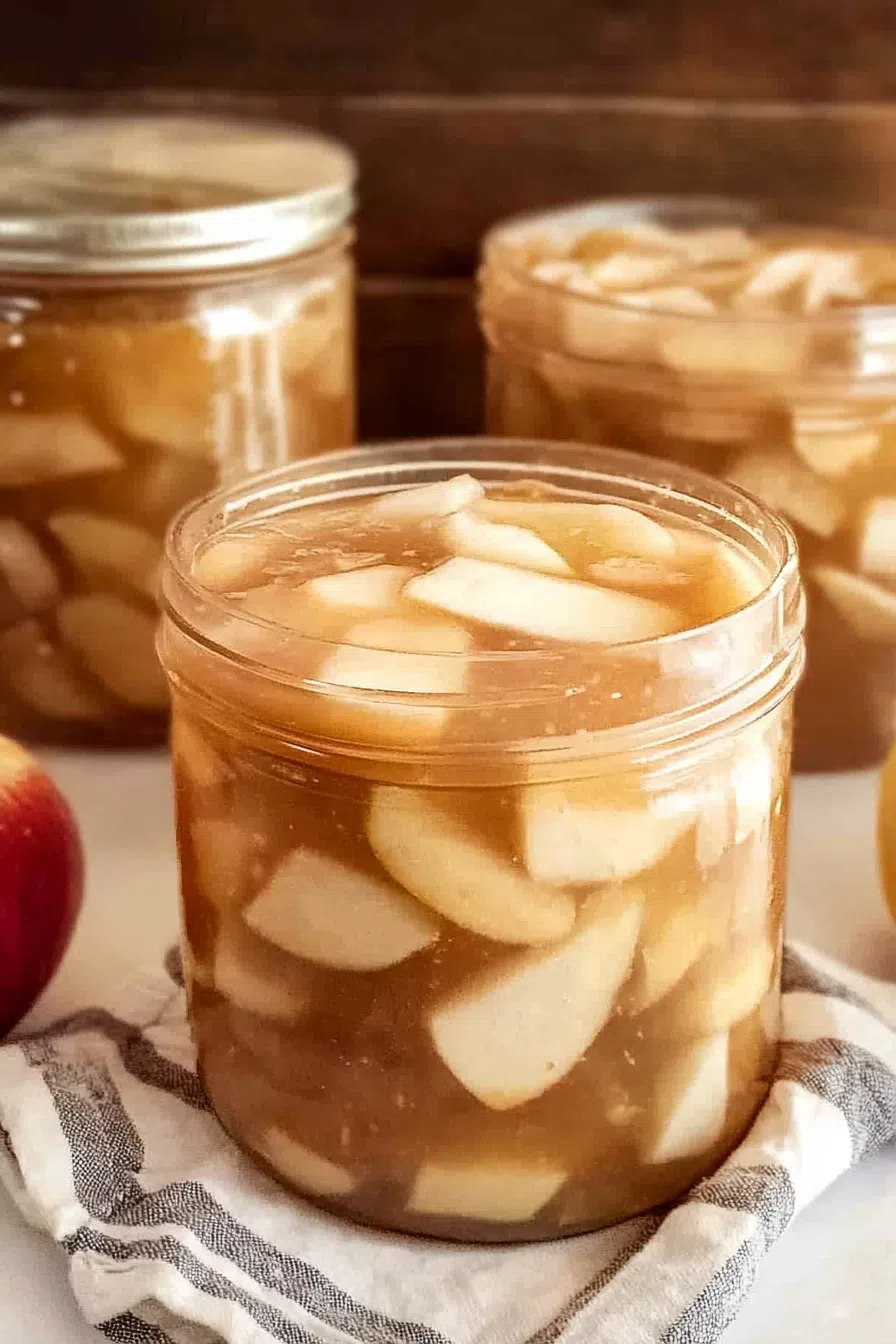
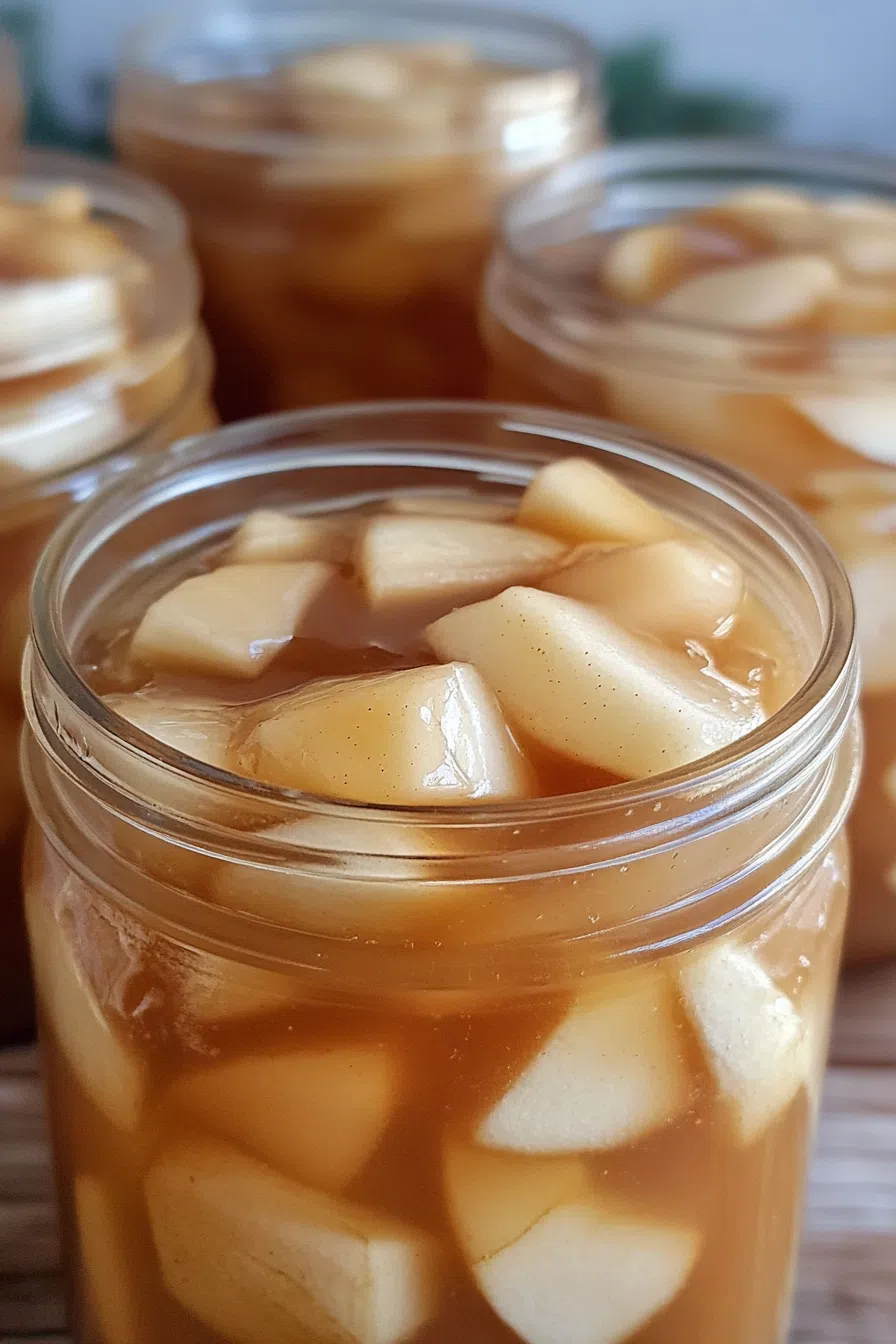
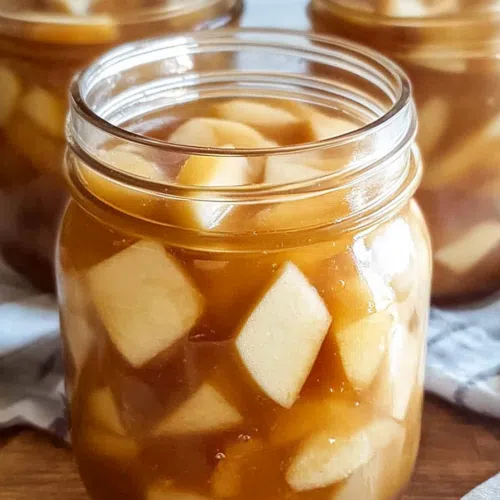
Make homemade pies in minutes with this Amish Canned Apple Pie Filling Recipe—made with fresh apples, cinnamon, nutmeg, and a thick, spiced syrup!
Have you ever had one of those days where you just need a slice of warm, homemade apple pie, but the thought of peeling and slicing apples for an hour makes you want to abandon ship? Same. That’s exactly why this Amish Canned Apple Pie Filling Recipe is a game-changer. One big batch now means pie (or crisp, or turnovers) anytime you want, no fuss, no mess.


I’ll never forget the first time I made this. It was the fall of absolute apple chaos—I had gone apple picking, as one does, with the intention of getting “just a few.” Fast forward an hour, and I had bags of apples I had no idea what to do with. After baking about three pies and realizing I still had more apples than I could handle, I decided to try canning them. Best decision ever. Now, every time I pop open a jar, I get a little taste of that crisp fall day—minus the back-breaking peeling session.
So, if you want that homemade apple pie magic ready at a moment’s notice, grab your jars and let’s do this.
Why You’ll Love This Amish Canned Apple Pie Filling Recipe?
- Saves a TON of time – Just pop open a jar, pour into a crust, and bake!
- Tastes 100x better than store-bought – No weird preservatives or gloopy filling here.
- Works for more than just pie – Use it for crisps, turnovers, oatmeal, and even ice cream.
- Lasts all year – Properly canned, it’s good for up to 12 months.
Ingredient Notes:
This recipe sticks to classic, simple ingredients that let the apples shine.
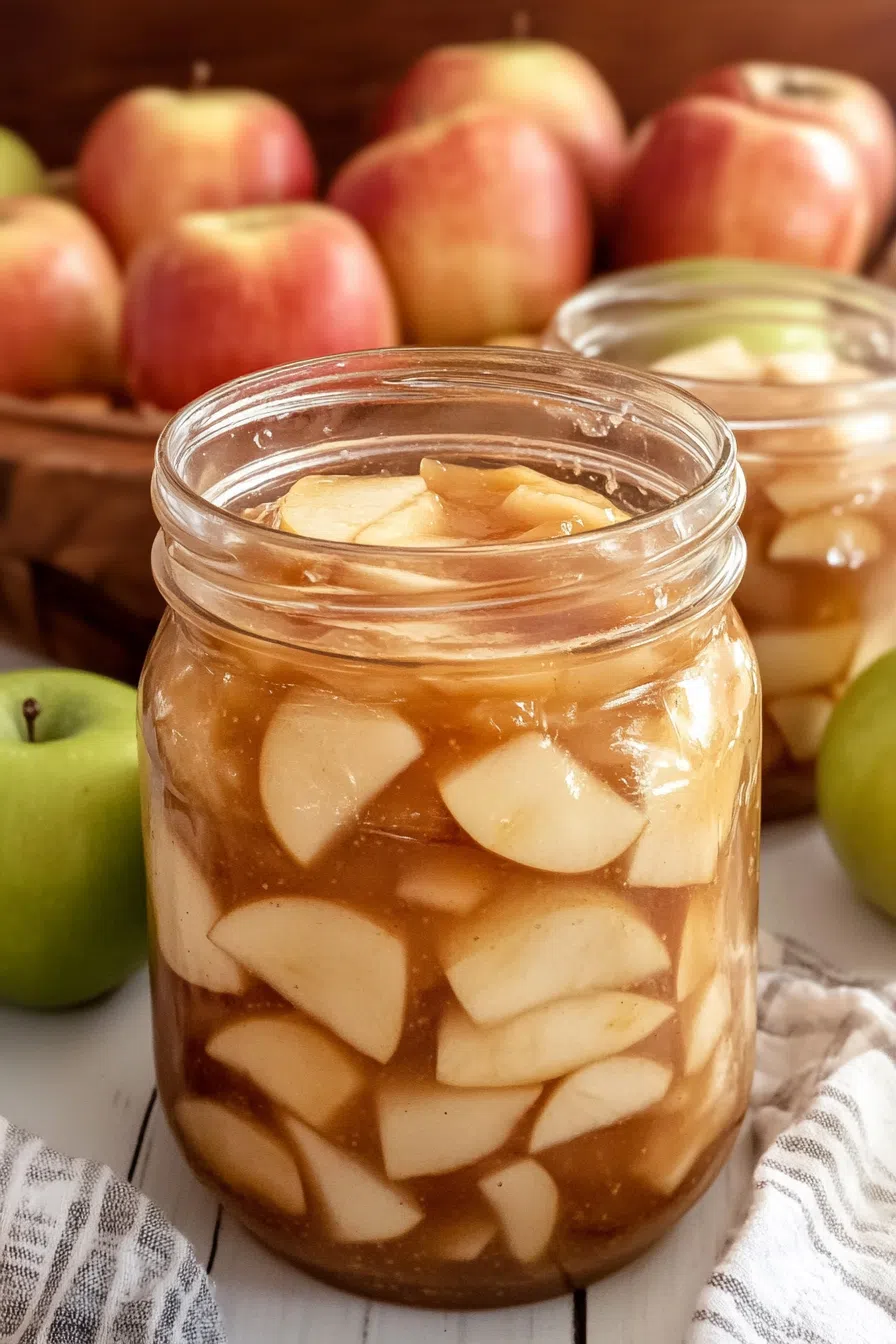
- Apples – About 6 pounds (or 18-20 medium apples). Granny Smith, Honeycrisp, or Jonagold work best.
- Sugar – The sweetener that keeps things balanced (you can reduce it a little if you like a more tart filling).
- ClearJel – The only thickener that’s safe for canning (cornstarch will break down over time).
- Cinnamon & Nutmeg – The classic spices that give this filling its warm, cozy flavor.
- Water – Helps create the syrup base.
- Apple Cider Vinegar or Lemon Juice – Adds just the right acidity to keep the apples fresh and bright.
- Salt – A little pinch enhances all the flavors.
Pro Tip: Want a deeper caramel-like sweetness? Substitute half the white sugar with brown sugar!
How To Make Amish Canned Apple Pie Filling?
This process is way easier than it sounds, and once you’ve done it once, you’ll never go back to store-bought pie filling again.
Step 1. Prep Your Jars
Start by sterilizing 7 quart-sized jars, lids, and rings. You can do this by boiling them in a large canning pot for 10 minutes or running them through the dishwasher on high heat.
Step 2. Prep the Apples
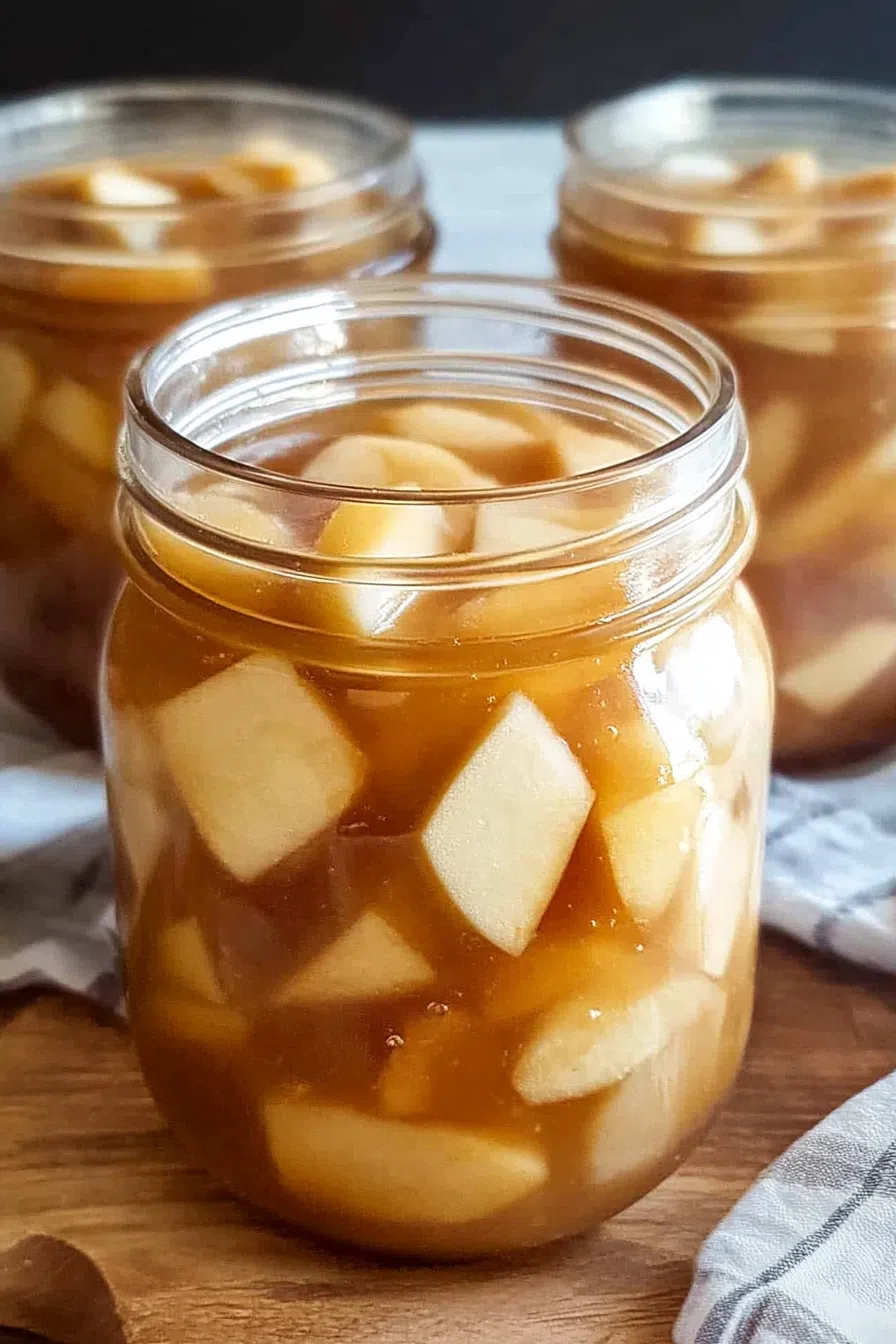
Peel, core, and slice your apples into thin, even pieces. The thinner they are, the better they’ll pack into jars! To keep them from turning brown, toss them in a bowl of cold water with ¼ cup lemon juice while you work.
Step 3. Make the Syrup
In a large pot, whisk together the water, sugar, ClearJel, cinnamon, nutmeg, and salt. Heat over medium heat, stirring constantly until it thickens and starts to bubble. Then, add the apple cider vinegar or lemon juice and boil for one more minute.
Step 4. Combine Apples & Syrup
Drain the apples well and fold them into the hot syrup. Stir until all the slices are evenly coated—this is where the magic happens!
Step 5. Fill the Jars
Use a slotted spoon to pack the apples into your sterilized jars, leaving about 1 inch of headspace at the top. Then, ladle the hot syrup over the apples, filling in the gaps while keeping that 1-inch headspace. Run a knife or spatula around the edges to remove air bubbles.
Step 6. Seal the Jars
Wipe the rims clean, place the lids on, and screw the rings just until fingertip tight (not too tight, or air won’t escape during processing).
Want To Save This Recipe?
Step 7. Process in a Water Bath
Place the jars in a water bath canner, making sure they’re fully submerged under at least 2 inches of water. Bring the water to a rolling boil and process for 25 minutes (adjust if you live at high altitude).
Step 8. Cool & Store
Remove the jars carefully and set them on a towel-lined counter. Let them sit undisturbed for 12-24 hours—you should hear that satisfying “pop” as they seal!
Pro Tip: After they cool, press the center of each lid. If it doesn’t pop back, you’ve got a good seal!
Storage Options:
- Pantry Storage: Keep sealed jars in a cool, dark place for up to 12 months.
- Opened Jars: Once opened, store in the fridge and use within 2 weeks.
- Freezing Option: If you don’t want to can, store in freezer-safe bags or containers for up to 6 months.
Variations and Substitutions:
Want to customize your filling? Try these:
- Brown Sugar Swap – For a deeper, caramel-like flavor.
- Extra Spices – Add cloves, allspice, or cardamom for a unique twist.
- Pear Version – Swap out half the apples for firm pears for a delicious mix.
- Boozy Option – Stir in 1-2 tablespoons of bourbon or rum for a little extra warmth.
What to Serve with Amish Canned Apple Pie Filling?
It’s not just for pie! Try it in:
- Classic Apple Pie – Just pour into a crust and bake!
- Apple Crisp – Top with oats and butter, then bake until golden.
- Pancakes & Waffles – A warm, spiced topping for breakfast.
- Yogurt & Granola – An easy, delicious parfait.
- Ice Cream – Because why not?
Frequently Asked Questions:
Can I use cornstarch instead of ClearJel?
Nope! Cornstarch isn’t safe for canning because it breaks down over time and can make the filling unsafe.
What’s the best apple variety for this recipe?
Granny Smith, Honeycrisp, and Jonagold hold their shape and don’t get mushy.
How do I know if my jars sealed properly?
Press the lid after 24 hours—if it doesn’t pop back, you’re good!
Your Fall Baking Shortcut
Having jars of homemade Amish Canned Apple Pie Filling in the pantry is a game changer. It’s sweet, spiced, and ridiculously easy to use. Whether you’re baking a pie, making apple crisp, or just spooning it straight from the jar (we’ve all been there), you’ll never regret taking the time to can these beauties.
So tell me—what’s the first thing you’re making with your apple pie filling? Let’s chat in the comments!
Keep the Flavor Coming – Try These:
Amish Canned Apple Pie Filling Recipe
Ingredients
- 6 pounds apples approximately 18-20 medium-sized apples, peeled, cored, and sliced
- 4 cups granulated sugar
- 1 cup ClearJel modified cornstarch for safe canning
- 1 tablespoon ground cinnamon
- 1 teaspoon ground nutmeg
- 10 cups water
- ¾ cup apple cider vinegar or lemon juice
- Pinch of salt
Instructions
Prepare the Canning Jars
- Sterilize 7 quart-sized canning jars, lids, and rings by boiling them in a large canning pot for 10 minutes. Keep them warm until ready to use.
Prepare the Apples
- Peel, core, and slice the apples into thin, even pieces to ensure even cooking and packing. Place the sliced apples in a bowl of cold water mixed with ¼ cup of lemon juice to prevent browning while you prepare the syrup.
Make the Syrup
- In a large pot, combine water, sugar, ClearJel, cinnamon, nutmeg, and salt. Stir continuously over medium heat until the mixture thickens and begins to bubble. Once thickened, add the apple cider vinegar or lemon juice, stirring constantly, and allow it to boil for 1 additional minute.
Combine Apples with Syrup
- Drain the apples and carefully fold them into the hot syrup. Stir gently to ensure all slices are evenly coated without breaking them.
Fill the Jars
- Using a slotted spoon, pack the apple slices into the sterilized jars, leaving 1 inch of headspace at the top. Then, ladle the hot syrup over the apples, ensuring they are completely covered while maintaining the 1-inch headspace. Remove any air bubbles by gently running a non-metallic spatula along the inside of the jar.
Seal the Jars
- Wipe the rims of the jars with a clean, damp cloth to remove any residue. Place the sterilized lids on top and screw on the rings until fingertip tight—firm, but not overly tightened.
Process in a Water Bath
- Place the jars in a water bath canner, ensuring they are fully submerged under at least 2 inches of water. Bring the water to a rolling boil and process the jars for 25 minutes (adjusting for altitude if necessary).
Cool and Store
- After processing, carefully remove the jars and place them on a towel-lined counter to cool for 12-24 hours. Do not disturb them during this time. You should hear the "pop" of the lids sealing.
- Once cooled, check each lid by pressing down on the center. If it does not pop back, the jar is sealed correctly. Store in a cool, dark place for up to 12 months.
Notes
I’m Bitty, owner of nodashofgluten.com, where I share simple, delicious recipes for all tastes, including gluten-free. Check out my “About Me” page for more info!

