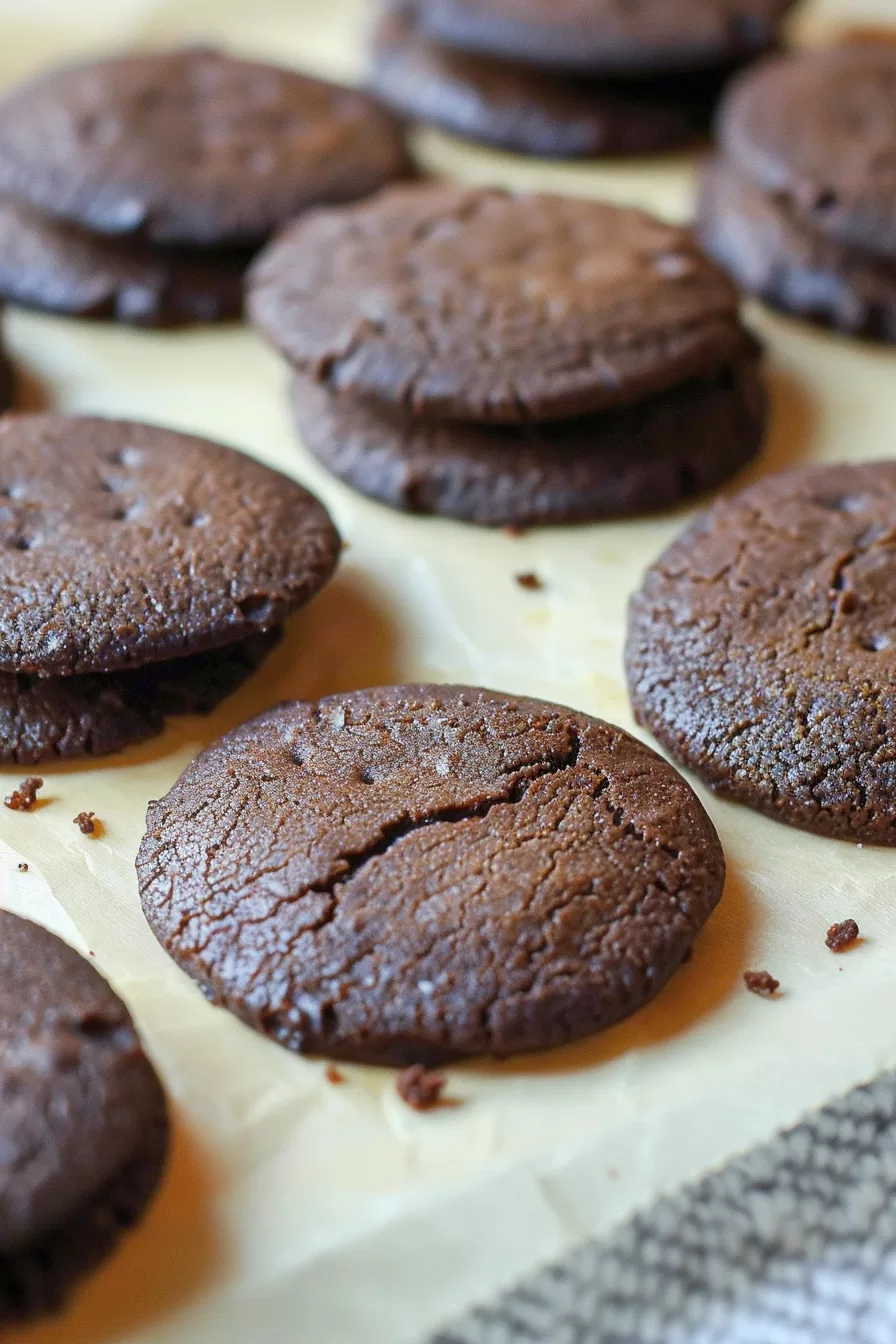
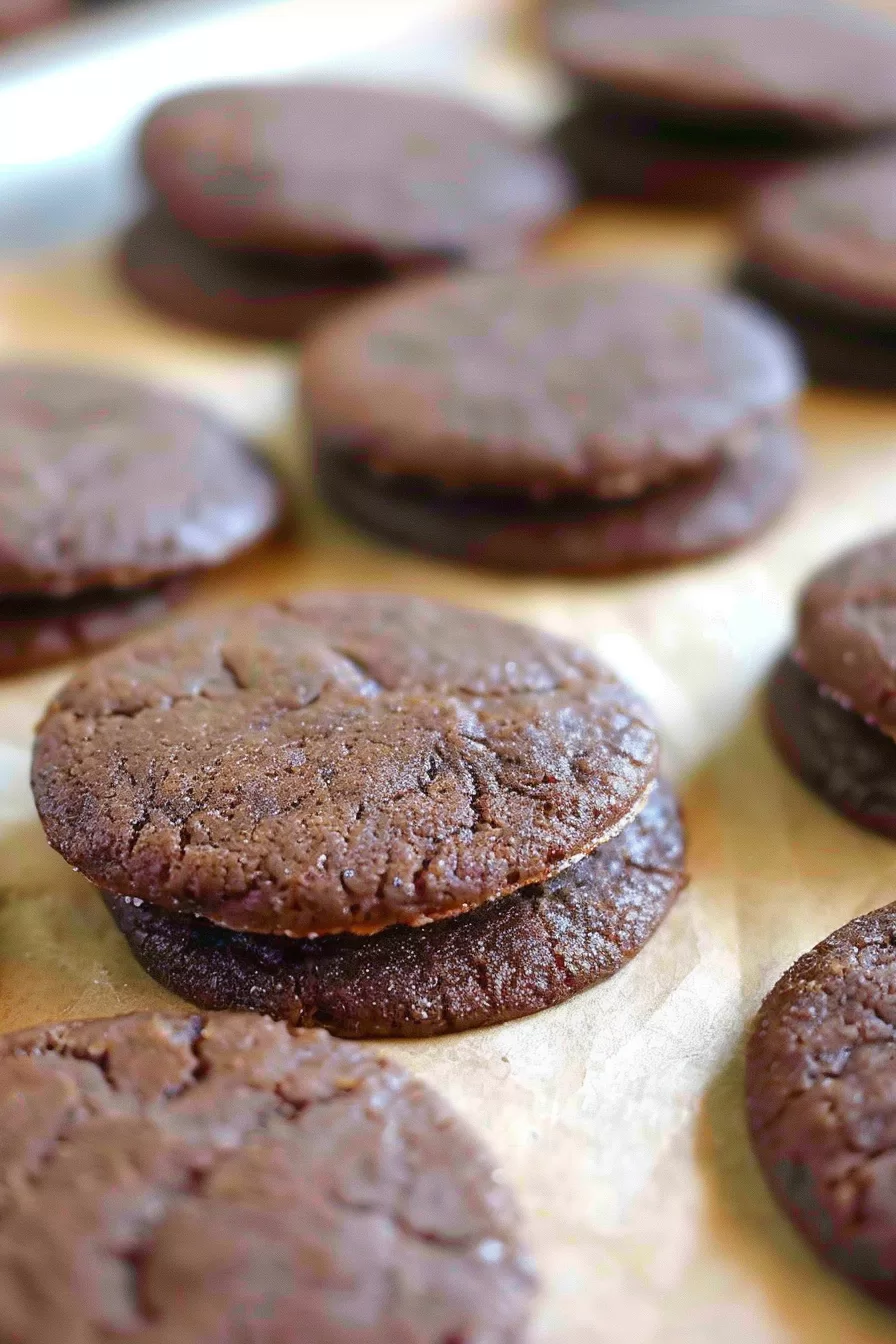
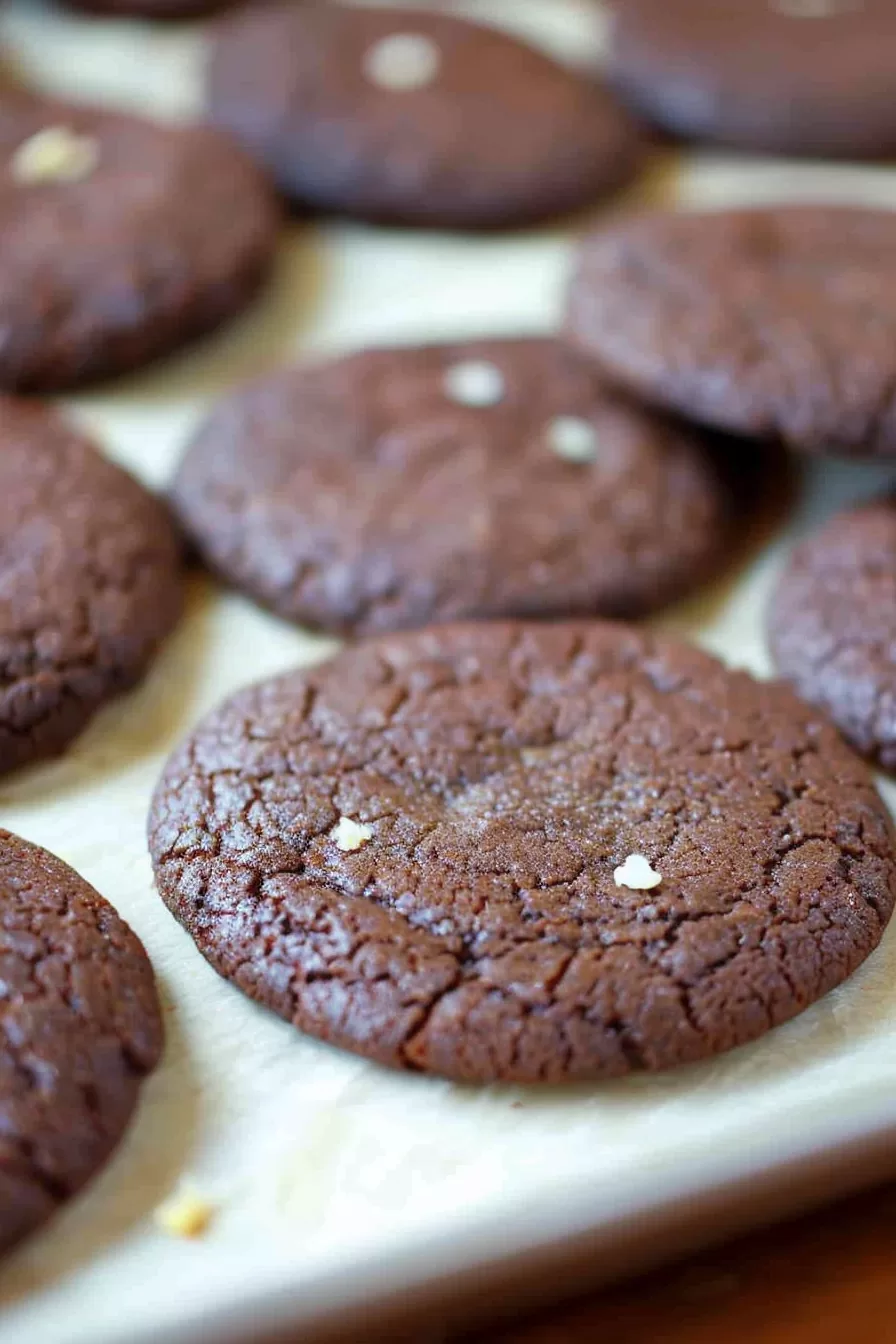
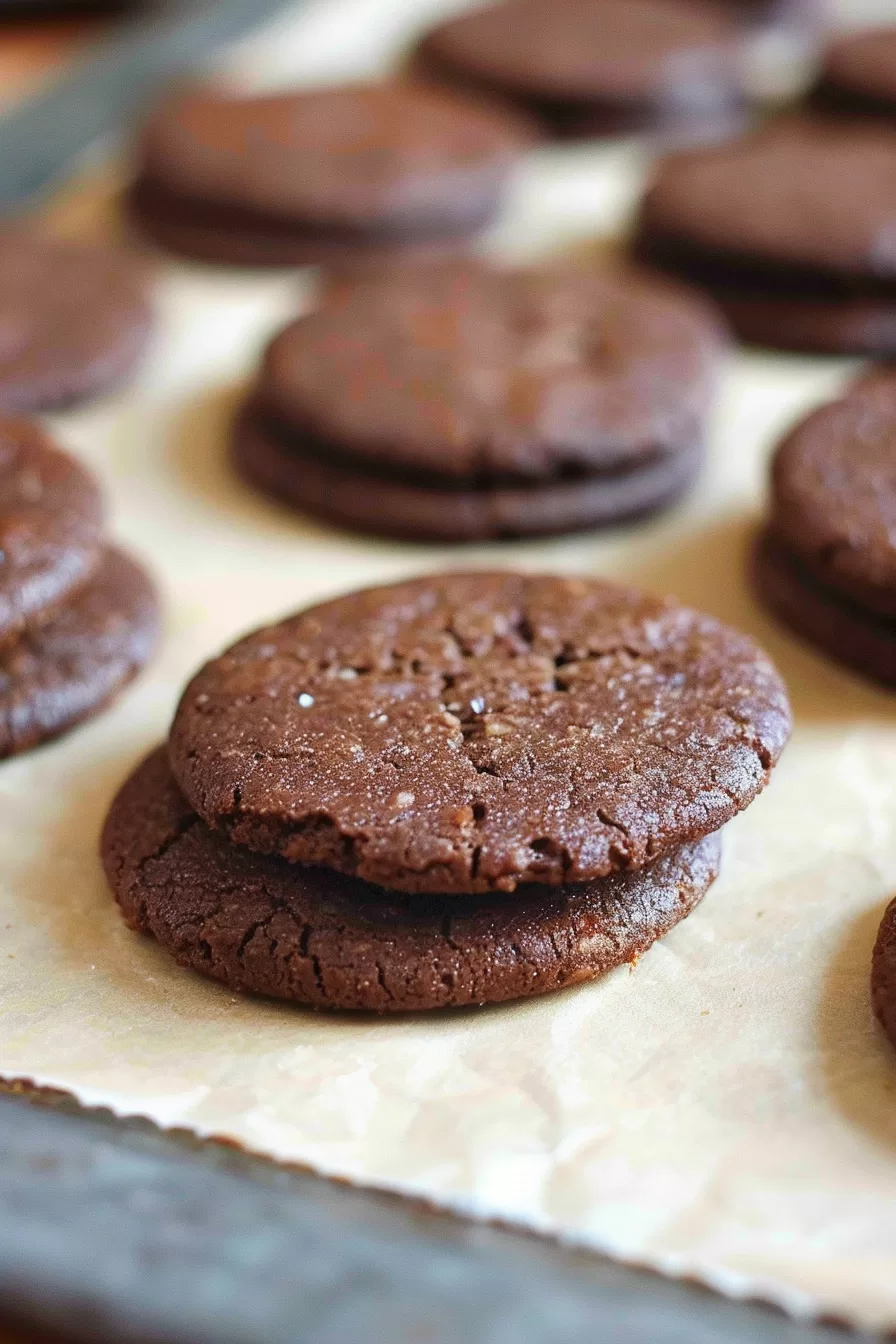
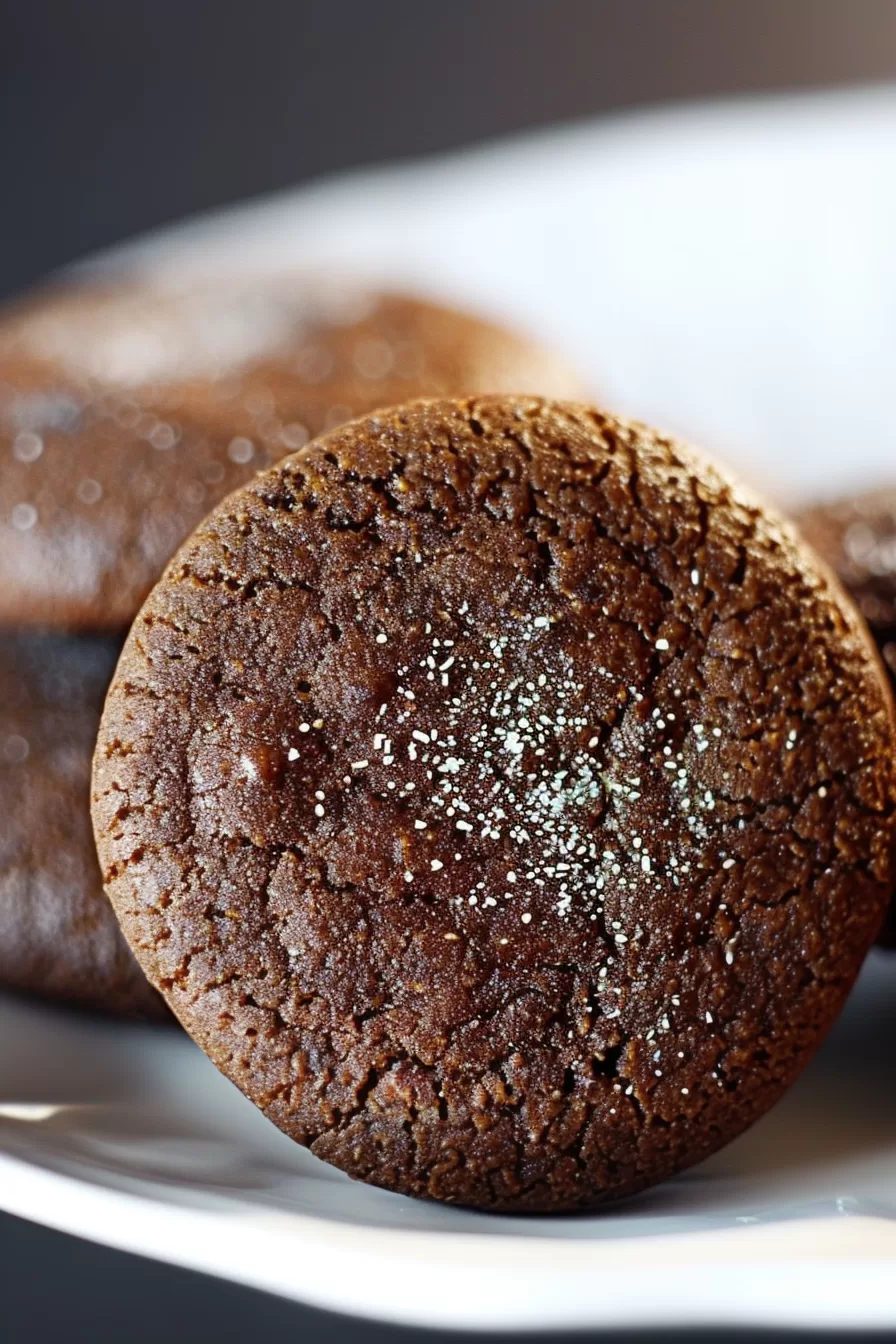
Wienerstube Cookie: You won’t believe how good these Wienerstube Cookies are until you try them! Made with rich cocoa, cinnamon, and an unexpected punch from black pepper and cayenne. Trust me, these are cookies with character!
So, here’s the thing. I didn’t exactly jump at the chance to try these cookies. The idea of chocolate and… black pepper? My first reaction was, “Okay, this is going to be weird.” But then my Austrian friend swore by them.
And you know how it is with friends who come from places famous for desserts, right? You don’t say no. So there I was, halfway convinced I was about to make a batch of cookie regrets. Spoiler alert: I was wrong. Dead wrong. These Wienerstube Cookies knocked my socks off. Like, I need to sit down and reevaluate my cookie life kind of good.

Remember it later!
Planning to try this recipe soon? Pin it for a quick find later!
Remember it later!
Planning to try this recipe soon? Pin it for a quick find later!
The chocolate is deep, dark, and rich, and then—just when you think it’s another regular cookie—bam! There’s this unexpected spicy kick from the pepper and cayenne that takes you by surprise. I’ve heard some people compare them to spicy Oreos, but I feel like that’s selling them short. They’re like the Oreos you’d meet at a party where everyone’s discussing fine art and obscure indie films.
A little fancy, a little quirky, and totally memorable. Honestly, I dare you to make these and not be pleasantly shocked.
Here’s a quick peek at what’s inside:
Table of content
What makes this Wienerstube Cookies truly special?
Alright, here’s what sets these cookies apart from the crowd. They’re not just chocolate cookies; they’re chocolate cookies with a twist. That hit of cayenne and black pepper gives them this sophisticated, almost mysterious flavor. You know how you eat a regular cookie, and it’s sweet, maybe chewy or crispy, but predictable? Well, these cookies are not predictable. They’re like the daredevil cousin of the classic chocolate cookie, the one who shows up to family gatherings wearing leather jackets and sunglasses. And hey, these aren’t the cookies you make just to please kids or satisfy a casual sweet tooth. No, these are the ones you whip up when you want to impress people—or at least yourself. Plus, they come together surprisingly quickly. So if you’re the kind of person who likes to act all casual about whipping up something mind-blowingly good, this recipe’s got your back.
What You Need To Make This Wienerstube Cookies Recipe?
Let’s talk ingredients. Each one of these plays a role in making these cookies the overachievers they are. You might be thinking, “Do I really need that many spices in a cookie?” Trust me, you do. They all work together in this wonderful, surprising harmony. Here’s why:
Cocoa Powder: If you’ve ever wondered what makes a chocolate cookie feel more “adult,” it’s the unsweetened cocoa. This stuff is rich, dark, and just a little bit bitter—in a good way, like dark chocolate.
Black Pepper & Cayenne: I know what you’re thinking. “Pepper in a cookie? Seriously?” But trust me, it’s the pepper that gives these cookies their edge. It’s subtle but adds just enough heat to keep things interesting.
Cinnamon & Allspice: These two are the cozy friends who show up to the cookie party and make everything better. They warm up the flavor and add a little bit of holiday magic without overwhelming the chocolate.
Butter: We’re not here for dry cookies. Butter makes sure these cookies stay rich and melt-in-your-mouth good. You can never go wrong with butter.
Sugar: Sweetness, of course, but it’s also what helps those spices pop.
Vanilla: The little black dress of baking. It goes with everything and makes the whole thing taste just right.
Steps To Make Wienerstube Cookies
Let’s get down to business. These cookies may sound fancy, but they’re really just waiting for you to roll up your sleeves and dive in. I promise, even if you’re not a pro, you’ll nail this.
First, you need to sift together the dry ingredients. Now, I know you might be tempted to skip this part (I’ve done it too), but trust me, don’t. Sifting ensures that the cocoa, flour, and spices all mix together smoothly. Plus, it helps avoid that one cookie with a rogue chunk of flour. After sifting, you’ll already start smelling the warm spices—totally worth the extra effort.
Next up: creaming the butter and sugar. This step is essential for making soft, fluffy cookies. If you’ve ever wondered why some cookies have that soft, chewy texture, this is it. The butter and sugar need to be light and airy, so don’t rush it. Add the egg and vanilla in, and the mixture will get all smooth and luscious.
Want To Save This Recipe?
Enter your email below and we'll send the recipe straight to your inbox.
Now for the dry ingredients. Add them in slowly, and mix until just combined. You don’t want to overmix here because that can make your cookies tough. And nobody wants tough cookies. Once everything’s mixed, your dough is ready for its beauty sleep—aka chilling in the fridge for 30 minutes. Don’t skip this step either; it makes the dough easier to handle and lets the flavors develop even more.
After the dough chills, roll it into two logs. Think cookie dough sushi rolls. Wrap them in plastic and freeze them until they’re nice and firm, about 1-2 hours. This makes slicing them into perfect rounds a breeze later on.
When you’re ready to bake, preheat your oven to 375°F and line a baking sheet with parchment. Slice the dough into half-inch rounds and space them out on the sheet. Bake for 9-11 minutes, but keep in mind—they’ll firm up as they cool, so don’t worry if they seem soft at first.
Let them cool completely, if you can wait that long. I usually “test” one or two while they’re still warm. It’s for science, really.
Storage Options:
If you somehow manage not to devour the whole batch, these cookies actually store really well. Pop them in an airtight container, and they’ll stay fresh on the counter for about a week. If you’re planning to stretch out your cookie enjoyment, you can refrigerate them for up to two weeks. For the ultimate long-term storage, freeze them! Just layer them between sheets of
Variations and Substitutions:
This recipe is great as-is, but sometimes you’ve just got to work with what you’ve got in your pantry, or maybe you’re feeling experimental. Either way, here are some ideas to mix things up:
Spice Levels: Not ready for the cayenne heat? You can dial it back or leave it out. It’s still a great chocolate cookie with just the black pepper adding a subtle zing.
Sugar Substitutes: If you’re cutting down on sugar, you can swap the granulated sugar for coconut sugar or erythritol. The texture might change slightly, but the flavor will still hit the spot.
Gluten-Free: Need to go gluten-free? No problem. Just use a good gluten-free flour blend. Make sure it’s a 1:1 substitute, and you’re good to go.
Add-Ins: Want to jazz it up? Try mixing in some chocolate chips or chopped nuts. I once threw in some hazelnuts, and it added a whole new layer of flavor.
Remember it later!
Planning to try this recipe soon? Pin it for a quick find later!
Remember it later!
Planning to try this recipe soon? Pin it for a quick find later!
Keep the Flavor Coming – Try These:
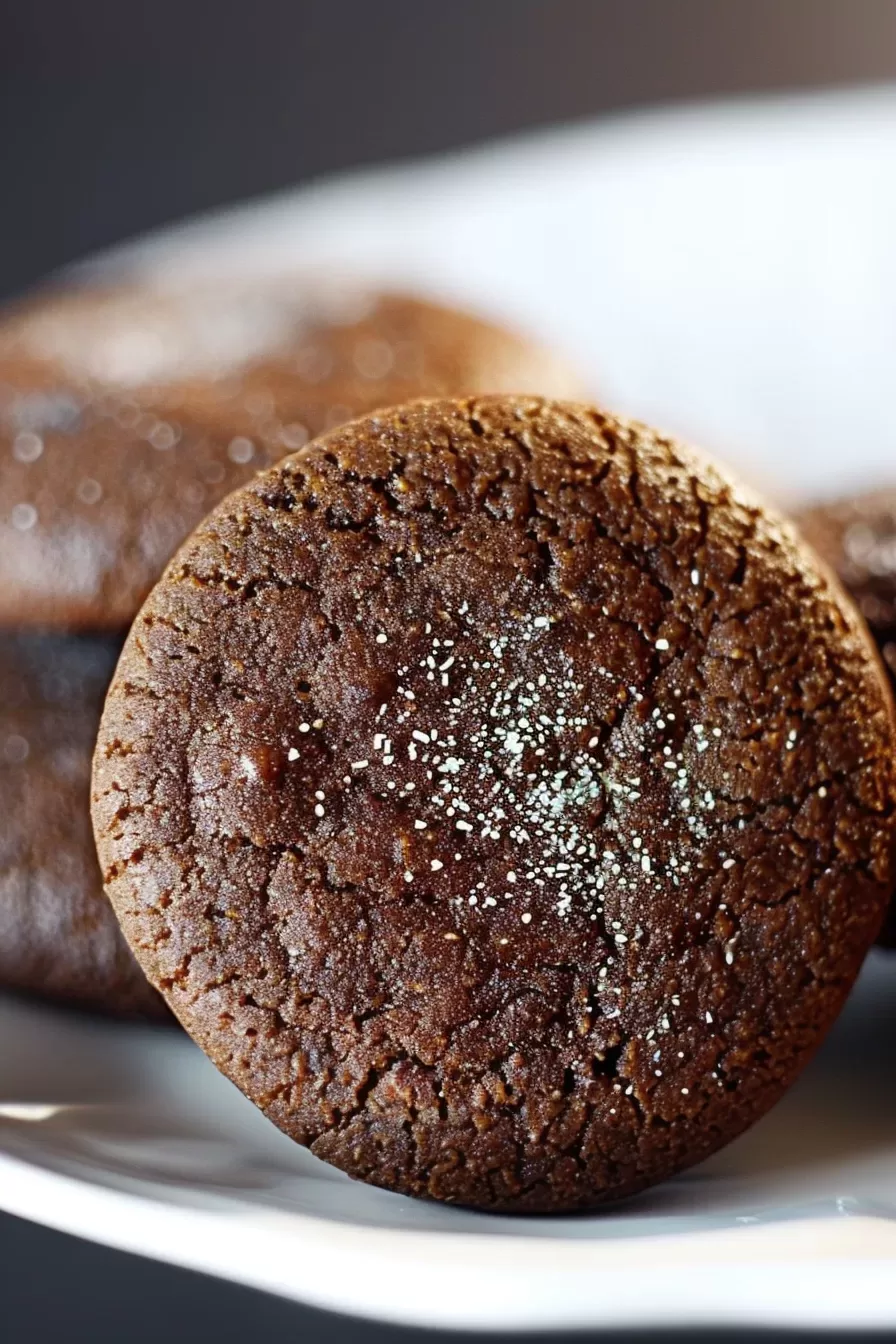
Nostalgic Wienerstube Cookie Treats
Ingredients
- 1 1/2 cups all-purpose flour
- 3/4 cup unsweetened cocoa powder
- 1 1/2 teaspoons baking powder
- 1/4 teaspoon salt
- 1 teaspoon ground cinnamon
- 1/2 teaspoon ground allspice
- 3/4 teaspoon ground black pepper
- 1/4 teaspoon cayenne pepper
- 3/4 cup unsalted butter softened
- 1 cup granulated sugar
- 1 large egg
- 1 teaspoon vanilla extract
Instructions
- Prepare the dry ingredients: Begin by sifting together the all-purpose flour, unsweetened cocoa powder, baking powder, salt, ground cinnamon, allspice, black pepper, and cayenne pepper in a medium bowl. Ensure the spices are evenly distributed throughout the dry ingredients.
- Cream the butter and sugar: In a large mixing bowl, cream together the softened unsalted butter and granulated sugar until the mixture becomes light and fluffy. This process typically takes about 3-4 minutes. Then, add the egg and vanilla extract, and continue mixing until smooth and well-incorporated.
- Combine wet and dry ingredients: Gradually add the dry ingredients to the butter mixture, mixing just until everything is combined. Avoid overmixing as this could result in a denser texture for the cookies.
- Chill the dough: Once the dough is well-mixed, cover it and place it in the refrigerator for about 30 minutes. Chilling the dough allows it to firm up, making it easier to shape later.
- Form the dough logs: After chilling, divide the dough into two equal portions. Roll each portion into a log about 3 inches in diameter. Wrap each log tightly in plastic wrap and place them in the freezer for 1-2 hours, or until completely firm.
- Prepare to bake: Preheat the oven to 375°F (190°C) and line a baking sheet with parchment paper. Remove the dough from the freezer and, using a sharp knife, slice the dough into rounds approximately ½ inch thick. Arrange the slices on the prepared baking sheet, leaving space between each one for spreading.
- Bake the cookies: Bake the cookies for 9-11 minutes, ensuring that they are firm around the edges but still slightly soft in the center. They will continue to firm up as they cool. Allow them to rest on the baking sheet for a few minutes before transferring to a wire rack to cool completely.
- Store: Once cooled, store the cookies in an airtight container at room temperature for up to one week. Alternatively, they can be refrigerated or frozen for longer storage.
Notes
Nutrition

I’m Bitty, owner of nodashofgluten.com, where I share simple, delicious recipes for all tastes, including gluten-free. Check out my “About Me” page for more info!


