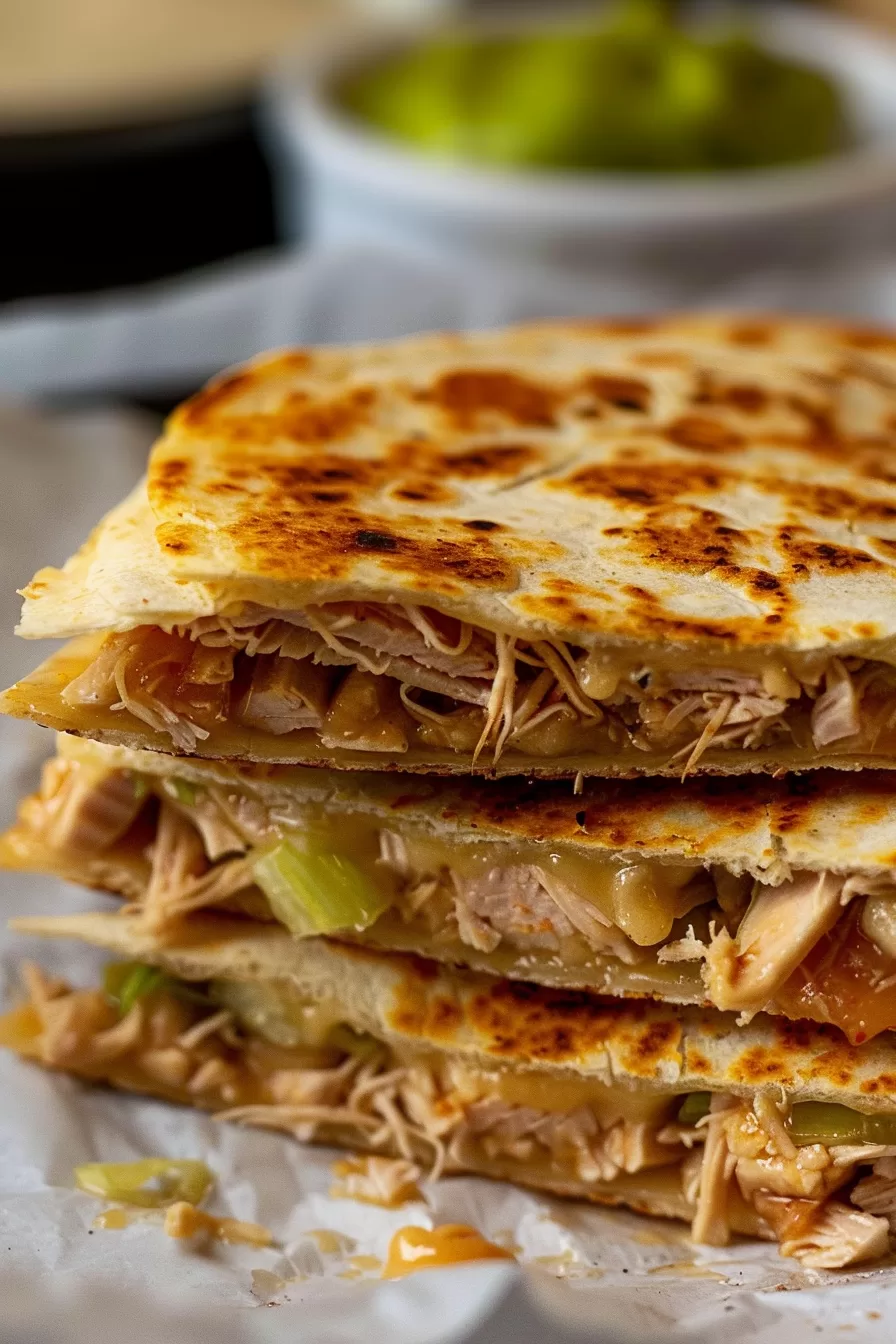
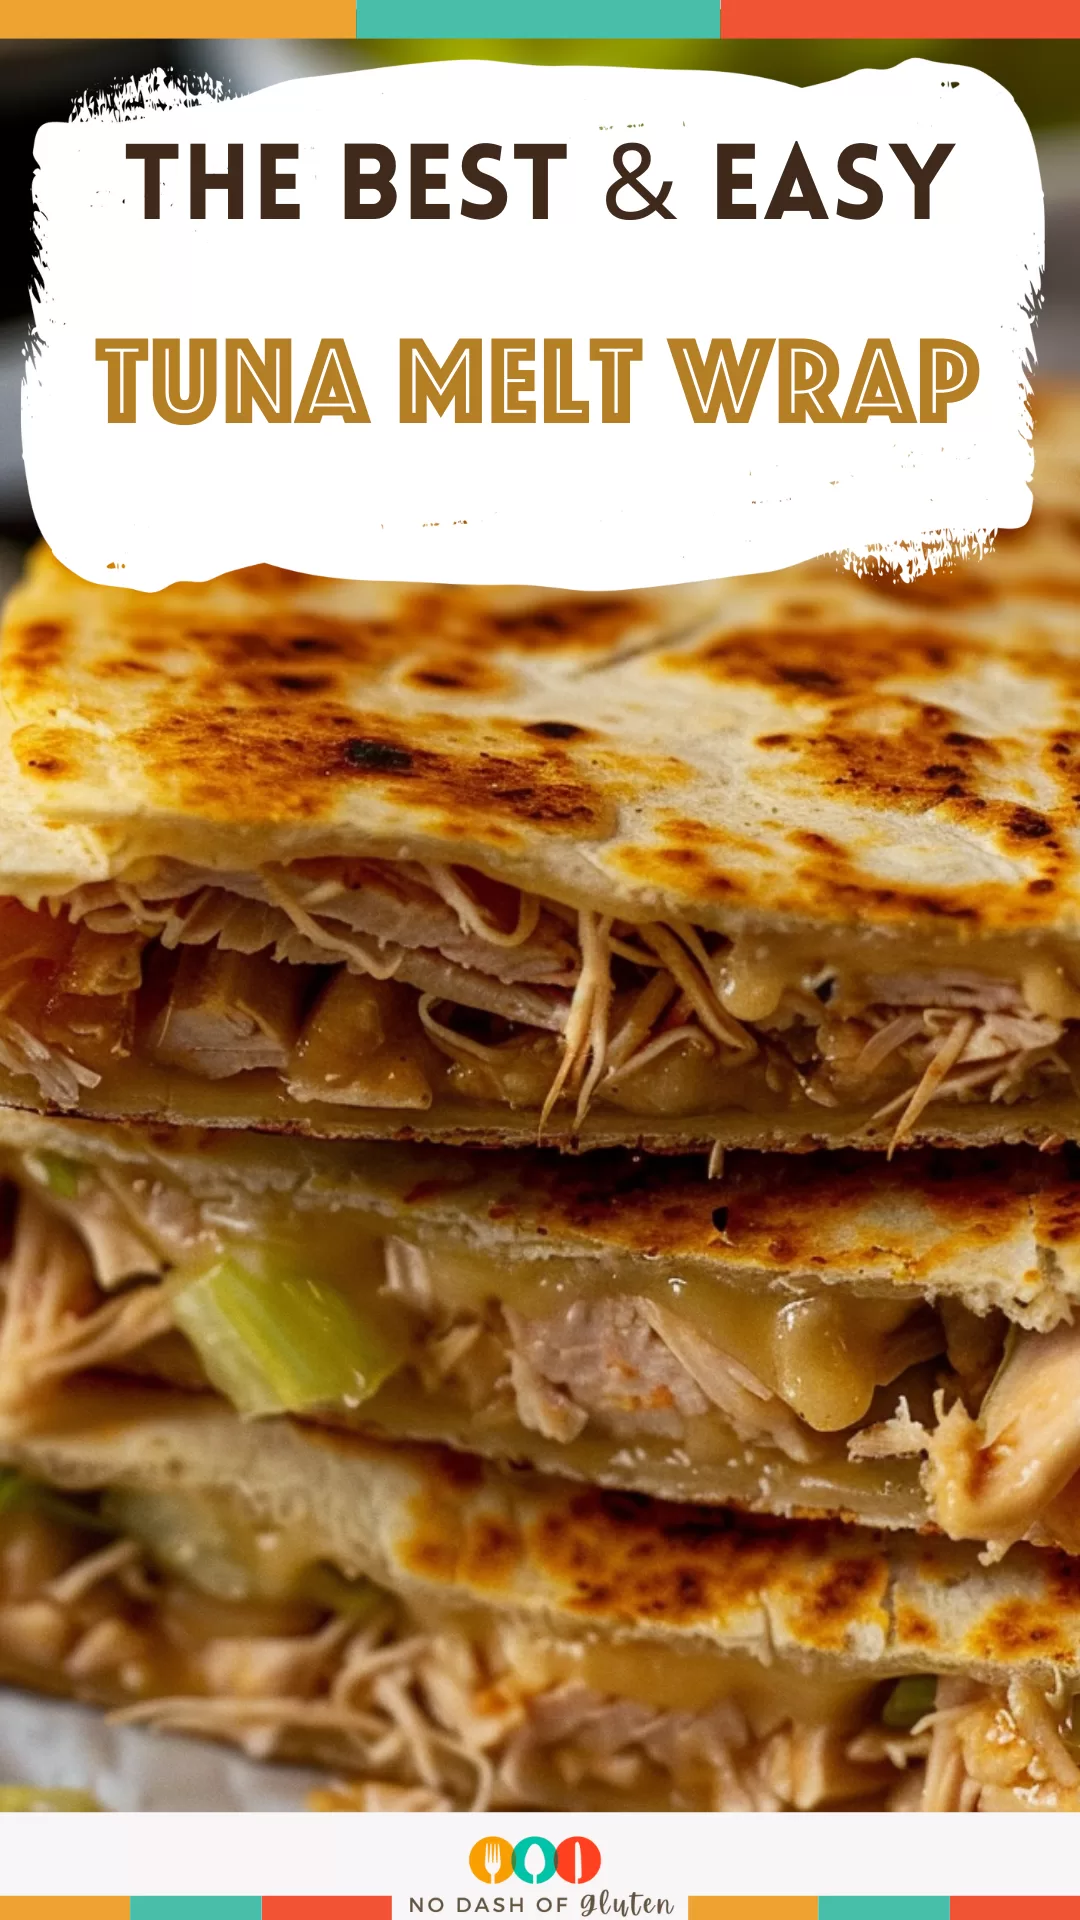
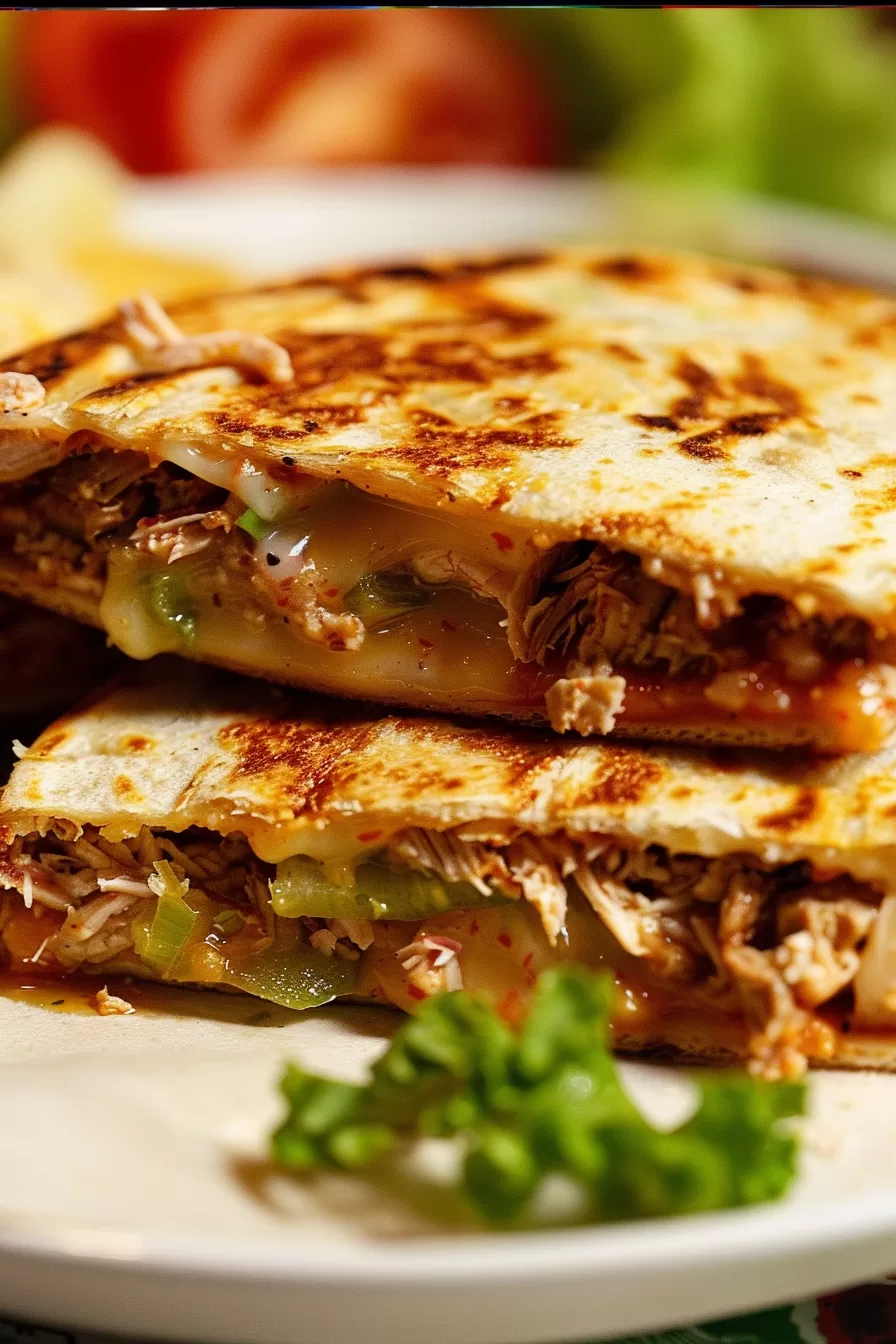
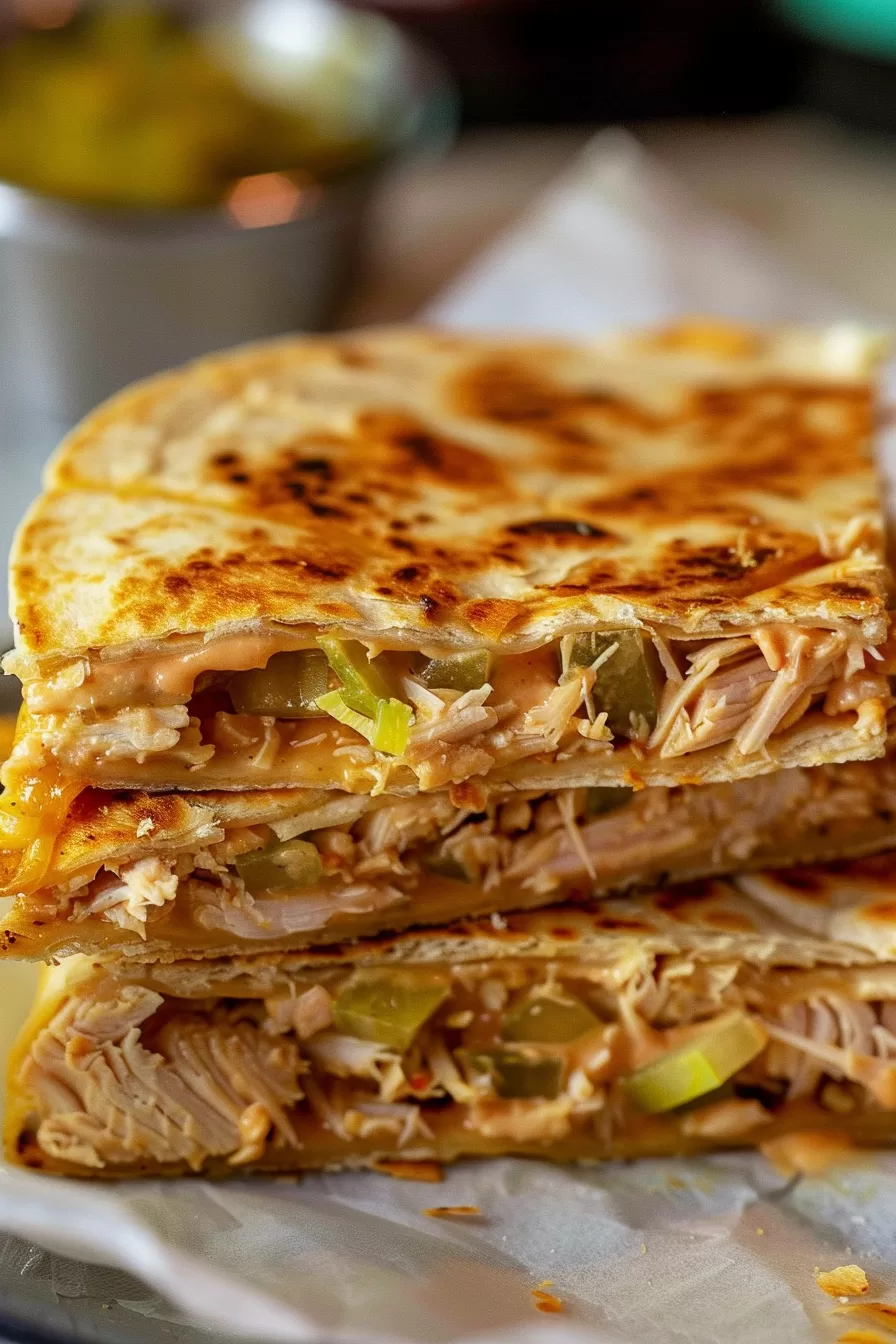
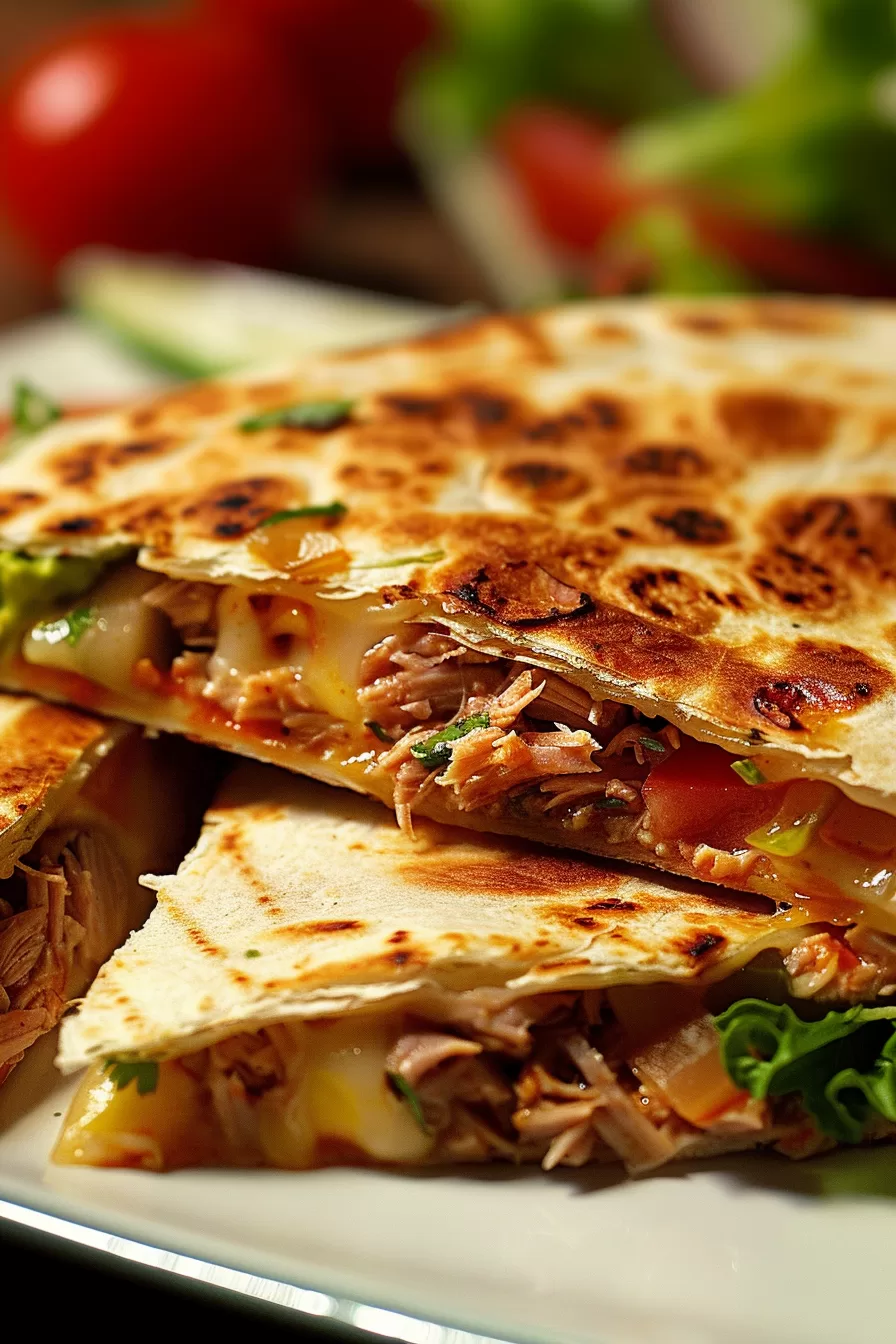
Quick and delicious Tuna Melt Wrap with wild-caught tuna, spicy mayo, relish, and melted cheese in a tortilla. Ready in just 10 minutes!
You know that magical feeling when you throw random ingredients together, and it just works? That’s how my love affair with the Tuna Melt Wrap began. It was one of those chaotic afternoons—you know, the kind where you look at the clock, realize you’ve skipped lunch, and suddenly the world feels a little… off.

Remember it later!
Planning to try this recipe soon? Pin it for a quick find later!
Remember it later!
Planning to try this recipe soon? Pin it for a quick find later!
I rummaged through the pantry and fridge, fully expecting disappointment. A can of tuna, a lone tortilla, and the last shred of cheese hiding in the back corner. Not exactly promising, right? But somehow, magic happened. In just five minutes, I had a cheesy, tangy, warm wrap that felt way fancier than the sum of its parts.
Now, it’s my go-to when I need something quick, comforting, and—let’s be honest—not boring. The best part? It’s one of those recipes that doesn’t judge you for improvising. No relish? Skip it. Feeling fancy? Add some avocado. It’s forgiving, satisfying, and ridiculously easy.
Here’s a quick peek at what’s inside:
Table of content
Why You’ll Love This Tuna Melt Wrap Recipe?
- No Time, No Problem: Ready in 10 minutes, flat. Perfect for when you’re “hangry.”
- Super Customizable: Swap the cheese, add toppings, or tweak the tuna mix—whatever floats your boat.
- Comfort Food Vibes: It’s warm, cheesy, and hits the spot every time.
- Pantry Heroes: Uses ingredients you probably already have.
Ingredient Notes:
Every ingredient has a job here, and together they create something greater than the sum of their parts.
- Wild-Caught Tuna: The star of the show. It’s packed with flavor and protein. Don’t have tuna? Try canned salmon or shredded chicken instead.
- Spicy Mayo: Adds a little kick. If spice isn’t your thing, go for regular mayo.
- Relish: Sweet and tangy, it balances out the savory flavors perfectly.
- Honey Dijon Mustard: Just the right amount of tangy sweetness to bring everything together.
- Cheese: Mozzarella is a classic, but cheddar, pepper jack, or Swiss would work beautifully.
- Tortillas: I love a soft flour tortilla, but whole wheat or gluten-free ones are great too.
How To Make Tuna Melt Wrap?
Step 1: Prep the Tuna Mixture
Start by draining your can of tuna—nobody likes watery wraps. Use a fork to break it up into small, flaky pieces. Then, add a little salt, pepper, mayo, relish, honey Dijon mustard, and a squeeze of lemon juice. Mix it all together until it’s creamy and flavorful. Want it tangier? Add more lemon. Spicier? Toss in some chili flakes.
Step 2: Assemble Your Wrap
Lay your tortilla flat and spoon on the tuna mixture. Spread it out a little, but don’t go all the way to the edges—you don’t want a messy spill. Sprinkle a generous handful of cheese over the top. Trust me, the cheesier, the better.
Step 3: Heat Things Up
Place the wrap on a baking sheet and slide it under the broiler. If you’re anything like me, you’ll stand there with the oven light on, anxiously watching for the cheese to melt. It only takes 2–3 minutes, so don’t walk away! You can also bake it at 400°F or use an
Step 4: Final Touches
Once the cheese is perfectly gooey, take the wrap out and let it cool for a minute. Feeling extra? Add some sliced avocado, a drizzle of hot sauce, or fresh herbs. Then fold, roll, or eat it as-is—it’s your call.
Want To Save This Recipe?
Enter your email below and we'll send the recipe straight to your inbox.
Storage Options:
- Refrigerator: If you somehow have leftovers (unlikely), wrap them tightly in foil or plastic wrap and store them in the fridge for up to 2 days.
- Reheat: Use the oven or
air fryer to warm it up. Microwaving works, but you’ll lose some crispiness.
Variations and Substitutions:
The beauty of this recipe? It’s endlessly adaptable. Here’s how you can switch it up:
- Switch Proteins: No tuna? No problem. Try canned salmon, shredded chicken, or even mashed chickpeas.
- Cheese Swaps: Use cheddar for sharpness, Swiss for nuttiness, or pepper jack for a spicy twist.
- Add Veggies: Sliced tomatoes, shredded lettuce, or cucumbers add a refreshing crunch.
- Go Low-Carb: Swap the tortilla for a lettuce wrap.
- Heat Things Up: Add jalapeños, sriracha, or chili flakes for some kick.
What to Serve with Tuna Melt Wrap?
This wrap can totally stand alone, but if you’re feeling fancy, pair it with:
- Soup: Tomato soup is the classic choice, but any veggie-based soup works.
- Chips: Potato chips or veggie chips for a little crunch on the side.
- Salad: A simple arugula or spinach salad with vinaigrette balances the richness.
- Pickles: The tangy, briny flavor complements the cheesy goodness.
Frequently Asked Questions:
Can I make this gluten-free?
Yes! Just use gluten-free tortillas, and double-check your condiments for gluten-free labels.
Can I make the tuna mixture ahead of time?
Absolutely. Store it in an airtight container in the fridge for up to 3 days. Just assemble and heat when ready.
Can I use a different type of tortilla?
Of course! Whole wheat, gluten-free, or even spinach tortillas all work beautifully.
The Tuna Melt Wrap is the lunch you didn’t know you needed. It’s quick, satisfying, and endlessly versatile. Whether you’re keeping it simple or loading it up with extras, you really can’t go wrong.
Do you have a favorite twist on the classic tuna melt? Share your ideas in the comments—I’d love to hear what you come up with!
Remember it later!
Planning to try this recipe soon? Pin it for a quick find later!
Remember it later!
Planning to try this recipe soon? Pin it for a quick find later!
Keep the Flavor Coming – Try These:
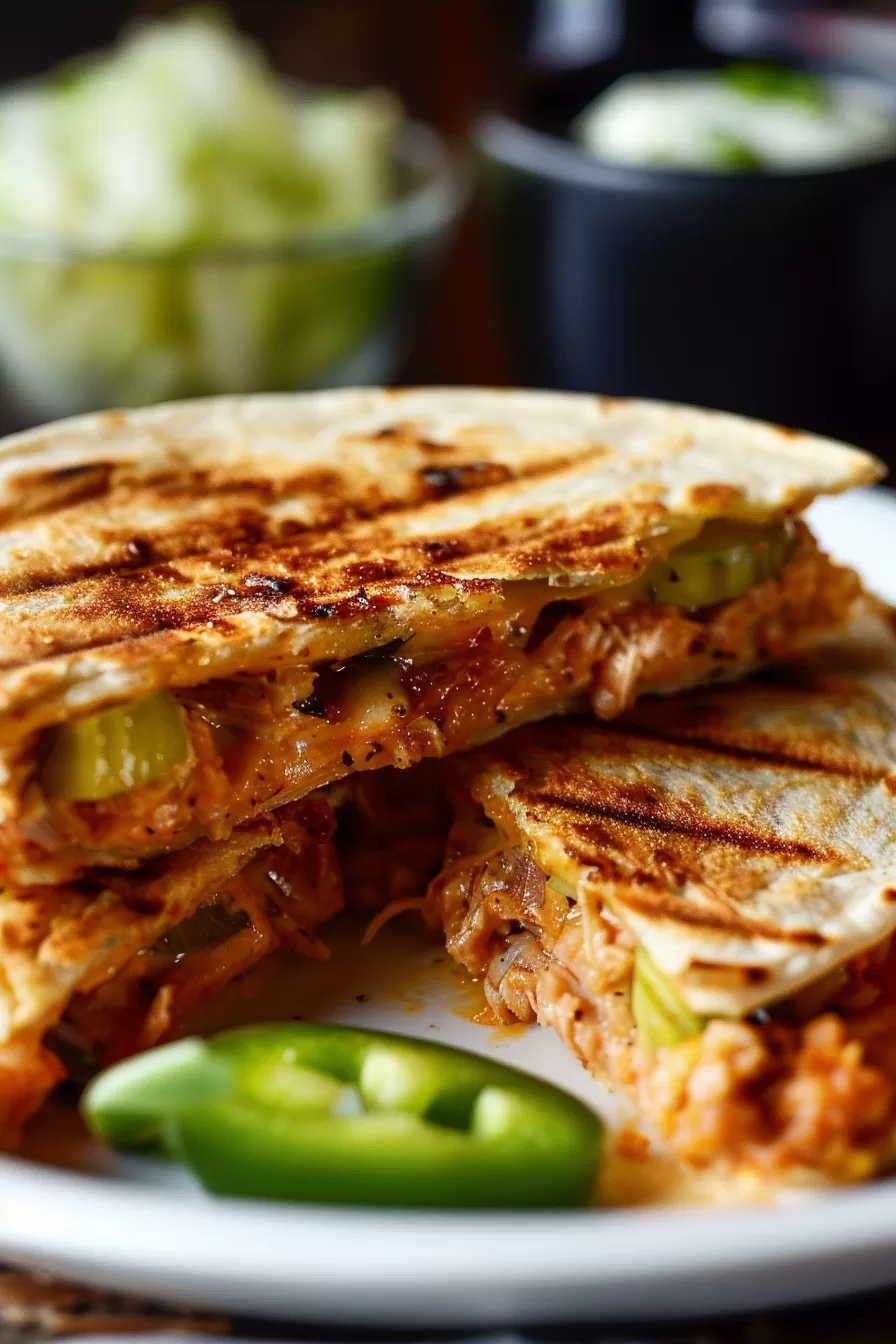
Tuna Melt Wrap
Ingredients
- 1 can wild-caught tuna approximately 140 grams
- Salt and pepper to taste
- 1 tablespoon spicy mayonnaise or regular mayonnaise
- 1 teaspoon relish
- 1 teaspoon honey Dijon mustard
- Juice of ½ fresh lemon
- 2 small tortillas flour or your preferred type
- ½ cup grated cheese such as mozzarella, cheddar, or pepper jack
Instructions
Prepare the Tuna Mixture
- Drain the canned tuna thoroughly to remove excess liquid. Place the tuna in a medium-sized bowl and use a fork to break it into smaller flakes.
- Add salt, pepper, spicy mayonnaise, relish, honey Dijon mustard, and fresh lemon juice to the tuna. Mix all ingredients thoroughly until well combined. Adjust seasoning to your taste preference.
Assemble the Wraps
- Lay each tortilla flat on a clean surface. Divide the prepared tuna mixture evenly between the two tortillas, spreading it out toward the center. Sprinkle the grated cheese generously over the top of the tuna mixture.
Heat the Wraps
- Preheat your oven to the broil setting or set it to 400°F. Place the prepared wraps on a baking sheet. Broil the wraps on the top rack for approximately 2–3 minutes, or bake for 5–7 minutes, until the cheese has melted completely and is bubbling.
- Alternatively, use an air fryer at 375°F for 3–5 minutes for a crispier texture. Keep a close eye on the wraps to prevent burning.
Serve and Enjoy
- Remove the wraps from the oven and let them cool slightly before serving. Add additional toppings, such as sliced avocado, hot sauce, or shredded lettuce, if desired. Serve immediately.


