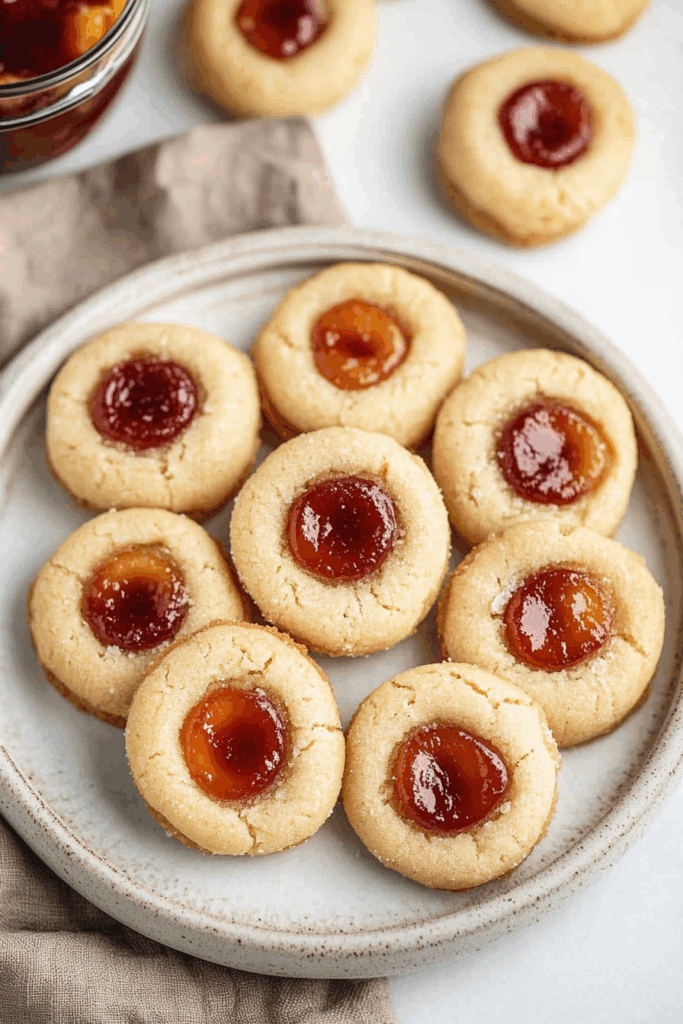
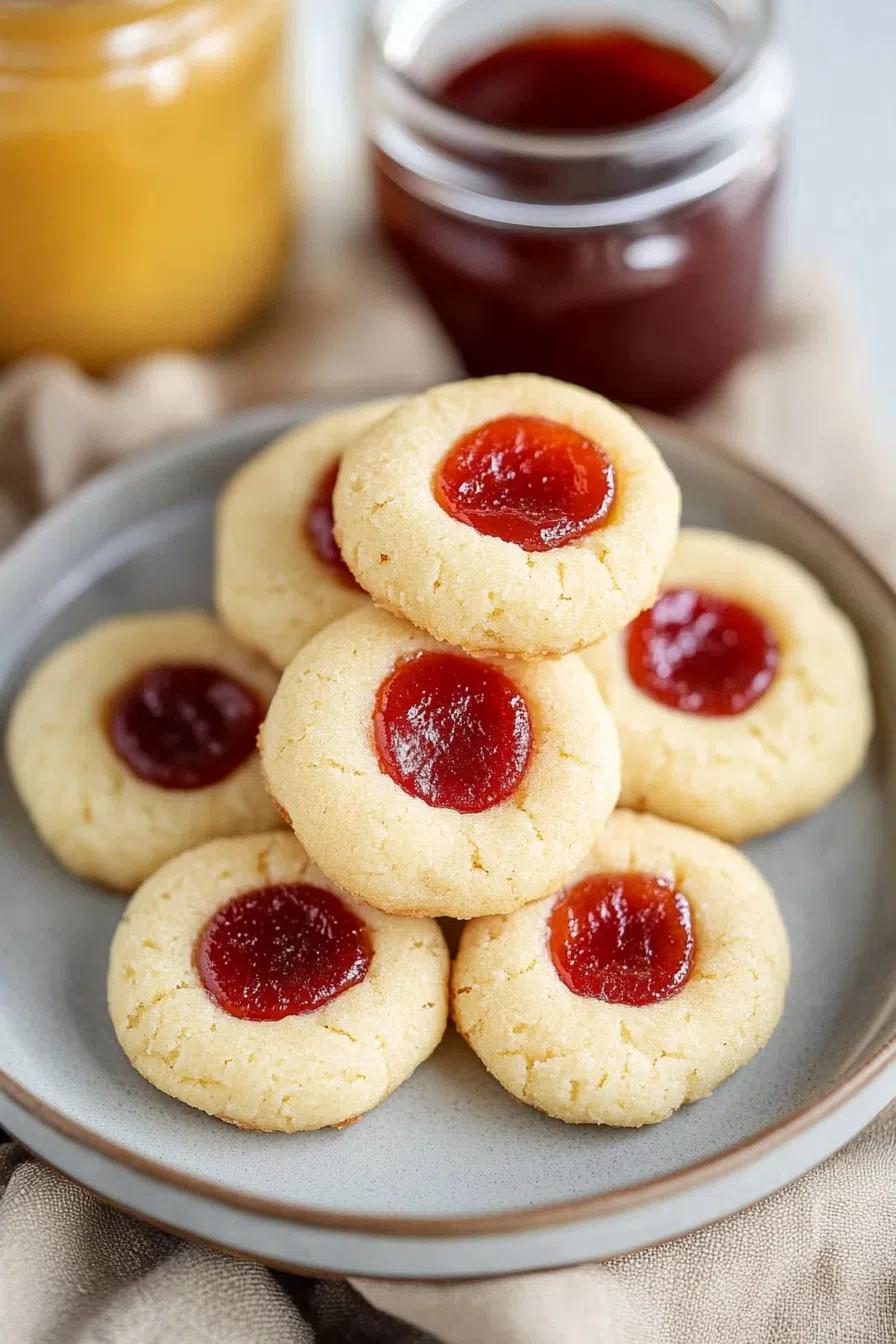
Buttery, soft, and filled with jam—these thumbprint cookies use simple ingredients like butter, flour, jam, and a hint of almond for that old-school, cozy taste.
So I’ve gotta be honest here… I didn’t even mean to find this recipe. I was on one of those internet rabbit holes (you know the ones where you’re looking up, like, a cinnamon roll video and suddenly you’re deep into “what your favorite pasta shape says about your personality”) — and I came across this photo. It was a cookie. A thumbprint cookie, actually. And boom. Suddenly, I’m 8 years old again, standing in my mom’s kitchen, trying to sneak one off the cooling rack before they were “ready.”


Here’s the thing. My mom, Pauline, made killer thumbprint cookies. Like, no one else’s compared. But of course, I never got the recipe down. Because I was a teenager who thought I’d remember everything forever. (Lol.) All I had was the memory of the taste—sweet, buttery, with that little sparkle of jam in the middle. Not too dry, not too soft. Just… perfect.
Fast forward, I see this cookie photo credited to someone’s great-grandma named Mitzi. And since my last name is Mitzewich, I’m like… alright, universe, I hear you.
Why You’ll Love This Thumbprint Cookies Recipe?
Alright, listen. There are a million thumbprint cookie recipes out there. I get it. You probably even have a dusty one from an old church cookbook buried in your kitchen drawer. But this one? It walks that line between buttery shortbread and chewy jammy center in a way that hits different.
You know how some thumbprint cookies are dry and fall apart like sawdust in your mouth? Not these. And some go too far the other way—basically jam with a cookie cameo. Nope. These are right in the middle. Balanced. You get a soft bite, a tiny crunch from the sugar, and then this hit of tart-sweet jam that honestly makes you want to pause and appreciate life for a sec. Dramatic? Maybe. True? Absolutely.

Ingredient Notes:
Let’s be real. You could just skip to the ingredients and bake these. But if you’re like me and want to know why we’re doing what we’re doing, here’s the quick rundown:
-
Butter: Unsalted, room temp. Not half-melted, not fridge-cold. Somewhere in that “I left this out while I made coffee and forgot about it” zone.
-
Powdered Sugar: This gives the cookies that smooth, delicate texture. Granulated just doesn’t do the trick here.
-
Egg Yolk: Just the yolk. It helps bind everything without fluffing the dough too much. Whites make it weird. Trust me.
-
Vanilla Extract: Because it’s vanilla. What are we even doing if we’re skipping it?
-
Almond Extract: Optional, but don’t skip it unless you really hate almonds. It’s the sneaky magic flavor.
-
Flour: All-purpose. Scoop it light—don’t pack it in or your cookies will get grumpy.
-
White Sugar: For rolling the dough balls. It gives them that sparkly crunch on the outside.
-
Jam: Raspberry, apricot, strawberry… whatever makes you feel something.
-
Powdered Sugar + Milk: For the icing drizzle. Also optional. But cute.
How To Make Thumbprint Cookies?
Okay, roll up your sleeves. You’re about 45 minutes away from becoming everyone’s favorite neighbor.
Step 1: Get Yourself Ready
Preheat the oven to 325°F. I always forget this part and end up waiting around for it to heat. Don’t be like me. Line a baking sheet with parchment paper or a silicone mat. Don’t skip this unless you enjoy chipping cookies off metal.
Step 2: Mix the Good Stuff
In a bowl, mix the softened butter with powdered sugar. I use a spatula and elbow grease. Feels therapeutic. Add the egg yolk, vanilla, salt, and almond extract. Mix it until it’s smooth and slightly fluffy.
Step 3: Flour Time
Add the flour gradually. You don’t need a stand mixer—your hands will know when the dough’s ready. It’ll be soft but not sticky. Kinda like Play-Doh if Play-Doh tasted amazing.
Step 4: Sugar Rollin’
Scoop out tablespoon-ish amounts and roll them into balls. Then roll those balls in sugar. I know it sounds messy, and yeah—it is. But in a good way. Like finger-painting for grown-ups.
Step 5: Thumb Time
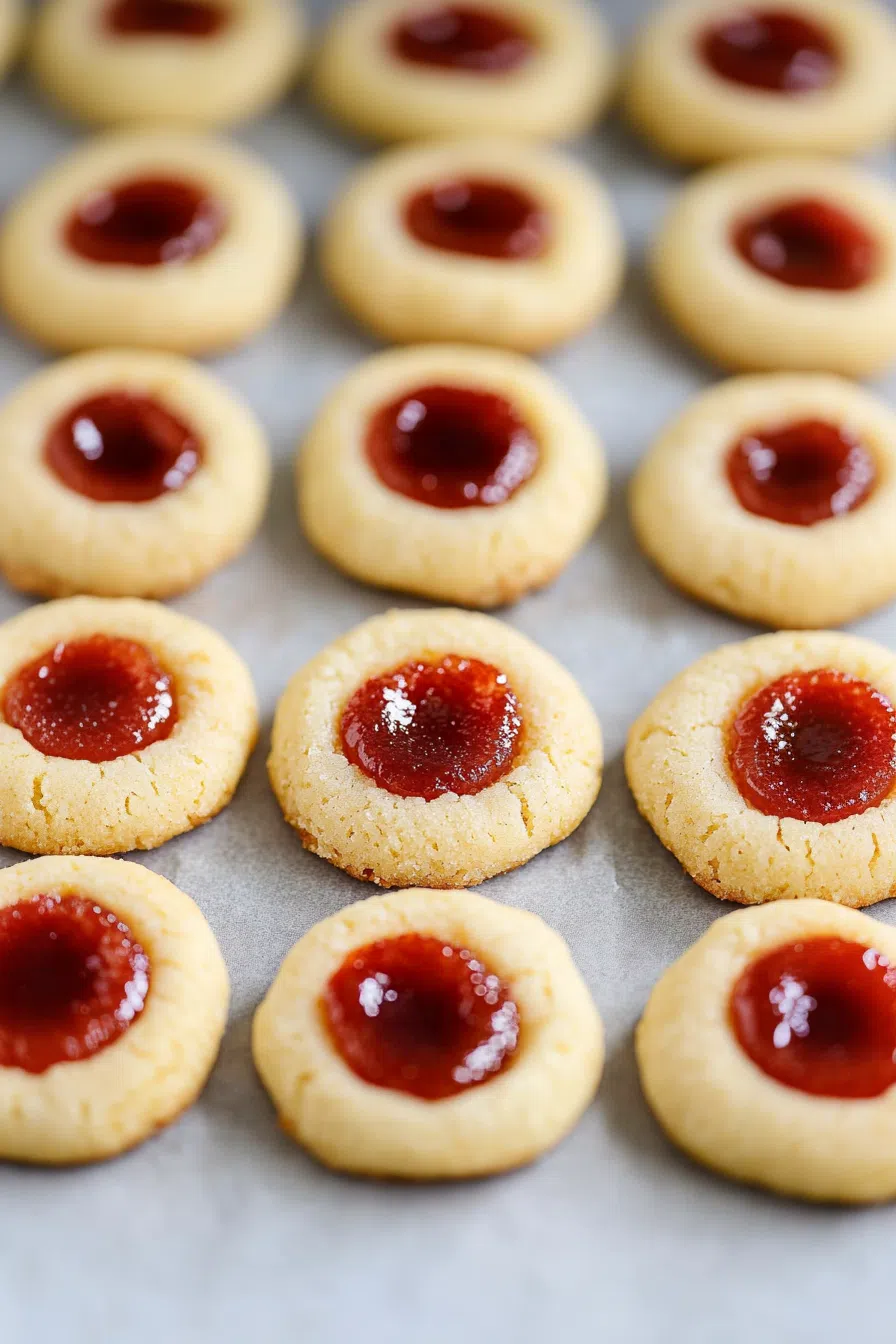
Okay, this is the fun part. Press your thumb gently into the middle of each dough ball. Not too deep, not too light—like you’re testing an avocado at the store. Then add a little spoon of jam into each dent.
Step 6: Bake & Breathe
Bake for about 15 minutes. They’ll look pale but set, maybe a little golden at the bottom. Let them cool on the tray for a bit. They’re fragile straight outta the oven (same, honestly).
Step 7: Drizzle (Optional But Adorable)
Mix powdered sugar with a little milk until it’s thick enough to drizzle. Zigzag it over the cookies. Or don’t. I forget this step half the time and nobody complains.

Want To Save This Recipe?
Storage Options:
Let’s be real—you might eat half the batch the same day. But if you’ve got willpower:
-
Room Temp: Airtight container, 4-5 days.
-
Fridge: If it’s warm out, store them in the fridge but let them come to room temp before eating. Cold butter cookies? Meh.
-
Freezer: Totally. They freeze great. Just stack between parchment and thaw on the counter.
Variations and Substitutions:
These thumbprint cookies are super customizable. Like, wear-sneakers-with-a-dress kind of flexible.
-
Jam Flavors: Raspberry and apricot are classics, but blueberry, fig, or even lemon curd totally work.
-
Add Zest: A little orange or lemon zest in the dough = citrus heaven.
-
Vegan Swap: Use vegan butter and sub the egg yolk with a flax egg if you’re into that. Still good. I’ve tried it.
-
Spiced Up: Add a pinch of cinnamon or cardamom for a warmer vibe.
-
No Almond Extract? No worries. Vanilla has your back.

What to Serve with Thumbprint Cookies?
-
Tea or Coffee: No-brainer. They’re made for dunking.
-
Holiday Parties: These belong on cookie platters between gingerbread men and peppermint bark.
-
Midnight Snacks: They hit different at 11:42 p.m. Just saying.
-
Fancy Cheese Boards: Jam + cheese + a buttery cookie = weirdly incredible. Try it before you judge me.
Frequently Asked Questions:
Why did my cookies crack?
That’s kinda their thing. It’s the rustic charm. Embrace the flaws.
Can I make the dough ahead?
Yep. Chill it overnight, just let it warm up a bit before rolling or it’ll fight you.
Do I have to drizzle?
Nah. But if you want that fancy-pants finish, go for it. Or just eat them straight off the cooling rack.
I swear, every bite of these thumbprint cookies feels like I’m opening a time capsule. They’re simple, sweet, a little messy—and they just feel like home. I hope you give them a try. Maybe with your kids. Maybe on a rainy Sunday. Maybe at midnight when you just need something warm and buttery.
And if you do, let me know. Got a cookie memory of your own? I’d love to hear it. Or jam flavor recs. I’m always on the hunt.
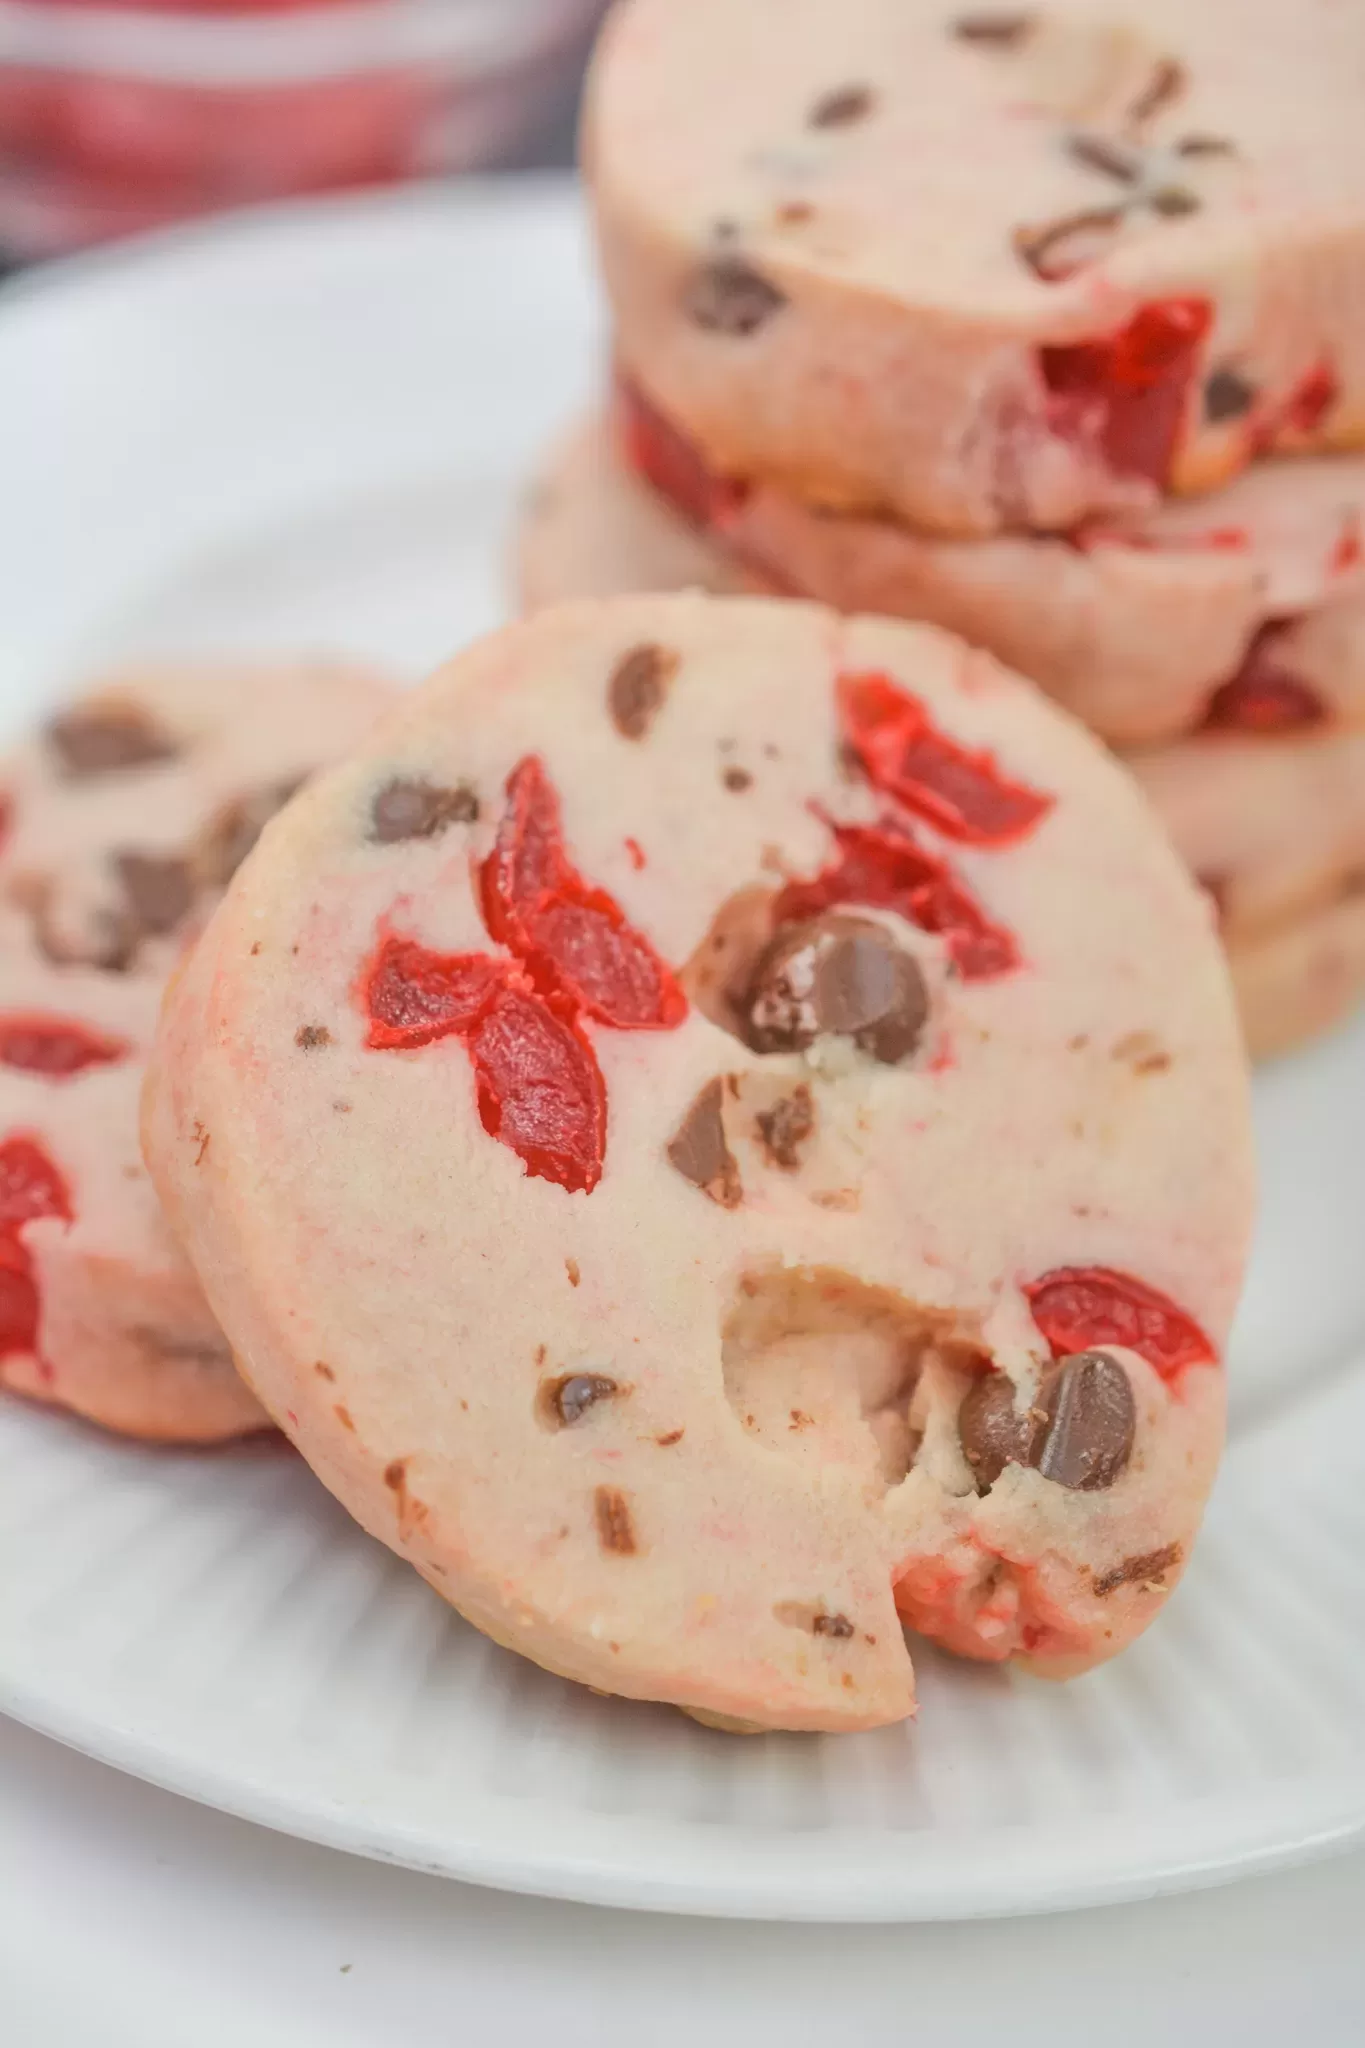
Keep the Flavor Coming – Try These:


Thumbprint Cookies
Ingredients
For the Cookies:
- ⅓ cup powdered sugar unsifted
- 1 stick unsalted butter at room temperature
- 1 large egg yolk
- 1 teaspoon vanilla extract
- ¼ teaspoon fine salt
- ⅛ teaspoon almond extract optional, but recommended
- 1¼ cups all-purpose flour
- ⅓ cup granulated white sugar for rolling
- ½ cup fruit jam any flavor of your choice
For the Icing (Optional):
- 1 cup powdered sugar adjust as needed
- 1 tablespoon milk adjust as needed
Instructions
Preparation:
- Preheat the oven to 325°F (165°C). Line a baking sheet with parchment paper or a silicone baking mat to prevent sticking and over-browning.
Cream Butter and Sugar:
- In a mixing bowl, combine the powdered sugar and room-temperature butter. Mix using a rubber spatula or hand mixer until the mixture is smooth and creamy.
Incorporate Egg Yolk and Flavorings:
- Add the egg yolk, vanilla extract, salt, and almond extract (if using) to the creamed mixture. Stir thoroughly until the ingredients are well combined.
Add the Flour:
- Gradually blend in the all-purpose flour. Mix just until the dough comes together; do not overmix to avoid tough cookies.
Form Dough Balls:
- Using a small scoop or tablespoon, portion the dough into balls approximately 1 tablespoon in size (about ½ ounce). Roll each ball between your palms to smooth, then coat in granulated sugar.
Create Indentations and Fill with Jam:
- For traditional thumbprint cookies, gently press your thumb into the center of each dough ball to form a shallow well. For a neater presentation, use the handle of a wooden spoon dusted with powdered sugar. Fill each indentation with a small amount of jam, being careful not to overfill.
Bake the Cookies:
- Arrange cookies several inches apart on the prepared baking sheet. Bake for approximately 15 minutes, or until the edges are lightly golden. Allow the cookies to rest on the sheet for 5 minutes before transferring them to a wire rack to cool completely.
Optional Icing Drizzle:
- In a small bowl, whisk together powdered sugar and milk until a thick, drizzling consistency is achieved. Using a piping bag or spoon, drizzle over cooled cookies in a zigzag pattern. Let the icing set for at least 15 minutes before serving.
Notes
I’m Bitty, owner of nodashofgluten.com, where I share simple, delicious recipes for all tastes, including gluten-free. Check out my “About Me” page for more info!