Strawberries. Pie crusts. Sugar. Lemon juice. A little salt. And cornstarch — trust me, it matters more than you’d think.


So, I was cleaning out my freezer the other day — and by “cleaning” I mean standing there, eating shredded cheese straight from the bag, pretending I was being productive. Anyway, I found these two sad-looking bags of frozen strawberries hiding behind a loaf of freezer-burned garlic bread. You ever have that moment where you see an ingredient and suddenly feel a recipe coming on? That was me. Standing there in fuzzy socks and a hoodie I haven’t washed in three wears, I had this weird but wonderful idea: what if I made a Strawberry Pop-Tart Pie?
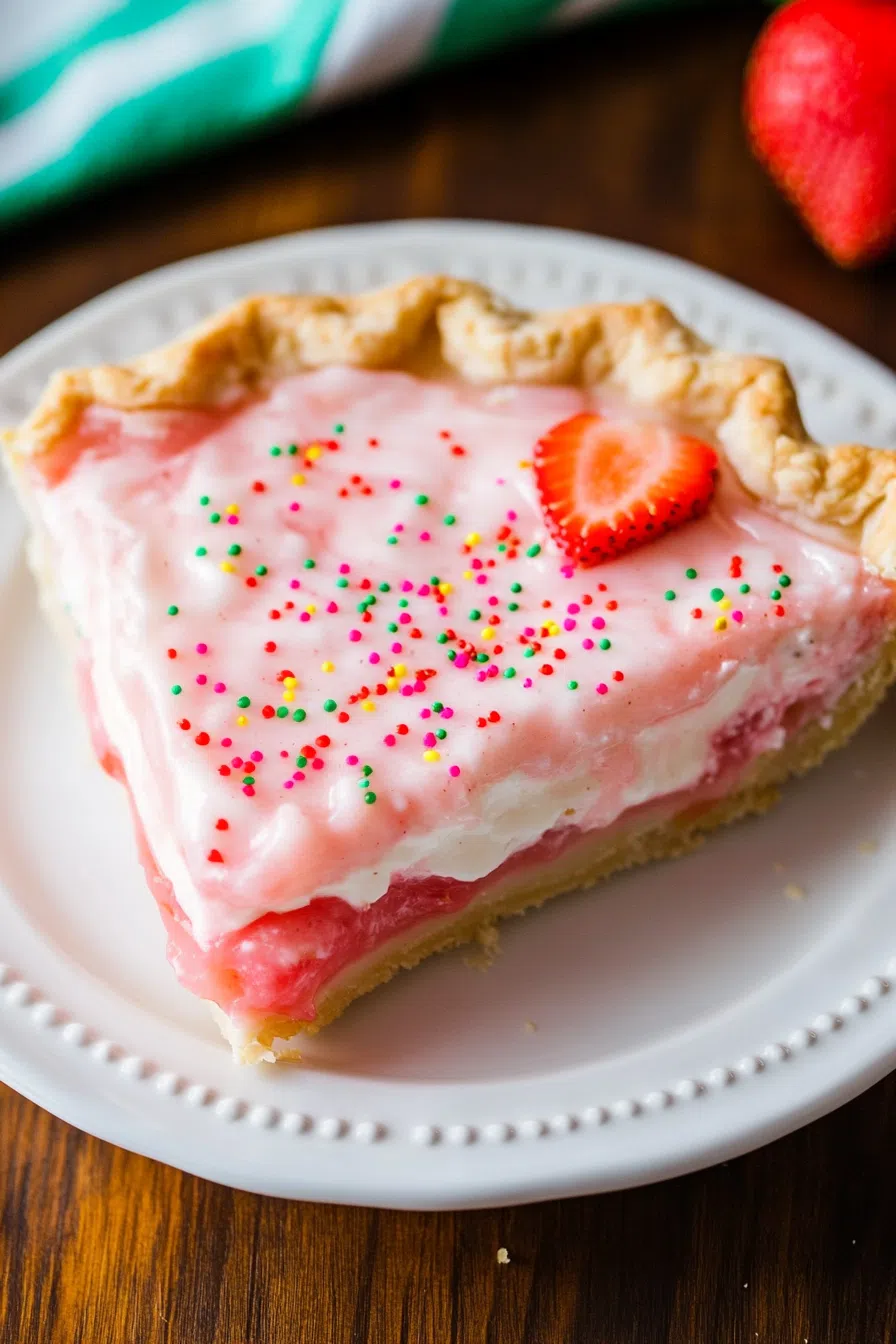
Now, for context: I grew up on Pop-Tarts. Like, the kind you’d sneak into your backpack and eat on the school bus while praying the crust didn’t crumble everywhere. Strawberry was my go-to — no frosting. I was weird like that. But this pie? It’s like the Pop-Tart version I wish existed back then. More filling. Real strawberries. And flaky crust that doesn’t taste like cardboard.
Why You’ll Love This Strawberry Pop-Tart Pie Recipe?
Honestly, I didn’t expect it to work so well. I thought it’d be a “good enough” situation. But wow — this Strawberry Pop-Tart Pie really delivers. It’s that perfect middle ground between totally homemade and effortless comfort food. It’s like something your grandma would make if your grandma also liked Pop-Tarts and binge-watched “Nailed It” on Netflix.
What I love is it’s not trying too hard. It’s not overly sweet, and the filling tastes real, because it is. And okay — yes, it might bubble over a little in the oven. But doesn’t that just make it feel more homemade? Slightly rustic, a little chaotic… like us.
Ingredient Notes:
Alright, real talk — here’s what you’re working with, and why it matters.
-
Frozen strawberries: They’re not fancy. That’s the point. You don’t have to wait for strawberry season, and they’re easy. Just thaw ‘em first.
-
Cornstarch: It’s your thickening magic. Without it, you’ll be spooning pie soup into a bowl and calling it a “deconstructed tart.” Which… could work, I guess.
-
Lemon juice: Just a bit. It brightens everything up. Honestly, I forgot it once and the pie still tasted fine, but with it? Game-changer.
-
White sugar: In the filling and sprinkled on top. It gives that sparkle — you know, like Pop-Tarts before school dances.
-
Pie crusts: Store-bought is so fine. If you make your own, more power to you, but let’s not pretend we all have time for that on a Tuesday night.
How To Make Strawberry Pop-Tart Pie?
Okay, here’s the part where I walk you through it, casually, like we’re friends texting while you’re halfway into a glass of wine and covered in flour. Been there.
Step 1: Pre-bake that crust, just a little.
Roll out one crust into a 9-inch pie plate. Fork it a few times like you’re mad at it — this keeps it from puffing. Bake at 350°F for 5 minutes. Just enough so it’s not soggy later. (I sometimes forget this step, but it really does help.)
Step 2: Mix up your filling.
Thawed strawberries, sugar, cornstarch, salt, lemon juice. Stir until it looks like jam with commitment issues. If you’ve got some huge strawberry chunks, chop ‘em down. We’re not making jam surprise here.
Step 3: Pour and cover.
Dump that sweet mess into your pre-baked crust. Lay the second crust on top, trim the extra, and seal the edges. If you wanna get decorative, go nuts. I usually just press the edge with a fork and call it rustic chic.
Step 4: Cut some vents and make it sparkle.
You have to cut vents — unless you enjoy strawberry volcanoes in your oven. Then sprinkle sugar on top, because why not? Life’s short.
Step 5: Bake it till golden and bubbly.
Into the oven it goes. 350°F for 50 minutes. I left mine in for 52 because I got distracted by a TikTok recipe for lasagna chips (???), but honestly, that little extra time made the crust just right.
Let it cool before slicing — unless you’re into molten berry lava, in which case… go for it.
Storage Options:
-
Counter: Covered, it’s good for a couple of days.
-
Fridge: Lasts about 4–5 days. I reheat it for 10 seconds in the microwave, because patience is not my strong suit.
-
Freezer: Wrap slices in plastic and foil, and boom — dessert insurance for up to 2 months. Reheat in the oven if you want that crust to stay crisp.
Want To Save This Recipe?
Variations and Substitutions:
This Strawberry Pop-Tart Pie is super flexible. Here’s what you can swap or change, depending on your vibe (and fridge inventory):
-
Fresh strawberries: Yep, they work. Just slice them and maybe add a tiny bit more cornstarch.
-
Other fruits: Blueberries, raspberries, or even a mixed berry combo if you’re feeling wild.
-
Gluten-free crust: Just be gentle when working with it — those things love to crumble under pressure.
-
Mini pies: Use the filling in mini tart pans or even muffin tins. Basically, adult Pop-Tarts.
-
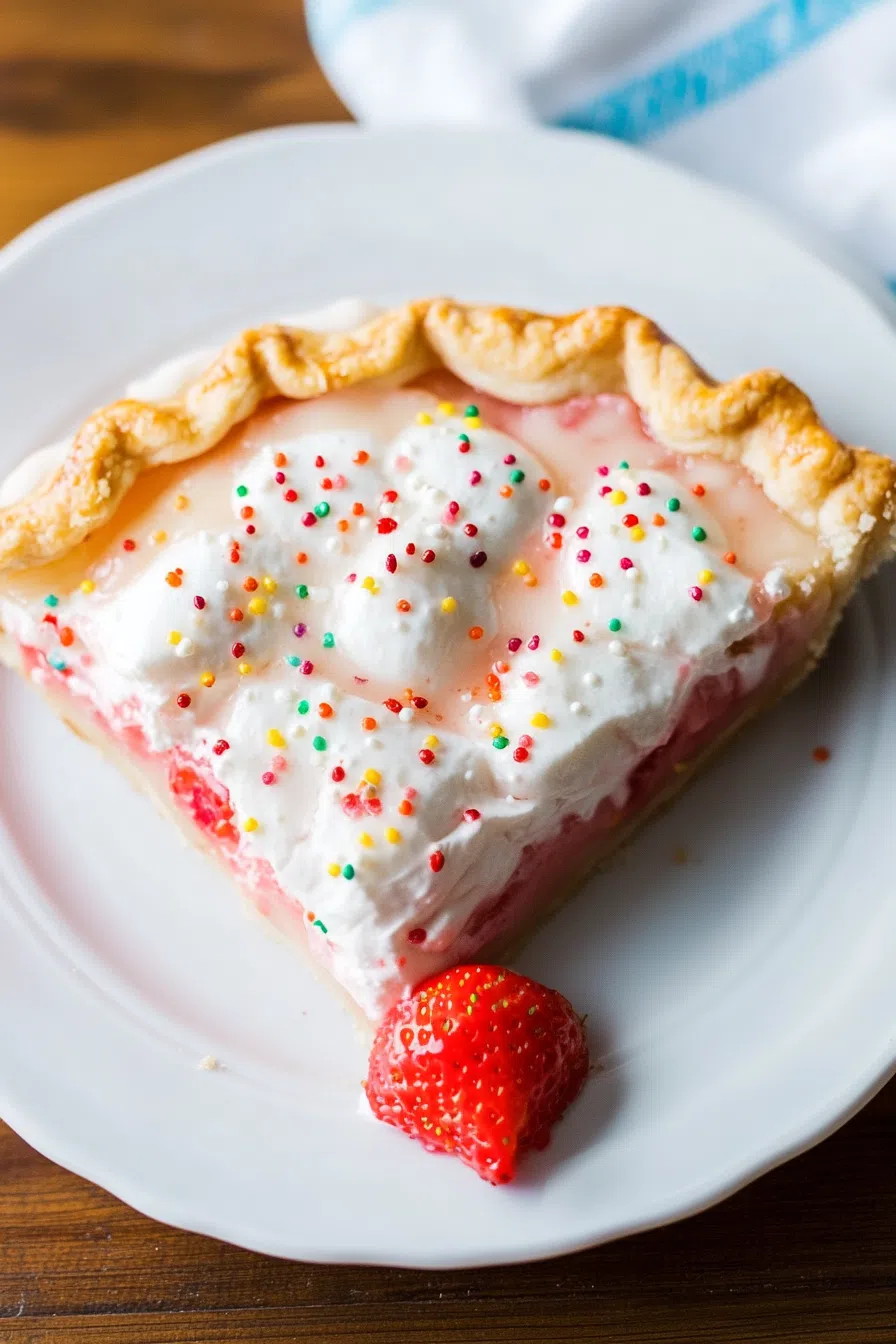
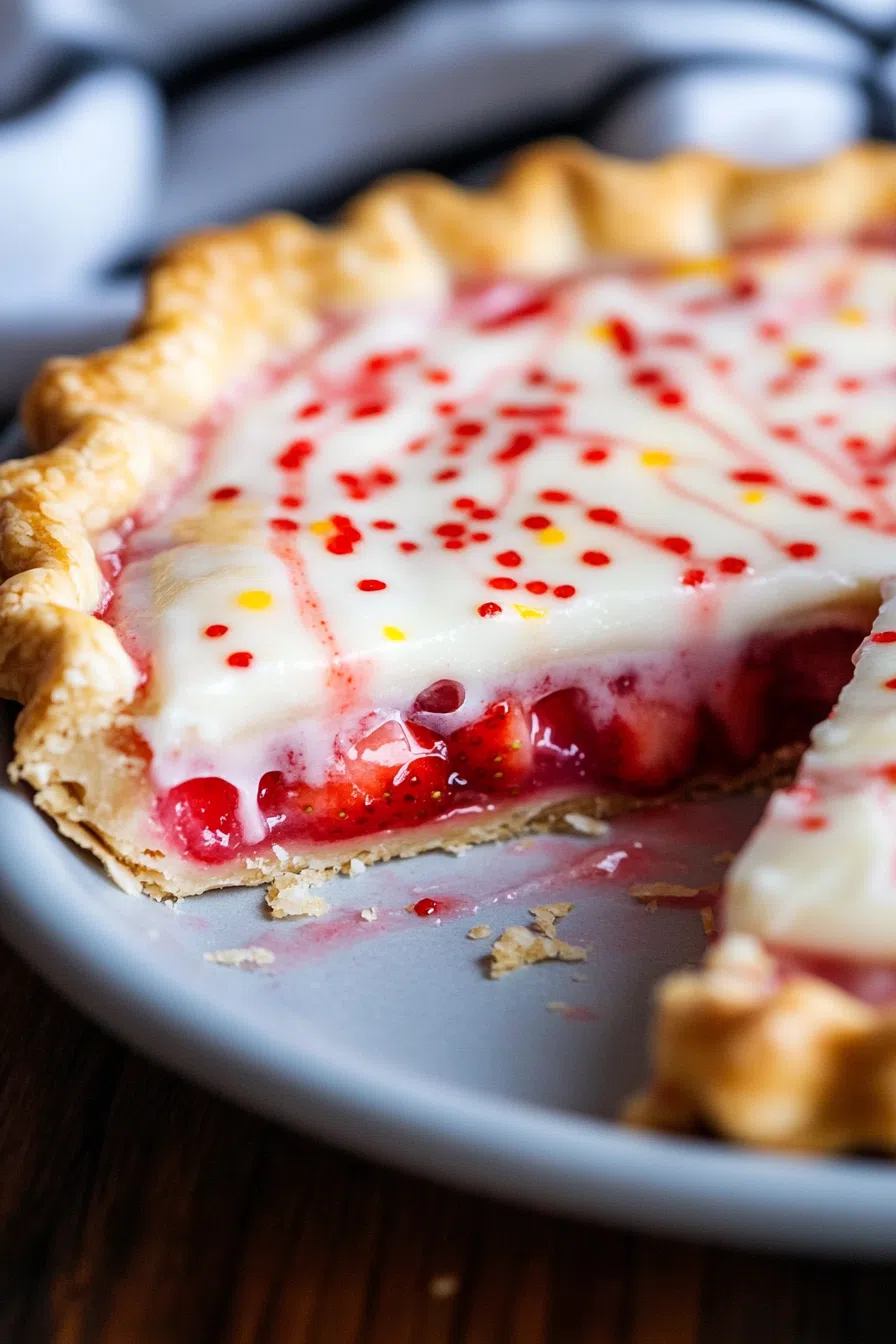
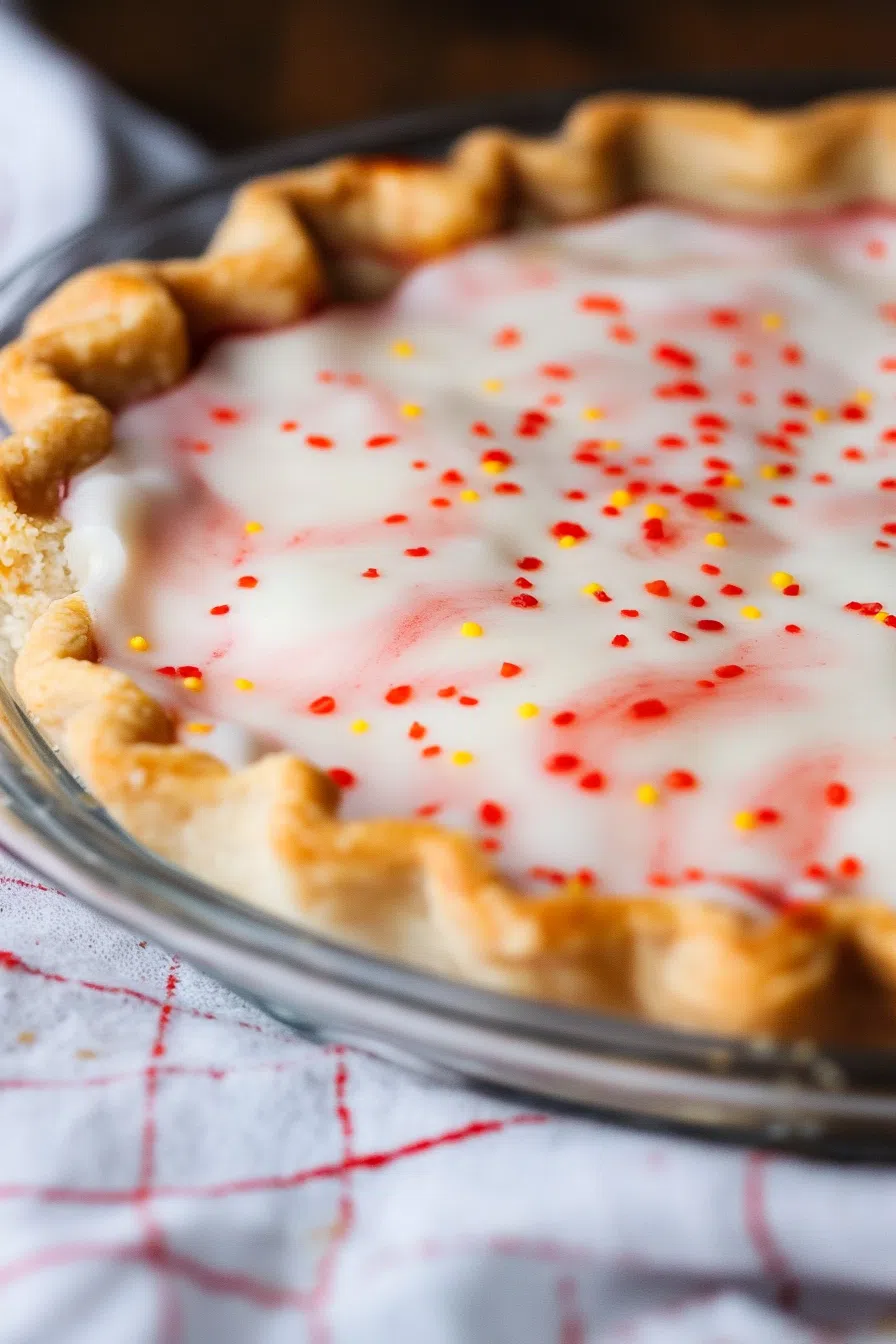
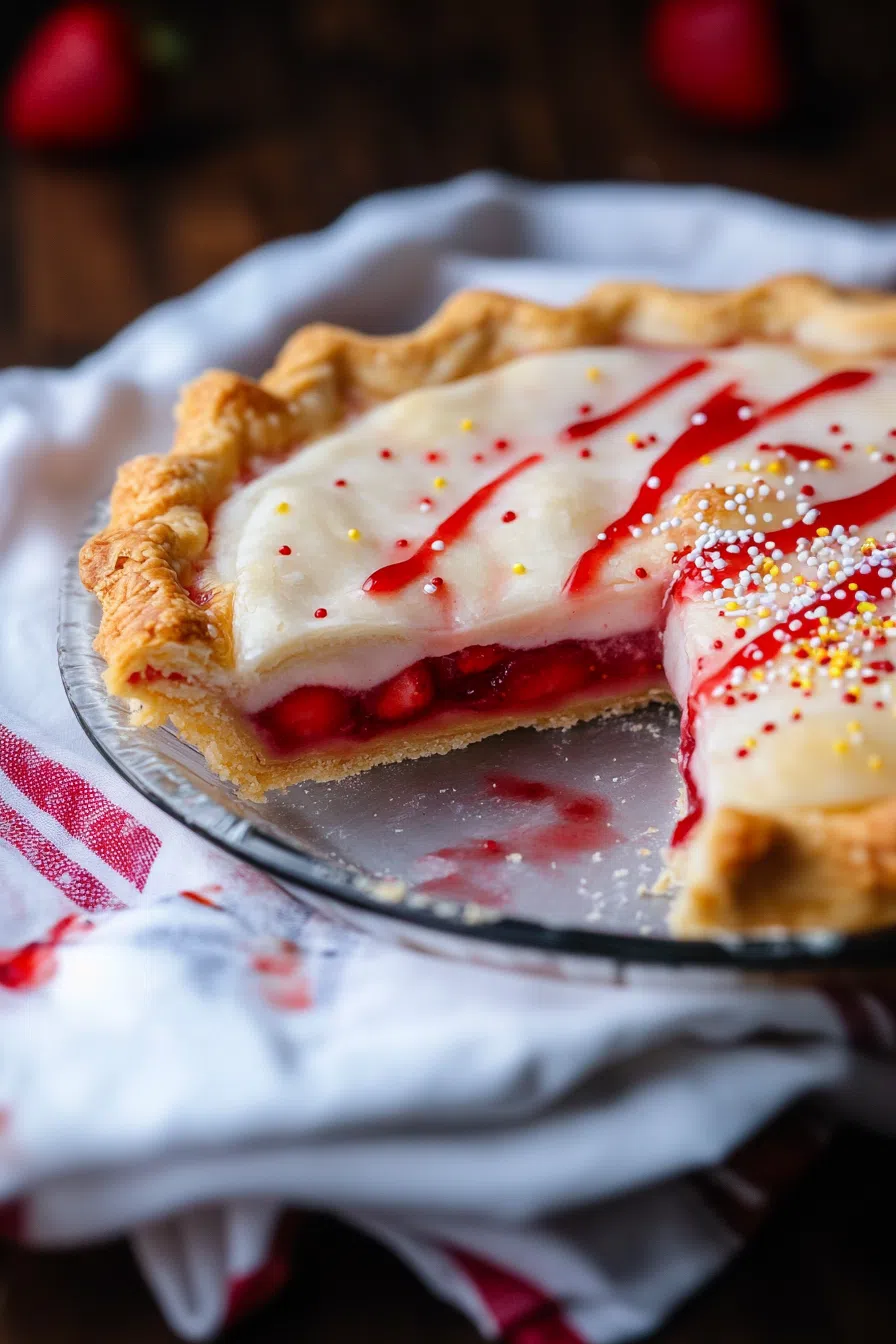
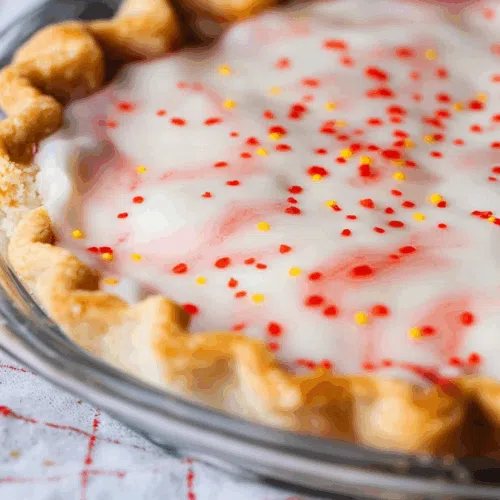
Icing drizzle: Wanna go full nostalgia? Mix powdered sugar with a splash of milk and drizzle it on top after baking.
What to Serve with Strawberry Pop-Tart Pie?
This pie doesn’t need a ton of help, but if you wanna go the extra mile (or just feel fancy), here’s what works:
-
Vanilla ice cream – A classic for a reason.
-
Whipped cream – Like, a lot of it.
-
Coffee – Or cold brew. Something slightly bitter to balance all that sweet.
-
Rosé – Sparkling or not. Trust me on this.
-
Brunch – Serve it with bacon and eggs. Dessert for breakfast is a vibe.
Frequently Asked Questions:
Can I use a graham cracker crust?
Eh… you can, but it might get soggy. It changes the whole vibe, you know?
Do I really have to thaw the strawberries?
Yes. Unless you want your pie to bake unevenly and cry strawberry water all over your oven.
How do I know when it’s done?
When the crust is golden and you see some bubbly strawberry action coming through the vents. That’s the signal.
So yeah, that’s the deal with this Strawberry Pop-Tart Pie. It’s not perfect, and that’s kind of the point. It’s comfort food with a wink, a throwback with flavor, and honestly? A lot easier than it looks.
Give it a shot. Let it be messy. Then tell me how yours turned out — I really wanna know!
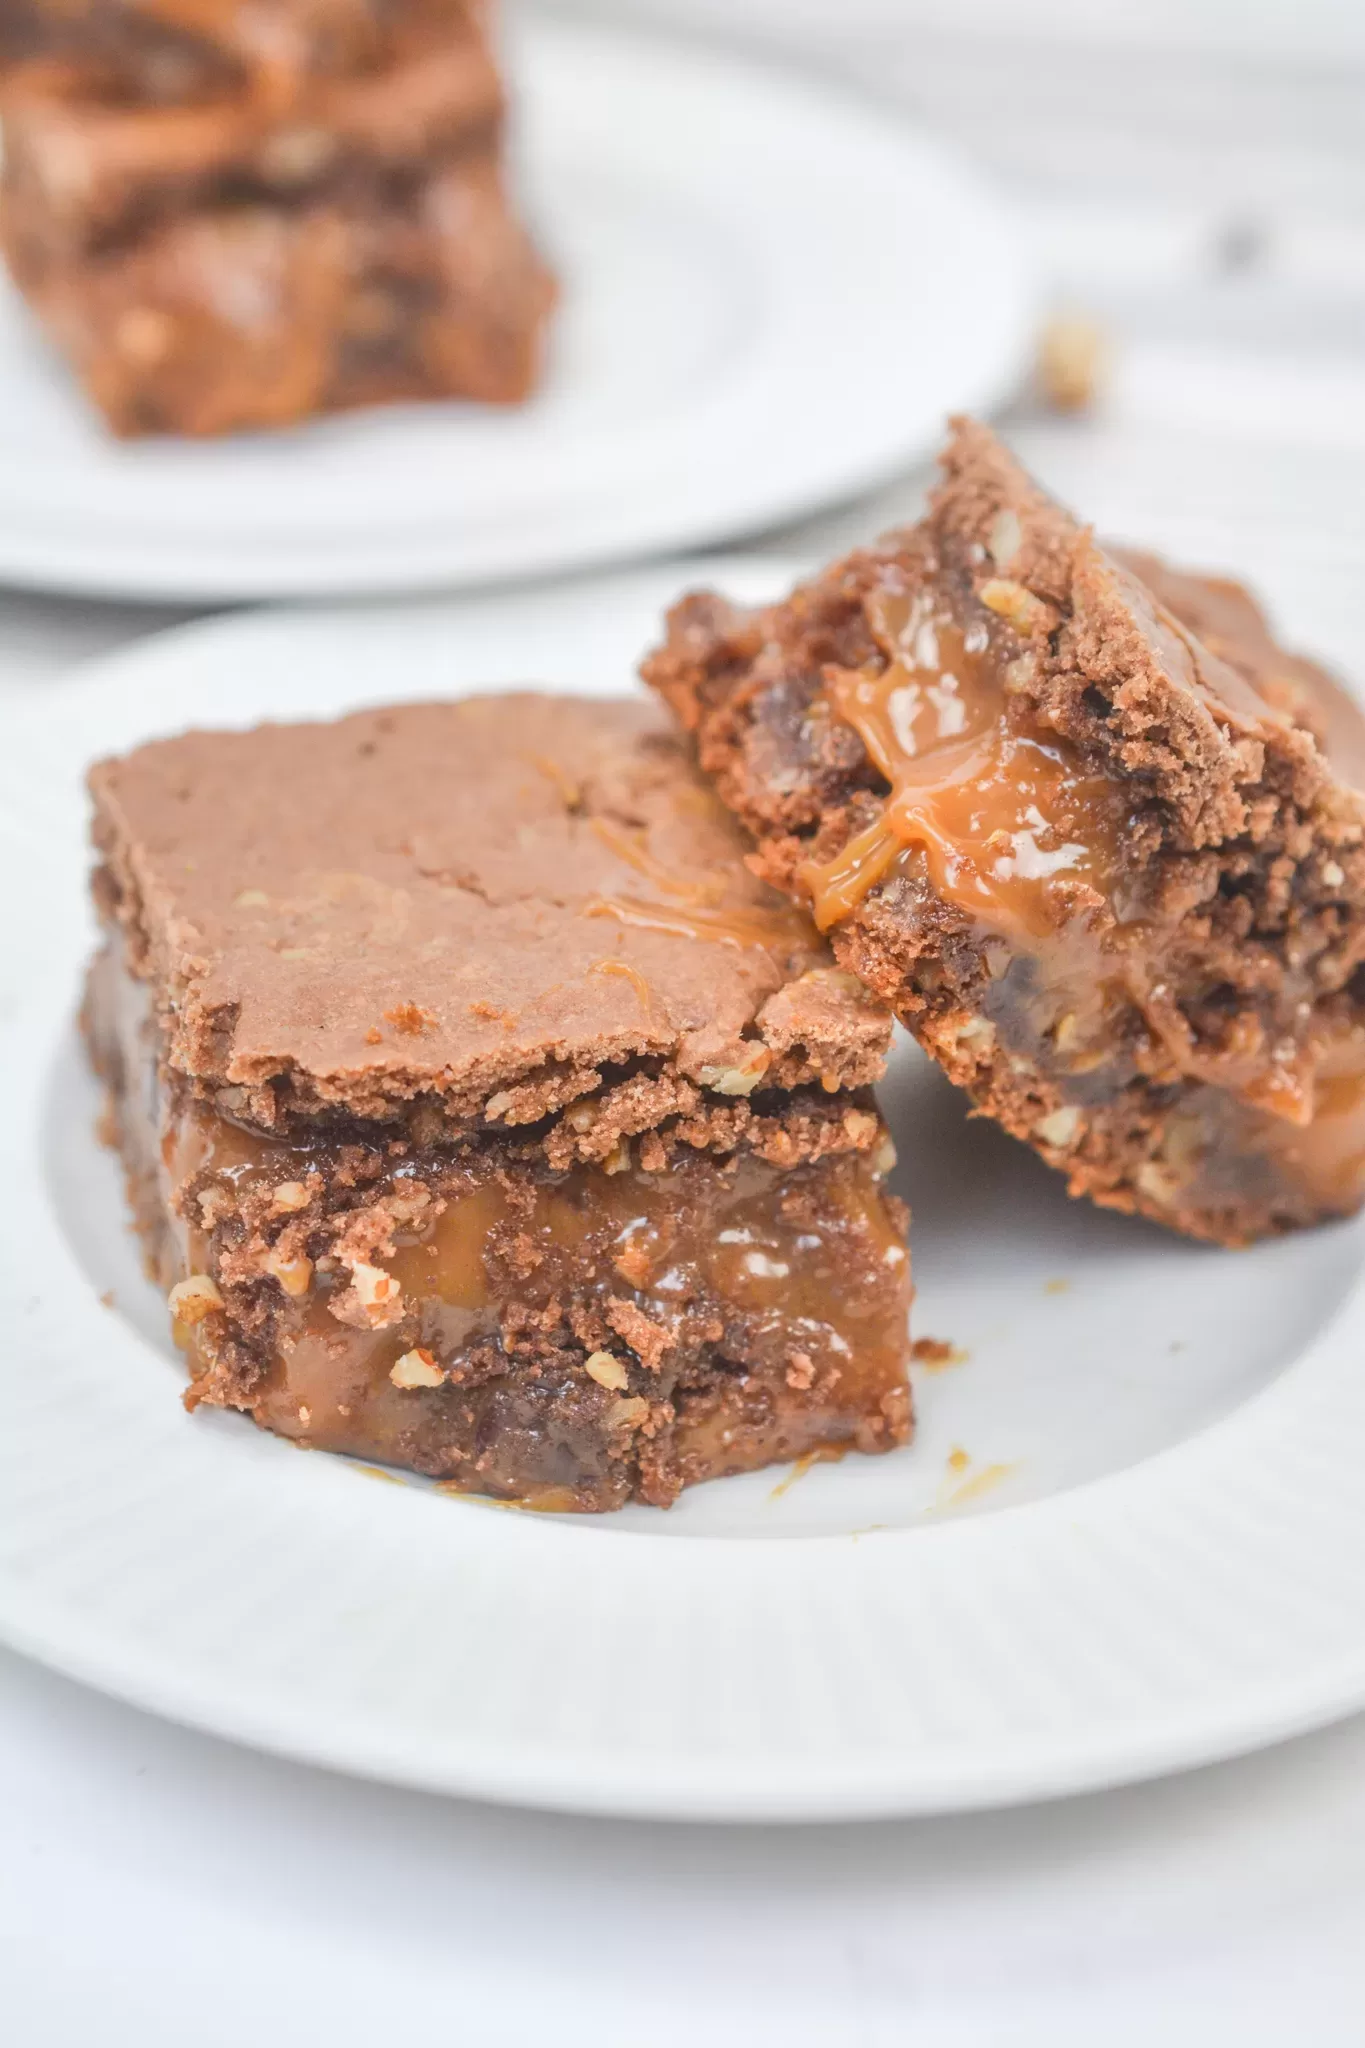
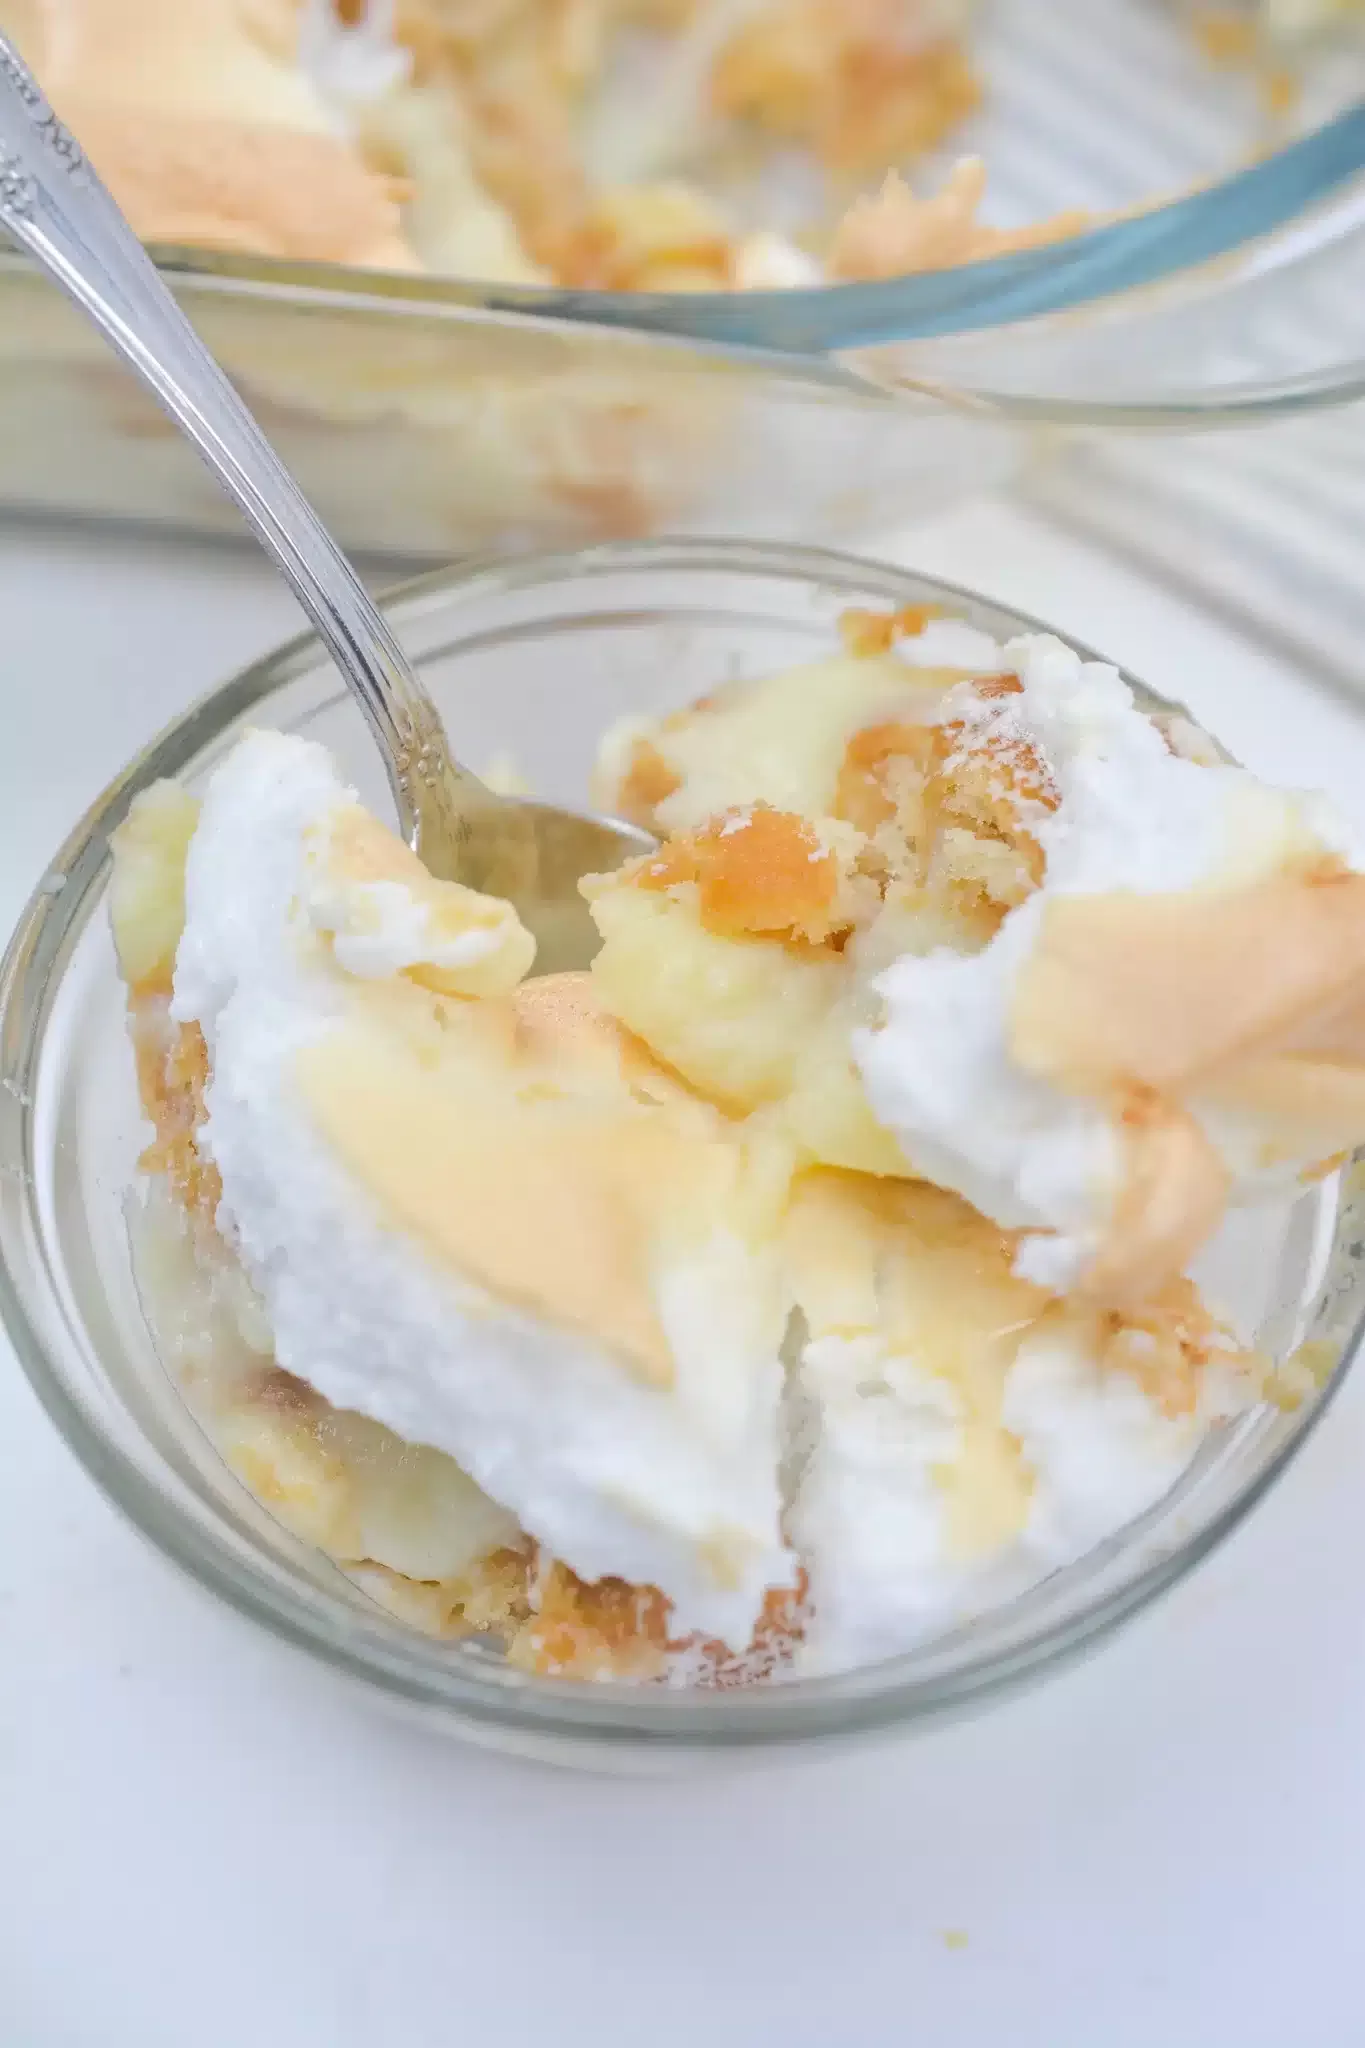
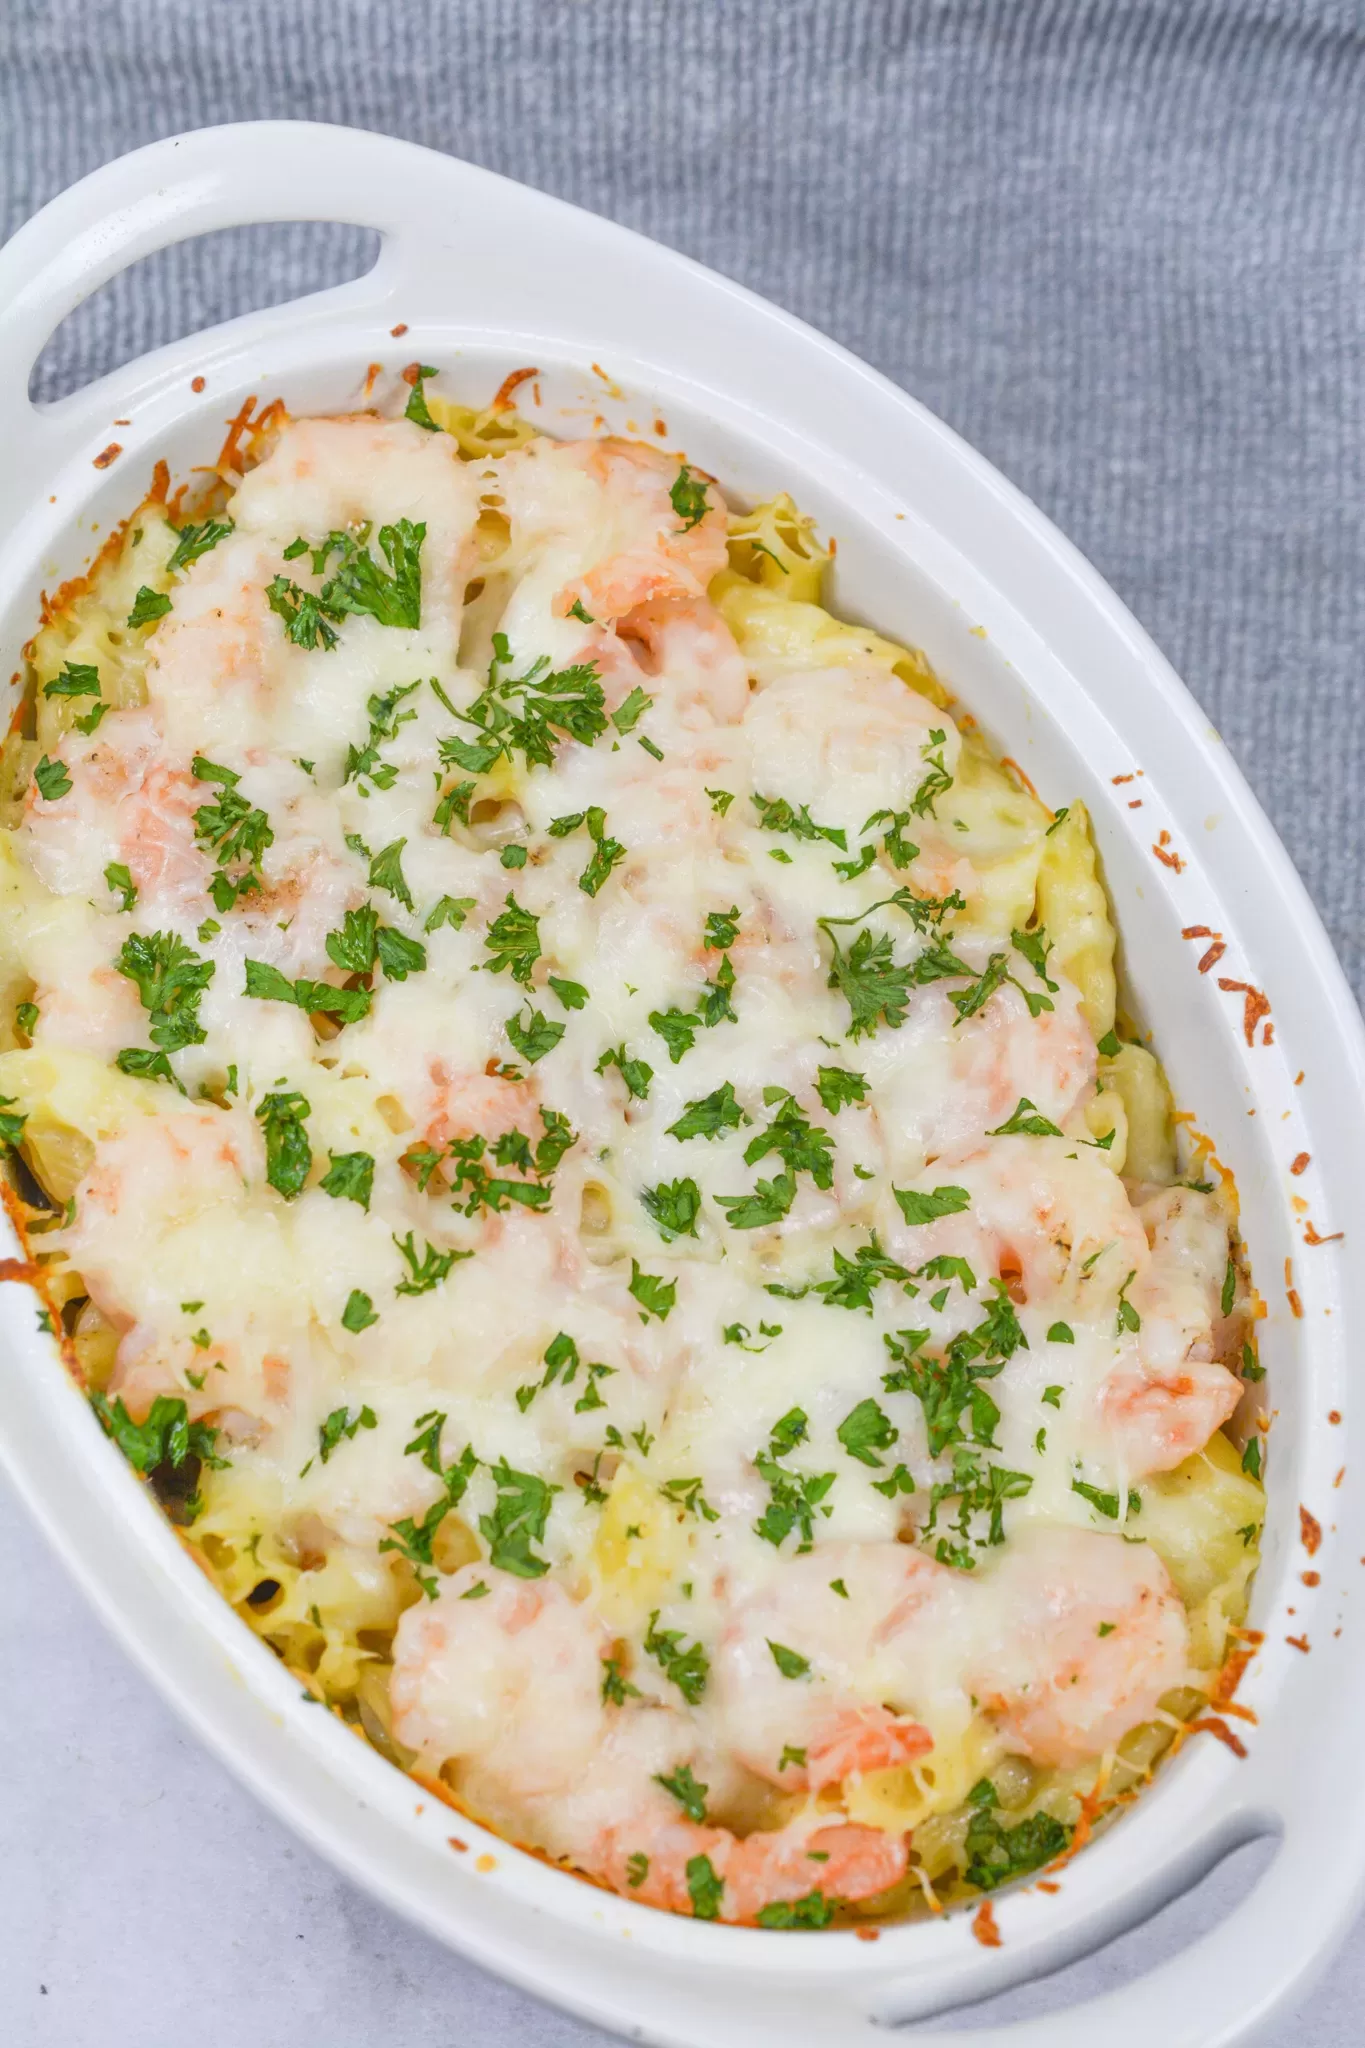
Keep the Flavor Coming – Try These:
Strawberry Pop-Tart Pie
Ingredients
- 2 pre-made 9-inch pie crusts store-bought or homemade
- 24 oz frozen strawberries thawed (approximately 680g or 1.5 16-ounce bags)
- 1 cup white granulated sugar 210g
- 8 tablespoons cornstarch 80g
- 1/8 teaspoon salt
- 2 tablespoons fresh lemon juice 30g
- 2 tablespoons white sugar 30g, for topping
Instructions
Prepare the crust:
- Preheat your oven to 350°F (175°C). Fit one of the pie crusts into a 9-inch pie plate, pressing it gently into the bottom and sides. Prick the bottom of the crust several times with a fork to prevent bubbling during baking. Parbake the crust for 5 minutes, then remove from oven and set aside.
Prepare the filling:
- In a large mixing bowl, combine the thawed strawberries, granulated sugar, cornstarch, salt, and lemon juice. Stir until the ingredients are evenly incorporated. If any strawberries are significantly larger than others, cut them into smaller, bite-sized pieces to ensure even distribution and texture.
Assemble the pie:
- Pour the prepared strawberry mixture into the parbaked bottom crust, spreading evenly. Cover with the second pie crust, trimming any excess dough from the edges. Seal the edges by pinching or crimping with a fork to ensure the filling remains enclosed.
Vent and top the crust:
- Cut several small slits into the top crust to allow steam to escape during baking. Evenly sprinkle the remaining 2 tablespoons of white sugar over the top crust to enhance both texture and appearance.
Bake:
- Place the pie on a baking sheet to catch any drips, and transfer it to the preheated oven. Bake uncovered for approximately 50 minutes, or until the crust is golden brown and the filling is visibly bubbling through the vents.
Cool before serving:
- Allow the pie to cool at room temperature before slicing. This helps the filling set and improves slicing consistency.
Notes
I’m Bitty, owner of nodashofgluten.com, where I share simple, delicious recipes for all tastes, including gluten-free. Check out my “About Me” page for more info!