

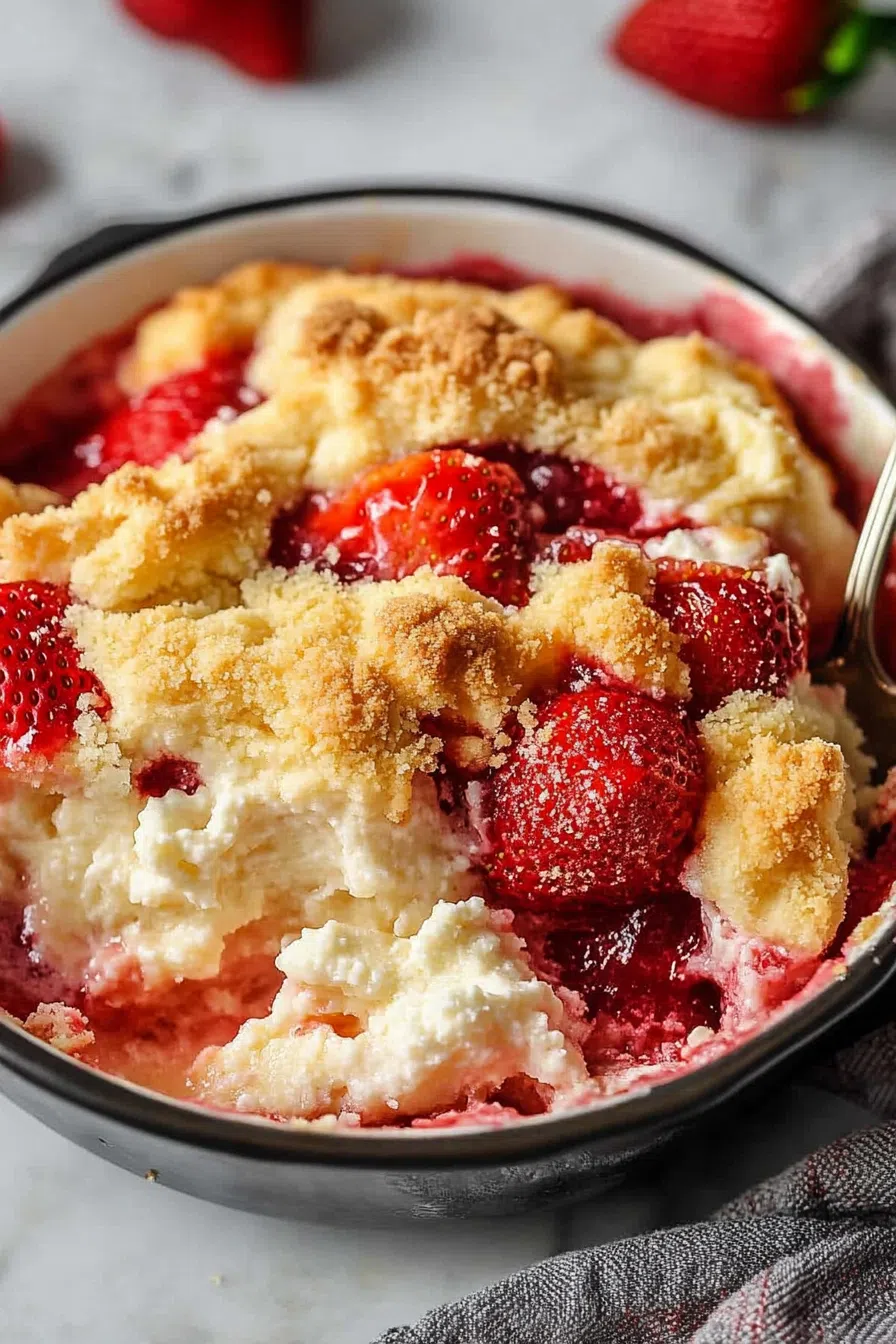
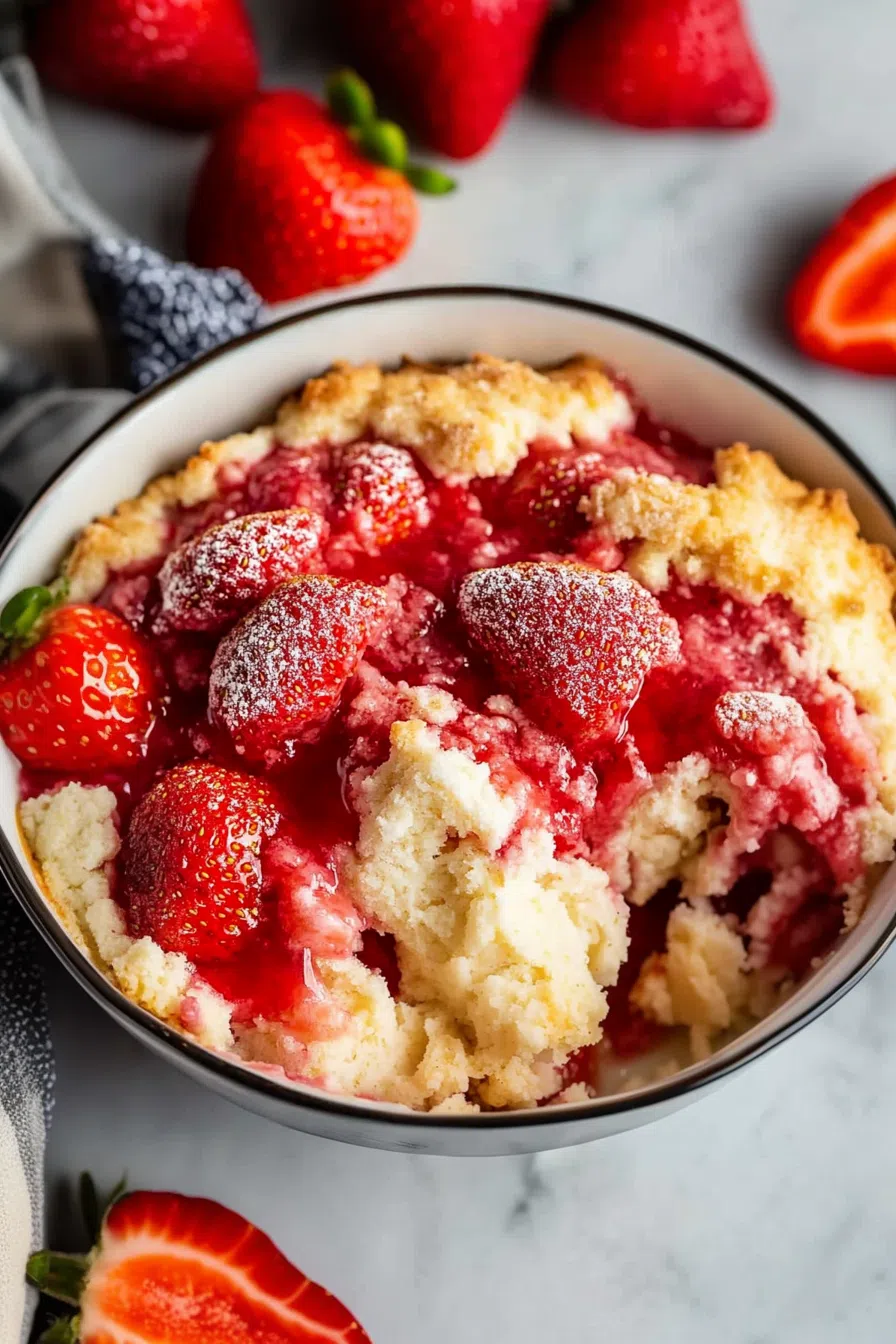
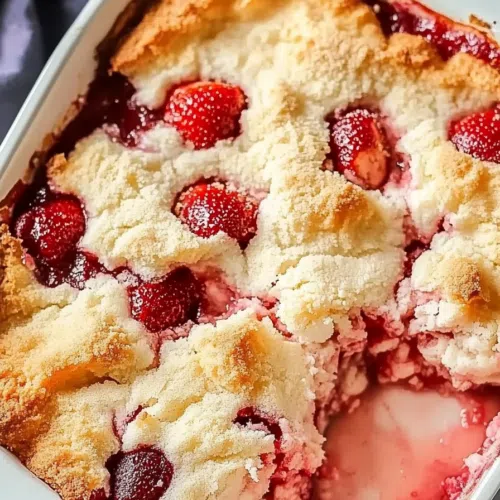
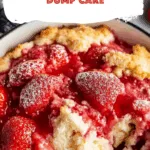
Dive into a luscious Strawberry Cheesecake Dump Cake with fresh strawberries, creamy cheese, buttery cake mix, and strawberry pie filling. Pure bliss!
Alright, so you know how some desserts just happen because you’re in the mood to bake, but not really? This Strawberry Cheesecake Dump Cake was born from one of those days. I was rummaging through the pantry, halfway into a “cleaning spree” that quickly turned into “let’s make something delicious instead.” Classic procrastination, right?


I had a box of cake mix on its last leg, a block of cream cheese that had been giving me the sad eyes from the fridge, and strawberries that were just a day away from becoming strawberry wine… if you catch my drift. And because life is short and messy, I decided to throw everything together like some kind of dessert mad scientist.
My grandma used to do this with canned cherries and yellow cake mix, so I thought, why not give it a shot with strawberries and cream cheese? Let’s be real, she would’ve raised an eyebrow at me for the cream cheese bit, but she’d be proud of the improvisation. The result? A buttery, creamy, strawberry-studded masterpiece that was gone before the pan even cooled. And now? Well, it’s a permanent fixture in my dessert rotation.
Why You’ll Love This Strawberry Cheesecake Dump Cake Recipe?
-
Insanely Easy: It’s literally a dump cake. If you can pour things into a dish and turn on your oven, you’ve got this. No fuss, no fancy steps.
-
Perfect Balance of Flavors: The sweet strawberries, creamy cheese, and buttery cake crumble all come together like they were meant to be best friends.
-
Crowd-Pleaser: Whether it’s a casual get-together or a last-minute dessert emergency, this cake delivers every. Single. Time.
-
Customizable: Don’t have fresh strawberries? Cool, use frozen. Out of white cake mix? Yellow works like a charm.
Ingredient Notes:
Let’s break down what makes this Strawberry Cheesecake Dump Cake so irresistible:
-
Fresh Strawberries: I mean, can you go wrong with fresh berries? They add that juicy, slightly tart punch that just makes the whole thing feel special. Of course, if all you have is frozen, it’ll still work. Just thaw and drain them first.
-
Cream Cheese: This is where the magic happens. Whipping it up makes it creamy and light—like you’re smearing a cloud over strawberries. And who doesn’t love a cheesecake vibe in their dessert?
-
White Cake Mix: It’s the shortcut we all need. It gives you that crumbly, golden top without a ton of effort. And hey, if all you’ve got is yellow cake mix, go for it. No judgment here.
-
Butter: Because duh. It’s the key to getting that crispy, buttery topping. Melted and mixed with the cake mix? Chef’s kiss.
-
Strawberry Pie Filling: Adds moisture and boosts that strawberry flavor to the max. Plus, it makes this dessert super forgiving and rich.
How To Make Strawberry Cheesecake Dump Cake?
This dessert’s as easy as it gets. It’s a “throw it all together and hope for the best” kind of situation, which—let’s be honest—is sometimes the best kind of baking.
-
Preheat and Prep:
Heat your oven to 350°F (175°C) and grease a 9×13-inch baking dish with cooking spray. Because no one wants to deal with a sticky mess afterward. -
Sweeten the Strawberries:
Toss the diced strawberries with sugar and let them sit for about 10 minutes. It’s like giving them a little time-out to think about how sweet they could be. -
Whip the Cream Cheese:
In a large bowl, beat the cream cheese until it’s smooth and fluffy. Then fold in those sugary strawberries until it looks like a strawberry cheesecake dip you’d eat straight from the bowl. (I mean, who hasn’t?) -
Make the Crumble:
In another bowl, mix together the cake mix and melted butter until it’s all crumbly and delicious-looking. It might feel weird, but trust me—it works. -
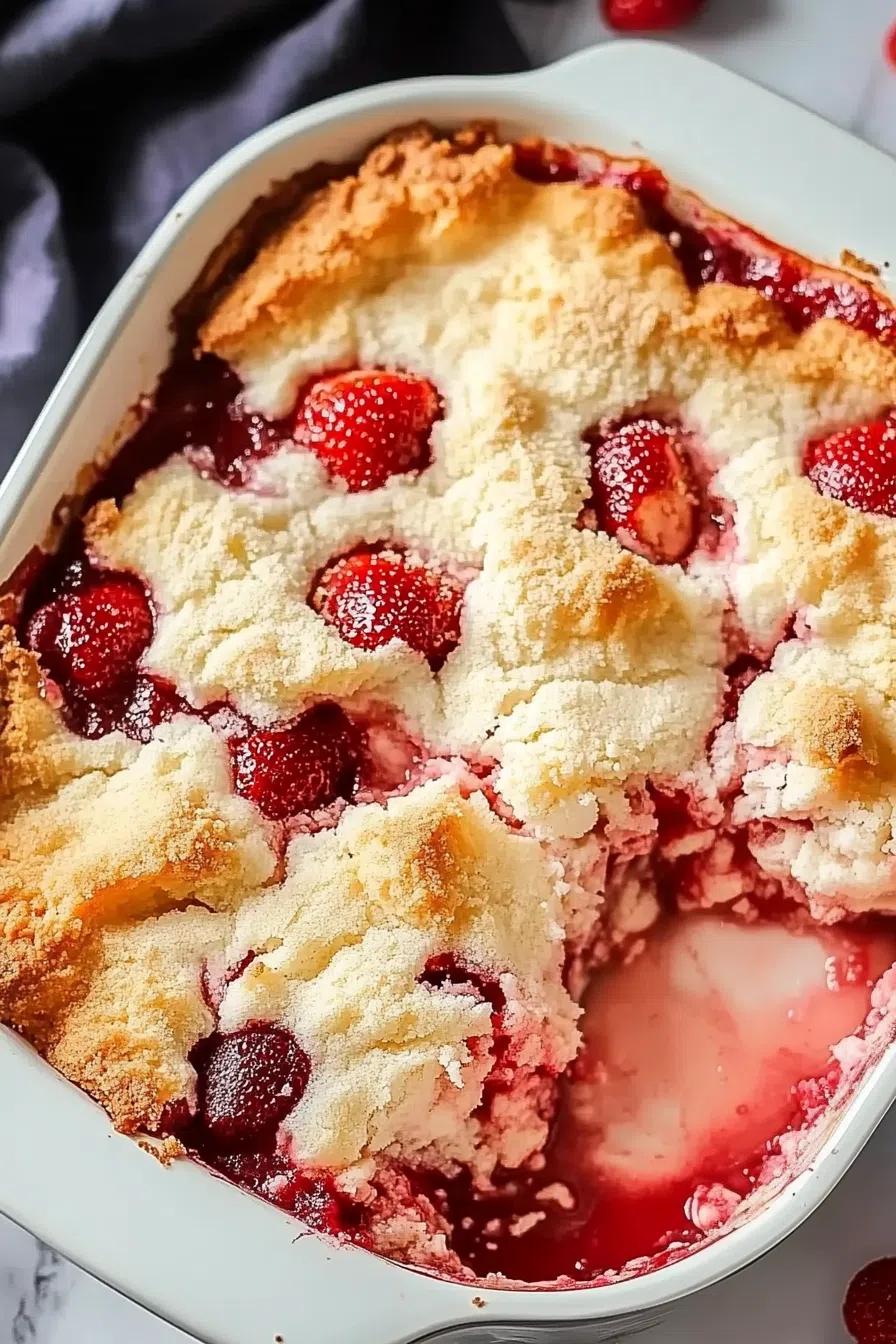
Layer It All Up:
Spread the strawberry pie filling evenly over the bottom of your greased baking dish. Pour the strawberry-cream cheese mixture over that, and then sprinkle the crumbly cake mix evenly over the top. It’s a mess, but a beautiful one. -
Bake:
Pop it in the oven for about 30 minutes, or until the top is golden brown and crispy. Your house will smell incredible. Try to resist diving in right away. -
Cool & Serve:
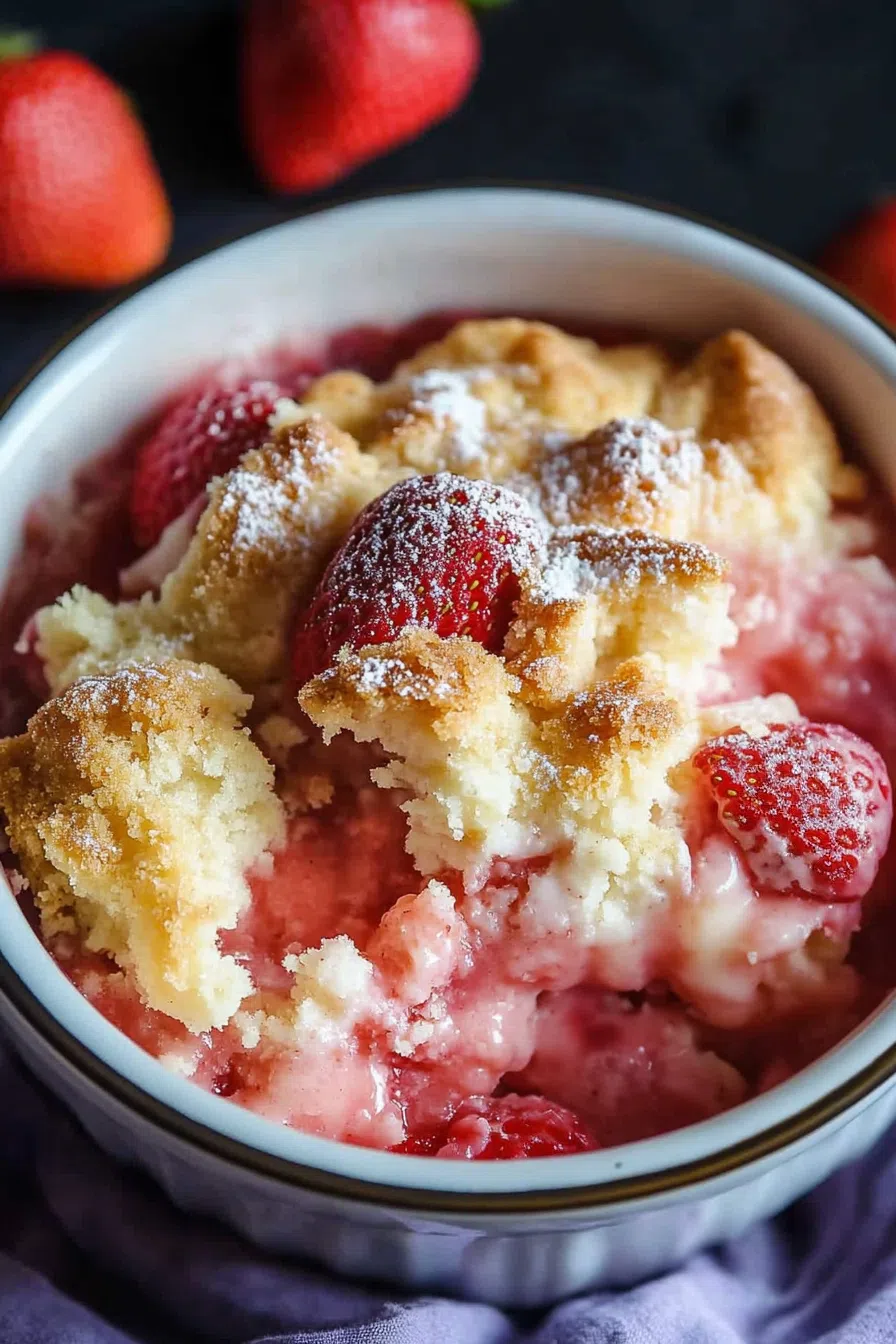
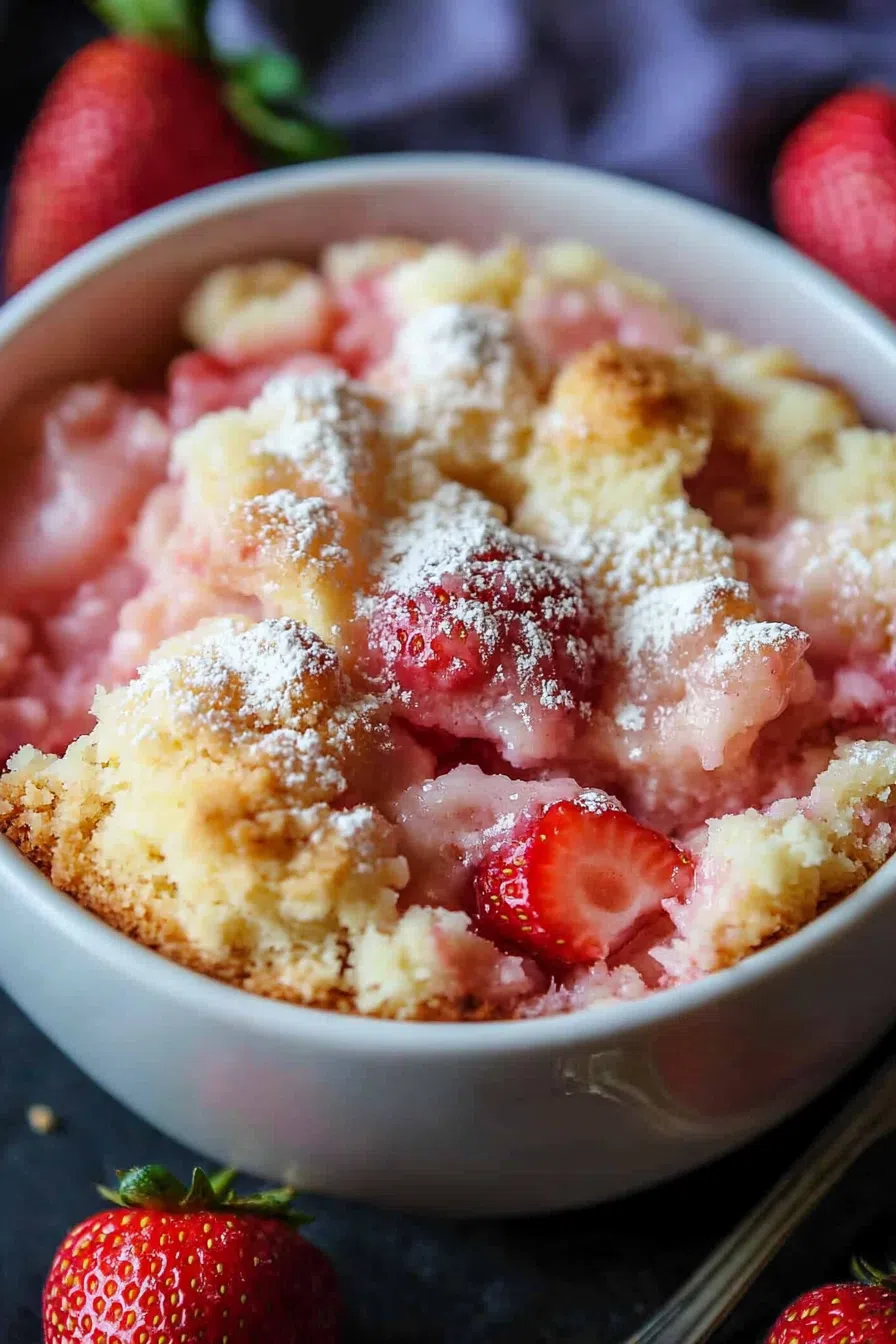
Let it cool for at least 10 minutes before serving. Scoop it out, slap some whipped cream or vanilla ice cream on top, and you’re golden.
Want To Save This Recipe?
Storage Options:
So you somehow have leftovers? Good for you. Here’s how to store them:
-
Fridge: Keep it covered or in an airtight container for up to 3 days. The flavors just get better.
-
Freezer: Yep, you can freeze it. Just cut it into portions, wrap tightly, and toss in a freezer-safe bag. When you’re ready to enjoy it, let it thaw in the fridge overnight and reheat gently.
Variations and Substitutions:
Want to mix things up? Here are a few ideas:
-
Berries Galore: Swap strawberries for blueberries, raspberries, or a mix of all three.
-
Different Pie Filling: Not a strawberry person? Go with cherry or blueberry pie filling instead.
-
Nutty Crunch: Toss in some chopped pecans or almonds for a little extra texture.
-
Gluten-Free: Just use a gluten-free cake mix. It’s that easy.
What to Serve with Strawberry Cheesecake Dump Cake?
Looking to take this cake to the next level? Here’s what I recommend:
-
Vanilla Ice Cream: Because everything’s better with ice cream.
-
Whipped Cream: Adds lightness and balances all that creamy, buttery goodness.
-
Fresh Strawberries: Just to make it look pretty. And because more strawberries are always a good idea.
Frequently Asked Questions:
Can I make this ahead of time?
Absolutely. It’s one of those desserts that somehow gets better with a night in the fridge.
Can I use frozen strawberries?
Yep! Just make sure to thaw and drain them first, or things could get soggy real fast.
Can I use yellow cake mix instead of white?
Sure thing. It’ll be a bit richer but still totally delicious.
Alright, now it’s your turn. Whip up this Strawberry Cheesecake Dump Cake and let me know how it goes. Better yet, share it with a friend and take all the compliments.
Keep the Flavor Coming – Try These:

Strawberry Cheesecake Dump Cake
Ingredients
- Cooking spray for greasing the baking dish
- 1 pound fresh strawberries diced
- 2 teaspoons granulated sugar
- 1 8-ounce package cream cheese, softened
- 1 15.25-ounce package white cake mix
- 1 cup butter melted
- 1 21-ounce can strawberry pie filling
Instructions
Prepare the Oven and Baking Dish:
- Preheat the oven to 350°F (175°C). Generously coat a 9x13-inch baking dish with cooking spray to prevent sticking. Set aside.
Sweeten the Strawberries:
- Place the diced strawberries in a bowl and sprinkle them with granulated sugar. Allow them to rest for approximately 10 minutes, until the strawberries release their natural juices.
Prepare the Cream Cheese Mixture:
- In a large mixing bowl, beat the softened cream cheese using a hand mixer or stand mixer until it becomes light and fluffy. Add the sugared strawberries to the cream cheese and mix until thoroughly combined.
Create the Crumble Topping:
- In a separate bowl, combine the white cake mix and melted butter. Stir until the mixture forms a coarse, crumbly texture resembling wet sand.
Assemble the Cake:
- Spread the strawberry pie filling evenly over the bottom of the prepared baking dish. Pour the strawberry-cream cheese mixture over the pie filling and spread it gently to cover. Sprinkle the crumble mixture evenly over the top.
Bake:
- Transfer the assembled cake to the preheated oven and bake for approximately 30 minutes, or until the topping is golden brown and slightly crisp.
Cool and Serve:
- Remove the cake from the oven and allow it to cool on a wire rack for at least 10 minutes before serving. Enjoy warm or at room temperature.
Notes
I’m Bitty, owner of nodashofgluten.com, where I share simple, delicious recipes for all tastes, including gluten-free. Check out my “About Me” page for more info!

2 Responses
I don’t have pie filling, can I just use fresh strawberries?
Absolutely, Lauralee! I’d actually use fresh strawberries combined with a bit of sugar—just like I do for the first layer. The sugar will draw out their juices and give you that moist, fruity filling you need. You might use a little more strawberries than the pie filling called for to get enough moisture, but it’ll work beautifully.