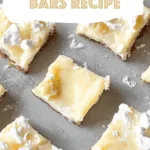
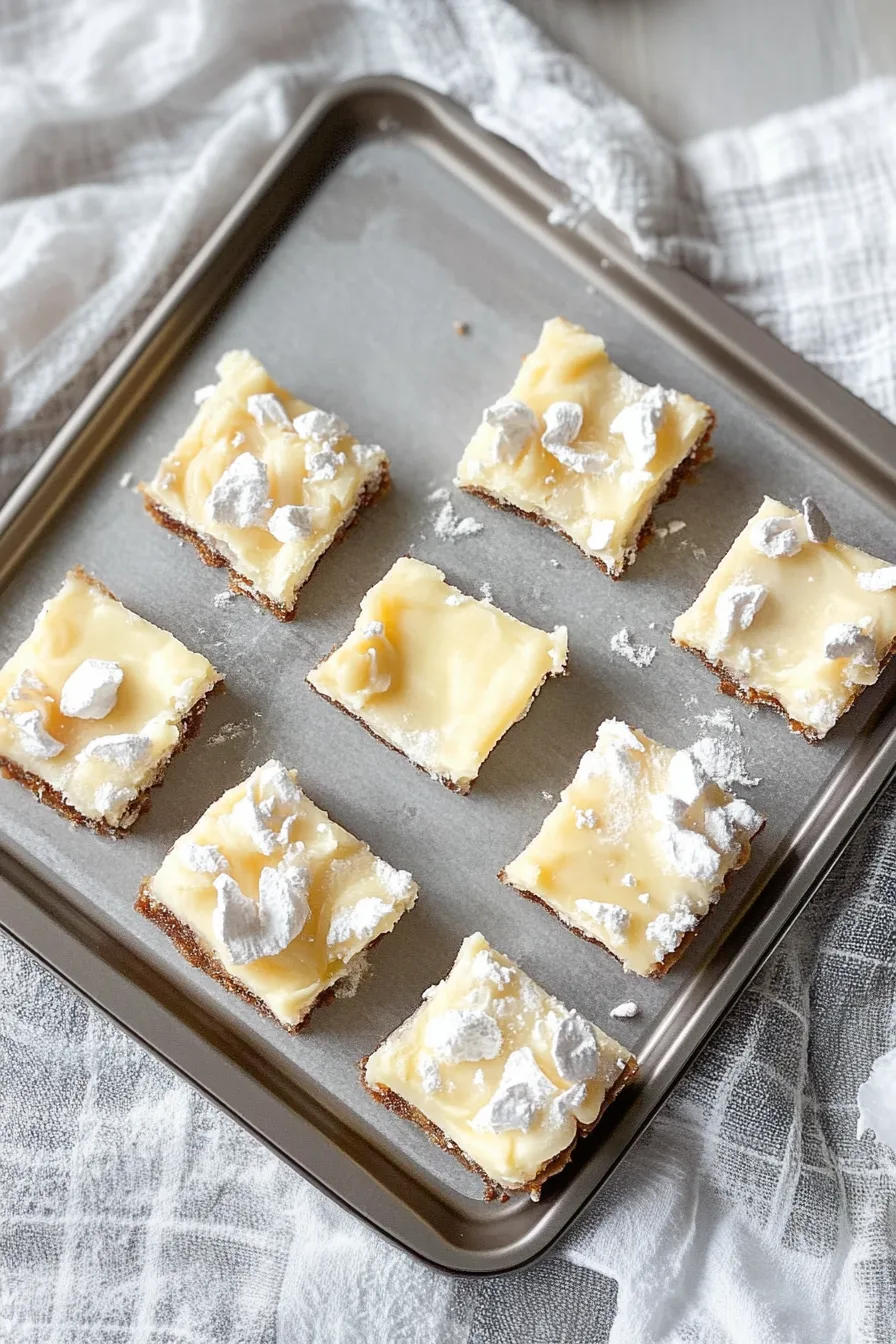
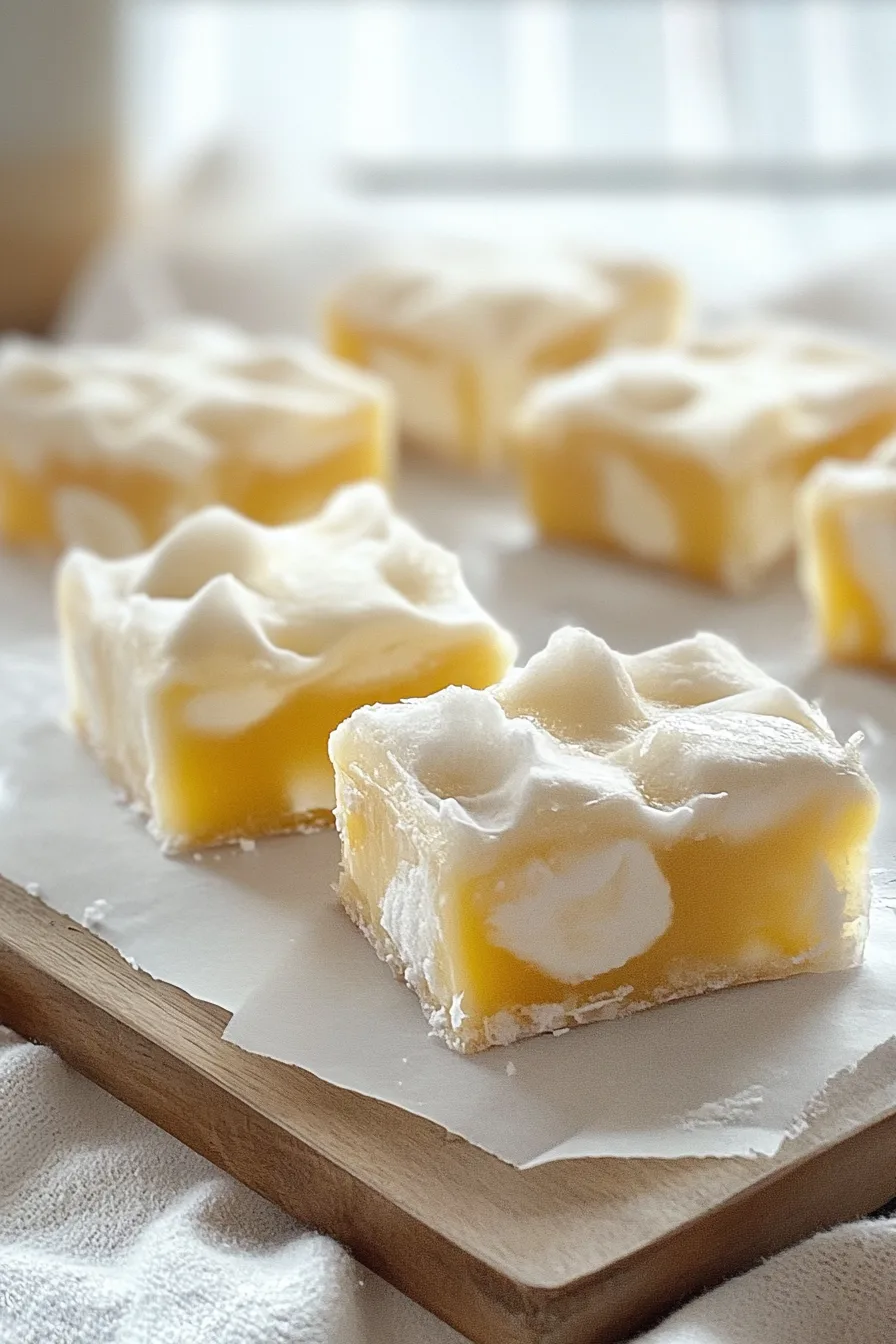
Snowdrift Bars Recipe with butter, coconut, Nilla wafers, marshmallows, and cream cheese frosting—a cozy, nostalgic snow-day treat.


I still remember the first time I made this Snowdrift Bars Recipe—and honestly, it wasn’t planned. It was one of those heavy, snow-drifted afternoons where the roads were closed, the kids were cranky, and I was rummaging through the pantry thinking, “Well… what can I throw together?” I had half a box of Nilla wafers left from another dessert, some marshmallows rolling around in the back of the cupboard, and a bag of shredded coconut I swore I’d use for macaroons but never did.
So I melted some butter (because every good snow-day recipe starts with butter, right?), whisked things together, and before I knew it, I had these gooey bars cooling on the counter. The kids came running, my husband peeked in, and suddenly what started as a “let’s just wing it” moment turned into a full-blown family favorite. Funny how that happens.
Why You’ll Love This Snowdrift Bars Recipe?
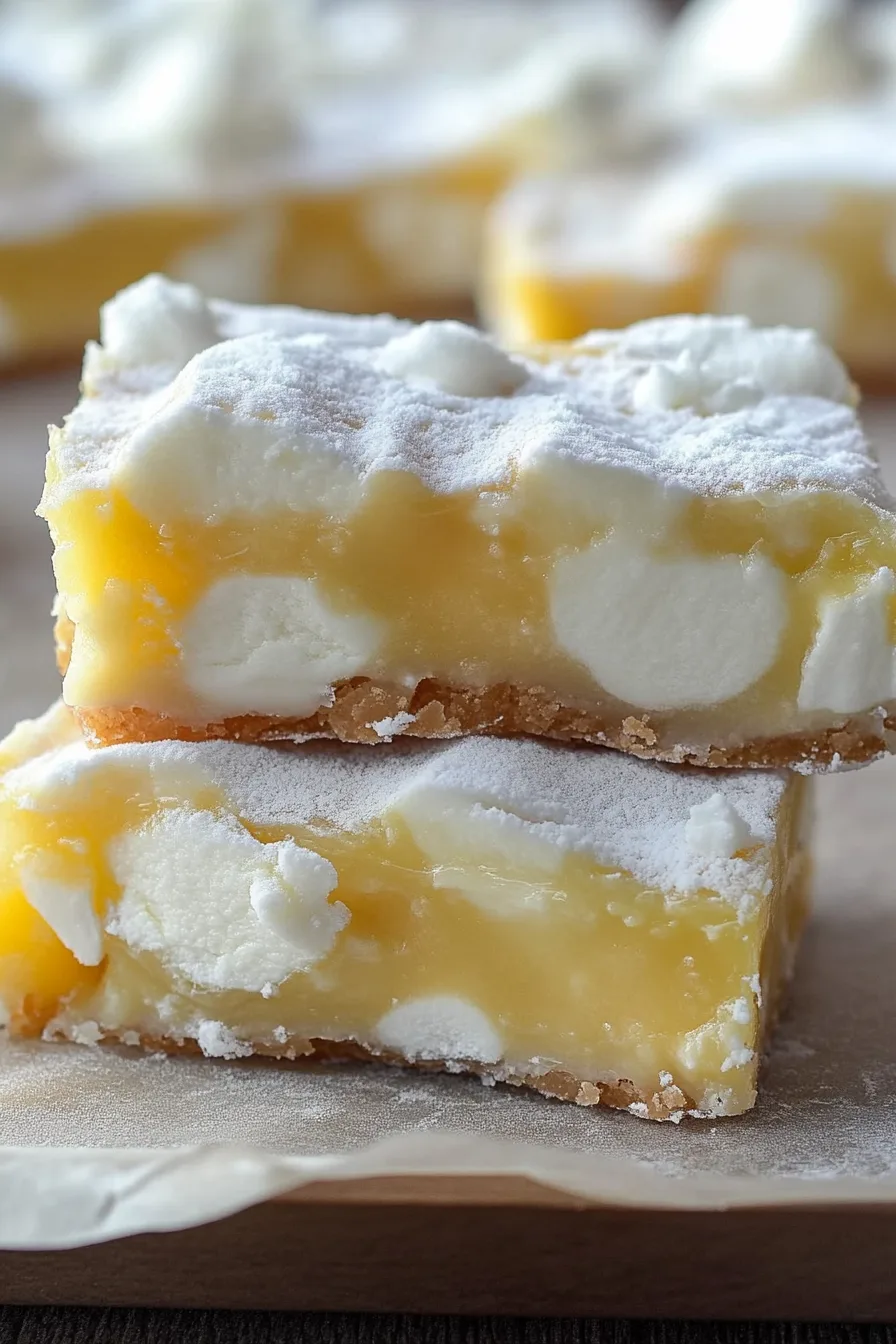
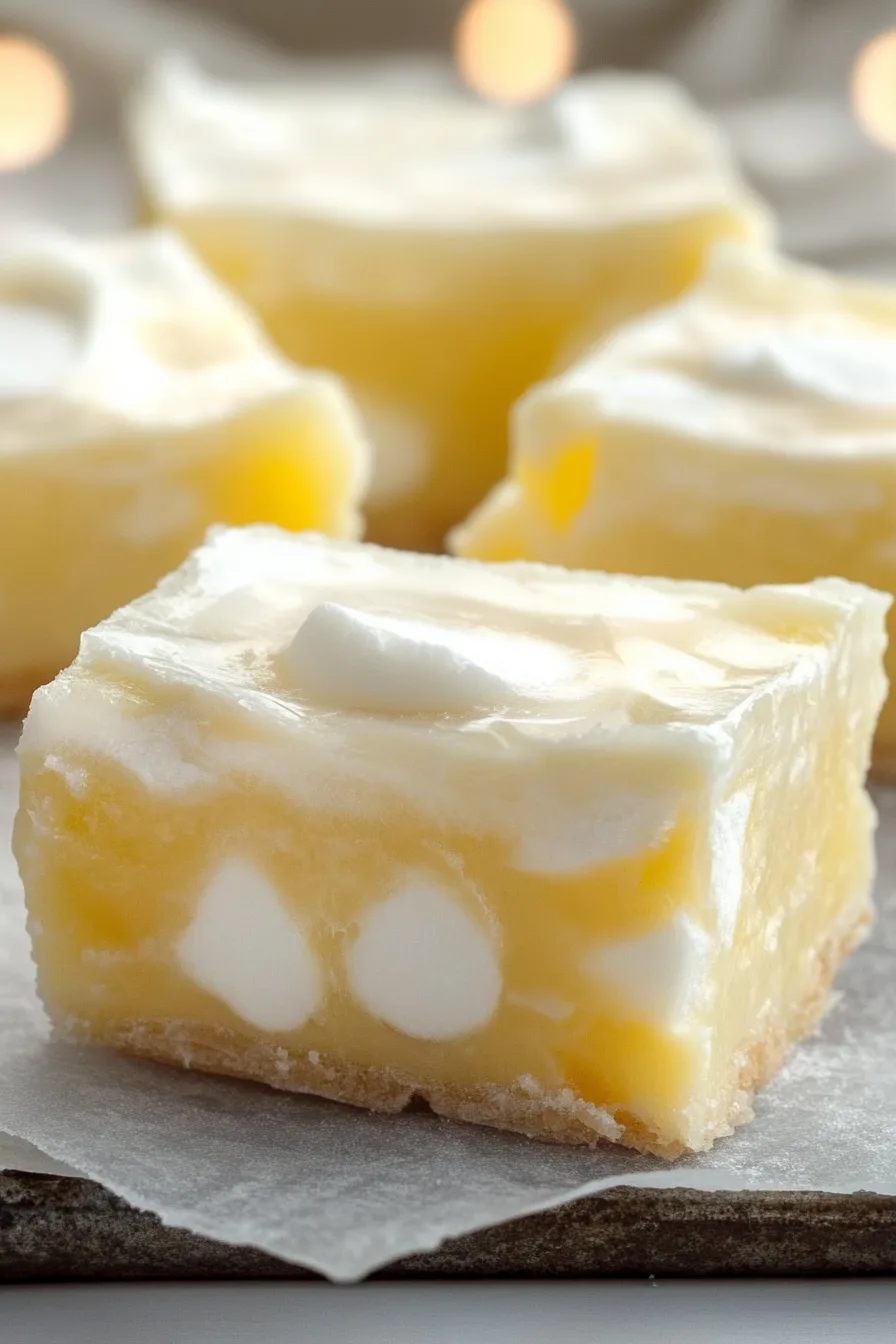
If you’ve ever wanted a dessert that looks like you spent all day in the kitchen but really only took a bit of stirring and patience, this is it. These Snowdrift Bars are chewy, sweet, and nostalgic—kind of like if Rice Krispie treats grew up, traveled a little, and came back with a new personality. The marshmallows give you that soft bite, the coconut adds a wintry touch, and the cream cheese frosting? Oh, it’s like snow on top of a freshly frosted hill. You’ll probably cut a piece, say “just one,” and then… well, we both know how that ends.
Ingredient Notes:
Here’s what makes these bars tick—and trust me, each thing matters more than you’d think:
-
Butter – Use unsalted if you can. It’s the base flavor, and honestly, everything’s better with butter.
-
Sugar – Regular granulated sugar. Sweet enough but not cloying.
-
Eggs – Lightly beaten and tempered so they don’t scramble (it sounds fancy, but it’s really just whisking fast and hoping for the best).
-
Coconut – Sweetened shredded coconut adds chew and that “snowy” texture.
-
Nilla wafers – Crushed, they give a buttery backbone. You could swap them, but it won’t taste quite the same.
-
Mini marshmallows – The fun part. They puff up just enough but still give you little chewy surprises in every bite.
-
Frosting – Cream cheese, butter, sugar, and vanilla. Basically the thing that makes people ask for seconds.
How To Make Snowdrift Bars?
This isn’t one of those stiff, complicated recipes. It’s more like a cozy rhythm. Here’s how it goes:
- Prep your pan. Grab an 8×8 pan, line it with parchment, and pat yourself on the back because cleanup just got easier.
- Melt the good stuff. Butter into a saucepan, low heat, and then add the sugar until it’s glossy. Nothing smells more comforting than butter and sugar melting together—it’s like a snow day soundtrack for your kitchen.
- Temper the eggs. Don’t let this step scare you. It’s just slowly whisking the hot butter-sugar mix into the eggs so they don’t cook into scrambled bits. A tablespoon at a time, then whisk it back in. Done.
- Flavor and cool. Stir in the coconut and vanilla, then let the whole thing cool down for about an hour. Yes, it feels like forever, but this step keeps your marshmallows intact.
- Mix-ins. Once cool, fold in the Nilla wafer crumbs and marshmallows. Press the mixture into your pan, cover it, and let it chill for a couple of hours.
- Frost. While the bars are chilling, whip up that frosting. Cream cheese, butter, sugar, vanilla—beat until smooth. Spread it thick over the set bars.
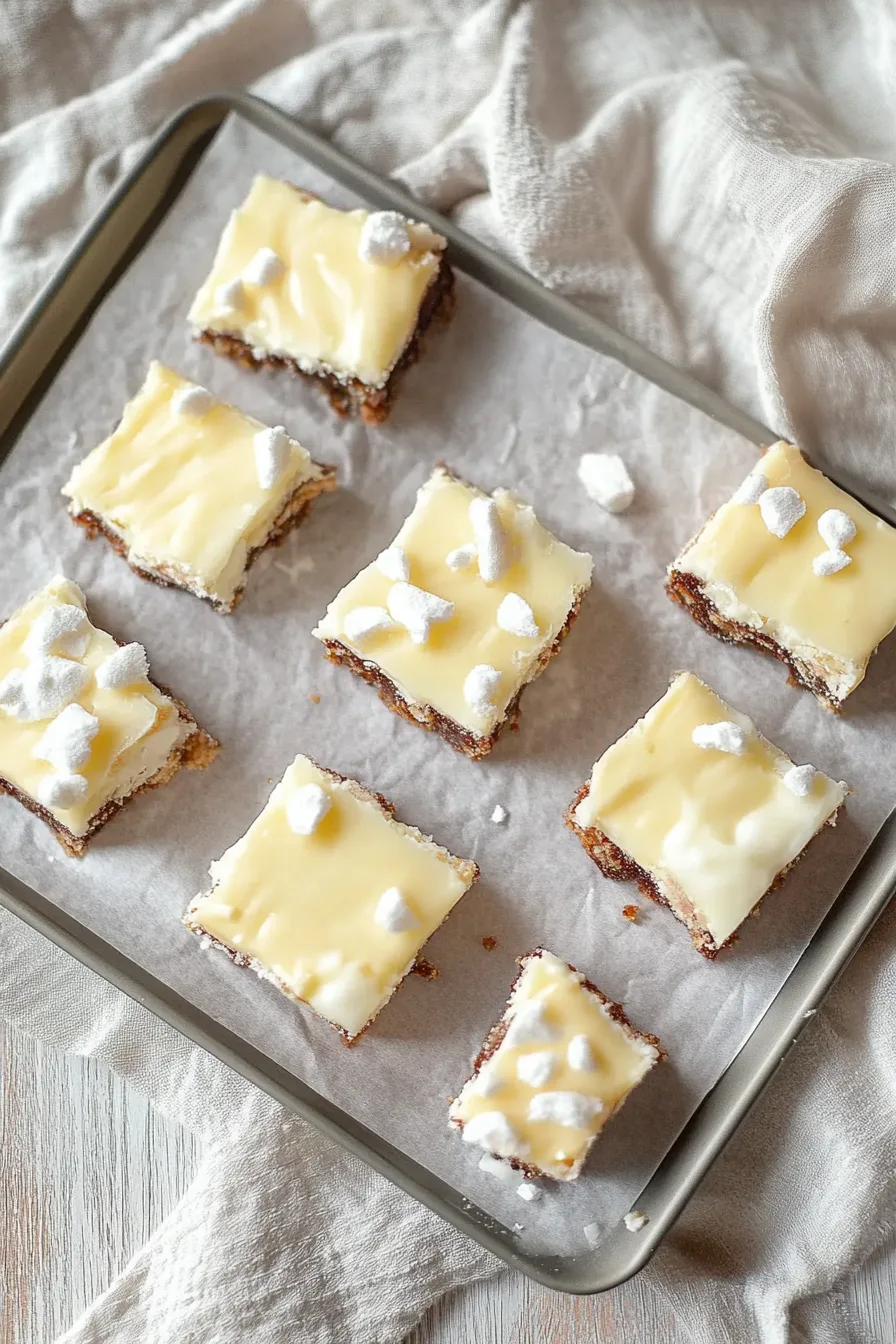
- Slice and snack. Use the parchment to lift them out, cut into squares, and admire your snowy little creations.
Storage Options:
These bars keep well in the fridge for about 5 days. (Not that they’ll make it that long—mine disappear within two.) You can freeze them too, just frost later so it stays creamy. They’re the kind of treat you can make ahead for parties or, let’s be honest, just to sneak one while binge-watching something cozy.
Variations and Substitutions:
The beauty of this Snowdrift Bars Recipe is that it’s forgiving. Don’t stress if you’re missing something:
-
Swap Nilla wafers for graham crackers or shortbread crumbs.
-
Skip the coconut if you’re not a fan, or add chopped pecans instead.
-
Mini chocolate chips? Yes, please.
-
Add a little citrus zest to the frosting for a fresh kick.
Want To Save This Recipe?
What to Serve with Snowdrift Bars?
These bars are sweet and rich, so pairing matters:
-
Hot cocoa with whipped cream (because marshmallows beg for it).
-
A strong coffee or espresso to balance the sugar.
-
On a holiday platter with fudge, peppermint bark, or sugar cookies—trust me, these hold their own.
Frequently Asked Questions:
Do I have to use Nilla wafers?
Not at all! Graham crackers or digestive biscuits work, but the flavor shifts a bit.
Can I make them ahead of time?
Absolutely. They actually taste better the next day once the flavors mellow together.
Do they need to be refrigerated?
Yes—because of the cream cheese frosting, keep them chilled. But they’re best eaten closer to room temp, so let them sit out a few minutes before serving.
And there you go—Snowdrift Bars that are simple, nostalgic, and just the right mix of cozy and fun. Honestly, if you make them once, I wouldn’t be surprised if they sneak their way into your family’s winter traditions, too.
So… are you going to cut them into neat little squares, or are you like me and just attack the edges with a fork?
Keep the Flavor Coming – Try These:


Snowdrift Bars Recipe
Ingredients
For the Bars:
- ½ cup unsalted butter
- ¾ cup granulated sugar
- 2 large eggs lightly beaten
- 1 teaspoon vanilla extract
- ⅔ cup shredded sweetened coconut
- 2 cups Nilla wafer cookie crumbs
- 1 ½ cups mini marshmallows
For the Frosting:
- 4 ounces cream cheese room temperature
- 3 tablespoons unsalted butter room temperature
- 1 teaspoon vanilla extract
- 1 cup powdered sugar
Instructions
Prepare the pan
- Line an 8x8 inch baking pan with parchment paper and set aside.
Cook the butter mixture
- In a medium saucepan over low heat, melt the butter. Add the granulated sugar and stir continuously for 1 minute until dissolved.
Temper the eggs
- Place the lightly beaten eggs in a heatproof bowl. Slowly whisk in the hot butter–sugar mixture, a tablespoon at a time, to temper the eggs. Once several tablespoons have been incorporated, whisk the egg mixture back into the saucepan.
Thicken the base
- Return the saucepan to low heat. Whisk constantly for 7–8 minutes until the mixture thickens and the sugar is fully dissolved.
Add flavor and cool
- Remove from heat. Stir in the vanilla extract and shredded coconut. Allow the mixture to cool completely to room temperature, about 1 hour.
Incorporate dry ingredients
- Fold in the cookie crumbs and mini marshmallows until evenly distributed. Spread the mixture into the prepared pan using a spatula. Cover with plastic wrap and refrigerate for 2 hours.
Prepare the frosting
- In a medium bowl, beat the cream cheese and butter together until smooth, about 1–2 minutes. Scrape down the sides as needed. Add the vanilla extract and powdered sugar, mixing until fully combined.
Assemble and serve
- Spread the frosting evenly over the chilled bars. Use the parchment to lift the bars out of the pan, then cut into squares. Serve chilled or slightly softened at room temperature.
Notes
I’m Bitty, owner of nodashofgluten.com, where I share simple, delicious recipes for all tastes, including gluten-free. Check out my “About Me” page for more info!