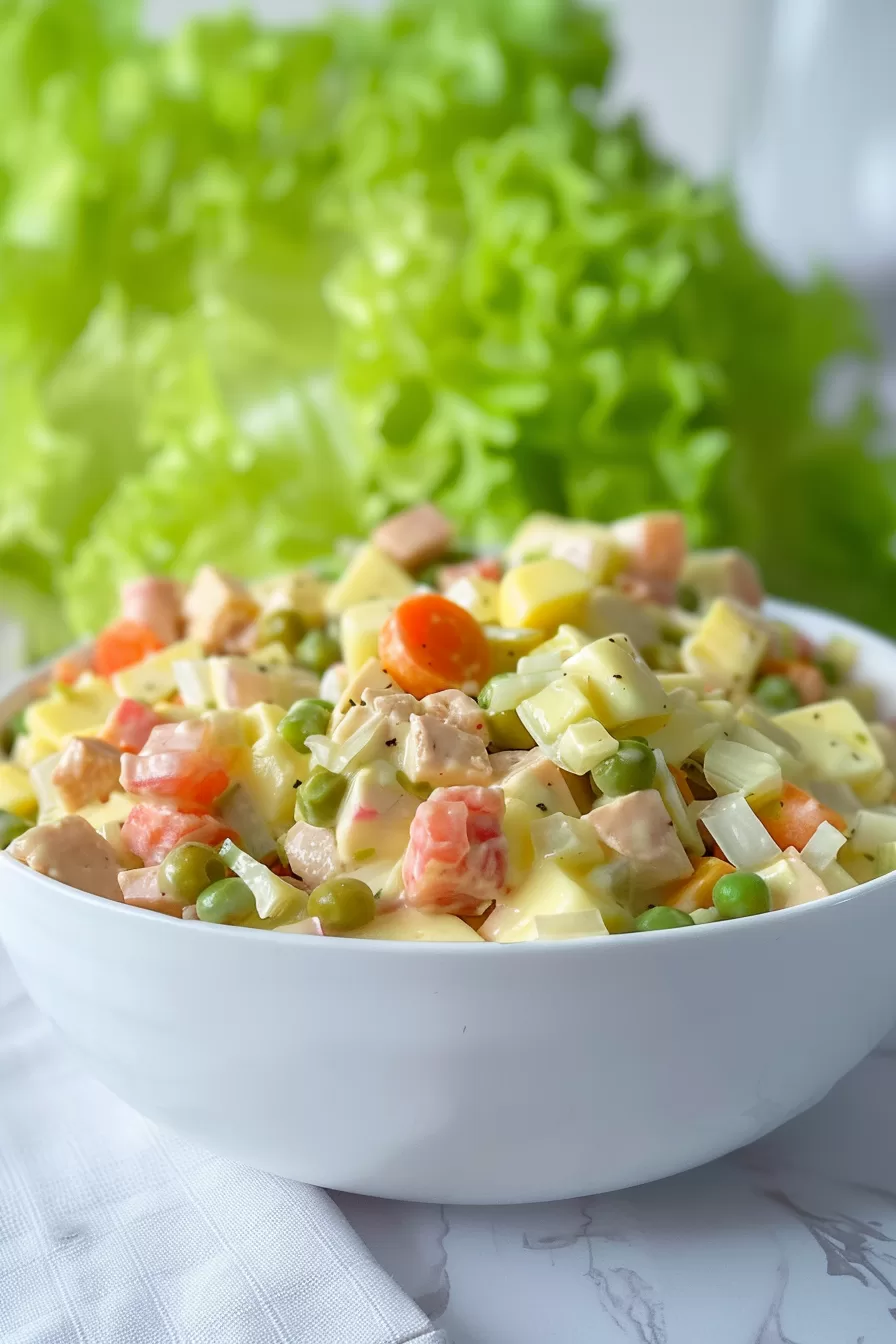
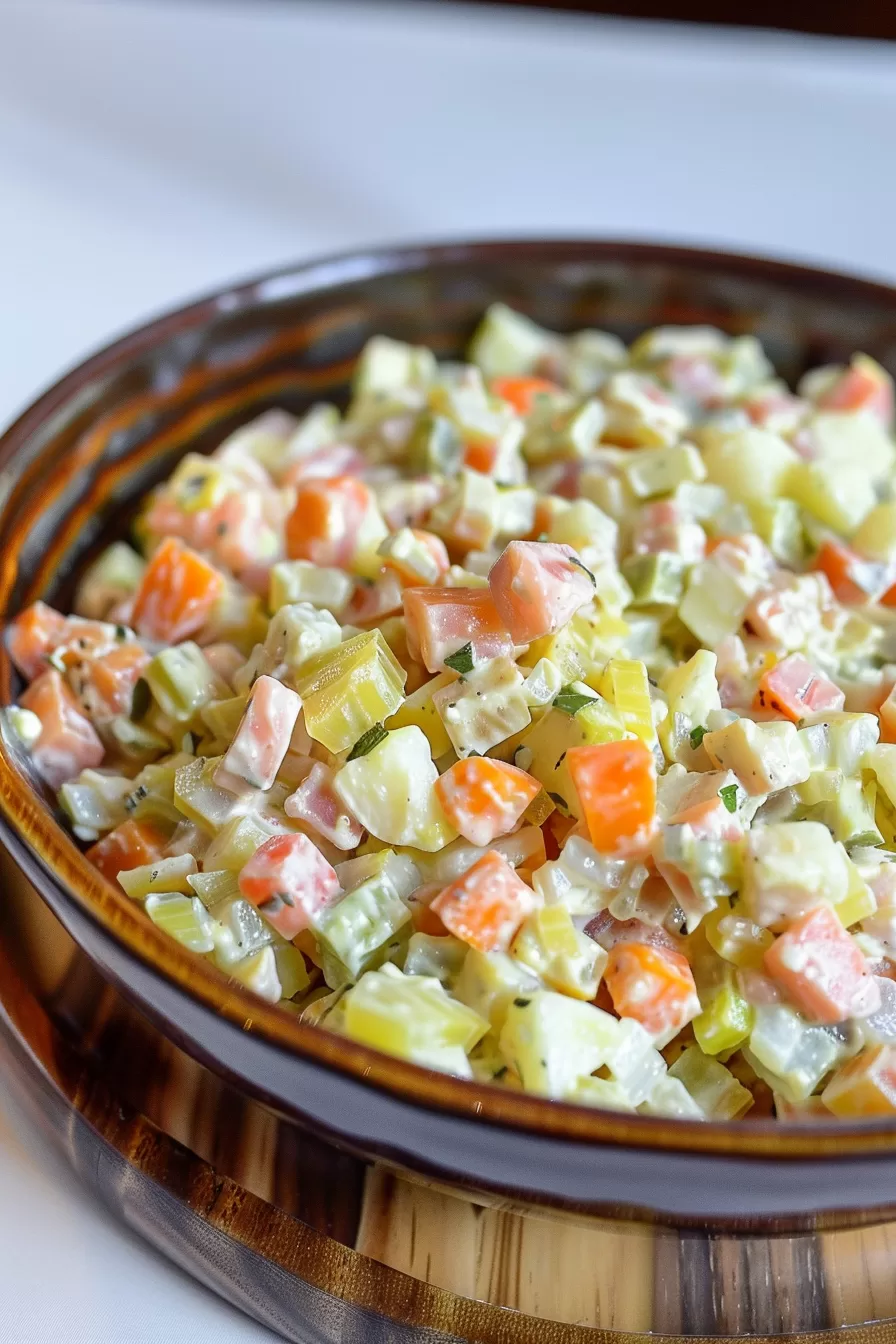
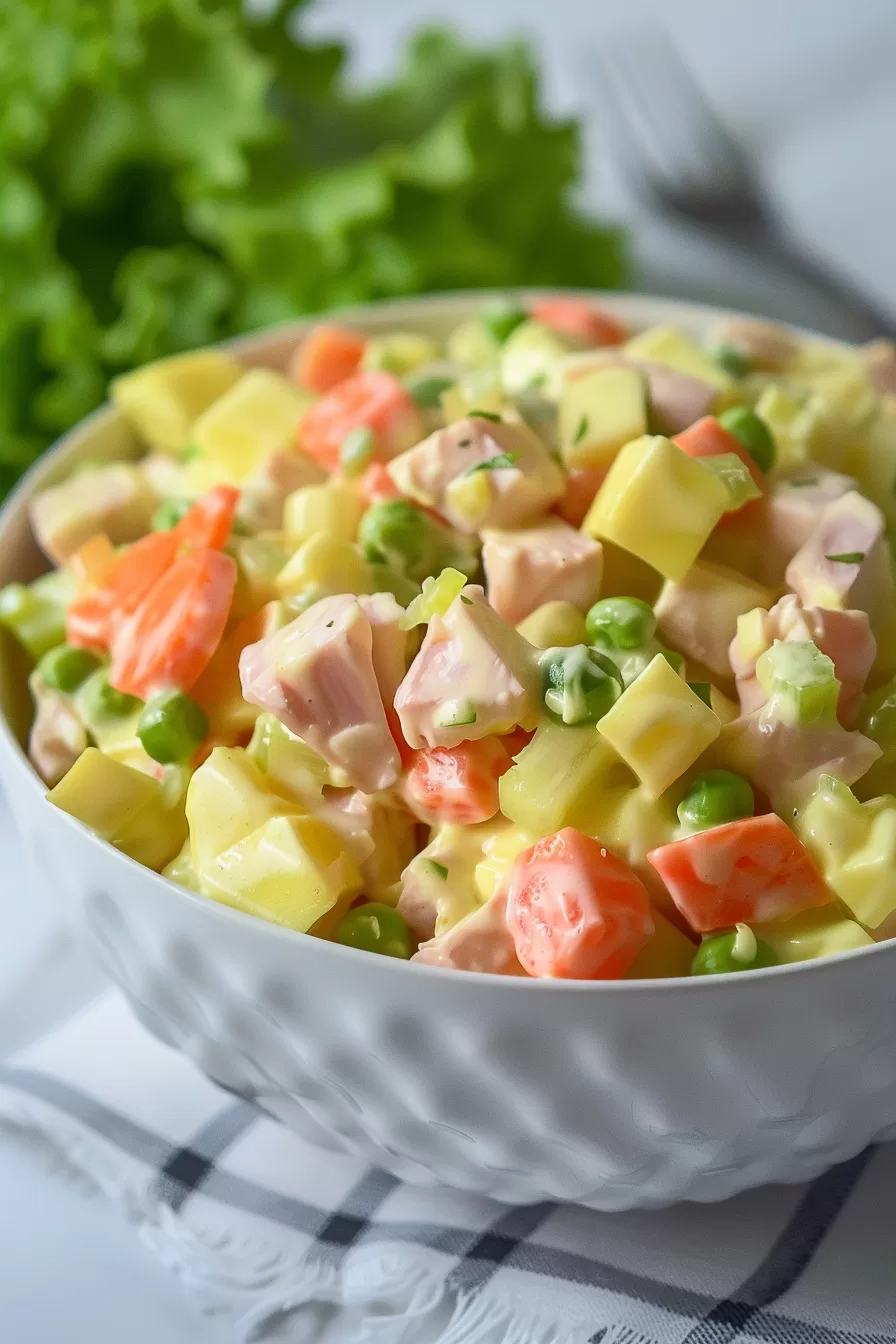
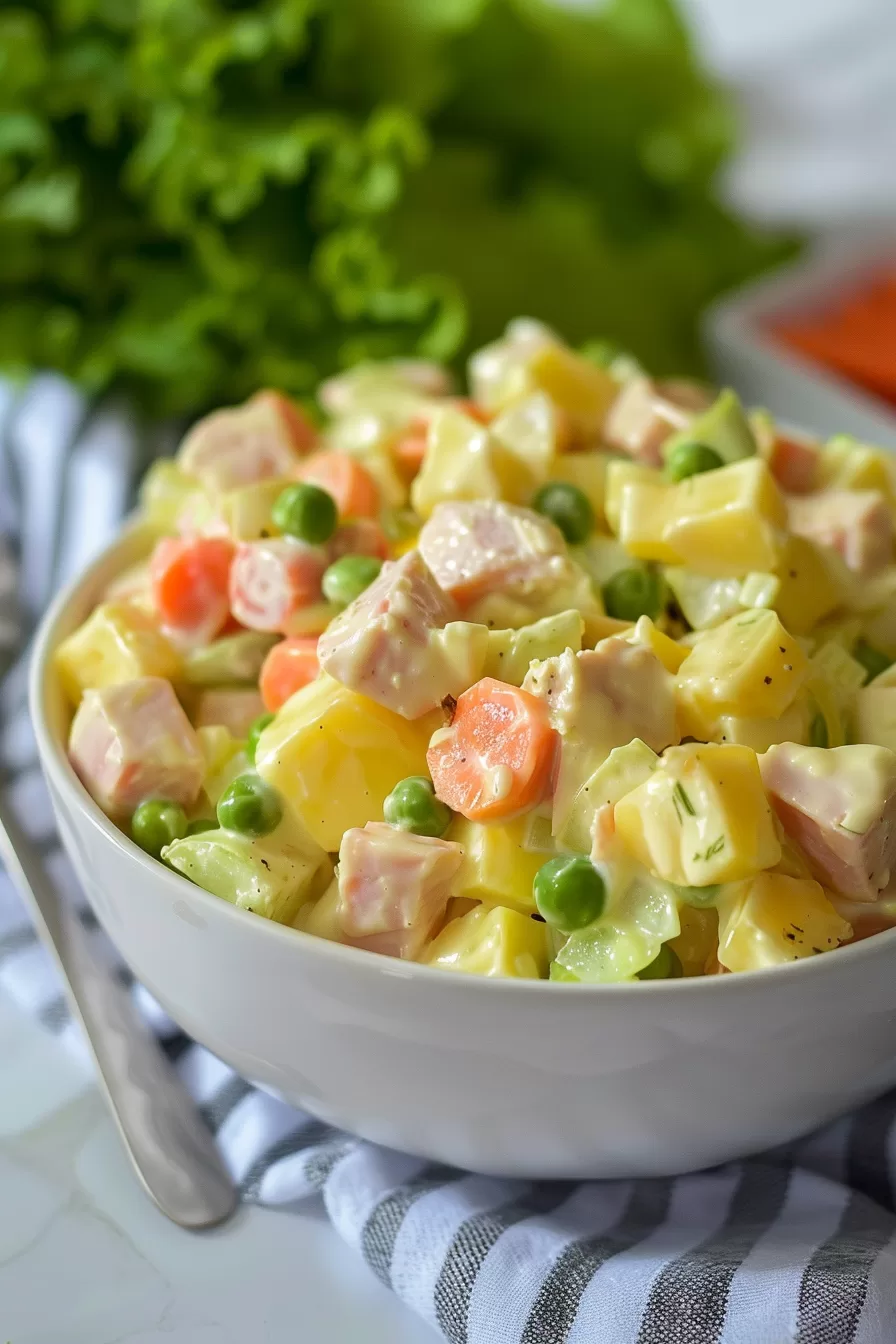
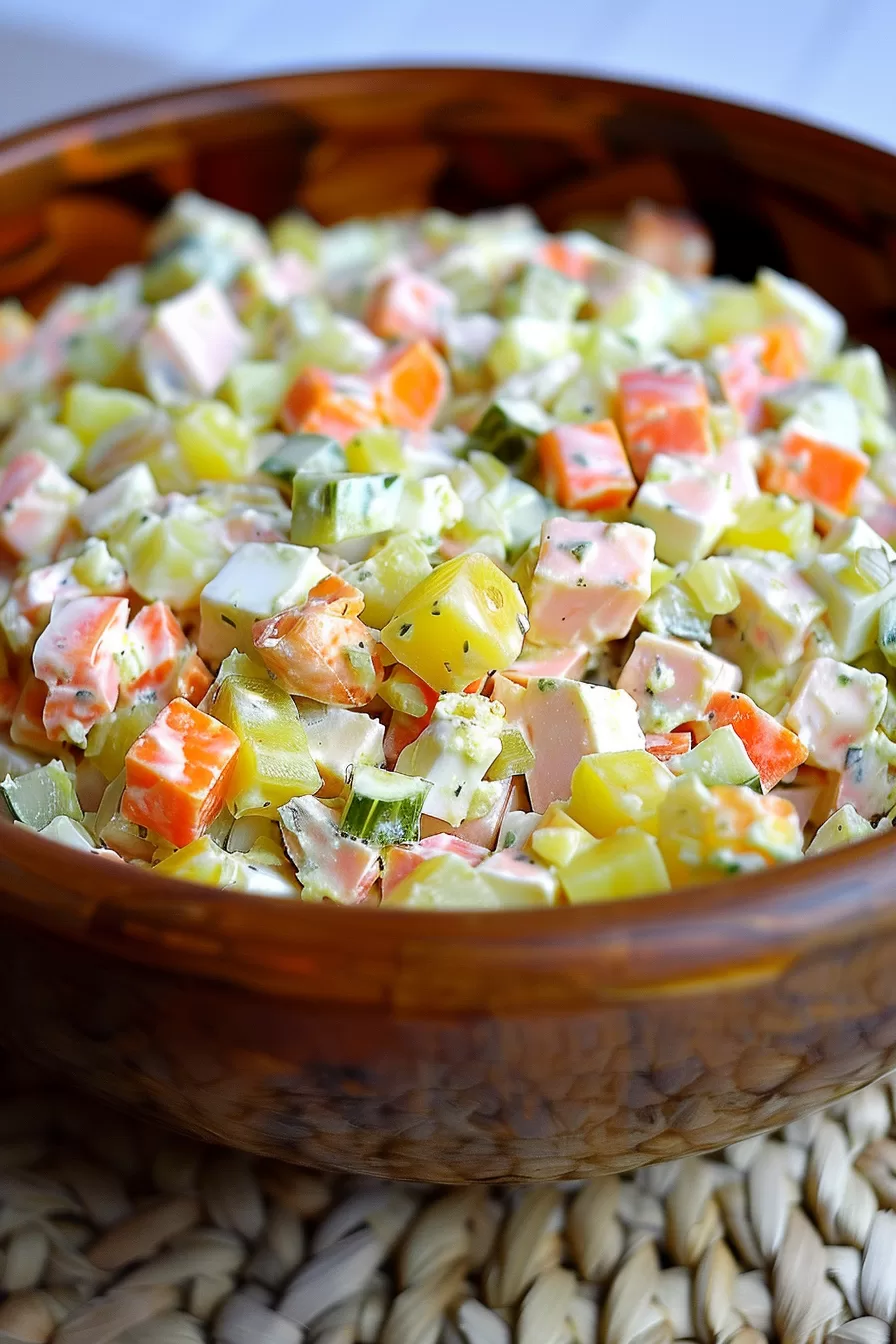
Classic Russian Olivier Salad made with potatoes, carrots, eggs, pickles, peas, and ham, all coated in creamy mayonnaise. Perfect for gatherings!
Every time I make Russian Olivier Salad, it feels like stepping back in time to my childhood. You know how some dishes just are family gatherings? This one is it for me. Growing up, every holiday, birthday, or random excuse for a family dinner featured a giant bowl of this creamy, tangy, and somehow magical salad.

Remember it later!
Planning to try this recipe soon? Pin it for a quick find later!
Remember it later!
Planning to try this recipe soon? Pin it for a quick find later!
I used to hover around my mom and grandma while they chopped and mixed, hoping they’d let me “help” (a.k.a. sneak tastes). There was always that comforting rhythm—peel, chop, stir—and the chatter that came with it. And, let’s be honest, half the fun was debating how much mayo was too much mayo. Spoiler: there’s no such thing.
Even now, making this salad isn’t just about the ingredients. It’s about nostalgia, tradition, and sharing a dish that feels like a warm hug on a plate. If you’ve never tried it, you’re in for a treat—it’s hearty, flavorful, and somehow feels like a celebration every time.
Here’s a quick peek at what’s inside:
Table of content
Why You’ll Love This Russian Olivier Salad Recipe?
- Easy Yet Impressive: With just a bit of chopping and mixing, you’ll have a dish that looks like you spent hours on it.
- Crowd-Pleaser: It’s filling, flavorful, and everyone seems to love it—even those who swear they “don’t like mayonnaise.”
- Versatile: It works as a side, a main dish, or even a snack straight from the bowl.
- Perfectly Balanced: The creaminess of the mayo, the crunch of the pickles, and the sweetness of the peas—each bite is a little adventure.
Ingredient Notes:
Here’s why every ingredient in this Russian Olivier Salad plays an important role (and how you can tweak it to suit your taste):
- Potatoes: The backbone of the salad. Waxy varieties like Yukon Gold hold their shape best after boiling.
- Carrots: Add a hint of sweetness and a pop of color that makes the salad more visually appealing.
- Eggs: Hard-boiled eggs add richness and a soft texture that contrasts beautifully with the crunchy elements.
- Pickles: Dill pickles are key here—their tangy crunch cuts through the creaminess of the mayo.
- Peas: A little burst of sweetness in every bite. Frozen peas work great if you don’t have canned.
- Ham: Smoky and savory, it gives the salad that extra layer of flavor. Not a fan? Just leave it out.
- Mayonnaise: The binder that holds everything together. You can go classic or lighten it up with a mix of mayo and Greek yogurt.
- Fresh Dill: Optional, but it adds a touch of freshness that brightens the whole dish.
How To Make Russian Olivier Salad?
Step 1. Boil the Veggies and Eggs
First, grab your potatoes, carrots, and eggs, and get them into a big pot of boiling water. Cook the potatoes for 5-10 minutes, then add the carrots and eggs. Let everything boil together until the potatoes are fork-tender, which should take another 10-15 minutes.
Step 2. Cool and Chop Everything
Once your veggies and eggs are cooked, drain them and let them cool just enough to handle. Dice the potatoes and carrots into small, uniform cubes (because nobody likes a lopsided bite). Peel the eggs and chop them up, too—don’t worry if they’re a little messy; it adds character.
Step 3. Assemble the Salad
In a large bowl, toss together the diced potatoes, carrots, eggs, pickles, peas, and ham. Take a moment to admire your handiwork—it already looks pretty, right?
Step 4. Add the Mayonnaise
Now for the fun part: mix in the mayo. Start with half a cup and add more if needed. You want everything nicely coated but not drowning. If you’re using dill, toss it in now for that fresh, herby kick.
Step 5. Chill and Serve
Cover the bowl and pop it in the fridge for at least 30 minutes. Trust me, it’s worth the wait—this salad gets better as the flavors meld together. Serve it cold, and watch it disappear faster than you can say “Olivier.”
Storage Options:
Got leftovers? Lucky you! Store your Russian Olivier Salad in an airtight container in the fridge, and it’ll stay fresh for up to 3 days. Just give it a quick stir before serving. Freezing, though? That’s a no-go—the mayo and potatoes don’t play nice in the freezer.
Want To Save This Recipe?
Enter your email below and we'll send the recipe straight to your inbox.
Variations and Substitutions:
One of the best things about this salad is how customizable it is. Here are some ideas to make it your own:
- Vegetarian: Skip the ham and load up on extra veggies like diced cucumber or bell peppers.
- Healthier Dressing: Replace some of the mayo with Greek yogurt for a tangy, lighter option.
- Protein Swap: Use cooked chicken, turkey, or even smoked salmon instead of ham.
- Extra Herbs: Add fresh parsley, chives, or tarragon for a burst of flavor.
What to Serve with Russian Olivier Salad?
This salad is a team player—it works with almost anything. Here are some pairing ideas:
- Bread: Serve it with crusty rye bread or buttery dinner rolls.
- Main Dish: Pair it with roasted chicken, grilled fish, or even beef stroganoff.
- Simple Sides: Complement it with a fresh green salad or a bowl of hearty soup.
Frequently Asked Questions:
Can I make this salad ahead of time?
Absolutely! In fact, it tastes even better the next day when the flavors have had time to mingle.
What kind of pickles should I use?
Dill pickles are the classic choice, but if you’re feeling adventurous, try adding some sweet pickles or pickled onions.
Can I use canned veggies?
You can, but fresh or frozen peas and carrots will give you a better texture and flavor.
There’s something so comforting about Russian Olivier Salad. It’s simple, hearty, and full of flavor—and it brings a little nostalgia to the table every time. Whether you’re making it for a special occasion or just because, it’s one of those dishes that feels like home.
So, how do you make yours? Do you stick to the classic version, or do you have a family twist? I’d love to hear about it—drop me a comment and let’s share some salad stories!
Remember it later!
Planning to try this recipe soon? Pin it for a quick find later!
Remember it later!
Planning to try this recipe soon? Pin it for a quick find later!
Keep the Flavor Coming – Try These:
Russian Olivier Salad
Ingredients
- 6 medium potatoes peeled
- 1 carrot or more, to taste
- 4 large eggs
- 6 large dill pickles diced
- 1 15-ounce can peas, drained
- 1/2 cup ham cubed (or more, to taste)
- 1 tablespoon fresh dill chopped (optional)
- 1/2 cup mayonnaise adjust to taste
- Salt and pepper to taste
Instructions
Prepare the Ingredients
- Begin by gathering all necessary ingredients. Bring a large pot of water to a boil. Add the peeled potatoes and boil for 5-10 minutes. Then, add the carrot and whole eggs to the same pot and continue boiling for another 10-15 minutes, or until the potatoes are fork-tender.
Cool and Dice the Vegetables and Eggs
- Drain the boiled ingredients and allow them to cool slightly. Dice the potatoes and carrot into small, uniform cubes. Peel the eggs and chop them into similar-sized pieces.
Assemble the Salad
- In a large mixing bowl, combine the diced potatoes, carrot, eggs, diced pickles, drained peas, and cubed ham. Toss gently to mix the ingredients evenly.
Add the Dressing
- Stir in the mayonnaise, starting with half a cup and adding more as needed to coat the salad evenly. Season with salt and pepper to taste. If desired, sprinkle with fresh dill for added flavor.
Chill and Serve
- Refrigerate the salad for at least 30 minutes before serving to allow the flavors to meld together. Serve cold as a side dish or main course.
Notes

I’m Bitty, owner of nodashofgluten.com, where I share simple, delicious recipes for all tastes, including gluten-free. Check out my “About Me” page for more info!


