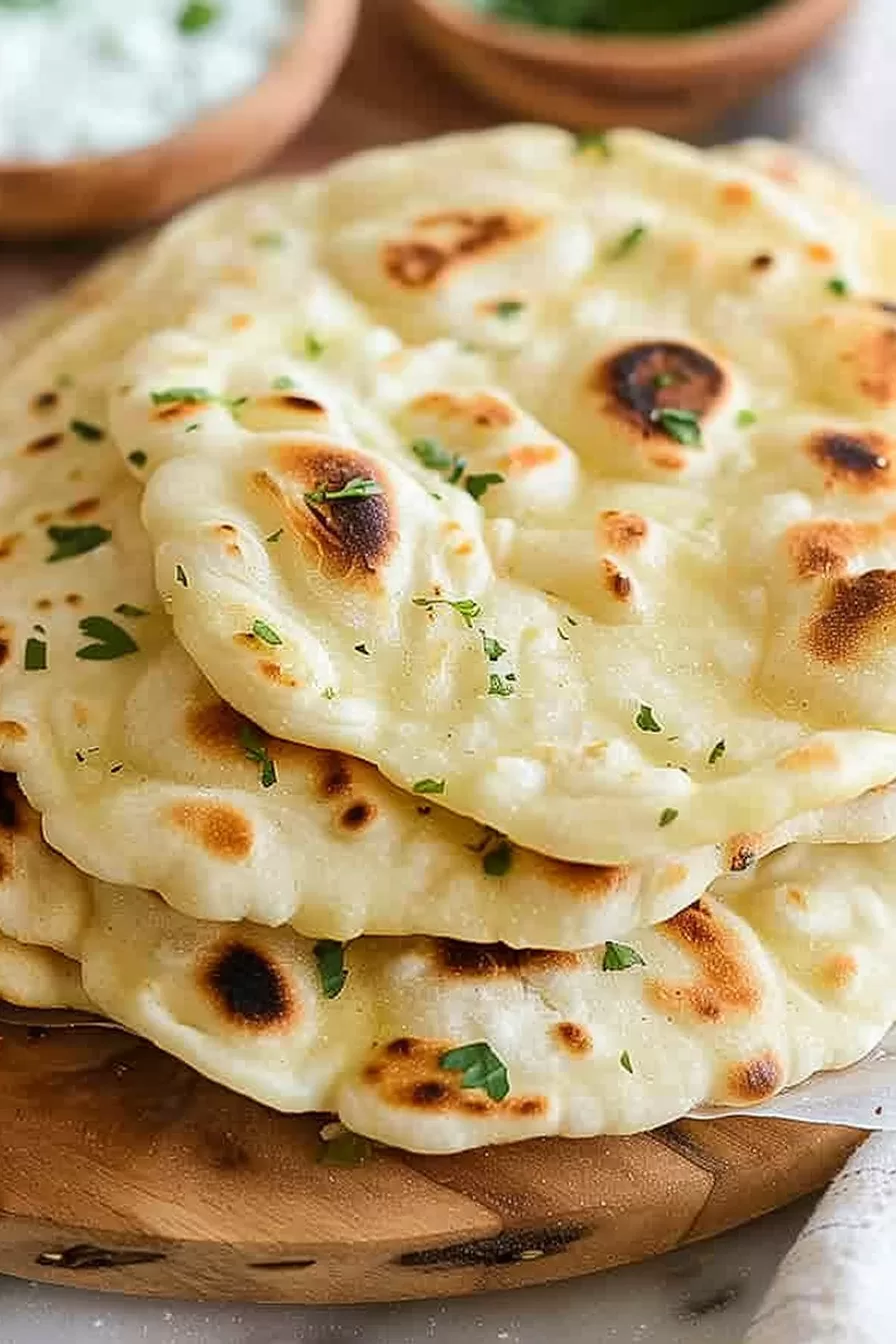
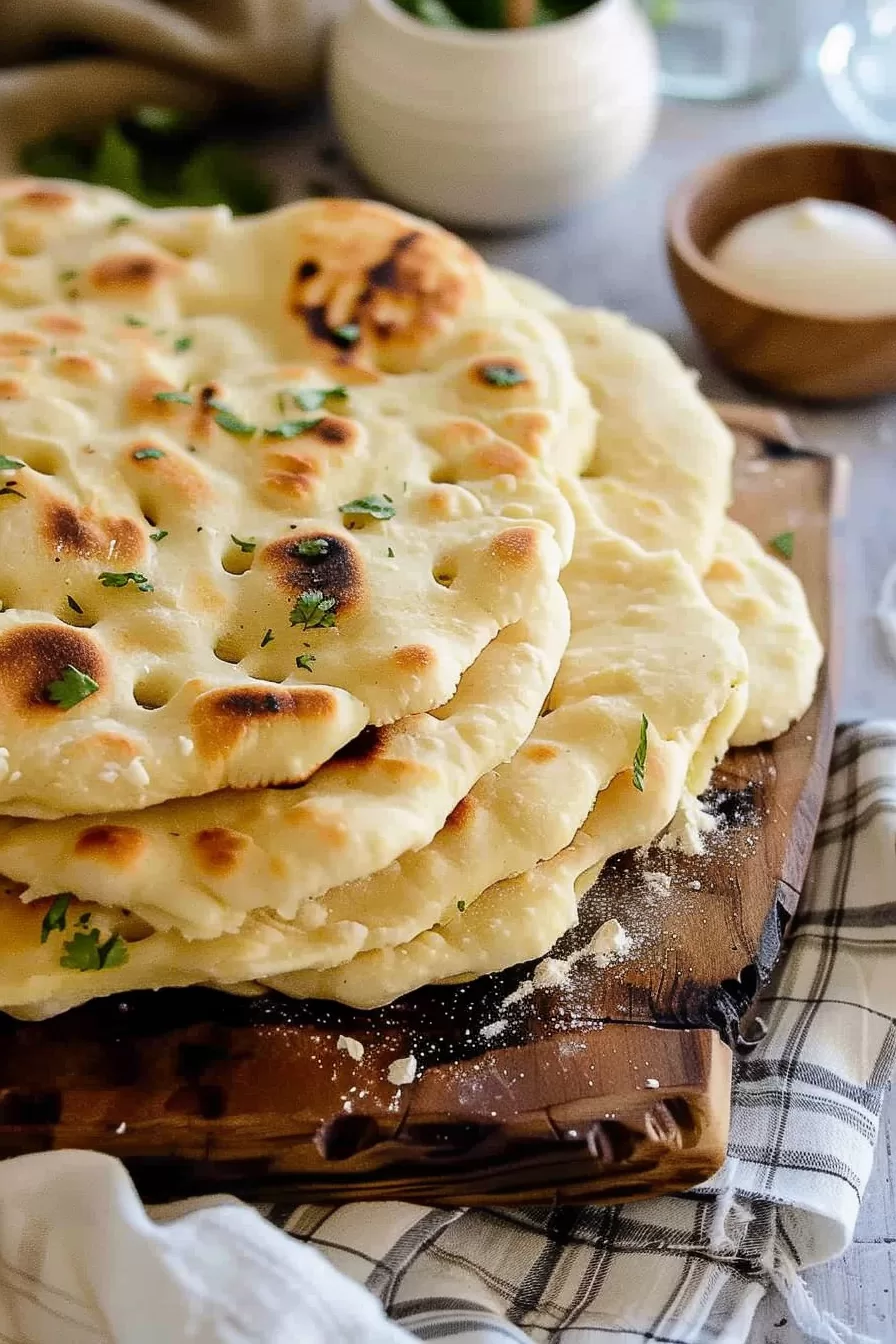
This buttery Roti Bread (Indian Flatbread) is soft, flaky, and made with just flour, butter, salt, and water—perfect for dipping, wrapping, or enjoying on its own.
Let me tell you—roti wasn’t something I grew up making. I mean, flatbreads seemed like one of those recipes you needed years of practice for. Perfectly soft, just the right puff, and that golden, buttery finish? Yeah… intimidating.
But one weekend, I was deep in a comfort food mood. I’d just made a pot of dal (my version, anyway), and suddenly it hit me—this needs bread. Not the store-bought kind, either. I was craving that soft, buttery, tear-it-with-your-hands kind of bread.

Remember it later!
Planning to try this recipe soon? Pin it for a quick find later!
Remember it later!
Planning to try this recipe soon? Pin it for a quick find later!
So, I rolled up my sleeves (and braced for disaster). First attempt? Disaster. I didn’t roll it thin enough, and the dough was way too dry. The second round was better, but still… not the one. But by the third try? Magic. Soft, golden, a little flaky, and just the right amount of buttery goodness.
And here’s the thing—I realized it’s not about perfection. Some rotis puff up beautifully, some stay flat, but all of them taste amazing when they’re warm and buttery. So if you’re like me and love a cozy, carb-filled moment, this buttery Indian flatbread needs to be in your life.
Here’s a quick peek at what’s inside:
Table of content
Why You’ll Love This Roti Bread (Buttery Indian Flatbread) Recipe?
Why am I borderline obsessed with this? Glad you asked:
- Simple Ingredients: Nothing fancy—just everyday basics.
- Quick to Make: No rising time, no yeast—done in under 30 minutes.
- Buttery & Flaky: The butter makes these soft with just a touch of crispness.
- Crazy Versatile: Curry night? Check. Breakfast wrap? Check. Plain with a cup of chai? Yes please.
- Comfort Food Bliss: Honestly, it just hits that cozy, homemade spot.
Ingredient Notes:
This is one of those recipes where simple ingredients shine. Here’s why each one matters:
- All-Purpose Flour: The base for soft, pliable flatbread. Whole wheat works too, but it’ll be slightly denser.
- Butter: Melted into the dough and for frying? Yeah, it’s as good as it sounds.
- Salt: Just enough to balance the richness.
- Water: Simple, but crucial—it binds everything together.
- Garlic & Onion Powder (Optional): Not traditional but adds a fun, savory twist.
Pro Tip: Want a slightly nuttier, more traditional flavor? Swap half the all-purpose flour for whole wheat.
How To Make Roti Bread (Buttery Indian Flatbread)?
You’re about to feel like a bread-making pro.
Step 1: Mix the Dough
In a big ol’ bowl, combine the flour, salt, and melted butter. Stir it together with a fork—it should look crumbly, kind of like damp sand.
Next, add the water bit by bit. Stir as you go until it starts forming a shaggy dough. If it feels a little dry, just add a tiny splash more water.
Step 2: Knead the Dough
Time to get your hands involved! Transfer the dough to a lightly floured surface and knead for about 5-7 minutes. You’re aiming for smooth but still soft—like playdough, but less sticky.
Not sure if it’s ready? Press a finger into the dough—if it slowly bounces back, you’re good to go.
Step 3: Divide & Roll Out
Divide your dough into 4 to 6 balls. No need to overthink this part—just aim for roughly equal sizes.
Now, roll each ball into a thin circle—about 1/8 inch thick. Thinner is better here! Don’t stress about perfect circles (mine are always a little… rustic, and they still taste great).
Step 4: Heat the Skillet
Grab your heaviest skillet—cast iron is perfect if you’ve got it. Heat it over medium-high and add a teaspoon of butter. You want the butter hot but not burning.
Want To Save This Recipe?
Enter your email below and we'll send the recipe straight to your inbox.
Step 5: Fry the Roti
Place one of your rolled-out rotis into the hot skillet. Within 30 seconds, you’ll start seeing bubbles. That’s a good sign!
Flip it, add a bit more butter to the pan, and cook for another 30 seconds. It should get golden spots and maybe even puff up a bit. If it doesn’t puff—who cares? It’ll still taste amazing.
Step 6: Repeat & Serve
Repeat the process with the remaining dough balls. Stack the cooked rotis under a clean towel to keep them warm.
And… that’s it! Brush a little extra butter on top (because, obviously), and serve warm.
Storage Options:
- Fridge: Keep cooled roti in an airtight container for up to 3 days.
- Freezer: Freeze cooked roti between
parchment paper layers for up to a month. - Reheating Tip: Warm them in a skillet with a touch of butter to bring back the softness.
Variations and Substitutions:
Feeling creative? Here are some fun ideas:
- Whole Wheat Roti: Swap half the flour for whole wheat for a heartier bite.
- Garlic Butter Roti: Brush with garlic butter right after frying.
- Spicy Roti: Add a pinch of red chili flakes to the dough.
- Sweet Roti: Try brushing with butter and cinnamon sugar for a dessert twist.
- Vegan Roti: Use plant-based butter or coconut oil instead.
What to Serve with Roti Bread (Buttery Indian Flatbread)?
Honestly? Roti works with everything. Here are a few ideas:
- Curry Night: Butter chicken, dal, or tikka masala.
- Soups & Stews: Perfect for soaking up broth.
- Breakfast: Wrap scrambled eggs or just enjoy with jam.
- Chai Time: Tear and dip into a warm cup of chai.
- Snack Attack: Brush with butter and cinnamon sugar—so good.
Frequently Asked Questions:
Can I make the dough ahead of time?
Totally! Store the dough in the fridge for up to 24 hours—just let it warm up a bit before rolling it out.
Why didn’t my roti puff up?
It could be the heat—make sure your skillet is hot enough. Also, thinner dough = better puff.
Can I use ghee instead of butter?
Absolutely! Ghee gives it that classic, rich flavor that’s chef’s kiss.
If you’ve never made roti bread before, now’s the time. It’s simple, buttery, and honestly? Way easier than it looks. Whether you’re pairing it with a rich curry or just eating it straight from the pan (no judgment here), this recipe is pure comfort food magic.
So, what do you think? Ready to give it a go? If you try this recipe, I definitely want to hear about it—drop a comment or tag me! Happy cooking!
Remember it later!
Planning to try this recipe soon? Pin it for a quick find later!
Remember it later!
Planning to try this recipe soon? Pin it for a quick find later!
Keep the Flavor Coming – Try These:
Ingredients
- 1 cup all-purpose flour
- 1/3 cup water
- 1/2 teaspoon salt
- 1 tablespoon melted butter
- Additional butter for frying
Instructions
Prepare the Dough
- In a large mixing bowl, combine the all-purpose flour, salt, and melted butter. Mix with a fork until the mixture resembles coarse crumbs.
- Gradually add the water, stirring continuously, until the dough begins to come together.
Knead the Dough
- Transfer the dough onto a lightly floured surface and knead for approximately 5-7 minutes, or until the dough becomes smooth and elastic. If the dough feels too dry, add a teaspoon of water at a time. If it feels too sticky, lightly dust the surface with flour and continue kneading.
Divide and Roll the Dough
- Divide the kneaded dough into 4 to 6 equal portions, depending on your desired size for the roti bread.
- Roll each portion into a ball and flatten it slightly with your hands. Using a rolling pin, roll out each ball into a thin, circular shape, approximately 1/8 inch thick. Aim for an even thickness to ensure uniform cooking.
Heat the Skillet
- Preheat a large skillet or cast iron pan over medium-high heat. Add a teaspoon of butter and allow it to melt, ensuring the pan is evenly coated.
Cook the Roti
- Place one rolled-out dough circle into the preheated skillet. Cook for approximately 30 seconds, or until you notice small bubbles forming on the surface.
- Flip the roti, add an additional teaspoon of butter to the skillet, and cook for another 30 seconds until the surface develops golden brown spots.
- Flip once more and cook for an additional 15 seconds, ensuring both sides are evenly golden with slightly crisp edges.
Repeat and Serve
- Repeat the process with the remaining dough portions, adding butter to the skillet as needed.
- Once all the roti bread is cooked, serve immediately while warm. For an extra buttery finish, brush each piece with melted butter before serving.
Notes

I’m Bitty, owner of nodashofgluten.com, where I share simple, delicious recipes for all tastes, including gluten-free. Check out my “About Me” page for more info!


