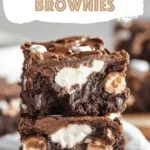
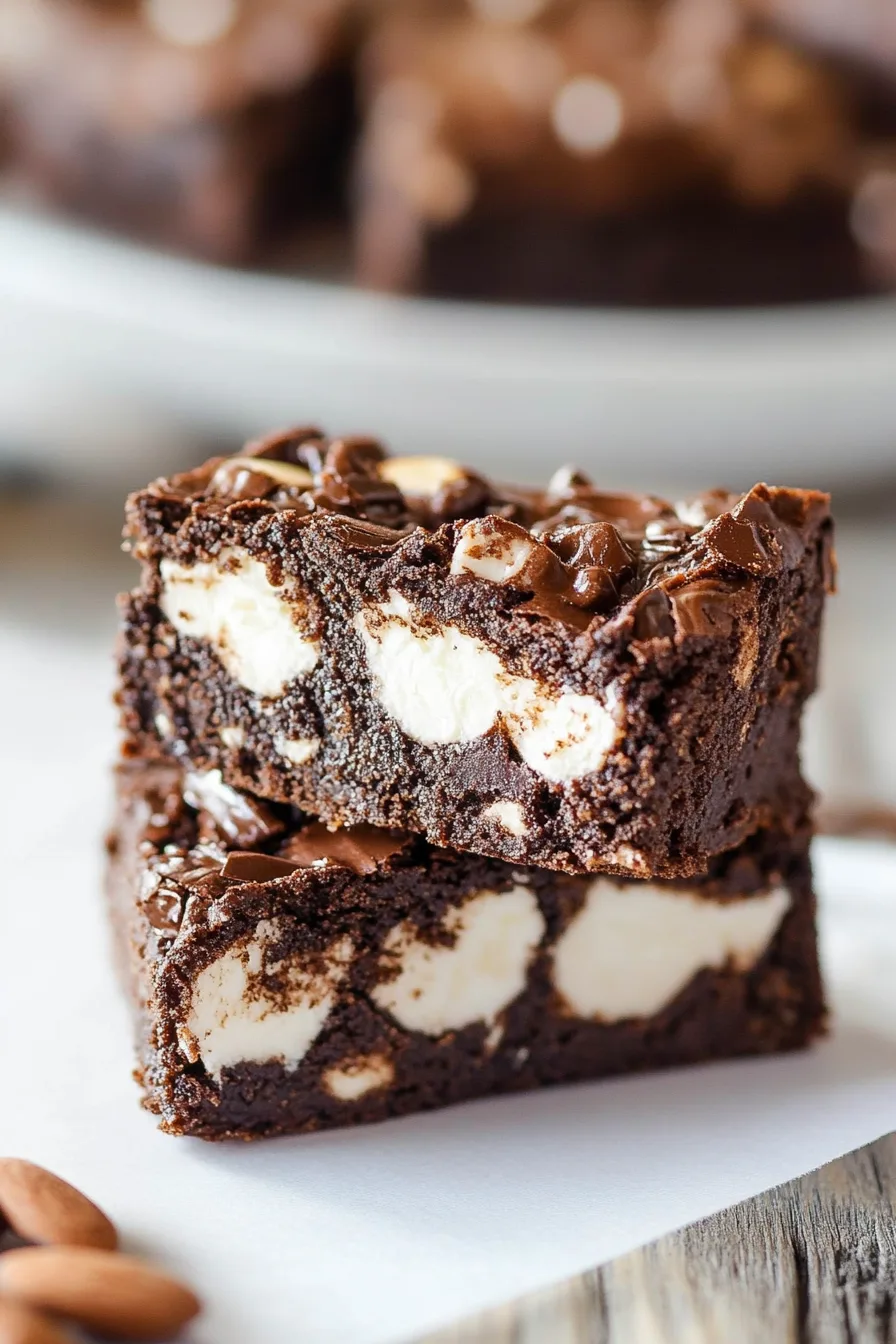
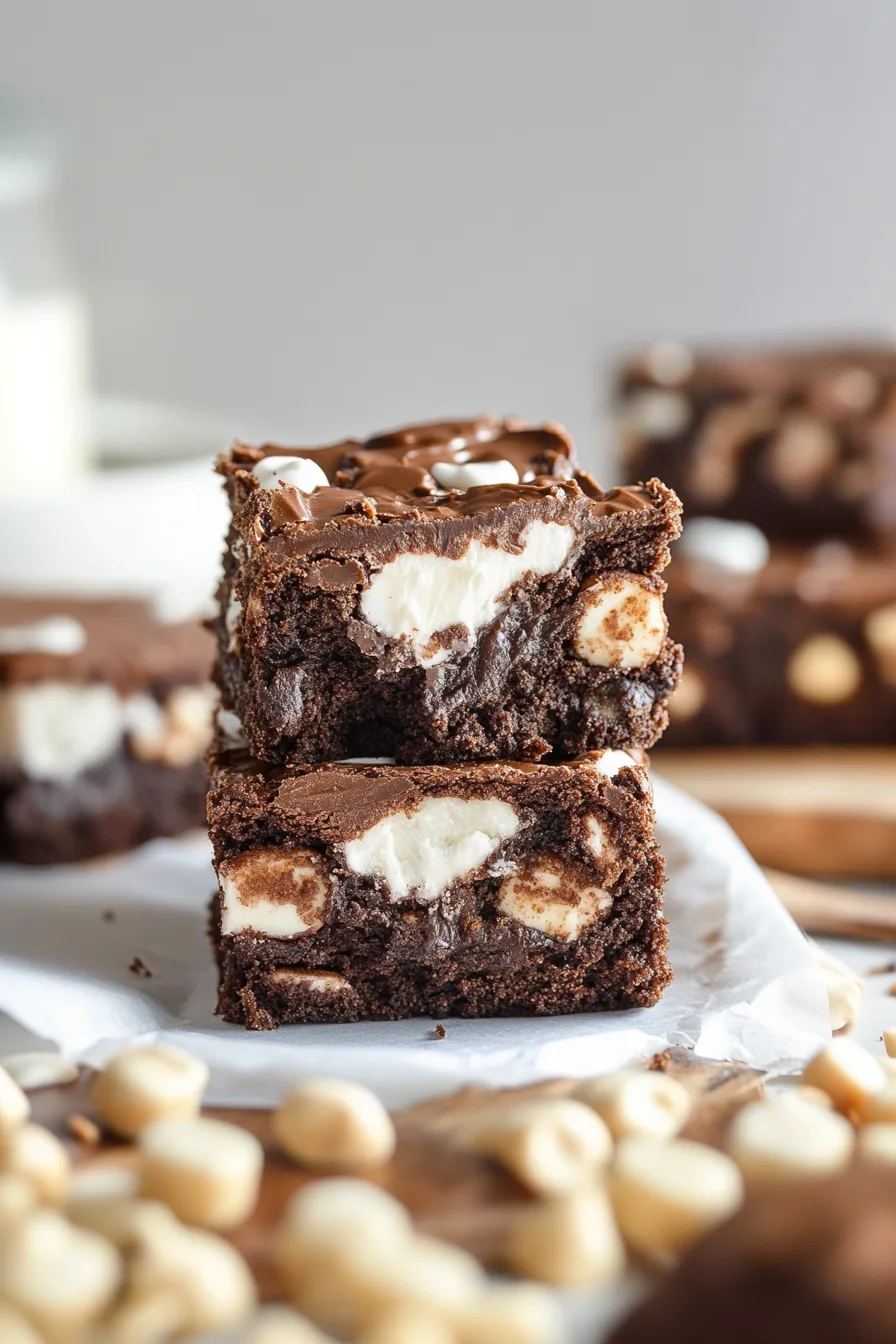
Fudgy Rocky Road Brownies packed with marshmallows, crunchy almonds, and gooey chocolate chips. A quick, no-fuss dessert everyone will devour.
So, you know those nights where you’re just standing in the kitchen, staring into the pantry, wondering what dessert you can whip up without leaving the house? That was me. It had been a day. The kind where dinner was basically cereal, but I needed chocolate—urgently.


Cue the pantry treasure hunt. I found a half-used bag of marshmallows (leftovers from that “s’mores night” that never actually happened), some roasted almonds I had no plans for, and a bag of chocolate chips I had hidden from myself for “baking emergencies.” Well, friends, this was the emergency.
I didn’t know it yet, but that chaotic throw-together moment became these Rocky Road Brownies. And let me tell you, they didn’t just work—they were outrageously good. Like, eat-half-the-pan-straight-from-the-fridge good. Now they’ve earned their spot as my go-to dessert when I want something ridiculously indulgent but don’t feel like dealing with complicated recipes.
Why You’ll Love This Rocky Road Brownies Recipe?
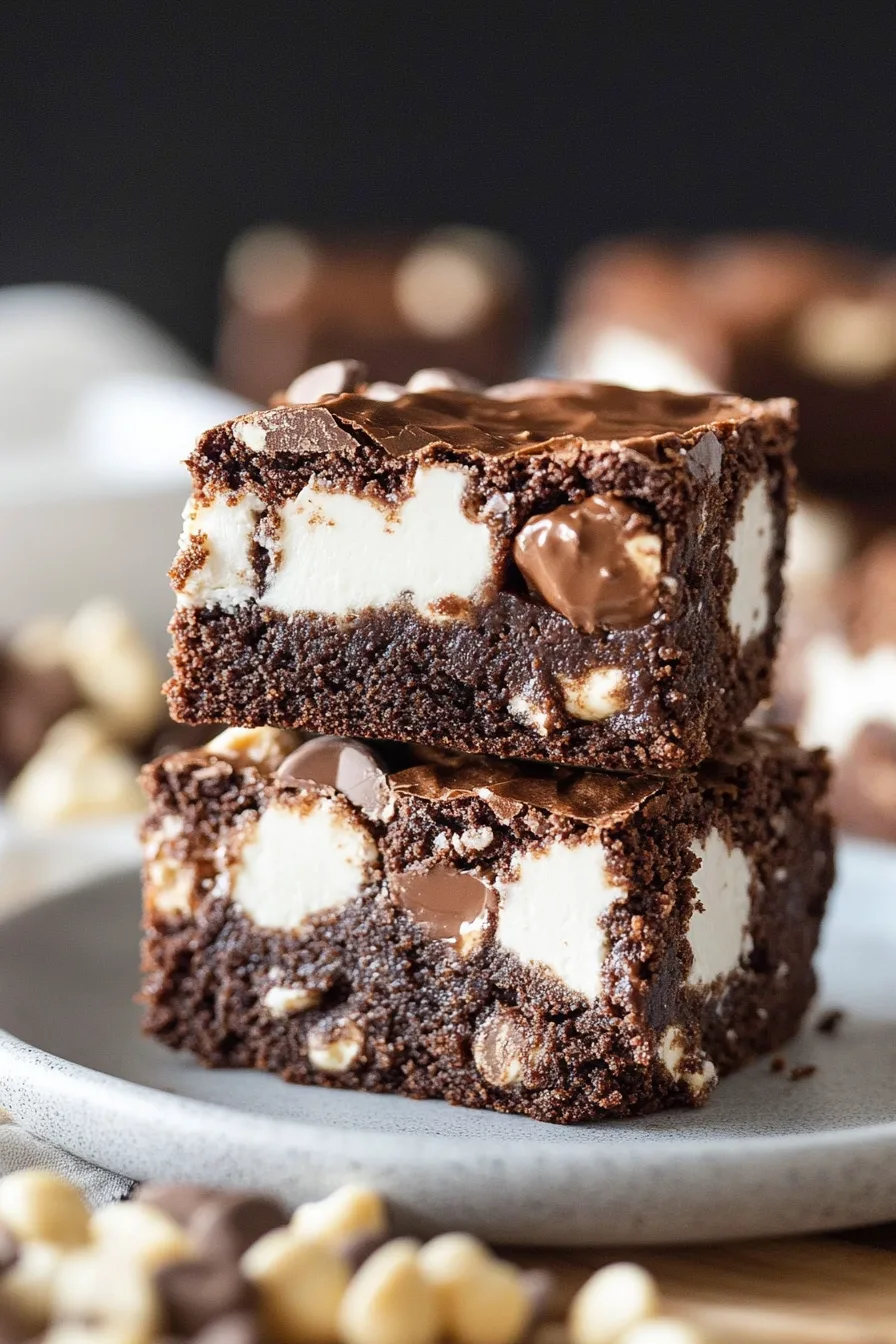
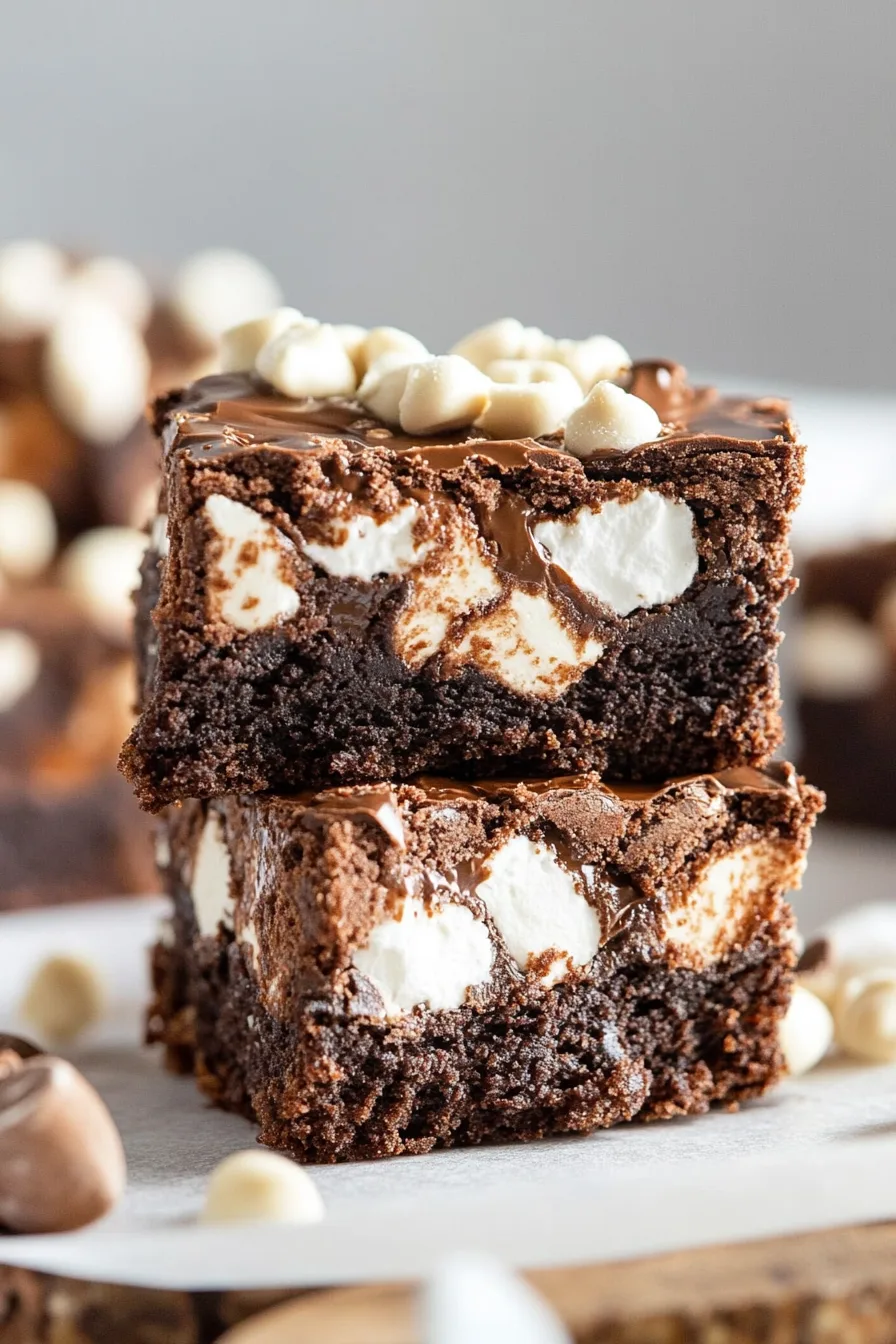
I could go on about how they’re fudgy and rich and loaded with melty chocolate pockets… but honestly? It’s that marshmallow topping for me. The marshmallows get all toasty under the broiler, and then they ooze into the brownie cracks, mingling with the crunchy almonds and melty chips. It’s messy in the best way.
What I love is that these brownies look like you spent forever making them. But nope, one bowl, basic pantry stuff, and you’ve got a show-stopping dessert. Also, let’s not pretend we haven’t all had a night where we needed a quick “oh no, people are coming over” dessert. This is that recipe. And it delivers.
Oh, and pro tip? They’re even better the next day after chilling in the fridge. That chewy, fudgy texture? Ugh. Unreal.
Ingredient Notes:
Let’s break down what’s going into this brownie bliss. Trust me, every ingredient is doing its part:
-
Butter (1 stick): It’s the magic fat that gives these brownies their fudgy richness.
-
Cocoa Powder (1/3 cup): No fancy chocolate bars needed. Just cocoa powder for that deep, dark chocolate flavor.
-
Sugar (1 cup): Sweetens everything up and helps form that delicate, crackly top.
-
Espresso Powder (1 tsp): Optional but game-changing. It deepens the chocolate flavor. No, it won’t taste like coffee.
-
Vanilla Extract (1 tsp): I mean, it’s brownies. Vanilla is a must.
-
Eggs (2): The binding heroes that hold everything together while keeping it rich.
-
Flour (1 cup): Just enough to give it structure, but not so much that it’s cakey.
-
Baking Powder (1/2 tsp): A little lift, nothing too dramatic.
-
Salt (1/4 tsp): Don’t skip it. Salt in sweet recipes is the unsung hero.
-
Mini Marshmallows (1 cup): The gooey, sticky chaos we all secretly crave.
-
Roasted Salted Almonds (1/2 cup, chopped): Crunchy, salty, balances the sweetness like a dream.
-
Semi-Sweet Chocolate Chips (1/2 cup): Because if you’re making Rocky Road Brownies, you go big on chocolate.
How To Make Rocky Road Brownies?
Alright, roll up your sleeves (or don’t, who cares?)—this is the easiest “wow” dessert you’ll ever make.
- Preheat your oven to 350°F. Grease a 9-inch square pan. If you’re like me and hate scrubbing pans, parchment paper is your best friend here.
- In a microwave-safe bowl, melt the butter and cocoa powder together. Do it in 30-second bursts, stirring each time, until it’s glossy and smooth. You’ll want to dip a spoon in… resist. Or don’t. I’m not judging.
- Next, stir in the sugar, espresso powder, and vanilla extract. It’ll look a little grainy, but that’s fine. This is not a beauty pageant—yet.
- Add the eggs, one at a time. Give them a good stir until the mixture gets thick and shiny. You’ll feel like a brownie wizard at this point.
- Toss in the flour, baking powder, and salt. Mix gently until just combined. Don’t overdo it. We’re making fudgy brownies, not chocolate bread.
- Pour the batter into your pan, spreading it into every corner like it’s edible spackle. Bake for 20-25 minutes. Keep an eye on it around the 20-minute mark; you want the edges to just start pulling away from the pan, but the middle should still be soft.
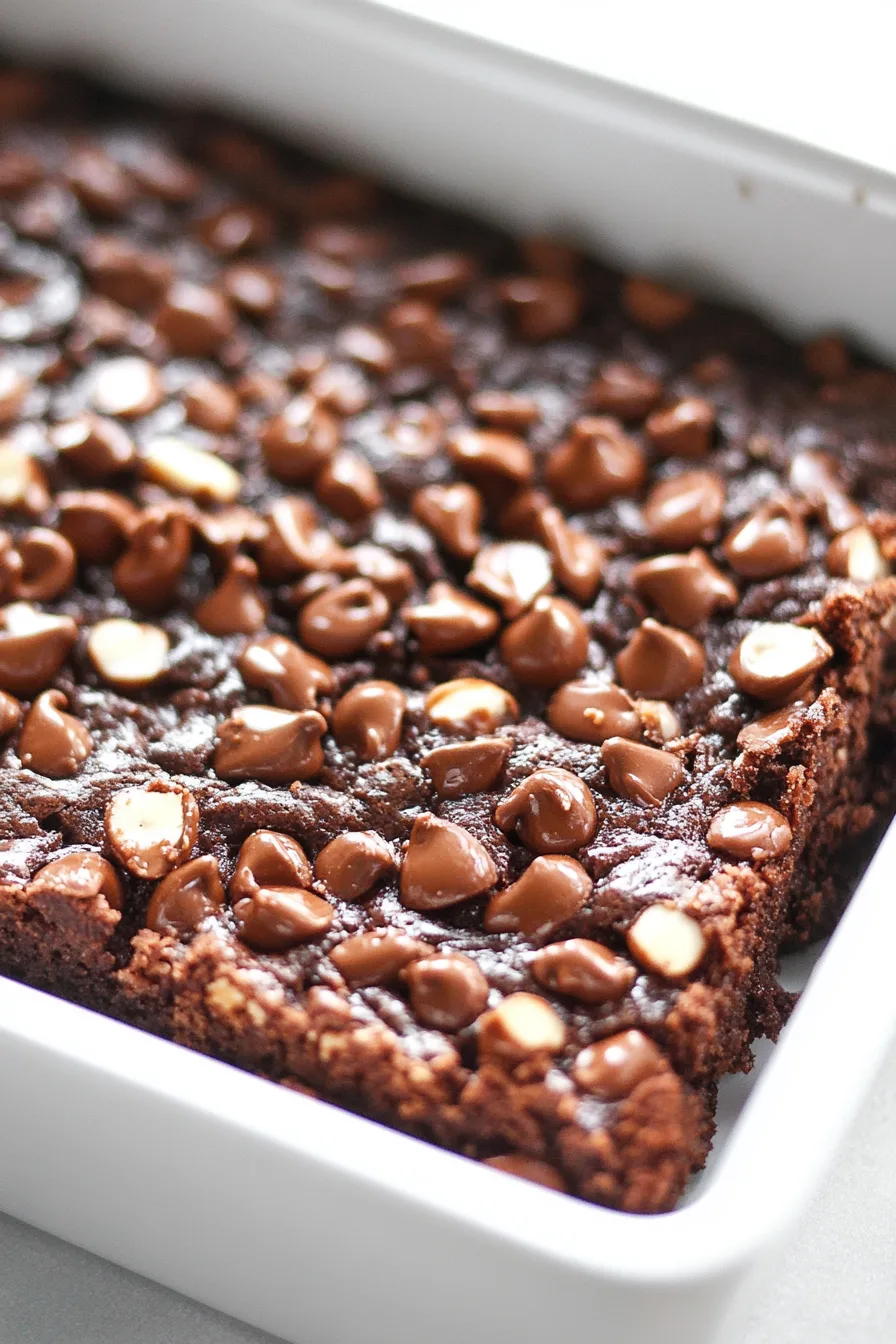
- Now comes the fun part. Sprinkle the marshmallows, chopped almonds, and chocolate chips all over the top. You’ll feel like you’re making a mess. That’s the point.
- Switch your oven to broil, put the pan about 8 inches from the top heating element, and broil for about 2 minutes. Do not walk away. Seriously, those marshmallows will go from toasty golden perfection to burnt ruins faster than you can blink.
- Pull the brownies out when the marshmallows are perfectly toasted. Let them cool for at least 20 minutes (hardest part, I know), then pop them in the fridge for another 20-30 minutes to set up.
- Slice, devour, repeat.
Storage Options:
So, if you somehow didn’t demolish the whole pan, here’s the deal. Keep them in an airtight container at room temp for up to 3 days. But if you want that perfect chewy texture? Toss them in the fridge. They’ll last up to 5 days and they’re actually better cold, in my very passionate opinion.
Want To Save This Recipe?
Freezing? Totally doable. Wrap individual squares in plastic wrap, throw them in a freezer bag, and they’ll keep for a month. Frozen Rocky Road Brownie as a midnight snack? Been there. Glorious.
Variations and Substitutions:
Feeling adventurous? Good. Here’s how you can play with this recipe and still win:
-
Swap the Nuts: Not an almond fan? Pecans, walnuts, even hazelnuts would be awesome.
-
Nut-Free Option: Allergies? Use crushed pretzels or graham crackers for crunch.
-
Make it Dark Chocolate Bliss: Use dark chocolate chunks instead of semi-sweet chips.
-
Go S’mores Mode: Add a sprinkle of graham cracker crumbs on top before broiling.
-
No Espresso Powder? Skip it. Or sub in a little instant coffee granules if you’re feeling wild.
What to Serve with Rocky Road Brownies?
These brownies are a whole mood by themselves, but if you want to get extra, here’s what I love:
-
Vanilla Ice Cream: Hot brownie, cold ice cream. Need I say more?
-
Whipped Cream: Light, fluffy, and balances out the rich chocolate.
-
A Glass of Cold Milk: Childhood memories incoming.
-
Strong Coffee or Espresso: Perfect match for all that chocolatey goodness.
-
Berries: Strawberries or raspberries add a nice pop of freshness. Plus, it makes it feel healthy.
Frequently Asked Questions:
Can I just use a boxed brownie mix?
Yes, absolutely. No brownie police here. Make the mix, then follow my topping and broiling steps. Bam—instant Rocky Road upgrade.
Do I really need to broil the marshmallows?
Technically no, but… come on. That golden, toasty marshmallow top? Totally worth it. Just keep a close eye so you don’t end up with marshmallow ash.
Can I make these ahead?
100%. Make them the day before, chill them overnight, and you’ll have perfectly set, sliceable brownies the next day. They actually get better as they sit.
Alright, that’s it. Go make these Rocky Road Brownies, and when you find yourself sneaking into the fridge at midnight for “just one more square,” know that you are not alone, my friend. I do it too.
Can’t wait to hear how yours turn out!
Keep the Flavor Coming – Try These:


Rocky Road Brownies
Ingredients
- 8 tablespoons 1 stick unsalted butter
- 1/3 cup unsweetened cocoa powder
- 1 cup granulated sugar
- 1 teaspoon espresso powder optional
- 1 teaspoon vanilla extract
- 2 large eggs
- 1 cup all-purpose flour
- 1/2 teaspoon baking powder
- 1/4 teaspoon table salt
- 1 cup miniature marshmallows
- 1/2 cup roasted salted almonds, coarsely chopped
- 1/2 cup semi-sweet chocolate chips
Instructions
Preheat the Oven:
- Preheat the oven to 350°F (175°C). Grease a 9-inch square baking pan thoroughly with butter or non-stick cooking spray. For easier removal, line the pan with parchment paper, allowing an overhang on two sides.
Prepare the Brownie Batter:
- In a microwave-safe bowl, combine the unsalted butter and unsweetened cocoa powder. Microwave in 30-second intervals, stirring after each interval, until the mixture is smooth and glossy. Once melted, stir in the granulated sugar, espresso powder (if using), and vanilla extract until fully incorporated.
Incorporate the Eggs:
- Add the eggs to the cocoa mixture, one at a time, stirring well after each addition until the mixture becomes thick and shiny.
Add Dry Ingredients:
- Sift together the all-purpose flour, baking powder, and table salt. Gradually fold the dry ingredients into the wet mixture, stirring gently until just combined. Avoid over-mixing to maintain a tender, fudgy texture.
Bake the Brownies:
- Pour the batter into the prepared baking pan and spread it evenly with a spatula. Bake for 20 to 25 minutes, or until the edges begin to pull away from the sides of the pan and a toothpick inserted into the center comes out with moist crumbs.
Prepare the Topping:
- Immediately after removing the brownies from the oven, evenly distribute the miniature marshmallows, chopped almonds, and semi-sweet chocolate chips over the surface of the warm brownies.
Broil the Topping:
- Adjust the oven setting to broil. Position the pan approximately 8 inches from the broiler element. Broil the brownies for 1 to 2 minutes, or until the marshmallows are lightly toasted and golden brown. Monitor closely to prevent burning.
Cooling and Slicing:
- Remove the brownies from the oven and allow them to cool in the pan for 20 minutes. For cleaner slices, refrigerate the pan for an additional 20 to 30 minutes. Once set, loosen the brownies from the sides using a bench scraper or knife coated with non-stick spray. Lift out using the parchment overhang and cut into squares.
Notes
I’m Bitty, owner of nodashofgluten.com, where I share simple, delicious recipes for all tastes, including gluten-free. Check out my “About Me” page for more info!