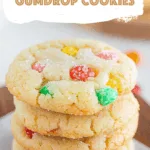
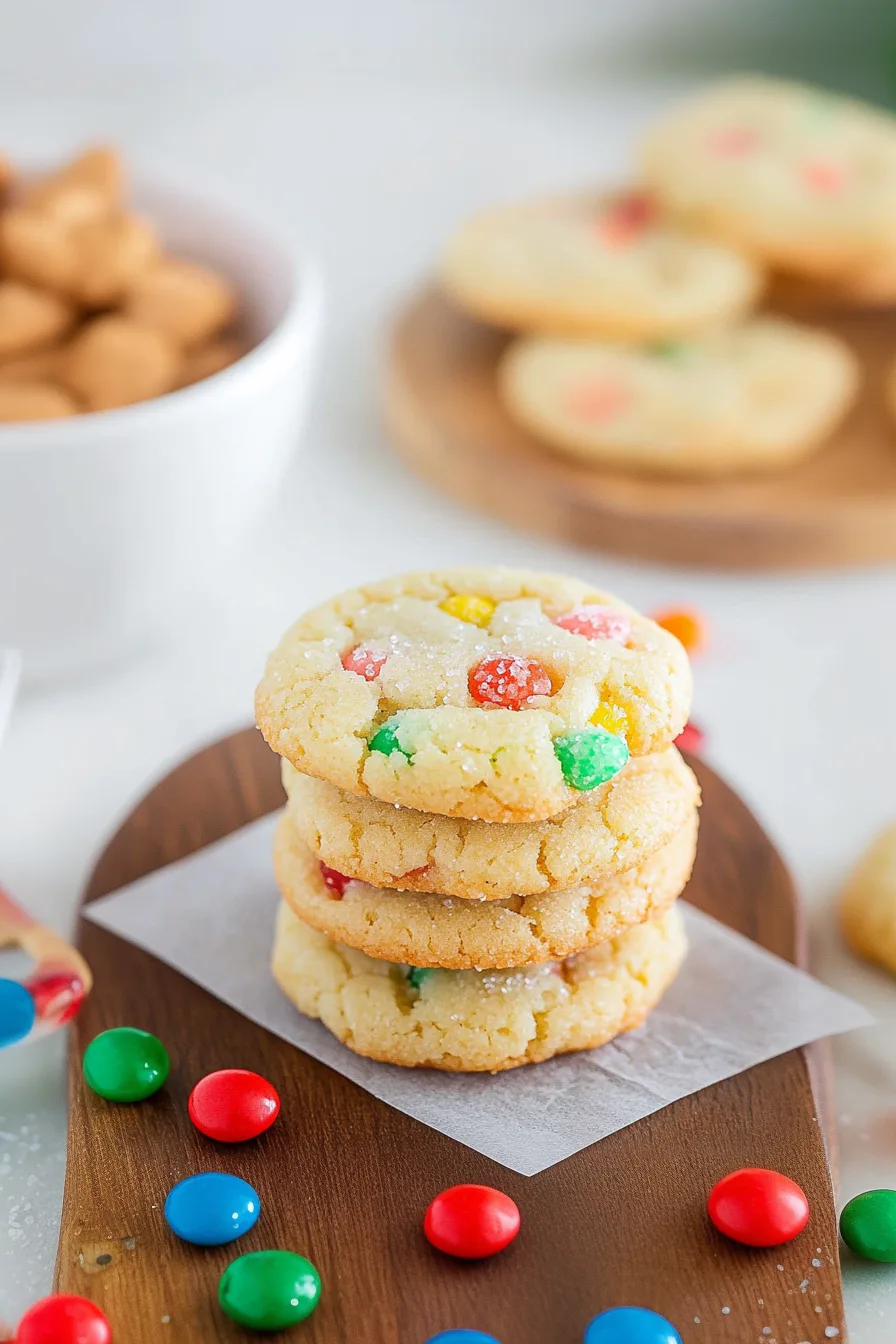
Chewy, colorful, and full of nostalgia — these Retro Christmas Gumdrop Cookies mix sugar, almond extract, and candy gumdrops into a festive holiday treat that feels like the good old days.
I can still see it — my grandma’s kitchen, mid-December, chaos everywhere. There was always flour dusting the counter like fake snow, Bing Crosby crooning in the background, and about five different cookie tins stacked on the table. The tin I loved most had these Retro Christmas Gumdrop Cookies in it. Bright, chewy little gems tucked into a buttery, golden dough.
When I was a kid, I used to think the gumdrops were jewels. I’d pick out all the red and green ones before my brother got to them (classic oldest-sibling move, right?). Years later, I found her recipe tucked inside a yellowing cookbook — written in her looping cursive, with a faint stain of something that might’ve been butter. Or nostalgia. Hard to tell.


The first time I baked them on my own, it was a disaster. I overbaked half the batch and used way too many gumdrops (apparently, that is possible). But the smell — that warm, almond-sweet scent mixed with something fruity — made me feel like a kid again. That’s the thing about these Retro Christmas Gumdrop Cookies. They’re not just cookies. They’re memories baked into chewy, sugary circles.
And every time I make them now, I still end up humming “Silver Bells” and licking a bit of dough off the spoon when no one’s watching.
Why You’ll Love This Retro Christmas Gumdrop Cookies Recipe?
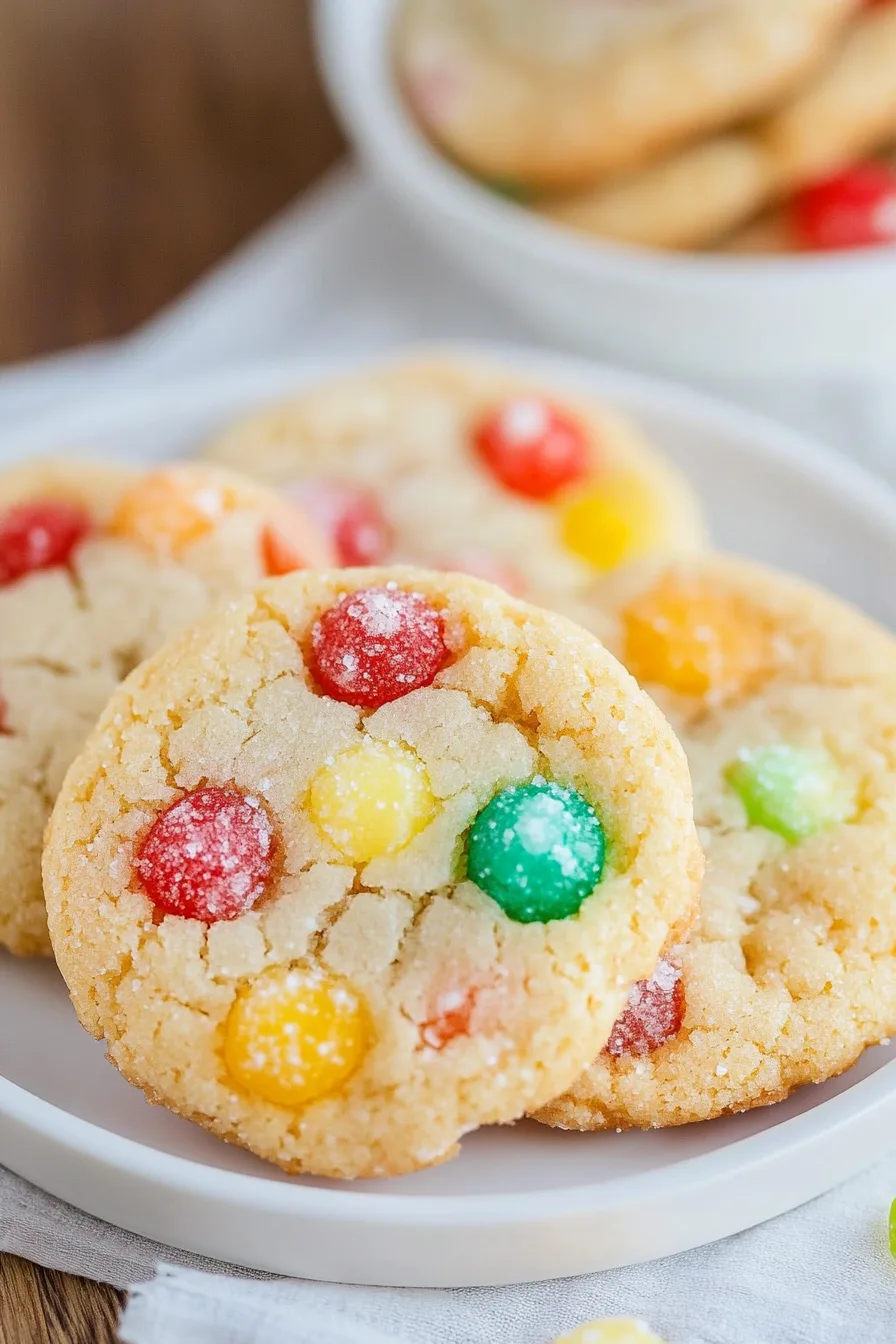
Let’s be honest — gumdrops in cookies sound weird at first. I remember thinking, “Really? Candy in cookie dough?” But then you taste one warm out of the oven and suddenly it makes sense. These Retro Christmas Gumdrop Cookies are soft and buttery on the inside, a little crisp on the edges, and every bite has this pop of chewy sweetness that feels almost childlike — like something out of a 1960s holiday commercial.
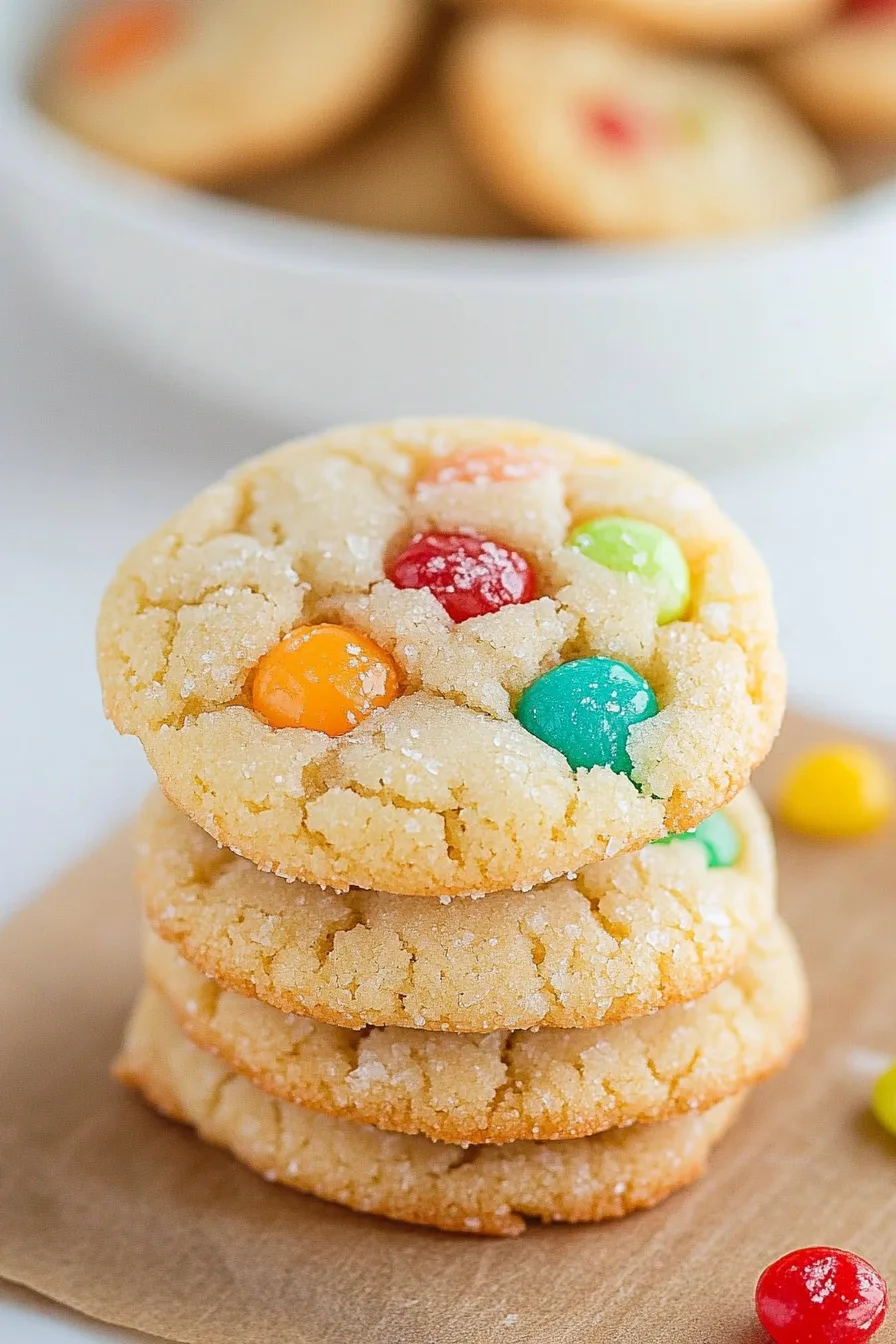
What I love is how imperfectly perfect they are. No two cookies ever look the same. Some have gumdrops peeking out, some are more golden, and every batch feels a little different. It’s comforting, honestly — like life. And maybe that’s why people keep coming back to them. They don’t need frosting or sprinkles or edible glitter. They’re simple, old-fashioned, and completely charming in their own way.
They’re the kind of cookie that gets people talking — “My grandma used to make these!” or “Wow, haven’t had these since I was little.” That’s how you know you’ve got a keeper.
Ingredient Notes:
Let’s talk ingredients, because this cookie magic happens with a pretty simple lineup:
-
Shortening: Yep, we’re going retro here. It makes the cookies extra soft with that slightly crisp edge. Butter works too, but shortening gives that nostalgic bakery-style texture.
-
Sugar: Classic sweetness. Part of it goes into the dough, part gets whipped into the egg whites later — a little old-school trick for fluffy cookies.
-
Almond Extract: Don’t skip it. This gives that warm, sweet scent that makes the whole kitchen smell like Christmas morning.
-
Flour, Baking Soda, and Salt: The backbone of the dough. Basic, dependable, like your mom’s holiday casserole dish.
-
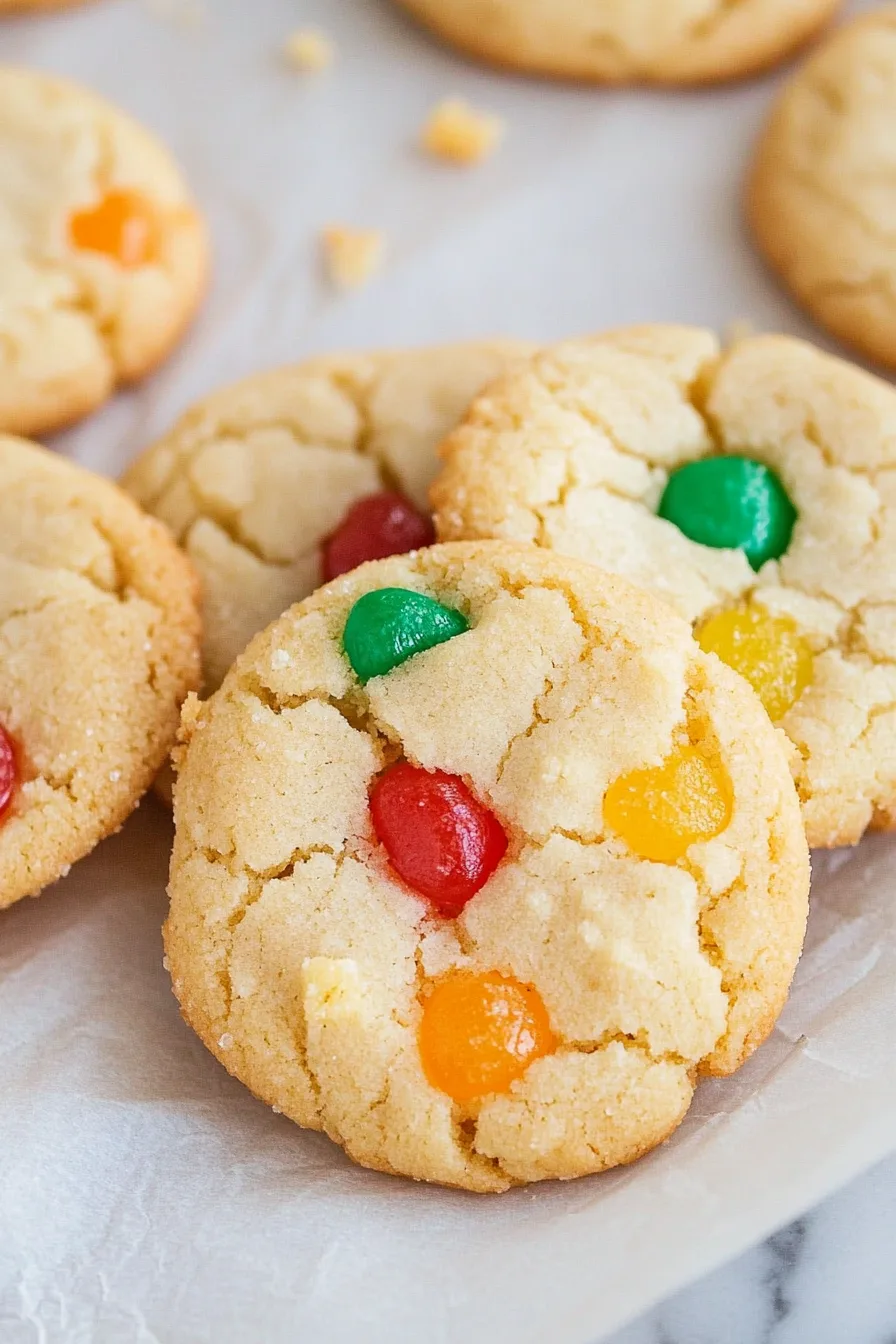
Gumdrops: The star! I use the fruit-flavored kind, but spiced gumdrops add a fun twist. Chop them into smaller bits so they don’t turn your cookies into dental work.
-
Egg Whites: Whipped until fluffy, they make the dough light and airy. This step feels fussy, but it’s worth it — trust me.
I swear the magic of these cookies is how all these everyday ingredients somehow turn into something so nostalgic and special. Like Christmas magic, but edible.
How To Make Retro Christmas Gumdrop Cookies?
- Preheat your oven to 350°F — because nothing good ever starts with a cold oven. In a big bowl, cream together the shortening and ¾ cup sugar until it’s pale and fluffy. That’s the part that gives the cookies their soft, melt-in-your-mouth texture. Then, stir in your almond extract and breathe it in — smells like joy, doesn’t it?
- In another bowl, whisk together your flour, baking soda, and salt. Add it gradually to the creamed mixture, mixing until you’ve got a nice, soft dough. Fold in your chopped gumdrops — yes, it’ll look like confetti exploded in your bowl. That’s part of the charm.
- Now comes the fancy bit: in a clean bowl, beat your egg whites until soft peaks form. Slowly add the remaining ¼ cup sugar and beat again until stiff peaks hold. Gently fold this into the dough. You’ll feel like a 1950s housewife at this point, but hey, it’s Christmas.
- Drop spoonfuls of dough onto ungreased baking sheets — leave room for spreading. Bake for 12–15 minutes, until the edges turn golden and the centers look just set. They’ll smell incredible. Like “you’ll forget to take them off the pan because you’re inhaling deeply” incredible.
- Let them cool for a couple of minutes on the sheet before moving to a rack. And please — resist the urge to eat them immediately. Those gumdrops are like molten sugar lava straight out of the oven. I’ve learned this lesson the hard way more than once.
Storage Options:
If you somehow manage not to eat them all at once, these Retro Christmas Gumdrop Cookies keep beautifully. Store them in an airtight tin or container for up to a week — I actually think they taste better the next day once the gumdrops settle in.
They freeze well, too. Layer them between parchment paper and freeze for up to 3 months. When you’re ready to enjoy, let them thaw at room temp or give them a quick zap in the microwave for 10 seconds. It’s like reviving a piece of Christmas.
Variations and Substitutions:
You can totally play around with this recipe — I do it all the time when I’m feeling experimental (or just out of shortening).
-
Use Butter Instead: It adds richer flavor, though the cookies might spread a bit more.
-
Add Nuts: Chopped walnuts or pecans give a nice crunch.
-
Go Spicy: Try using cinnamon or clove-flavored gumdrops for an extra holiday kick.
-
Coconut Magic: Add shredded coconut for a fun tropical twist — because who says Christmas can’t taste like vacation?
-
Gluten-Free Version: Just swap in a 1:1 gluten-free flour blend. It works like a charm.
Want To Save This Recipe?
No matter how you tweak it, these cookies still taste like the kind of thing you’d find at a small-town holiday bake sale — which is a compliment, by the way.

What to Serve with Retro Christmas Gumdrop Cookies?
These Retro Christmas Gumdrop Cookies go with just about anything, but I’m partial to a few pairings:
-
Coffee or Cappuccino: Because sweet + strong = balance.
-
Hot Cocoa: The gumdrops make it extra festive — like a sugar rush wrapped in nostalgia.
-
Chai or Spiced Tea: Brings out the fruity notes in the gumdrops.
-
Eggnog: If you’re going all in on holiday vibes, this combo is it.
Or just eat them straight from the cooling rack while wrapping presents. It’s practically a Christmas tradition at this point.
Frequently Asked Questions:
Can I make the dough ahead of time?
Absolutely! Chill it in the fridge for up to 2 days or freeze it for months. Just let it soften a bit before baking.
Can I skip the almond extract?
You could, but it really gives these cookies that “vintage holiday” flavor. Vanilla works in a pinch, though.
How do I keep them soft?
A slice of bread in the cookie tin! Old trick, still works.
These Retro Christmas Gumdrop Cookies might look a little quirky, but that’s exactly why I love them. They’re not trying to be perfect — they’re just sweet, nostalgic, and full of heart. Like that old ornament on your tree that’s missing a hook but still gets prime placement every year.
So put on some Christmas music, grab your mixing bowl, and bake a batch. And hey — if you sneak a few before they’re cool, I won’t judge. Some traditions are meant to be broken.
Keep the Flavor Coming – Try These:

Retro Christmas Gumdrop Cookies
Ingredients
- ¾ cup shortening
- 1 cup granulated sugar divided
- ½ teaspoon almond extract
- 1¾ cups all-purpose flour
- ½ teaspoon baking soda
- ¼ teaspoon salt
- 1 cup chopped fruit-flavored or spiced gumdrops
- 2 large egg whites
Instructions
Prepare the Oven and Pans
- Preheat the oven to 350°F (175°C). Line baking sheets with parchment paper or leave them ungreased if preferred.
Cream the Shortening and Sugar
- In a large mixing bowl, combine the shortening and ¾ cup of sugar. Beat with an electric mixer on medium speed until light and fluffy, about 2–3 minutes. Blend in the almond extract until incorporated.
Combine the Dry Ingredients
- In a separate bowl, whisk together the all-purpose flour, baking soda, and salt. Gradually add the dry mixture to the creamed shortening mixture, mixing just until combined.
Add the Gumdrops
- Stir in the chopped gumdrops, ensuring they are evenly distributed throughout the dough. Lightly flour them before mixing if they tend to stick together.
Prepare the Egg Whites
- In another clean bowl, beat the egg whites until soft peaks form. Gradually add the remaining ¼ cup sugar, continuing to beat until stiff peaks form. Gently fold the whipped egg whites into the cookie dough until evenly combined.
Shape and Bake the Cookies
- Drop tablespoonfuls of dough onto the prepared baking sheets, spacing them approximately 2 inches apart. Bake for 12–15 minutes, or until the edges are lightly golden.
Cool and Serve
- Allow the cookies to cool on the baking sheet for 2–3 minutes before transferring them to a wire rack to cool completely. Once cooled, store in an airtight container for up to one week.
Notes
I’m Bitty, owner of nodashofgluten.com, where I share simple, delicious recipes for all tastes, including gluten-free. Check out my “About Me” page for more info!