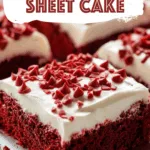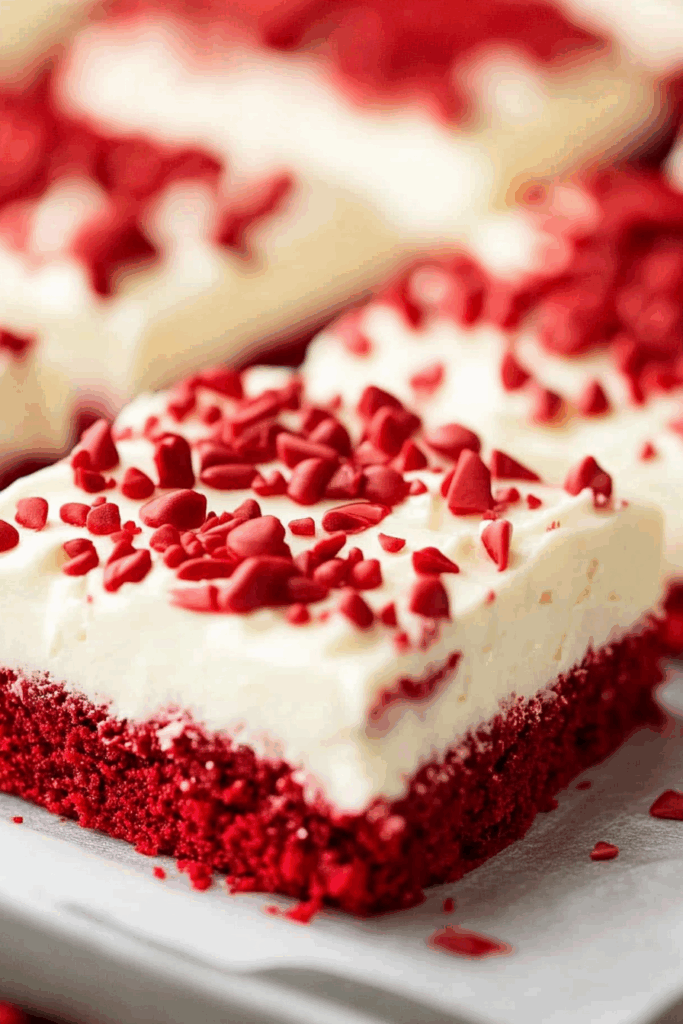
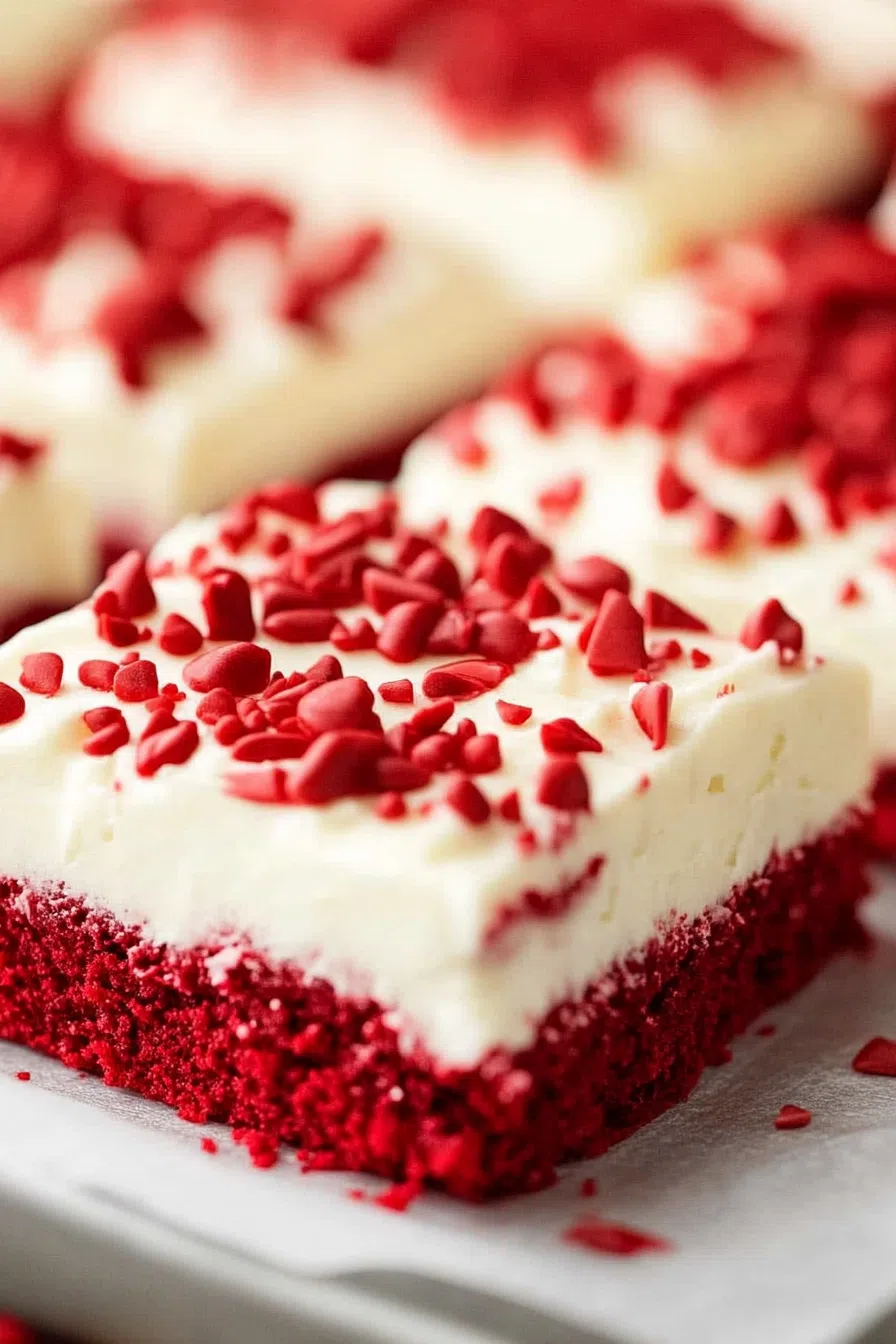
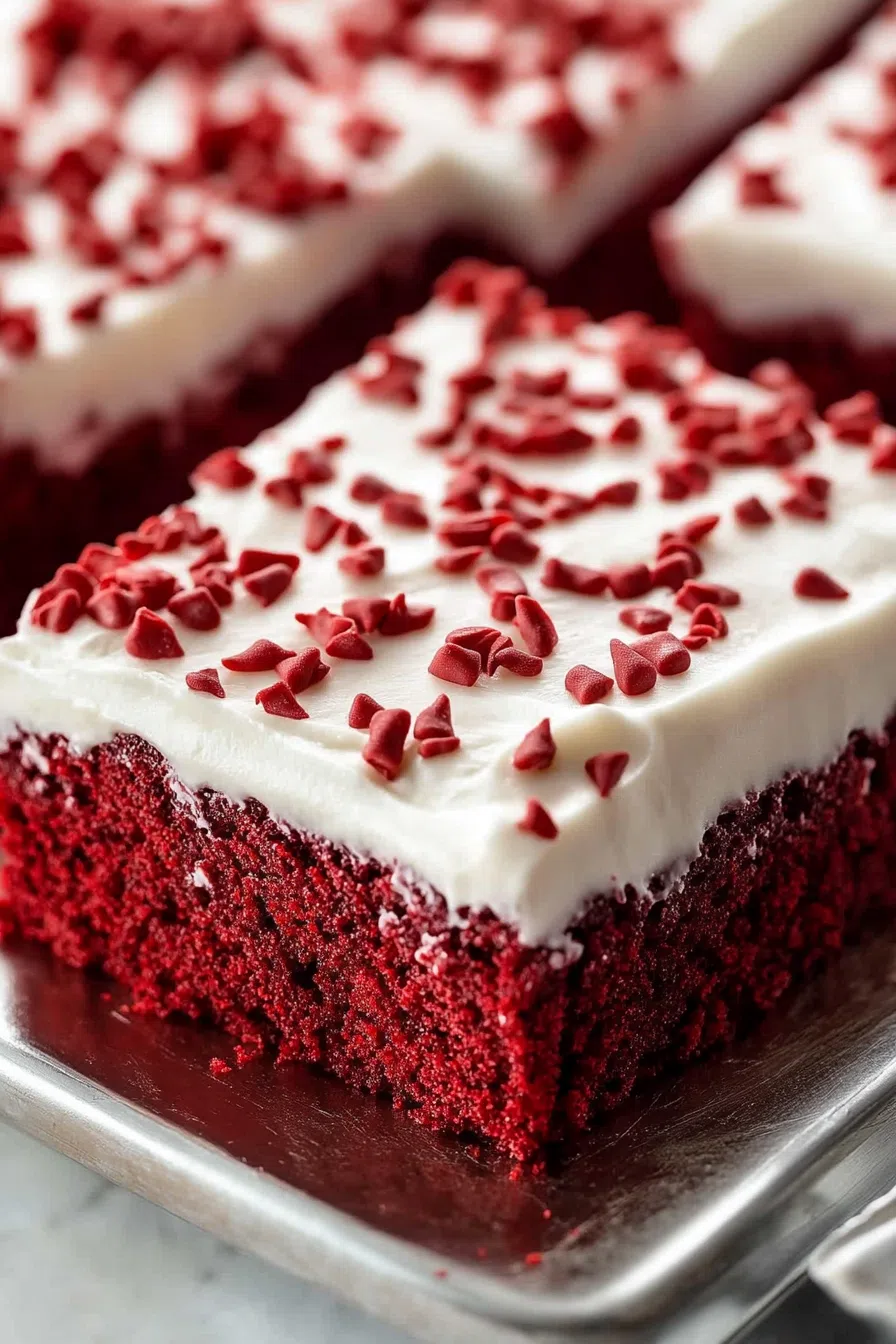
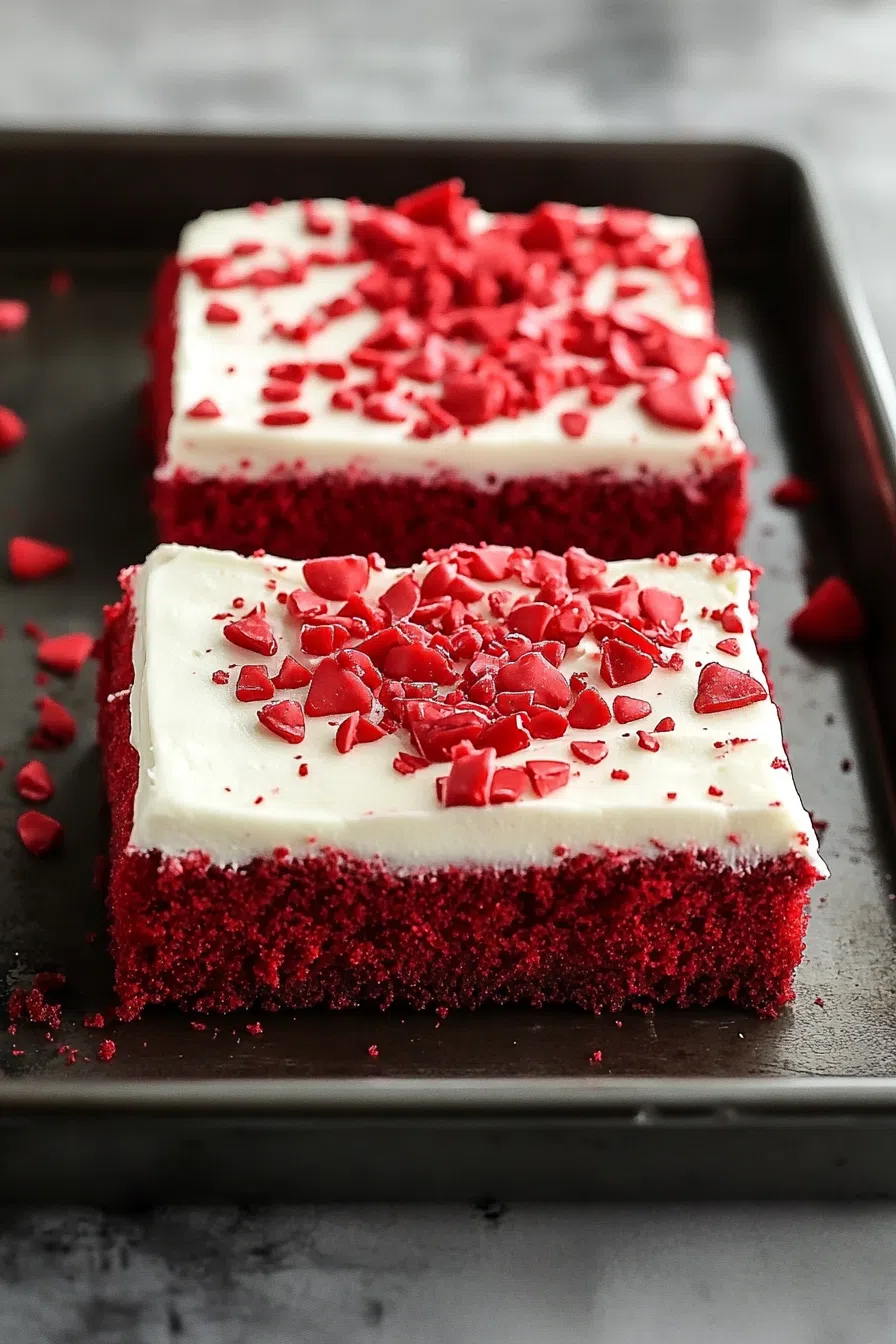
Fluffy red velvet sheet cake made with buttermilk, cocoa powder, and a rich cream cheese frosting. Perfect for birthdays, holidays, or anytime!
You know that feeling when you’re craving cake but absolutely refuse to deal with stacking layers and piping frosting like some sort of TV baking champion? Yeah… that was me last Saturday.


I remembered my grandma’s red velvet cake — the kind she made for every family birthday, complete with layers, perfect crumbs, and a frosting that could probably win awards. And while I love her to pieces, that woman had the patience of a saint. Me? Not so much.
So instead, I pulled out my mixer and made this Red Velvet Sheet Cake — all the classic flavor, but way easier. No stacking. No stress. Just big squares of tender, cocoa-kissed cake slathered in cream cheese frosting. Honestly? I think Grandma would have approved… though she definitely would’ve had some opinions about my generous sprinkle of red food coloring. (She thought two drops were enough. Spoiler: they are not.)
Why You’ll Love This Red Velvet Sheet Cake Recipe?
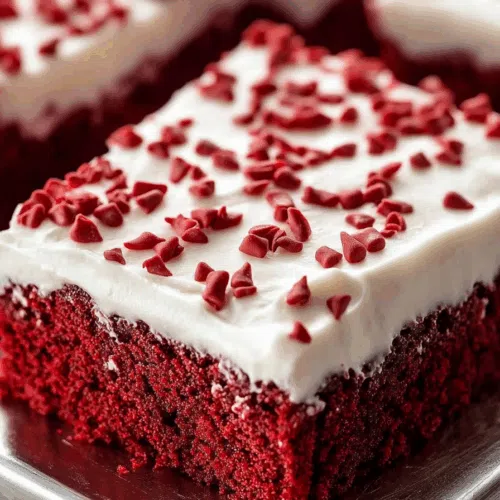
First off, the moistness — this cake could practically pass for velvet itself. It’s got that barely-there cocoa flavor you expect from a good red velvet cake, and thanks to buttermilk and sour cream, it stays soft for days. (Assuming it lasts that long. No judgment if it doesn’t.)
And the frosting? Oh, don’t get me started. It’s thick, creamy, a little tangy — basically everything a cream cheese frosting should be. It’s the kind of thing you could eat straight off a spoon… not that I did that… (I totally did.)
Plus, it’s baked in one pan. Which means no balancing acts, no cake disasters sliding off your counter, and no 17 dirty bowls. Sound good? Thought so.
Ingredient Notes:
Alright, if you’re about to head to the kitchen, here’s a little rundown of the main characters:
-
Flour & Cocoa Powder: Your structure and subtle chocolate flavor. Red velvet’s like a shy chocolate cake that doesn’t want to admit it’s chocolate.
-
Butter & Sugar: Cream ’em till they’re fluffy. This is where the magic starts.
-
Buttermilk & Sour Cream: The dynamic duo that guarantees a moist, tender crumb. They add that slight tang that red velvet has to have.
-
Eggs: Structure, richness, and a little love.
-
Red Food Coloring: Let’s be honest — without it, this cake just looks… confusing.
-
Cream Cheese & Butter (for frosting): Your frosting foundation. You want these room temp so your frosting doesn’t end up lumpy and sad.
-
Powdered Sugar: Sweetness and that irresistible creamy finish.
How To Make Red Velvet Sheet Cake?
Step 1: Prep Your Pan and Ingredients
Preheat the oven to 350°F. Grease a 9×13 baking pan (parchment on the bottom if you’re feeling smart). Sift together the flour, cocoa, baking soda, and salt. I usually spill flour everywhere at this point. It’s a tradition.
Step 2: Cream Butter and Sugar
Beat the butter and sugar until it’s light and fluffy, about 2–3 minutes. Scrape down the bowl. (Please don’t skip that. Otherwise, you end up with sad, unmixed butter at the bottom.)
Step 3: Mix in Wet Ingredients
Add the eggs one at a time, beating after each. Then stir in buttermilk, sour cream, a splash of vanilla, and all that glorious red food coloring.
Step 4: Combine
Mix the dry ingredients into the wet gently. No overmixing, okay? We want tender cake, not bread.
Step 5: Bake
Pour it into your pan, smooth it out, and bake for 25–30 minutes. When a toothpick comes out with just a few crumbs, you’re golden. Let it cool completely — torture, I know.
Step 6: Frost
Beat the cream cheese and butter together until smooth, toss in vanilla and salt, and whip in the powdered sugar. Spread it generously over the cooled cake. (Lick the beaters if you must. I won’t tell.)
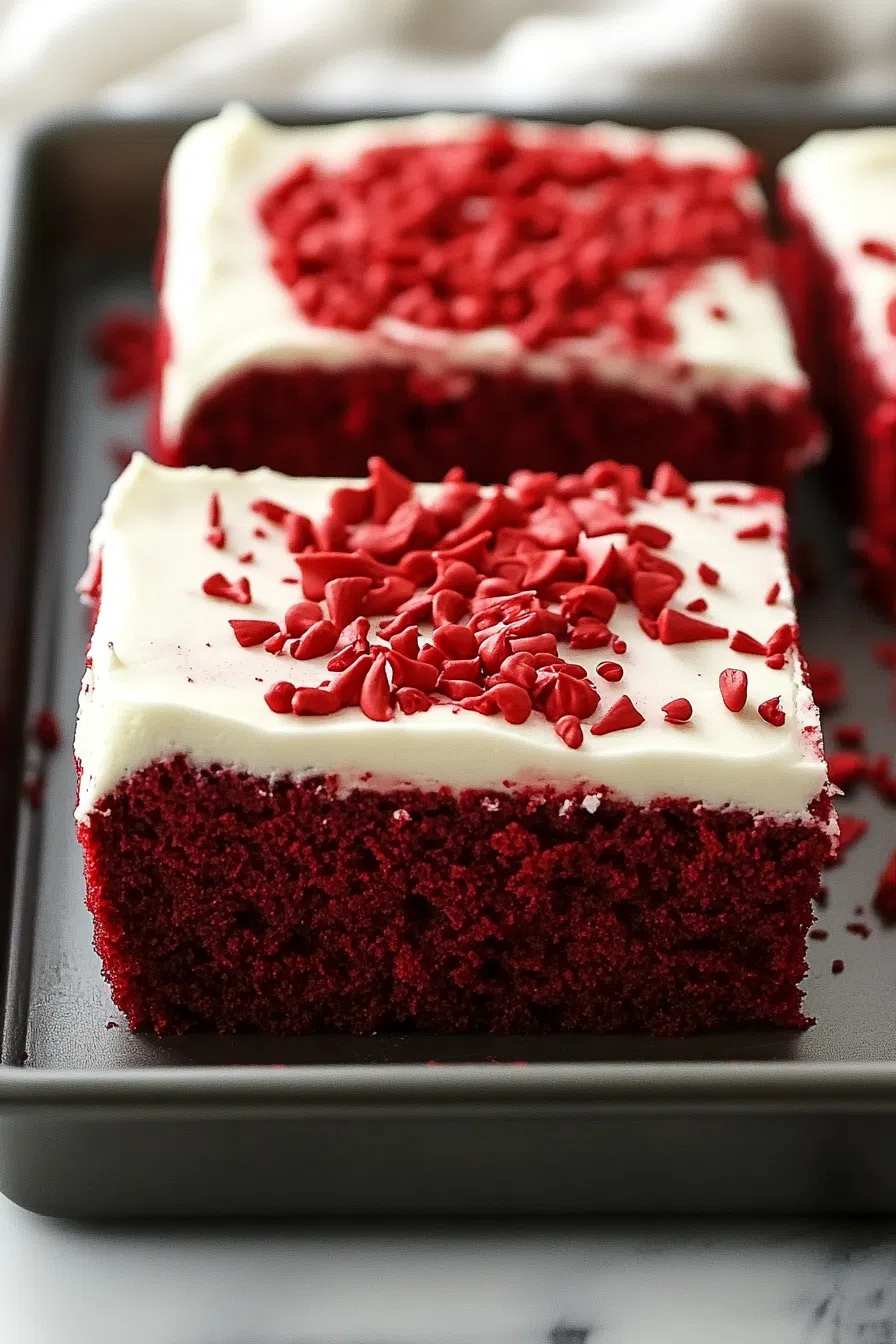
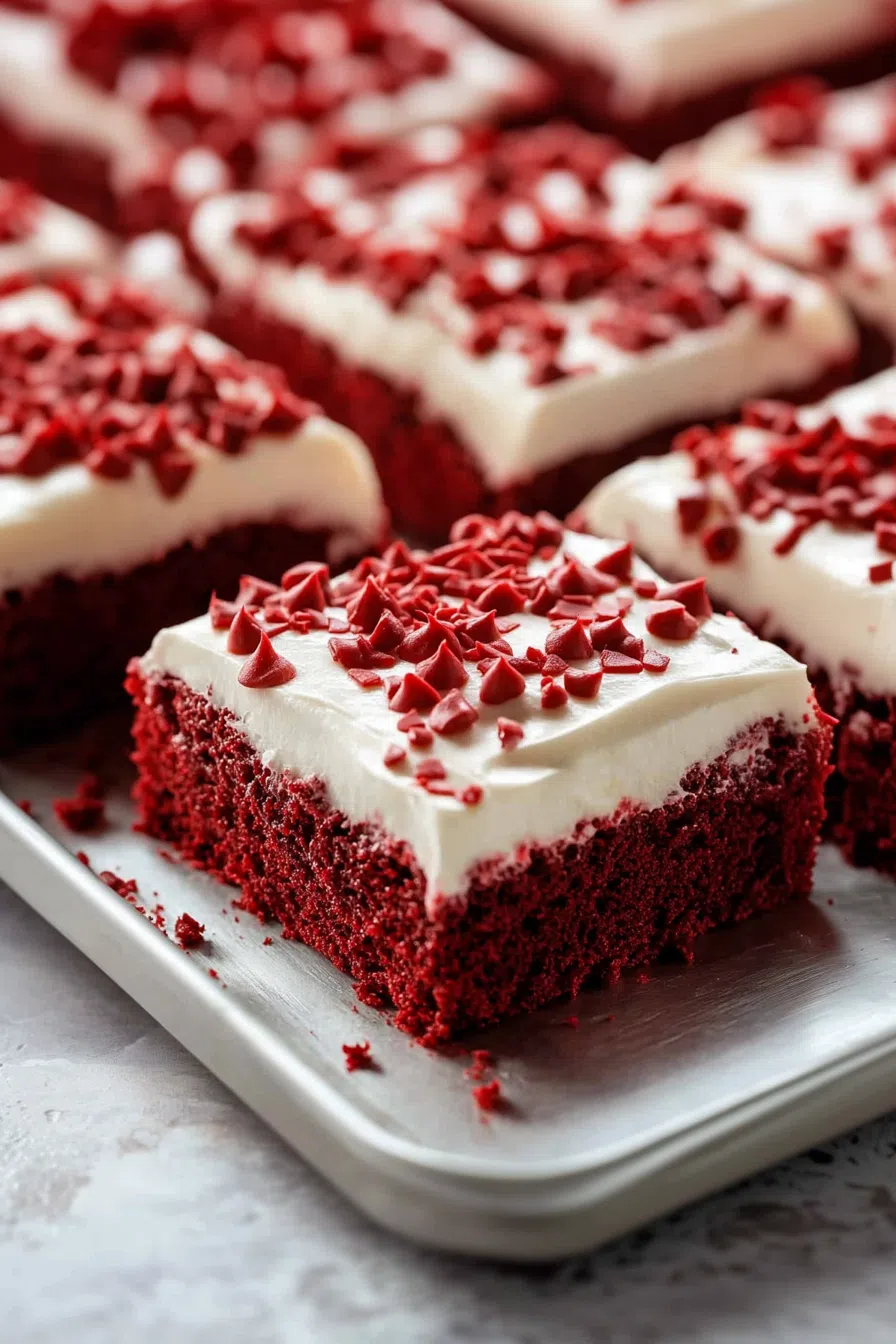
Step 7: Slice and Serve
Slice into squares. Take one for yourself first. Hide it if you must.
Want To Save This Recipe?
Storage Options:
Keep leftovers covered tightly in the fridge. It stays awesome for about 4–5 days. Honestly, it’s somehow even better the next day — like the frosting gets even dreamier once it chills.
If you’re prepping ahead, you can bake and freeze the cake (unfrosted!) for up to 2 months. Just thaw, frost, and serve. Instant hero.
Variations and Substitutions:
Feeling creative? Here are a few ideas:
-
Gluten-Free: Just swap the all-purpose flour for a gluten-free 1:1 baking flour. Works like a charm.
-
Chocolate Chips: Fold in a handful for a little surprise chocolate in every bite.
-
Different Frosting: Not a cream cheese fan? (No judgment… okay, maybe a little.) Try a whipped vanilla buttercream.
-
Mini Cakes: Pour the batter into muffin tins for cute little red velvet cupcakes!
What to Serve with Red Velvet Sheet Cake?
Pair this beauty with:
-
Coffee or Espresso: That slight bitterness balances the sweet frosting perfectly.
-
Fresh Berries: Strawberries or raspberries = chef’s kiss.
-
Bubbly: Yep, a little Prosecco with red velvet cake feels weirdly fancy. Try it!
Frequently Asked Questions:
Can I use regular milk instead of buttermilk?
You can — but I’d recommend adding a teaspoon of vinegar to the milk to fake that tanginess. It makes a difference!
Why isn’t my cake super red?
It might just be the brand of food coloring. Add a little more if you want that deep, dramatic red. (It’s kind of the whole point, right?)
Can I make this ahead of time?
Absolutely. Bake the cake a day or two before, frost it when you’re ready, and it’s still ridiculously good.
If you love a cake that’s low-effort, high-payoff, and basically guarantees second (and third) helpings, this Red Velvet Sheet Cake is your kind of recipe. Make it once, and you’ll be hooked — frosting-smeared smiles and all.
And hey, if you bake it and sneak a slice before dinner… I’m not judging. Pinky promise.
Keep the Flavor Coming – Try These:


Red Velvet Sheet Cake
Ingredients
For the Cake:
- 2 1/2 cups all-purpose flour
- 1/3 cup cocoa powder
- 1 teaspoon baking soda
- 1 teaspoon salt
- 1 1/2 cups granulated sugar
- 1 cup unsalted butter softened
- 3 large eggs at room temperature
- 1 cup buttermilk at room temperature
- 1/2 cup sour cream at room temperature
- 1 teaspoon vanilla extract
- Red food coloring as needed
For the Cream Cheese Frosting:
- 8 ounces cream cheese softened
- 2 tablespoons unsalted butter softened
- 1 teaspoon vanilla extract
- 1/4 teaspoon salt
- 3 to 4 cups powdered sugar sifted
Instructions
Prepare the Baking Pan:
- Preheat the oven to 350°F (175°C). Lightly grease a 9×13-inch baking pan with non-stick spray. For easier removal, line the bottom with parchment paper if desired.
Combine Dry Ingredients:
- In a large bowl, sift together the all-purpose flour, cocoa powder, baking soda, and salt. Set the mixture aside.
Cream Butter and Sugar:
- In a separate large bowl, use an electric mixer to beat the softened butter and granulated sugar until light and fluffy, approximately 3 to 4 minutes. Scrape down the sides and bottom of the bowl as needed to ensure even mixing.
Add Wet Ingredients:
- Incorporate the eggs one at a time, beating well after each addition. Add the buttermilk, sour cream, vanilla extract, and enough red food coloring to achieve the desired shade. Beat on low speed until the mixture is smooth and combined.
Combine Wet and Dry Ingredients:
- Gradually add the dry ingredients to the wet ingredients. Mix on low speed or by hand with a spatula until no visible streaks of flour remain. Avoid overmixing.
Bake the Cake:
- Pour the batter into the prepared baking pan, spreading it evenly. Bake for 25 to 30 minutes, or until a toothpick inserted into the center comes out clean or with a few moist crumbs. Allow the cake to cool completely in the pan on a wire rack.
Prepare the Cream Cheese Frosting:
- While the cake cools, prepare the frosting. In a large bowl, beat the cream cheese and butter together until smooth and lump-free. Add the vanilla extract and salt; beat again until well incorporated.
Add Powdered Sugar:
- Add 3 cups of sifted powdered sugar to the cream cheese mixture. Mix gently by hand until the powdered sugar is absorbed, then beat with an electric mixer until smooth. Add additional powdered sugar, 1/4 cup at a time, if a thicker consistency is preferred.
Frost the Cake:
- Once the cake is completely cool, spread the cream cheese frosting evenly over the surface. For best results, chill the cake for 20 to 30 minutes before slicing and serving.
Notes
I’m Bitty, owner of nodashofgluten.com, where I share simple, delicious recipes for all tastes, including gluten-free. Check out my “About Me” page for more info!