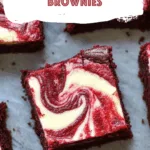
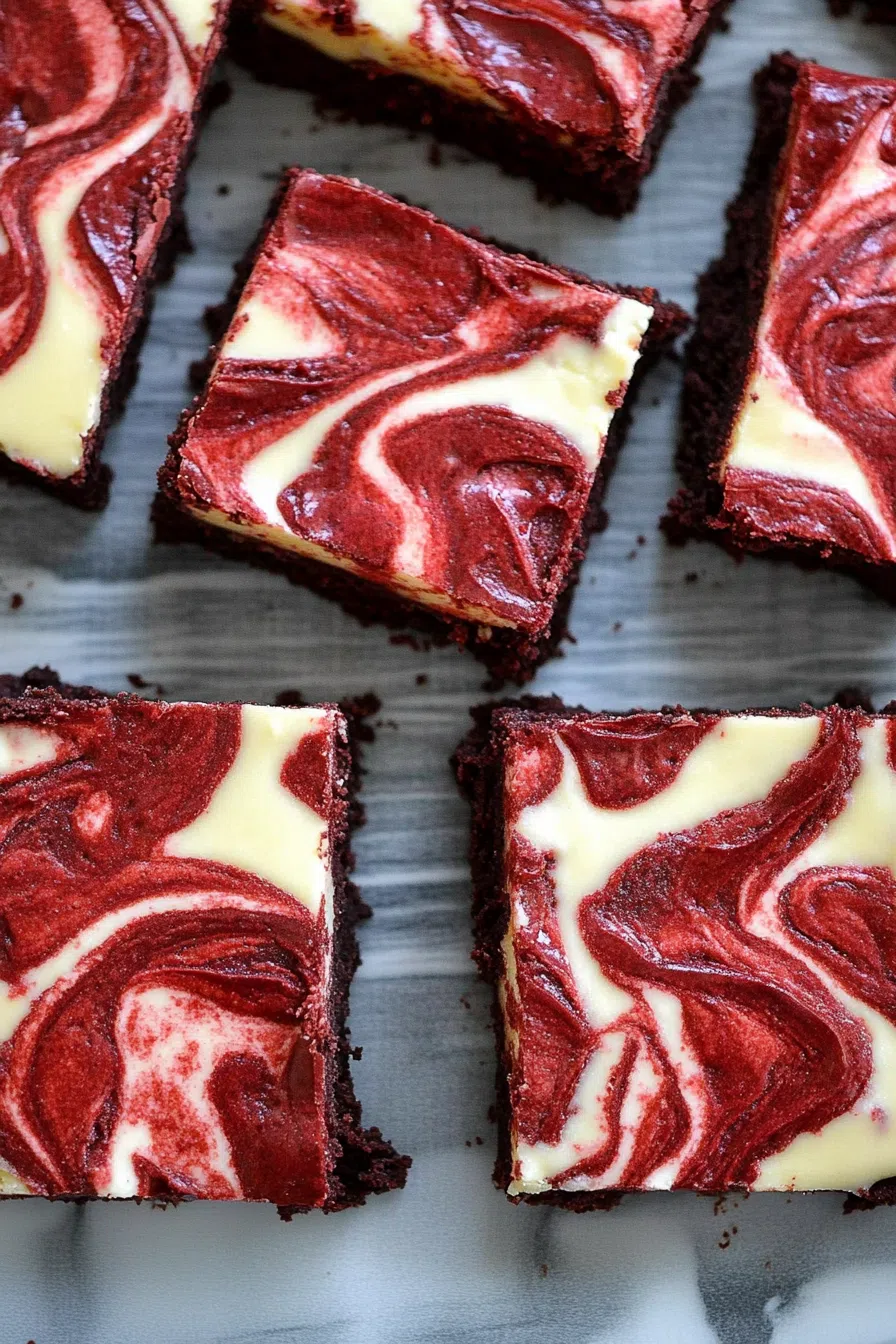
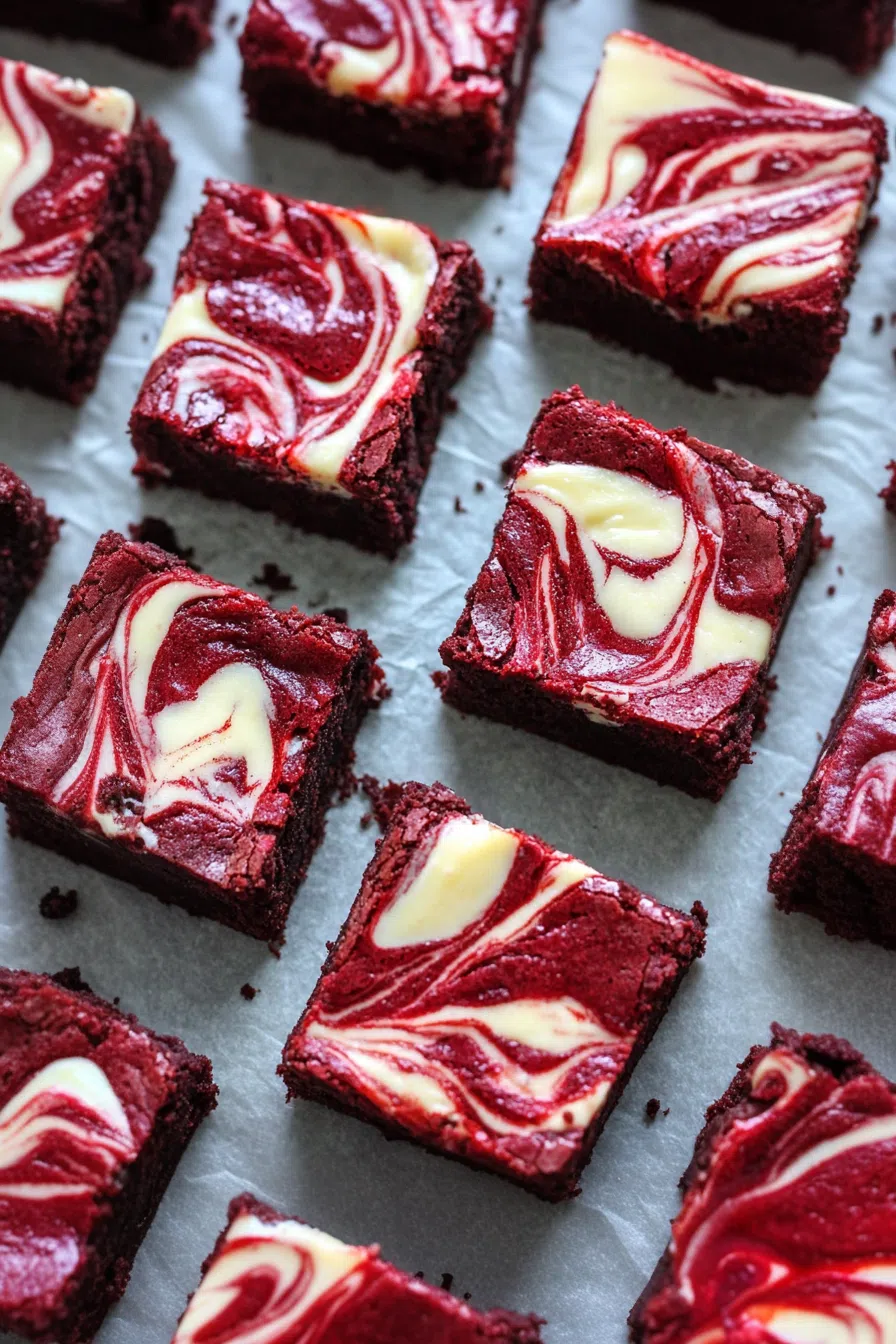
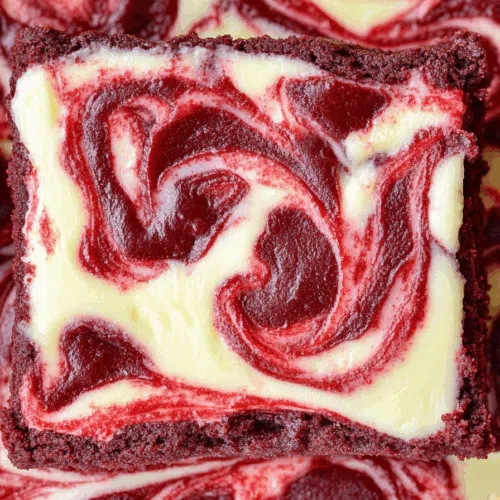
These Red Velvet Cheesecake Brownies are made with cream cheese, dark chocolate, red food coloring, eggs, and sugar. Total swoon.
You ever have one of those days where the world just feels off? Like, the kind where you’ve answered three emails, stared into the fridge twice, and cried once before 10 a.m.? Yeah… this recipe was born on one of those days. I didn’t plan it. I wasn’t even craving anything in particular. But suddenly, I was melting chocolate with butter and whispering sweet nothings to my stand mixer like we were old friends catching up.


And out came these Red Velvet Cheesecake Brownies—moody, swirly little blocks of therapy. I’ve made brownies before. I’ve made cheesecake too. But these? These are that magic middle ground where a soft, fudgy red velvet brownie collides with creamy cheesecake and suddenly the world just makes a little more sense.
I gave half the batch to my neighbor, who then texted me in all caps at 11:45 p.m., which I’m gonna take as the highest compliment.
Why You’ll Love This Red Velvet Cheesecake Brownies Recipe?
Here’s the thing. Regular brownies are great. Cheesecake? Also great. But put them together? You’re in that dangerous “accidentally ate four and don’t regret it” territory.
These aren’t dry. They’re not too sweet. The red velvet part is rich but not cloying, and the cheesecake swirl gives this cool, creamy vibe that just works. Plus, they’re low-maintenance. No water baths. No chilling overnight. Just you, your whisk, and probably a messy apron you won’t wash until next week.

Ingredient Notes:
I like to keep it real. No obscure ingredients or expensive baking tools needed here. Just the good stuff.
-
Butter – Melted with chocolate for maximum richness. And because butter makes everything better.
-
Dark chocolate – Gives the base a deep, bold flavor. Use a chopped bar if you can.
-
Sugar – One kind, granulated. It sweetens both layers but doesn’t overpower.
-
Eggs – The glue holding it all together. Two for the brownie layer, one for the cheesecake.
-
Vanilla extract – You already know the deal. Warm, comforting, essential.
-
Red food coloring – Totally optional, but come on. It’s called red velvet.
-
All-purpose flour – Just enough to bind. Don’t overthink it.
-
Salt – Always a pinch. Brings out the chocolate in the best way.
-
Cream cheese – Softened. Tangy. Luscious. Basically the heart of the swirl.
How To Make Red Velvet Cheesecake Brownies?
Step 1: Preheat and Prep the Pan
You’ll want your oven at 350°F. Grab an 8×8-inch metal pan, butter the heck out of it, then line it with parchment that hangs over two sides. Butter the parchment too—trust me, future you will be grateful when it’s time to lift them out.
Step 2: Chocolate Melting Moment
In a small bowl, melt your butter and chocolate together. I usually microwave in 20-second bursts, stirring each time. You don’t want scorched chocolate sadness. Once smooth, let it cool just a bit. Like, don’t stick your finger in it immediately. (We’ve all done it.)
Step 3: Brownie Batter Business
Whisk your sugar, eggs, vanilla, and food coloring in a bowl until they look dreamy. Then pour in your chocolate-butter combo and mix until it’s just… velvety. Stir in your flour and salt. Don’t overmix—this isn’t CrossFit.
Step 4: Into the Pan
Spread that deep red batter evenly into your pan. Pause. Admire it. Tell it it’s pretty. (Optional.)
Step 5: Cheesecake Swirl Time
In another bowl, beat your cream cheese, sugar, egg, and vanilla until smooth. Dollop eight blobs onto your brownie batter. Don’t stress about spacing—this is rustic art, not geometry class. Then grab a knife or a chopstick and swirl it gently through the batter.
Step 6: Bake
Into the oven for 35–40 minutes. The edges will puff and brown a little, and the center should just barely jiggle. A toothpick in the cheesecake part should come out clean. Or close enough. Again—don’t overbake. Dry brownies are a crime.
Want To Save This Recipe?
Step 7: Cool and Slice (Eventually)
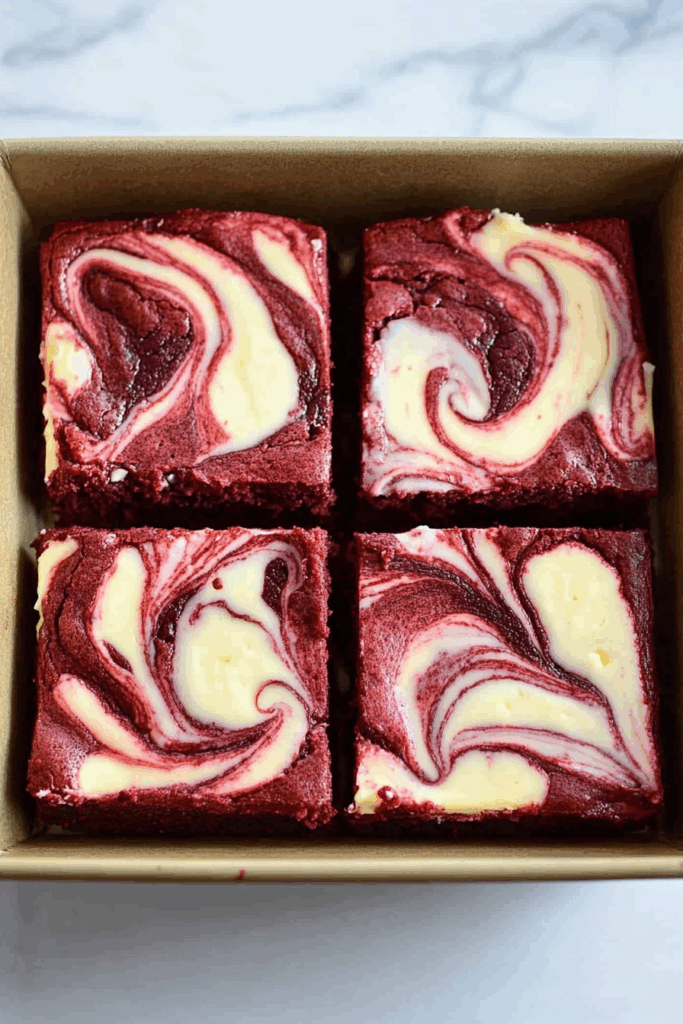
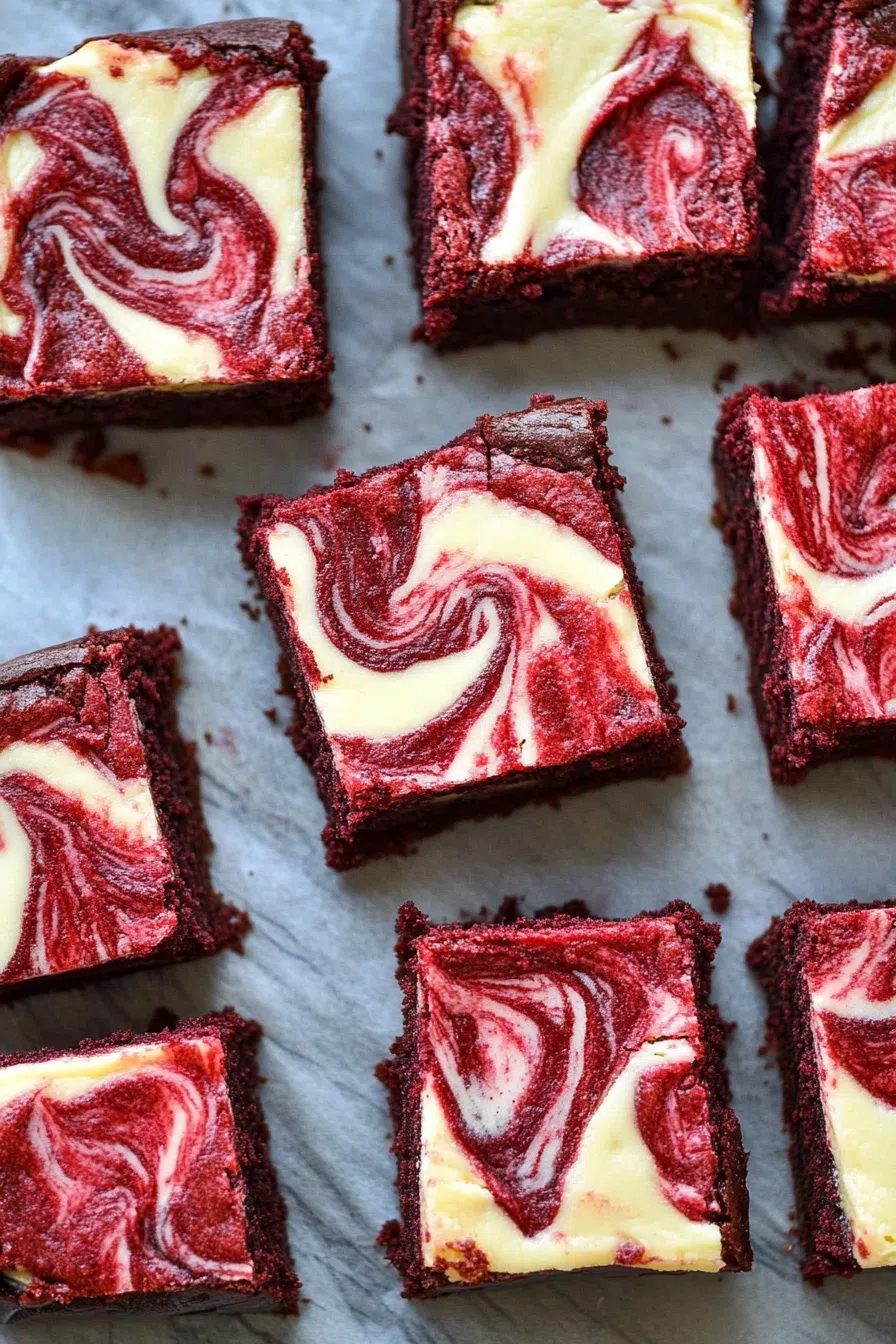
Let them cool completely. Not kinda. Not “mostly.” Completely. Then use the parchment to lift them out and slice them however your heart desires. I like messy edges and imperfect squares. Makes it feel more… human.
Storage Options:
Pop ’em in an airtight container and keep them in the fridge. They stay good for up to 5 days. Honestly? They’re kinda amazing chilled. Like brownie-fudge-cheesecake bars. You can also freeze them (wrapped tight) and thaw later. Midnight snack, anyone?
Variations and Substitutions:
-
No dark chocolate? Semi-sweet or even milk chocolate will do in a pinch.
-
No food coloring? Skip it. Call them “Velvet-ish Swirl Brownies” and move on.
-
Craving more tang? Add a spoonful of sour cream to your cheesecake layer. Trust me.
-
Need it gluten-free? A good 1:1 GF flour works beautifully here.
-
Add-ins? Go wild. Chopped walnuts, mini chocolate chips, or crushed Oreos work like a dream.
What to Serve with Red Velvet Cheesecake Brownies?
-
Hot coffee – balances that creamy cheesecake like a pro.
-
Whipped cream – Not necessary, but it’s fun.
-
Fresh raspberries – Fancy and kinda Valentine’s-y.
-
Vanilla ice cream – For when you want a brownie sundae vibe.
Frequently Asked Questions:
Can I double this?
Sure can. Use a 9×13 pan and extend baking time by 10ish minutes. Just keep an eye on it.
My swirl sank. Did I mess up?
Nah. Maybe just swirled a bit aggressively or your cream cheese was super soft. Still tastes amazing.
Can I use a box mix for the brownie part?
If you’re in a rush—yes. Will it taste as rich? Probably not. But I’m not gonna call the dessert police.
I could go on about how addictive these are, but honestly, you’ve gotta try them yourself. You’ll know the moment you take that first bite—the smooth swirl, the chocolatey depth, the way it all just melts together. It’s like red velvet and cheesecake decided to run away together and never look back.
Let me know if you make them—or if you, like me, just stood at the kitchen counter eating one with your hands. No judgment. I get it.
Keep the Flavor Coming – Try These:
Red Velvet Cheesecake Brownies
Ingredients
For the Brownie Layer:
- ½ cup unsalted butter
- 2 oz dark chocolate coarsely chopped
- 1 cup granulated sugar
- 2 large eggs
- 1 tsp vanilla extract
- 1½ tsp red food coloring
- ⅔ cup all-purpose flour
- ¼ tsp salt
For the Cheesecake Layer:
- 8 oz cream cheese softened to room temperature
- ⅓ cup granulated sugar
- 1 large egg
- ½ tsp vanilla extract
Instructions
Preheat and Prepare the Pan:
- Preheat your oven to 350°F (175°C). Grease an 8-inch square metal baking pan, then line it with parchment paper, leaving an overhang on two sides to facilitate easy removal. Lightly butter the parchment paper.
Melt Butter and Chocolate:
- In a heatproof bowl, melt the butter and chopped dark chocolate together using short intervals in the microwave or over a double boiler. Stir until smooth and well combined. Set aside to cool slightly.
Make the Brownie Batter:
- In a large mixing bowl, whisk together the sugar, eggs, vanilla extract, and red food coloring until the mixture is smooth and slightly thickened. Add the cooled chocolate mixture and whisk until fully incorporated. Gently stir in the flour and salt until just combined, ensuring no dry streaks remain. Do not overmix.
Transfer to the Pan:
- Pour the brownie batter into the prepared baking pan and spread it evenly into the corners with a spatula.
Prepare the Cheesecake Mixture:
- In a separate bowl, beat the cream cheese, sugar, egg, and vanilla extract together until completely smooth and creamy.
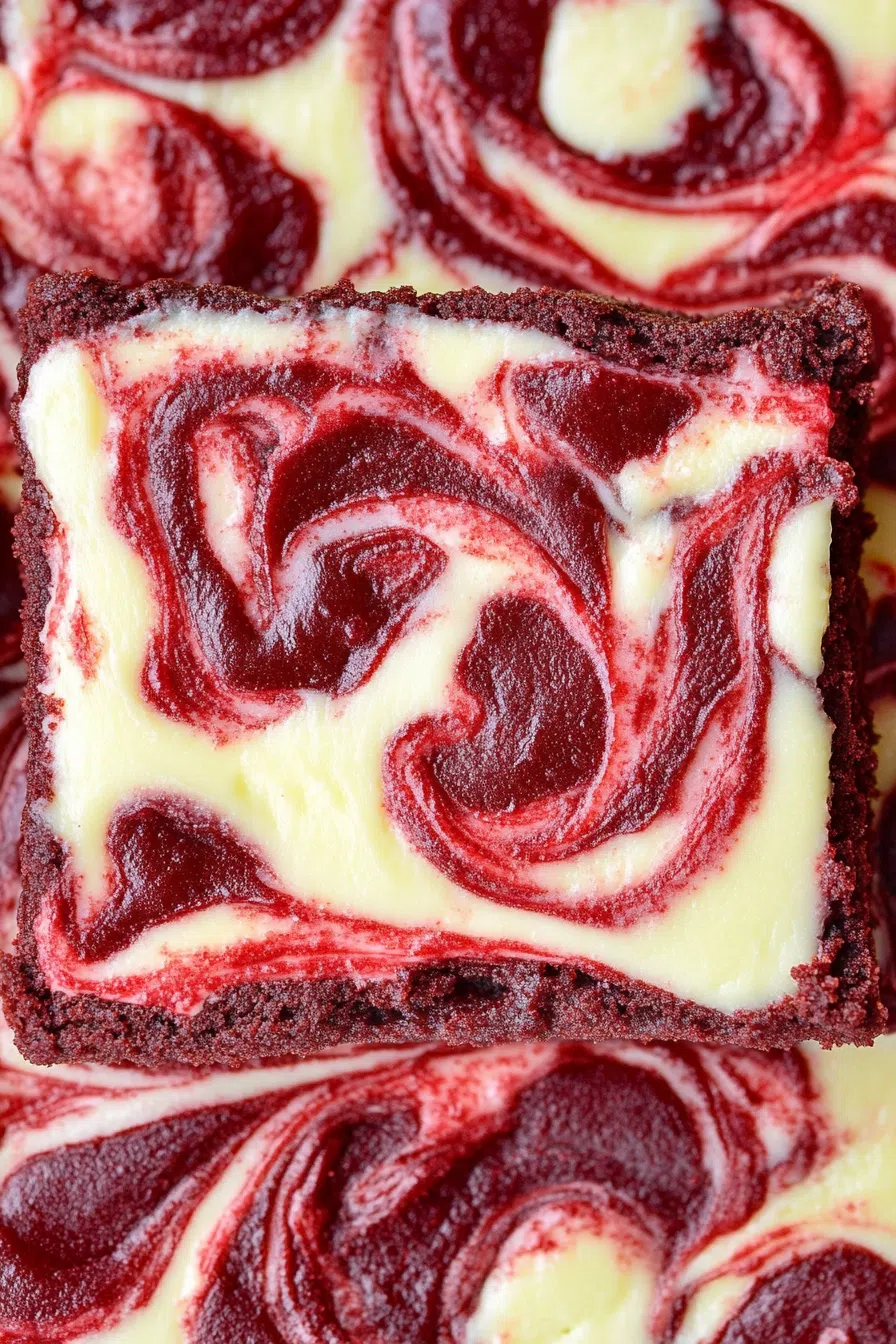
Create the Swirl:
- Spoon the cheesecake mixture in dollops over the brownie batter (approximately 8 spoonfuls). Using a knife or skewer, gently swirl the cheesecake into the brownie base, creating a marbled pattern.
Bake:
- Bake in the preheated oven for 35 to 40 minutes, or until the edges are lightly golden and a knife inserted into the cheesecake portion comes out clean.
Cool and Serve:
- Allow the brownies to cool completely in the pan on a wire rack. Once cooled, lift them out using the parchment paper and slice into squares. Store refrigerated for best texture.
Notes
I’m Bitty, owner of nodashofgluten.com, where I share simple, delicious recipes for all tastes, including gluten-free. Check out my “About Me” page for more info!