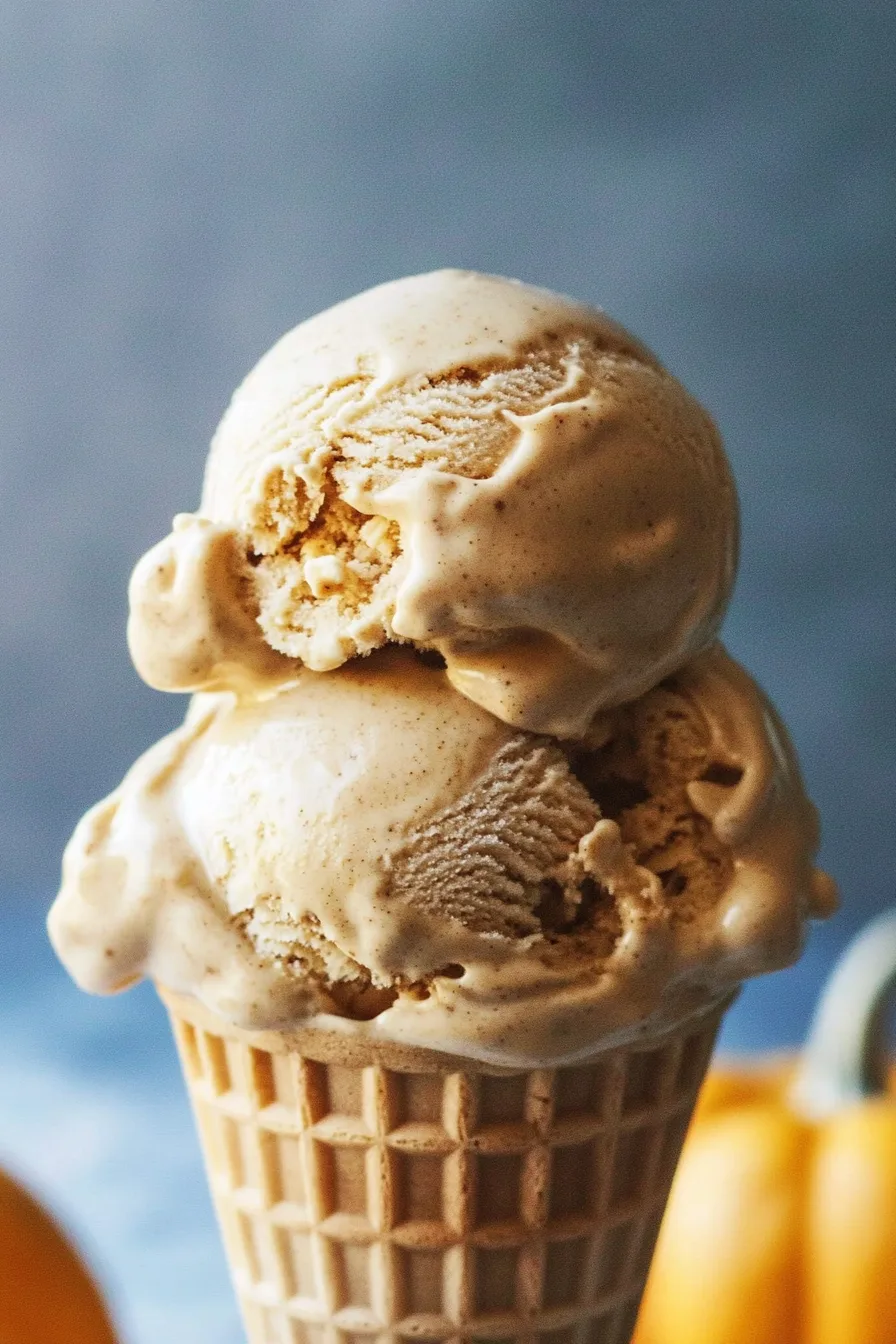
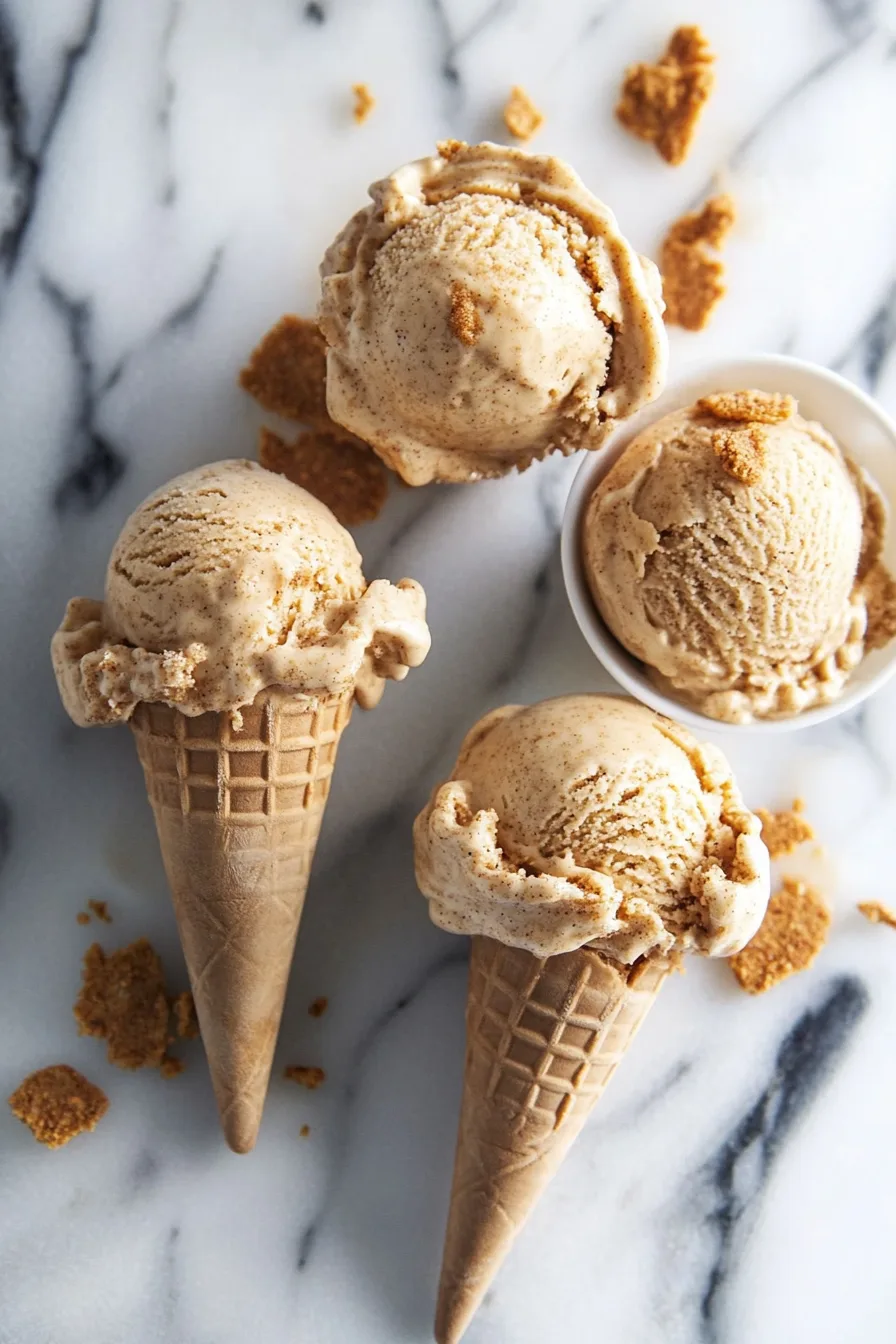
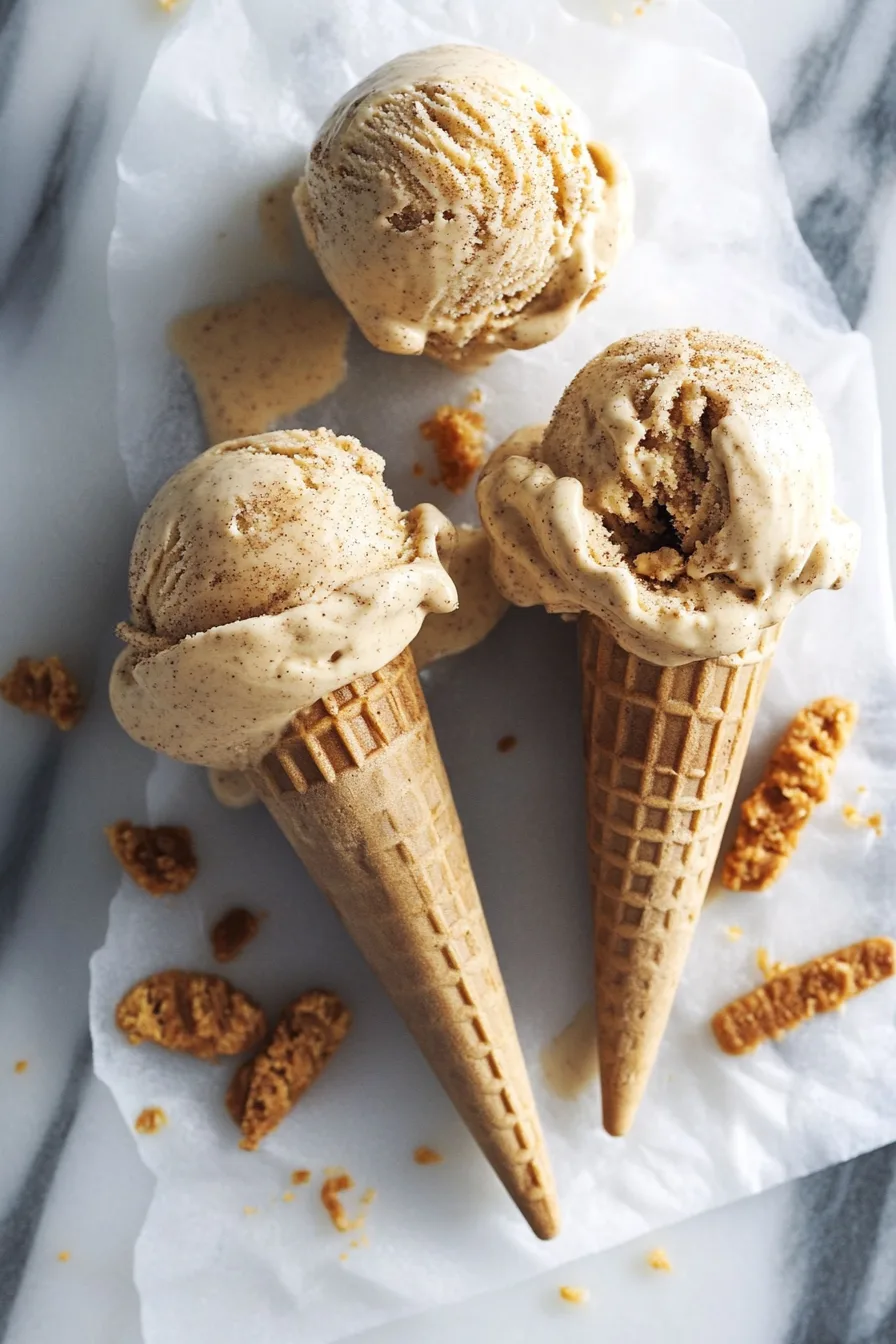
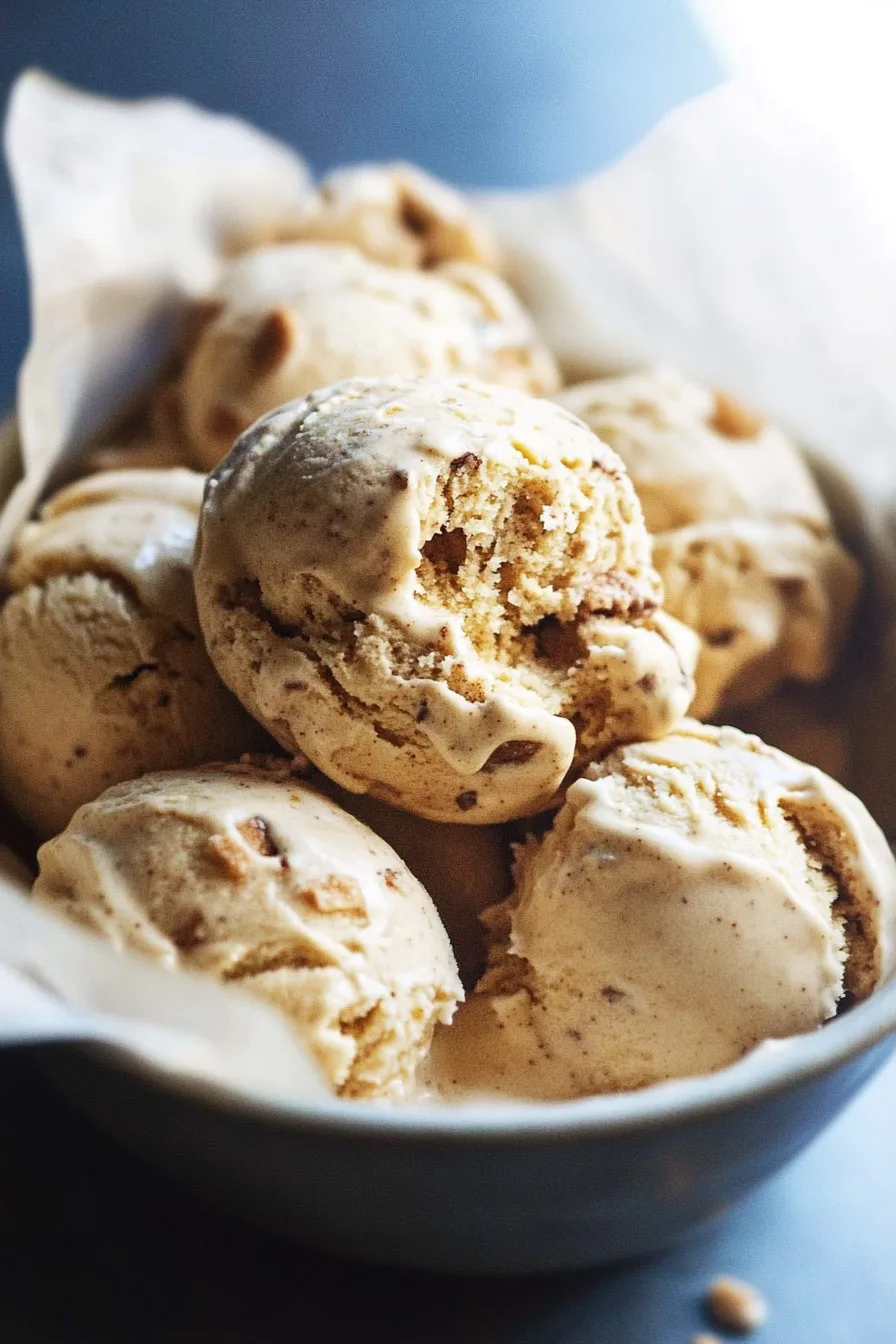
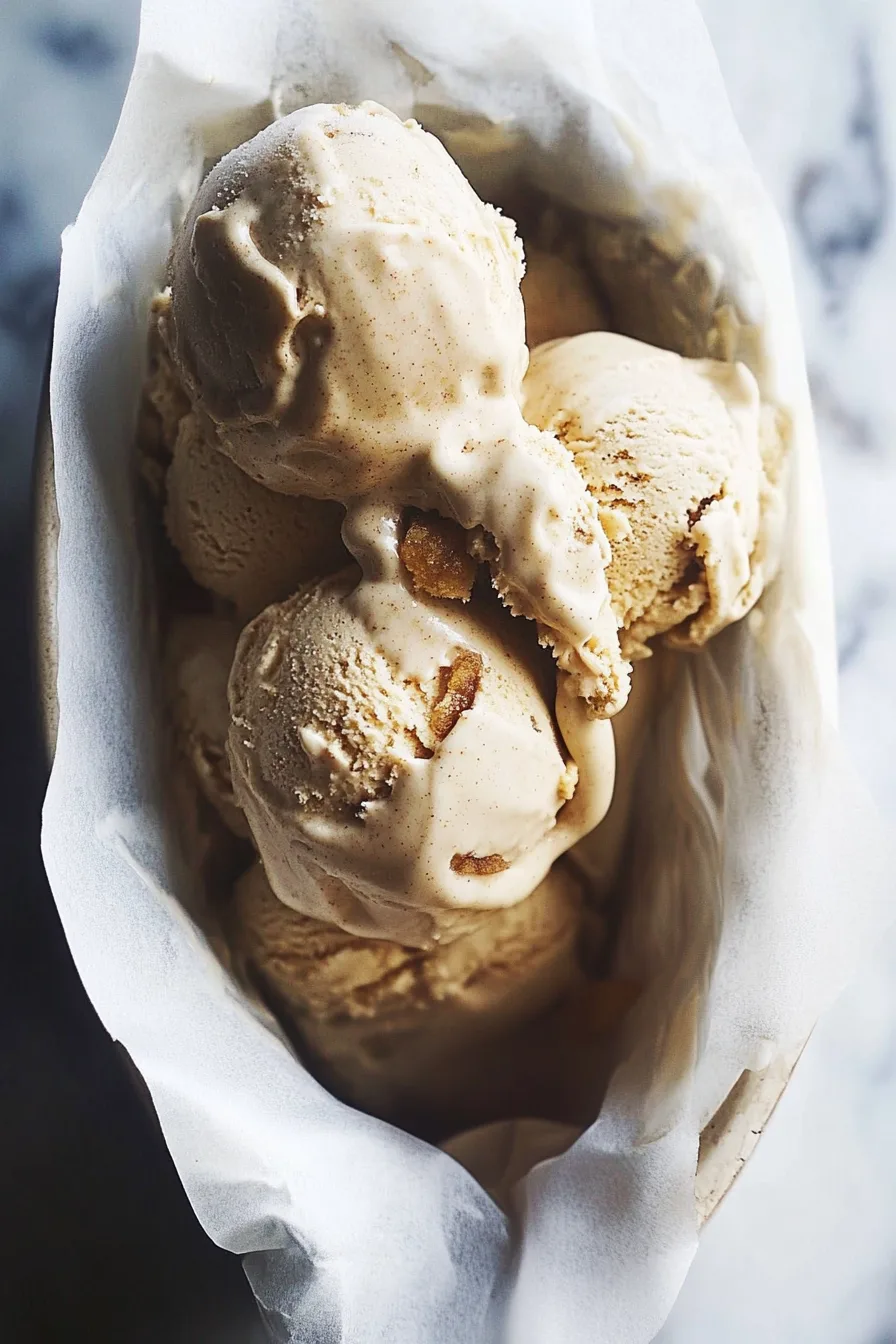
Pumpkin Gingersnap Ice Cream made with real pumpkin, warm spices, creamy goodness, and crunchy gingersnaps—it’s fall in every scoop.
I’m gonna tell you something that might get me in trouble with hardcore pumpkin lovers. I wasn’t always into pumpkin ice cream. Gasp, I know. Pumpkin pie? Yes, give me two slices. Pumpkin bread? Absolutely. But pumpkin ice cream? It felt…wrong. Like cold pumpkin wasn’t supposed to be a thing.


That is, until last fall, when my sister and I took a random road trip to this little farm market. You know the type—hayrides out front, apple cider donuts making the whole place smell like happiness, and of course, a small ice cream stand where you feel obligated to try something. They had this “Pumpkin Gingersnap Ice Cream” flavor. She was all in. I was skeptical. But you don’t say no to your little sister when she’s holding out a spoon.
One bite later—mind blown. Creamy, spiced, little crunchy bits of gingersnap—like a frozen pumpkin pie but somehow even better? I was shook. And I knew I had to figure out how to make it at home.
Why You’ll Love This Pumpkin Gingersnap Ice Cream Recipe?
First of all, let’s get one thing straight: this isn’t that cloyingly sweet pumpkin spice ice cream you sometimes get at the store. Nope. This is creamy, real-pumpkin, perfectly-spiced, homemade goodness. The kind where you take a bite and immediately want to wrap yourself in a blanket and light a fall candle.
And those gingersnap cookies? They’re not just tossed in for decoration. They bring this crunchy, spicy snap that plays so well with the creamy pumpkin base. Every bite has a little surprise. It’s comforting and nostalgic but with a twist. Plus, it’s so easy to make, even if ice cream making kinda intimidates you (been there). You’re gonna love having this in your freezer, trust me.
Ingredient Notes:
Alright, let’s do a quick ingredient roll call and why each one is doing important work here:
-
Eggs: The secret sauce (okay, base) for that rich, custardy texture. You’ll whisk them until your arm says stop.
-
Sugar: Does the obvious—sweetens it up—but also helps with that creamy texture.
-
Heavy Cream & Milk: We need both. The cream gives you that indulgent richness, and the milk keeps it from being too dense.
-
Canned Pumpkin (unsweetened!): Don’t grab the pie filling, please. You want pure pumpkin so you control the sweetness.
-
Cinnamon & Nutmeg: The classic fall spice duo. They’re the reason your kitchen is about to smell like a Yankee Candle shop.
-
Gingersnap Cookies: Not optional. They bring the crunch, the spice, and let’s be honest, they make this ice cream ridiculously fun to eat.
How To Make Pumpkin Gingersnap Ice Cream?
Okay, apron on? Let’s do this.
Step 1: Whisk Like You Mean It
Grab a big ol’ bowl and start whisking those eggs. You want them light and fluffy—about 1-2 minutes. Then, slowly (I said slowly, don’t dump it all at once!) whisk in the sugar until it’s fully blended. Yes, your arm might get a little tired, but think of it as “earning your dessert.”
Step 2: The Creamy Foundation
Pour in the heavy cream and milk. Whisk it together until it’s smooth and you’ve got this luscious liquid base. Honestly, it already looks good.
Step 3: Pumpkin Spice Party
In another bowl (sorry, more dishes), scoop out a cup of the base and mix in the pumpkin, cinnamon, and nutmeg. Stir it until it looks like spiced pumpkin heaven. Then pour this back into the rest of your base and give it a gentle whisk.
Step 4: Chill Factor
Cover it up with plastic wrap and pop it into the freezer for 30-60 minutes. You want it cold, like “I stuck my hand in a snowbank” cold. This is what’ll give you that creamy texture later. (P.S. This is also a good time to “taste test” a gingersnap or two.)
Step 5: Churn Baby, Churn
Get your ice cream maker going and pour in the mixture. Let it churn for about 25-30 minutes, until it looks like soft-serve and you can’t resist sneaking a spoonful. Here’s the best part—during the last 2 minutes, toss in the chopped gingersnaps. They’ll swirl in and make it all come together.
Step 6: The Hard Part (Waiting)
Scoop it into a container, smooth out the top, and pop it in the freezer for at least 3 hours. Yes, it’s hard to wait. Yes, you’ll be tempted to eat it straight from the machine. No judgment if you “accidentally” leave a little behind in the canister to taste.
Want To Save This Recipe?
Storage Options:
If you do manage to not devour this in one night (impressive), it’ll keep in the freezer for up to 2 weeks. Store it in an airtight container, and here’s a little pro tip—press a piece of plastic wrap right onto the surface of the ice cream before sealing the lid. It keeps freezer burn away and keeps your ice cream happy. When you’re ready for round two? Let it sit out for 5 minutes to soften just a tad. It’ll scoop like a dream.
Variations and Substitutions:
Look, I’m not here to boss you around. If you want to play with this recipe, here are some ideas:
-
Dairy-Free Twist: Use full-fat coconut cream and almond milk. It’ll give it a little tropical vibe, but honestly, it works.
-
Other Cookies: Out of gingersnaps? Try Biscoff cookies for a caramel-y twist. Or heck, crushed graham crackers if that’s what you’ve got.
-
Extra Mix-Ins: Chocolate chips, caramel swirls, or candied pecans…because why not?
-
Spice Level: Want it bolder? A pinch of cloves or ground ginger will wake it up.
What to Serve with Pumpkin Gingersnap Ice Cream?
You can totally eat this straight from the container while watching Netflix. But if you’re feeling extra, here’s what pairs like a dream:
-
Warm Apple Crisp: Hot and cold together? Always a win.
-
Gingersnap Ice Cream Sandwiches: Scoop it between two cookies. Boom. Fancy.
-
Affogato Style: Pour a hot espresso shot over a scoop. Fall latte vibes but make it dessert.
-
Pumpkin Pie on Steroids: A scoop right on top of a slice of pie? Yes. Just yes.
-
Whipped Cream & Caramel: Because there’s no such thing as too much topping.
Frequently Asked Questions:
Can I make this without an ice cream maker?
You can, but it’s gonna be a bit more rustic. Pour the mix into a shallow dish, freeze it, and stir every 30 minutes for a few hours. Will it be exactly the same? Maybe not. But it’ll still taste amazing.
Can I use fresh pumpkin instead of canned?
For sure. Just make sure it’s well-drained and not watery. Canned pumpkin is just way more convenient (and consistent), but if you’ve got a roasted pumpkin sitting around, go for it.
Will the gingersnaps stay crunchy?
Most of them, yes. By adding them right at the end of churning, they’ll hold their snap. Some bits will soften a little in the freezer, but honestly, it’s kind of nice having both textures.
Alright, now it’s your turn. Are you going to give this Pumpkin Gingersnap Ice Cream a try? I’d love to know if you become as obsessed as I am. I’m warning you though—it might just replace pumpkin pie on your Thanksgiving table. But hey, that’s not a bad problem to have, right?
Keep the Flavor Coming – Try These:
Pumpkin Gingersnap Ice Cream
Ingredients
- 2 large eggs
- 3/4 cup granulated sugar
- 2 cups heavy whipping cream
- 1 cup whole milk
- 1 cup canned unsweetened pumpkin puree
- 1 teaspoon ground nutmeg
- 1 teaspoon ground cinnamon
- 2/3 cup coarsely chopped gingersnap cookies
Instructions
Prepare the Custard Base
- In a large mixing bowl, whisk the eggs vigorously until they are light and fluffy, approximately 1 to 2 minutes. Gradually add the sugar, whisking continuously to ensure it is fully incorporated. Continue whisking for an additional minute until the mixture is smooth and slightly thickened.
Incorporate Dairy Ingredients
- Pour the heavy whipping cream and milk into the egg-sugar mixture. Whisk until the mixture is well blended and smooth, forming the base of the ice cream.
Blend Pumpkin and Spices
- In a separate bowl, combine one cup of the prepared cream base with the pumpkin puree, ground nutmeg, and ground cinnamon. Stir until the pumpkin and spices are thoroughly incorporated and smooth. Return the pumpkin mixture to the remaining cream base and whisk to blend evenly.
Chill the Mixture
- Cover the bowl with plastic wrap and place it in the freezer for approximately 30 to 60 minutes, or until the mixture is thoroughly chilled to around 40°F (4°C).
Churn the Ice Cream
- Pour the chilled mixture into an ice cream maker and churn according to the manufacturer’s instructions, typically 25 to 30 minutes, until the ice cream reaches a soft-serve consistency.
Add Gingersnap Cookies
- During the final 2 minutes of churning, gradually add the coarsely chopped gingersnap cookies, allowing them to incorporate evenly into the ice cream.
Freeze Until Firm
- Transfer the ice cream to an airtight container, smoothing the surface. Place in the freezer and allow it to firm up for at least 3 hours before serving.
Notes
I’m Bitty, owner of nodashofgluten.com, where I share simple, delicious recipes for all tastes, including gluten-free. Check out my “About Me” page for more info!