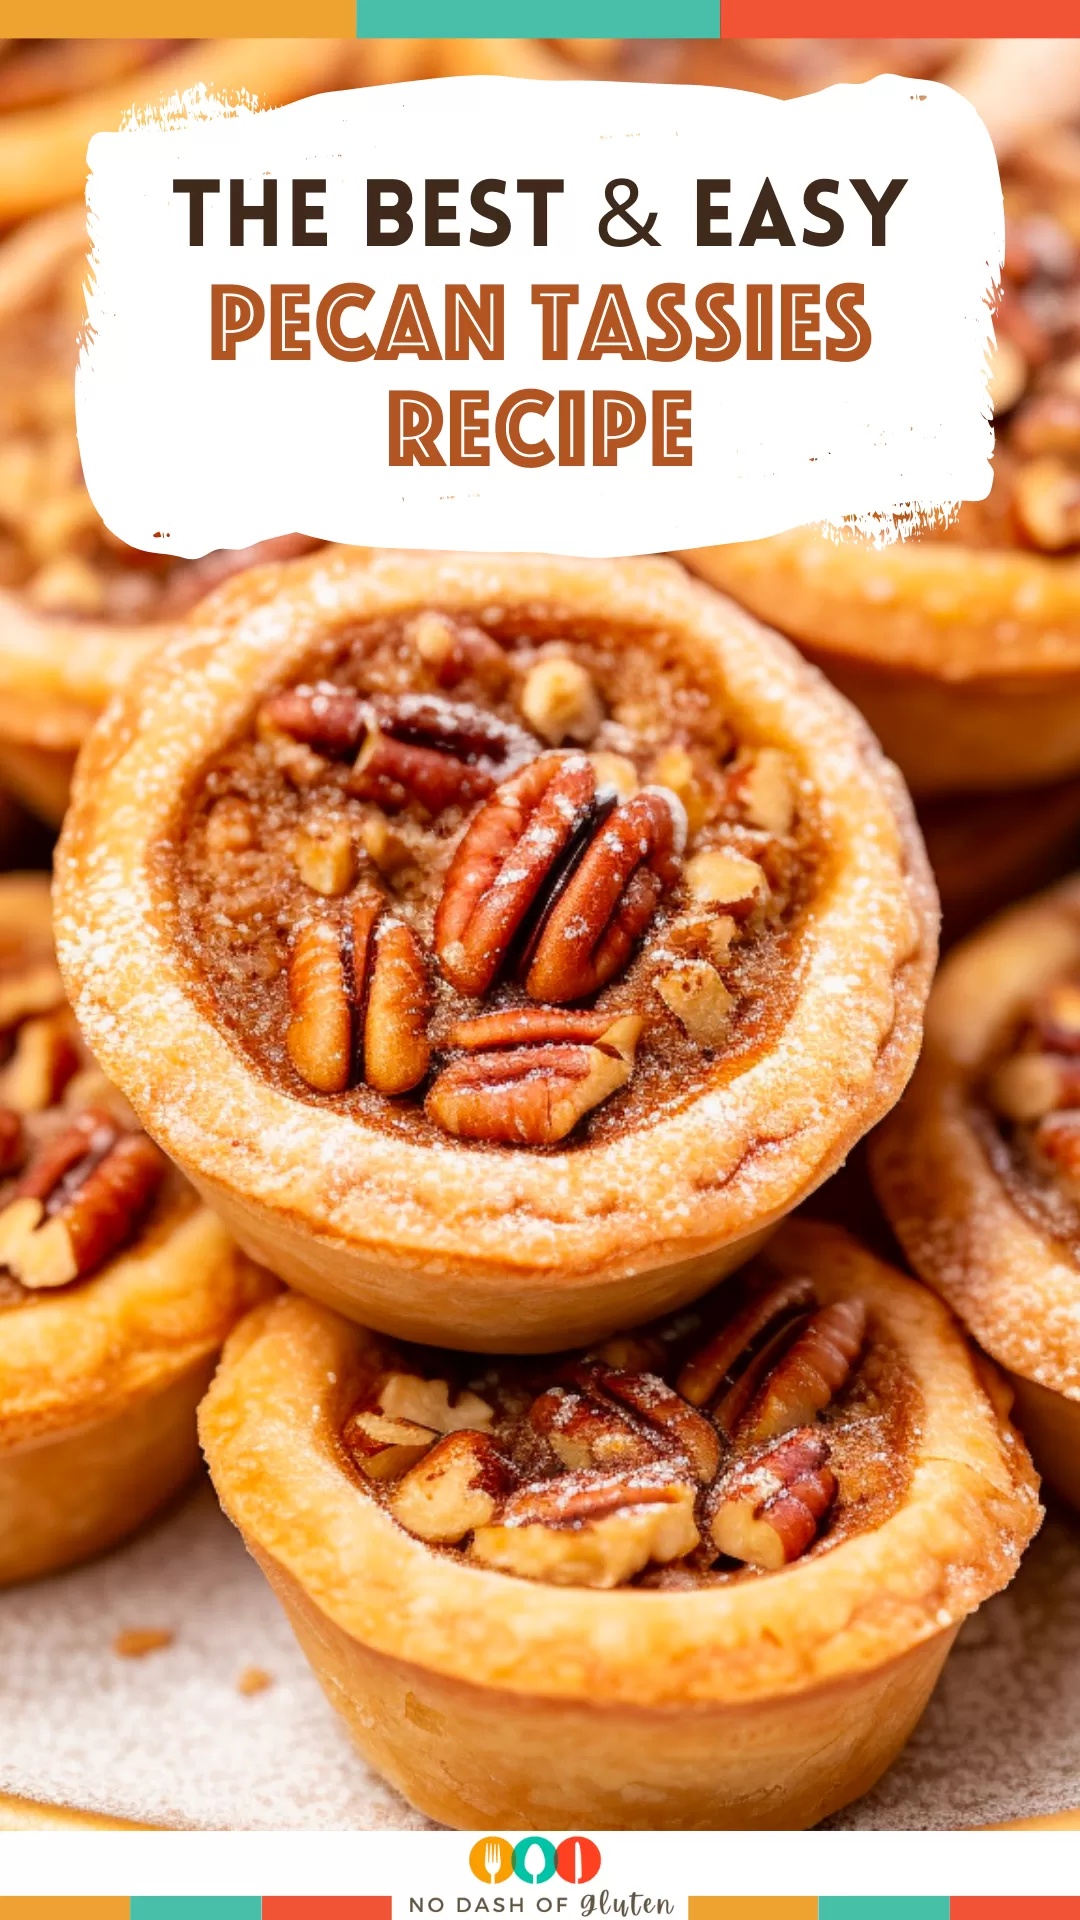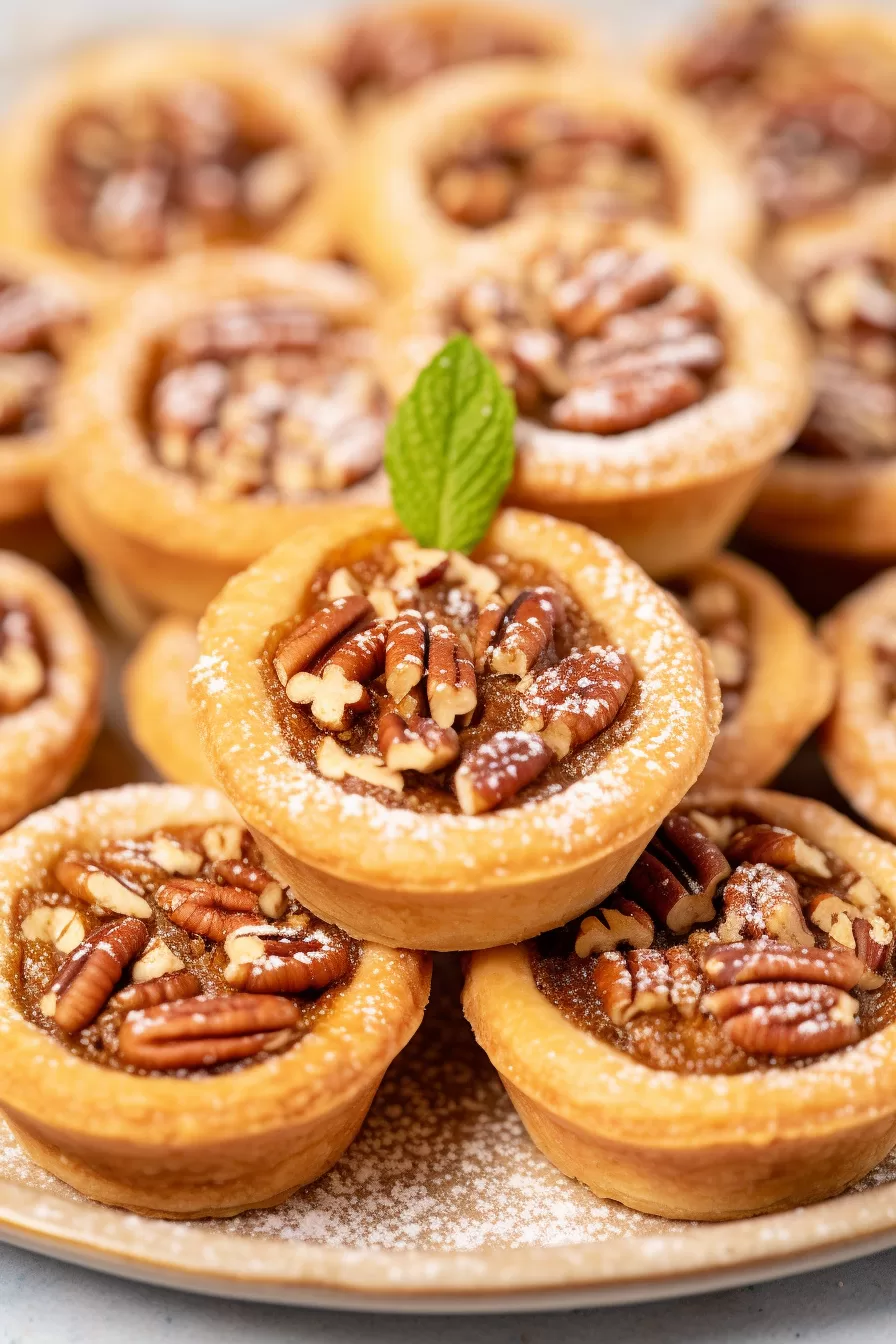
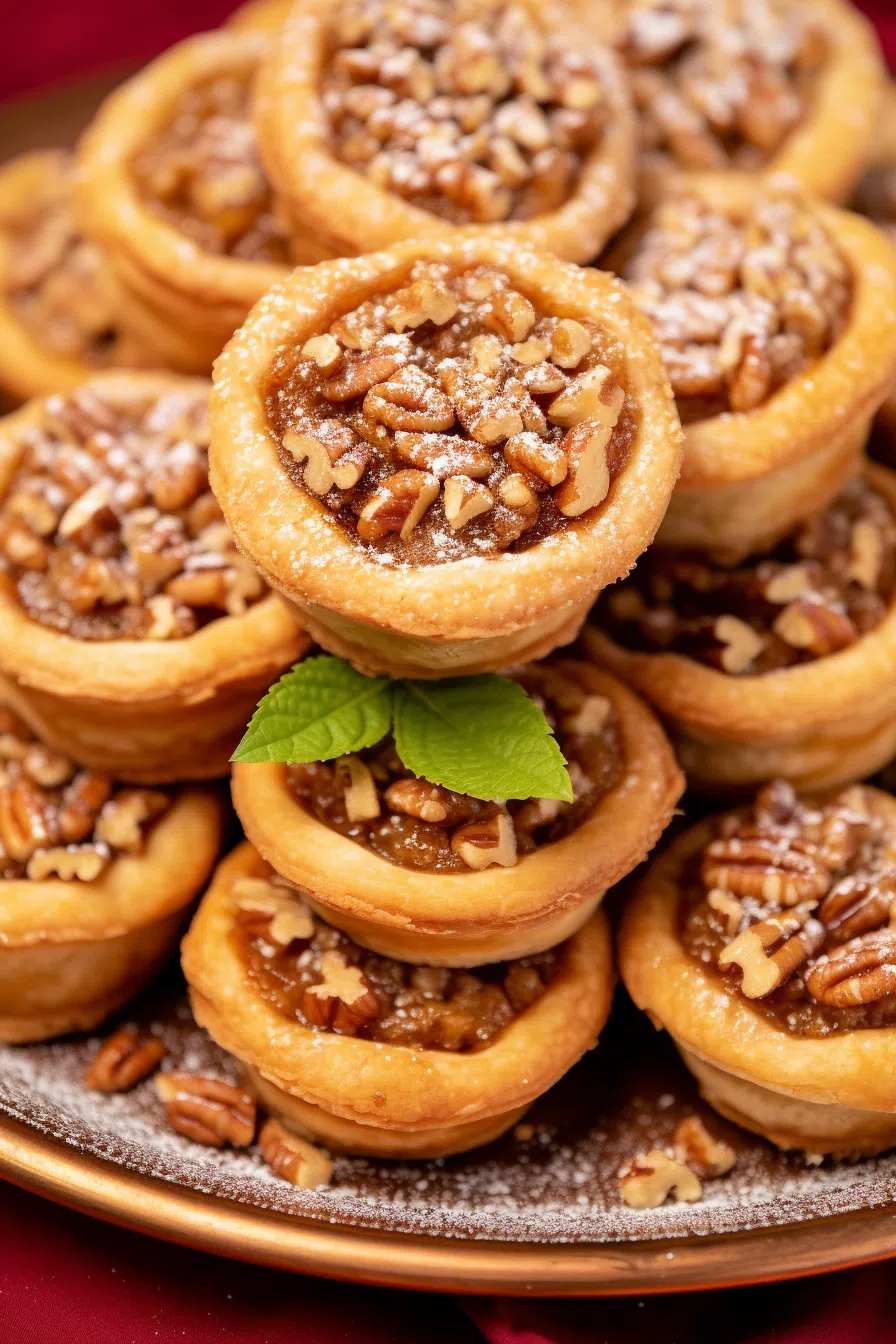
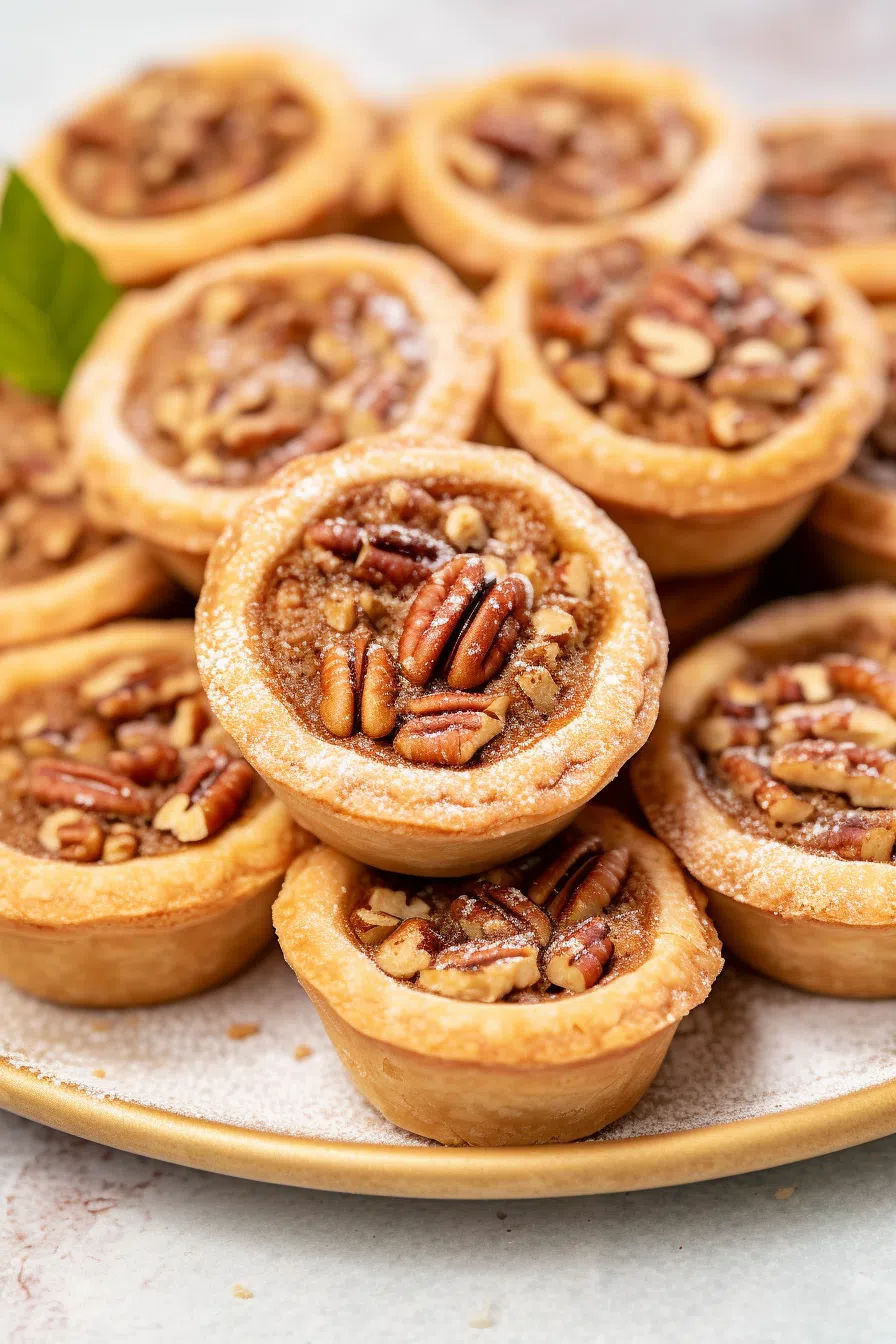
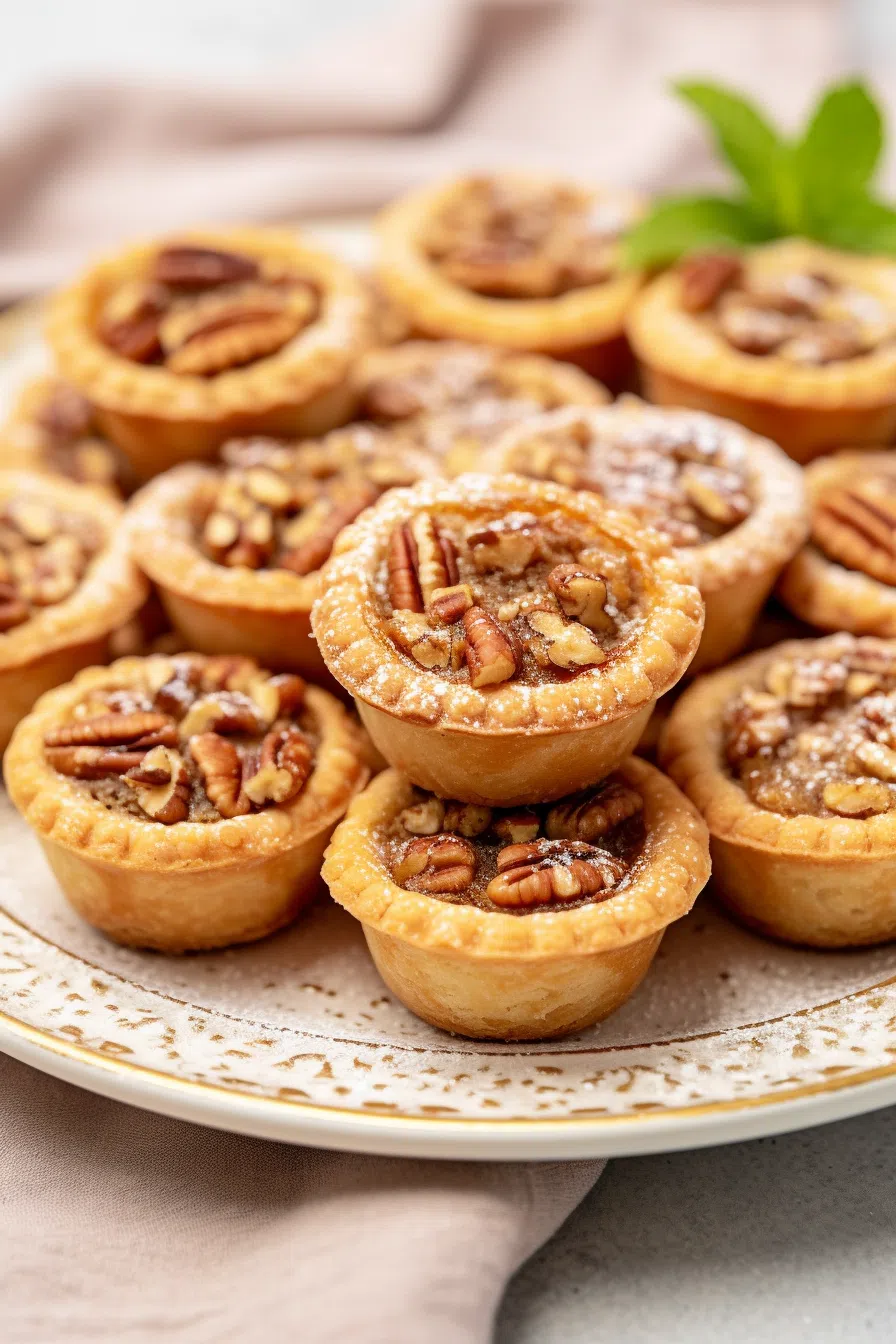
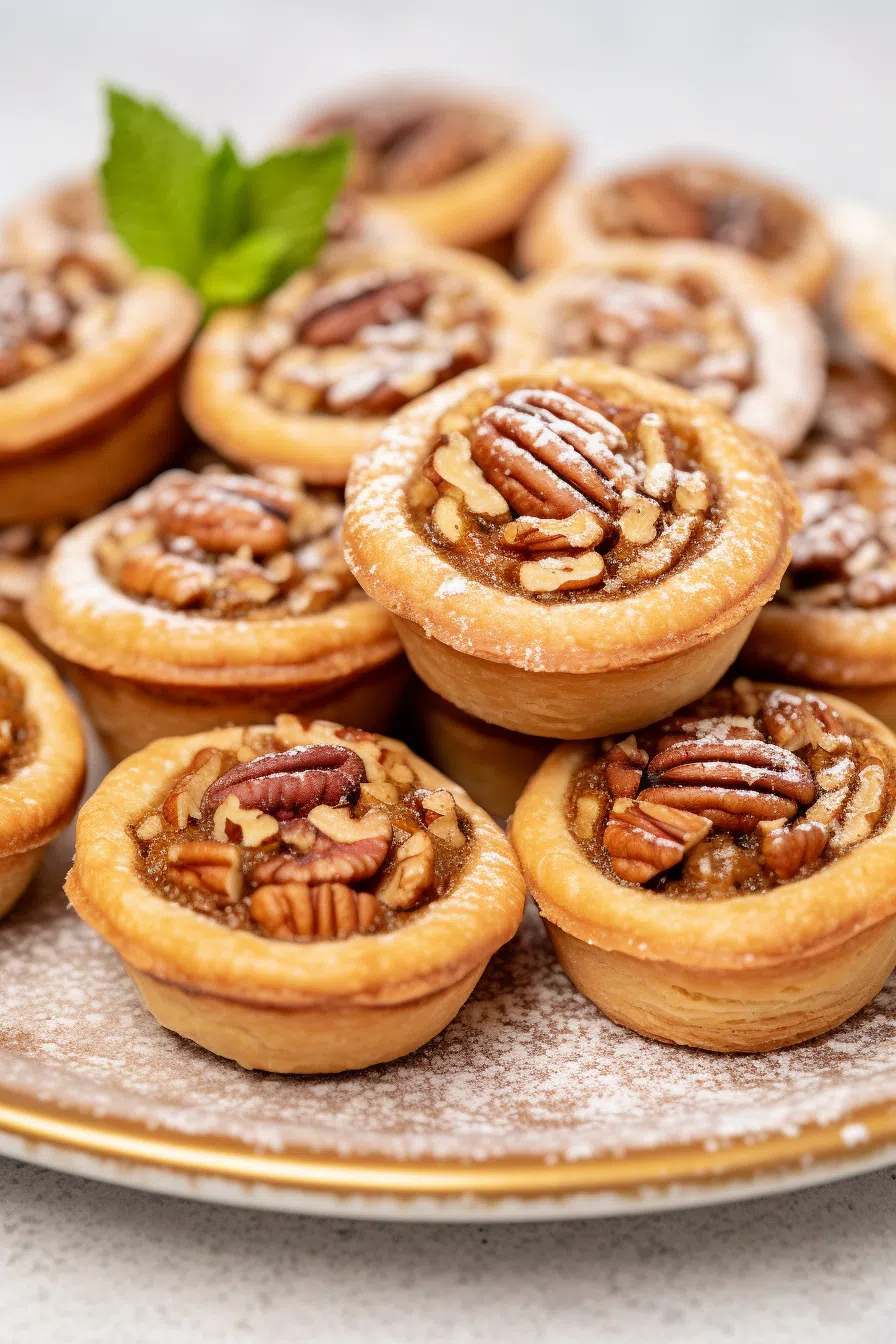
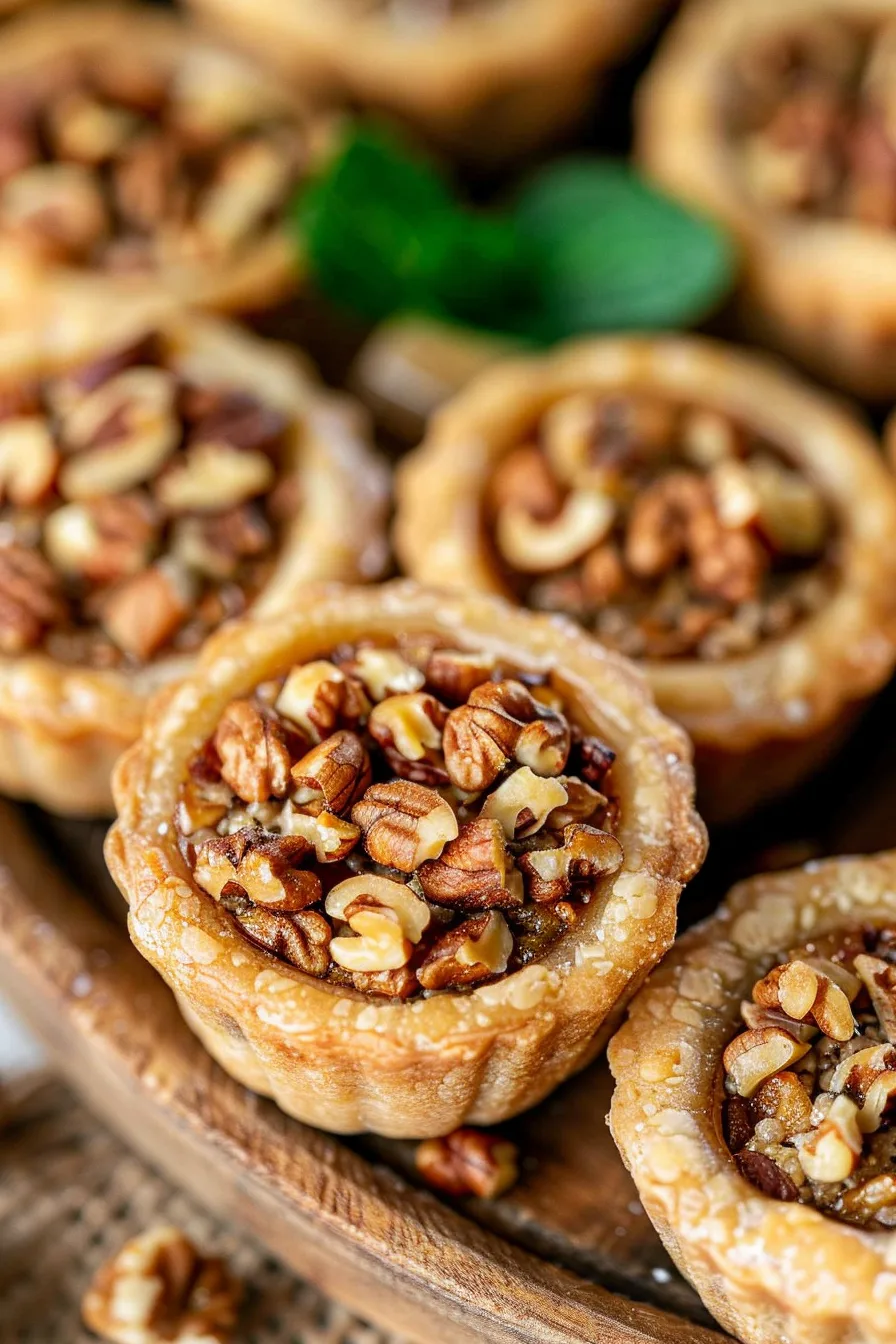
Buttery cream cheese pastry, gooey brown sugar filling, and toasted pecans make this Pecan Tassies Recipe a bite-sized classic!
Every year, right around Thanksgiving, my grandma used to bring out this old, stained recipe card—the kind where you can barely read the writing because it’s smudged with who-knows-what from years gone by. That’s where this Pecan Tassies Recipe came from.


I remember sitting at the kitchen table while she patiently pinched those tiny dough cups into a battered muffin tin. She’d let me fill them, even though I was heavy-handed and usually made a mess. Didn’t matter. I felt like I was doing something important. Now, every time I bake these little guys, I get a whiff of cinnamon and toasted pecans and I’m back in her kitchen, flour on my nose, sneaking bites of the filling. Oops.
If you’ve never made these before, get ready. They’re basically mini pecan pies, but honestly? Better. You pop them in your mouth, and it’s like sweet, nutty, buttery heaven.
Why You’ll Love This Pecan Tassies Recipe?
I could ramble on, but I’ll keep it real simple. Here’s why you need this recipe in your life:
-
Easy, Breezy, Impressive.
They look fancy. People think you slaved over them. But they’re actually stupid easy to make. (Shhh, I won’t tell if you won’t.) -
Perfectly Portable.
They’re small. No fork, no plate. Just grab one (or five) and go. Ideal for cookie swaps or sneaking from the fridge at 11 p.m. -
Flavor Bomb.
Cream cheese pastry? YES. Gooey brown sugar filling with toasted pecans? Double YES. They’re rich, sweet, and have that magical nutty crunch. -
Holiday Must-Have.
These belong on every holiday dessert table. End of story.

Ingredient Notes:
I’m all for using ingredients that work—and here’s the breakdown on why these guys belong in your mixing bowl.
For the Shells
- Cream Cheese (6 oz, softened): Gives the dough that crazy tender, flaky texture that pie crust dreams of having.
- Butter (⅔ cup, softened): Because… butter. ‘Nuff said.
- All-Purpose Flour (2 cups): Holds everything together while keeping the pastry light.
- Cinnamon (1½ tsp): Optional, but adds this cozy little warmth that makes them sing. Like, holiday sing.
For the Filling
- Brown Sugar (¾ cup, packed): That deep molasses-y flavor gives the filling its caramel vibe.
- Karo Syrup (⅓ cup): Keeps it gooey and shiny. Don’t skip it.
- Unsalted Butter (1 tbsp, melted): Because more butter makes everything better.
- Salt (⅛ tsp): Just a pinch to balance the sweet.
- Egg (1 large, lightly beaten): Helps everything hold together without being custardy.
- Vanilla Extract (1 tsp): Rounds out the flavor like a warm hug.
- Toasted Pecans (¾ cup, chopped): Toast them. Trust me. It wakes them up and makes them pop.
How To Make Pecan Tassies?
Let’s break it down, because no one likes vague instructions.
Step 1: Get That Dough Going
Beat your softened cream cheese and butter together until they’re smooth—no chunks! Slowly add in the flour and cinnamon. The dough will look soft but should hold together. Wrap it in wax paper (or plastic wrap if you can’t find wax paper like me last weekend) and chill it for at least two hours. Overnight is fine too if life gets in the way.
Step 2: Shape Those Little Cups
Roll the dough into 48 small balls. This sounds like a lot. It is. I usually lose count and have to start over—don’t be me. Drop them into mini muffin tins (greased!) and press them into little cups with your thumb. If your thumb’s tired, the back of a spoon works. Kind of.
Step 3: Make That Filling Magic
Mix your brown sugar, karo syrup, butter, salt, egg, vanilla, and chopped pecans. It should look sticky and smell amazing. If you’re tempted to eat a spoonful… well, I’m not judging.
Want To Save This Recipe?
Step 4: Fill and Bake
Spoon the filling into the shells. Don’t overfill or you’ll end up with a sticky mess (been there). Bake at 325°F for about 25 minutes. They’ll puff a bit and look golden.
Step 5: Cool Down
Let them sit in the pan for 5-10 minutes before trying to take them out. Patience, my friend. Then move them to a wire rack to cool completely—or eat one warm if you can’t wait. Again, no judgment.
Storage Options:
I try to save these for later, but good luck if you have people around.
- Room Temp: 3 days, in an airtight container.
- Fridge: Up to a week. I love them cold with coffee.
- Freezer: Yep! Freeze for up to 3 months. Defrost on the counter when the mood strikes (aka often).
Variations and Substitutions:
I’m all for playing with your food. Here are a few ideas if you’re feeling adventurous:
- Walnuts Instead of Pecans: Not traditional, but totally works.
- Maple Syrup Instead of Karo: For a deeper, woodsy sweetness.
- Add Chocolate Chips: Because why not? Mini chips in the filling are chef’s kiss.
- Bourbon in the Filling: Just a splash. Adults only, but it’s so good.
What to Serve with Pecan Tassies?
These cuties go with… everything. But here are my faves:
- Coffee (Hot or Iced): Balances the sweet.
- Mulled Wine: Festive and cozy.
- On a Dessert Platter: Pair them with fudge, truffles, or shortbread.
- Ice Cream: Warm tassies + vanilla ice cream = a match made in heaven.
Frequently Asked Questions:
Can I make these ahead of time?
Absolutely. I usually make the dough the night before and bake them the next day. They also freeze like a dream!
Do I have to toast the pecans?
No… but you should. It’s the difference between “meh” and “WOW.”
Can I use store-bought pastry?
Mmm… not for these. The cream cheese pastry is what makes them special. Pinky promise it’s worth the extra step.
So there you have it—my tried-and-true Pecan Tassies Recipe. They’re sweet little pockets of joy, and I can’t wait for you to bake them. Have questions? Got your own twist on tassies? Drop a comment! I’d love to hear from you.

Keep the Flavor Coming – Try These:
Pecan Tassies Recipe
Ingredients
Shells:
- 6 ounces cream cheese softened
- ⅔ c butter softened
- 2 c all-purpose flour
- 1½ teaspoon cinnamon
Filling:
- ¾ c firmly packed brown sugar
- ⅓ c karo syrup
- 1 Tablespoon unsalted butter melted
- ⅛ teaspoon salt
- 1 large egg lightly beaten
- 1 teaspoon vanilla extract
- ¾ c finely chopped pecans toasted
Instructions
For the Shells:
- Beat the cream cheese and butter until they turn creamy.
- Gradually add flour and cinnamon mixing until blended.
- Wrap the dough, in wax paper. Let it chill in the refrigerator for 2 hours.
- Shape the dough into balls 48 in total. Place them in greased muffin pans shaping each ball into a shell form.
For the Filling:
- Preheat your oven to 325°F (163°C).
- In a bowl combine sugar, karo syrup, melted butter, salt, beaten egg and vanilla extract. Mix them together until they are well combined.
- Stir in the chopped toasted pecans into the mixture.
- Spoon the filling into each dough shell.
- Bake, for around 25 minutes. Until the filling sets.
- Allow the tassies to cool slightly while still in their pans. Then transfer them onto a wire rack to cool completely.
Notes
I’m Bitty, owner of nodashofgluten.com, where I share simple, delicious recipes for all tastes, including gluten-free. Check out my “About Me” page for more info!