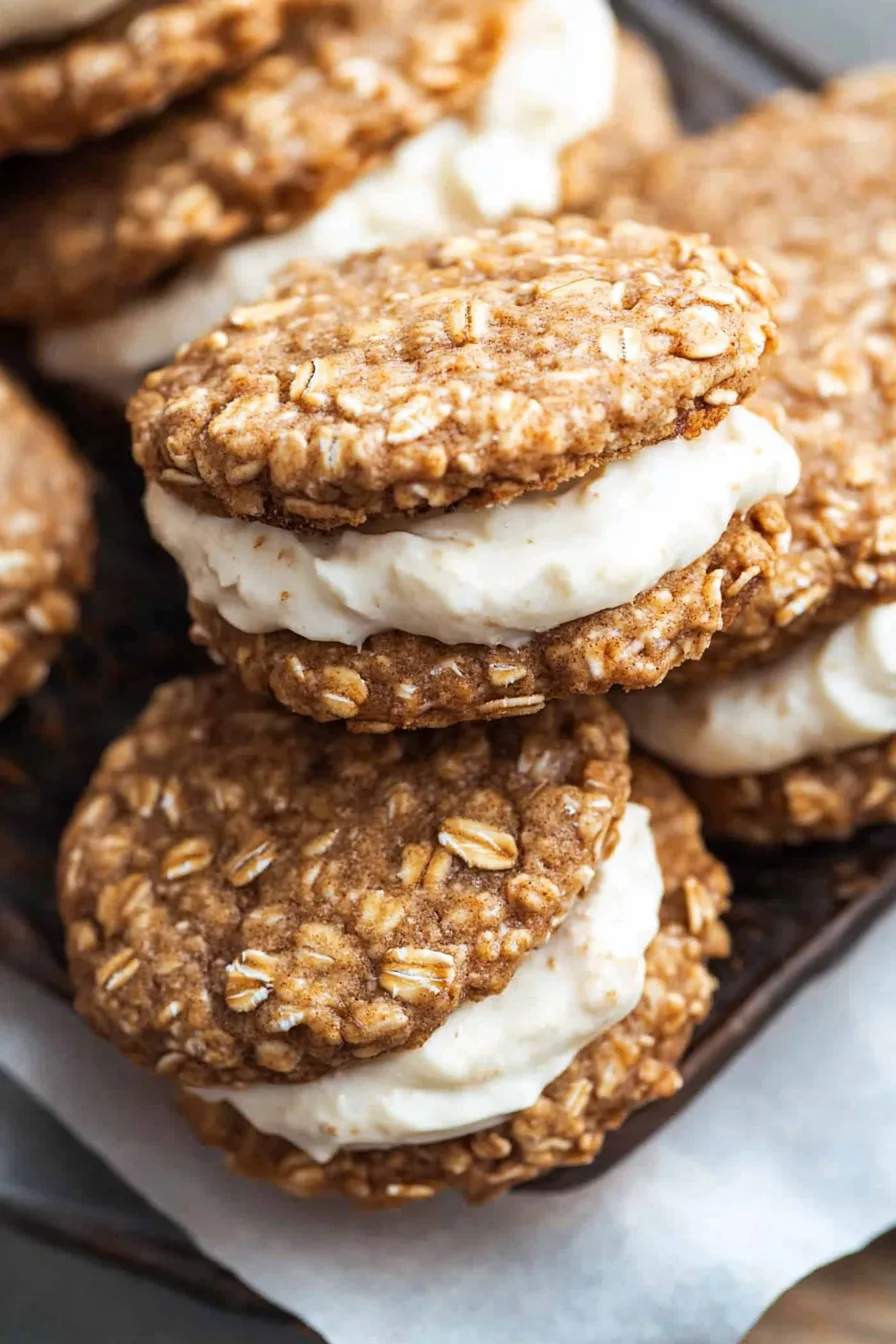
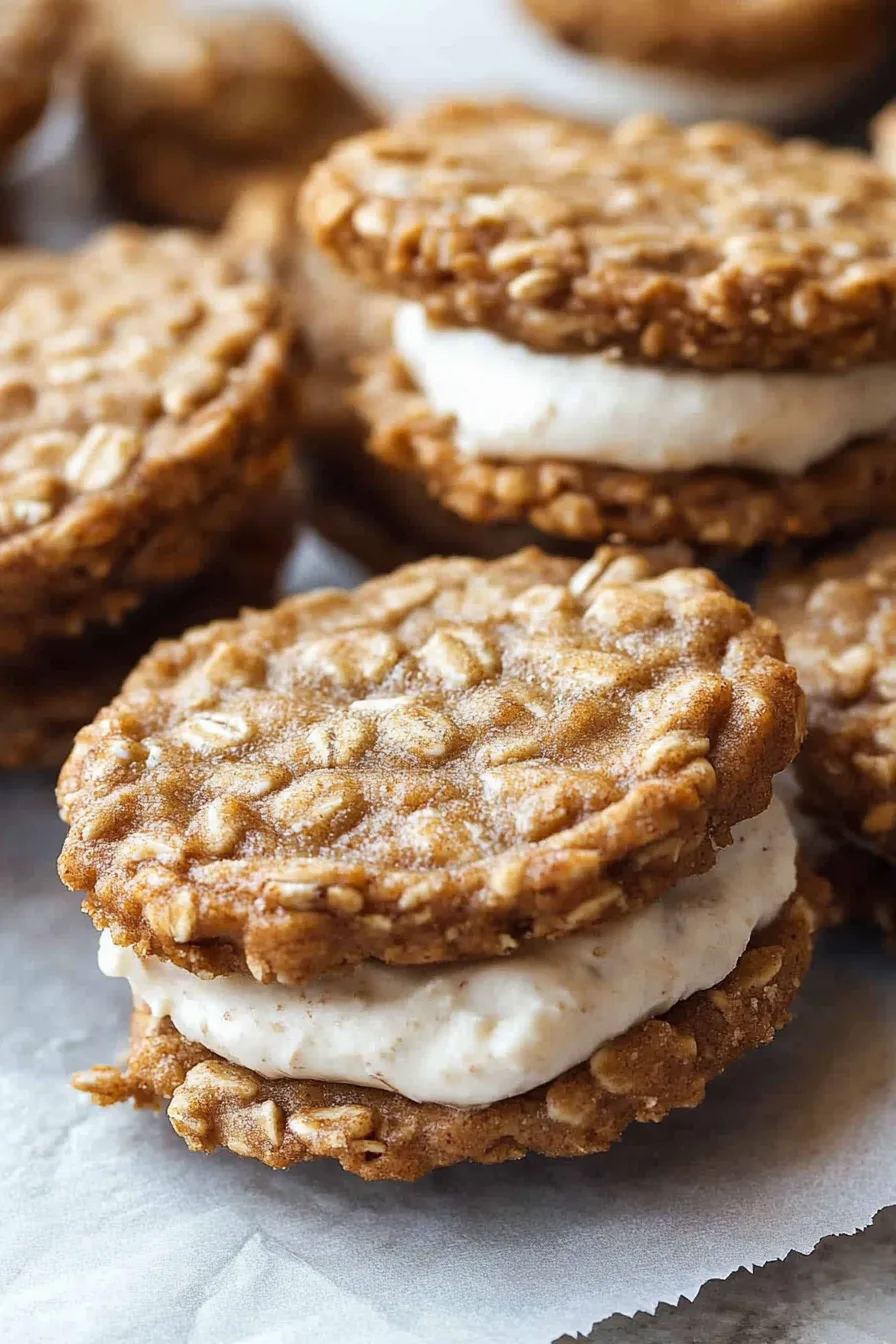
Soft oatmeal cookies with brown sugar, oats, cinnamon, and a marshmallow filling that’ll take you straight back to childhood.
There are some days I wish I could go back to my lunchbox years, you know? Back when recess was the best part of my day and dessert was always one of those plastic-wrapped oatmeal creme pies tucked lovingly (or hastily) into the corner of a brown paper sack.


I’ll be honest—those pies? They weren’t fancy. But dang, were they good. Sticky, squishy, and always just a little too sweet, in the best way. Fast-forward to a few weeks ago, I had a serious craving. Not for just any cookie… I wanted that cookie. The one with the soft oatmeal base and fluffy marshmallow center. But here’s the thing—I wanted it without the waxy aftertaste and the ingredient list that reads like a chemistry test.
So I got to work. The kitchen got messy, I got emotional (like, weirdly emotional), and somewhere between taste tests and flour clouds, I nailed it. These homemade oatmeal creme pies—they’re soft, tender, nostalgic as heck, and just chaotic enough to feel like a warm hug from 1998.
Why You’ll Love This Oatmeal Creme Pies Recipe?
Let’s be real for a second: most copycat recipes claim to be better than the original. I’m not making that promise. What I will say is that these creme pies feel… truer. They taste homemade, sure, but in that almost-messy, dangerously good, way-too-many eaten in one sitting kind of way.
The cookies are rich with brown sugar and oats. There’s cinnamon and a smidge of cocoa—just enough to make your taste buds pause and go, “Oh, hello there.” Then comes the filling. It’s marshmallow-y, soft, and a little sticky, like your fingers should be afterward. I mean, isn’t that half the fun?
Also, they don’t come out perfectly round. Mine looked like fraternal twins. A little wonky. But they tasted like something you’d want to wrap in foil and sneak into your purse. For emergencies, of course.

Ingredient Notes:
Look, you could probably guess most of this, but I’ll give you the real-deal rundown—and what makes each one matter.
-
Butter: I always use unsalted because I like to boss the salt around myself. Room temp is key. Cold butter = broken mixer and sadness.
-
Brown Sugar + White Sugar: Brown brings the chew, white gives it that edge. I don’t mess with that balance.
-
Eggs: Room temp if you can swing it. Otherwise, dunk them in a warm water bath while you prep. (A weird tip, but it works.)
-
Vanilla: Good vanilla makes a difference, but use whatever you have. I’ve done this with grocery store brand and lived to tell the tale.
-
Flour + Quick Oats: Quick oats are non-negotiable. Rolled oats make it too chewy in a weird way—like oat jerky. Trust me.
-
Cinnamon + Cocoa Powder: Sounds odd, right? But that tiny spoonful of cocoa deepens the cookie flavor. You won’t taste chocolate, just depth.
-
Shortening, Marshmallow Creme, Powdered Sugar: For that nostalgic, store-bought texture in the filling. Butter’s great, but it won’t give you the snap-back squish you want here.
-
Milk: Just a splash. Eyeball it. If the filling’s too stiff, add a bit more. If it’s too runny… well, you’ve made marshmallow glaze, which, honestly, sounds delicious too.

How To Make Oatmeal Creme Pies?
Step 1: Start with the Cookie Dough
Cream the butter and sugars until it looks like fluffy sand. Not dry sand—like, wet beach sand when it’s just firm enough to build castles with. Add your eggs (one at a time!) and splash in the vanilla. It’ll smell so good at this point, you’ll want to stick a spoon in and call it a day. Don’t. Yet.
Step 2: Dry Stuff Meets Wet Stuff
In a separate bowl (or the same bowl, if you’re living dangerously), whisk together the flour, oats, cinnamon, cocoa, baking soda, and salt. Add it to the butter mixture and stir until it all comes together in one cozy blob.
Step 3: Let it Chill
Literally. Pop the bowl in the fridge for 15 minutes. This part is annoying when you’re hungry, but skipping it makes the cookies spread too much. So… chill.
Step 4: Scoop and Bake
Drop tablespoon-sized scoops on a lined baking sheet. They don’t need to be perfect. They just need space—give them an inch or so to puff and spread. Bake at 350°F for about 10–12 minutes. You’re going for just golden on the edges, soft in the middle.
Step 5: Cool It
Let them sit on the tray for a couple minutes, then transfer to a wire rack to cool. I know you’re tempted to fill them right away, but the filling will melt and slide everywhere. Been there. Messy. Tasty, but messy.
Step 6: Filling Time
Want To Save This Recipe?
Mix the shortening and marshmallow creme until it looks like whipped clouds. Add the powdered sugar, vanilla, and milk and beat it until it’s light and dreamy. Don’t overthink it. Taste it. Adjust if you want. Make it yours.
Step 7: Assemble and Admire
Flip half your cookies over. Dollop some filling on the flat side, then top with another cookie. Press just enough to get that marshmallow peeking out the edges. Then—important—chill them again for 30 minutes so they hold together. If you can wait that long, you deserve two.

Storage Options:
If, by some miracle, you don’t eat all of these in 24 hours (I couldn’t), here’s how to keep them from turning sad:
-
Fridge: Airtight container for up to 5 days. They’ll firm up a bit but stay chewy and good.
-
Freezer: Wrap ’em individually and freeze in a zip bag. They’ll keep for a couple months. Thaw in the fridge or, honestly, on the counter while you make coffee. I’ve done both.
Variations and Substitutions:
There’s no law that says you have to follow this exactly. Want to riff? Here’s how I’ve messed with the recipe—and lived to tell the tale:
-
Buttercream instead of marshmallow? Sure! It’s a little sweeter, but still dreamy.
-
Chocolate chips in the dough? Yes. Always yes.
-
Make it gluten-free with a 1:1 GF blend and certified gluten-free oats. Texture changes a bit, but not in a bad way.
-
Spice it up: Try cardamom or pumpkin spice instead of cinnamon for seasonal vibes.
-
Use honey or maple in the filling instead of milk. It changes the flavor, but it’s so good if you like things on the earthy-sweet side.

What to Serve with Oatmeal Creme Pies?
You can 100% eat these on their own. But if you’re feeling extra, try this:
-
With milk. Obviously. These were made for dunking.
-
Hot coffee or espresso. That contrast of bitter and sweet? YES.
-
Next to vanilla ice cream. Dessert sandwich? Dessert mountain? You do you.
-
With a side of fresh fruit. To pretend you’re being balanced.
-
Crumbled on yogurt. Sounds weird. Isn’t.
Frequently Asked Questions:
Can I freeze the dough instead of the cookies?
Totally. Scoop into balls and freeze on a tray, then toss in a freezer bag. Bake straight from frozen—just add a minute or two.
What if I don’t have marshmallow creme?
You could make your own… but let’s be real, I’d just grab the fluff from the jar. You can also use buttercream if you’re in a pinch.
Do I have to chill them before eating?
Nah. But chilling helps the filling set, which makes them easier to handle—and stack, if you’re feeling photogenic.

So… you gonna try these? I really hope you do. And if you end up tweaking the recipe—or accidentally licking half the filling out of the bowl like I did—tell me. I love hearing about those “oops-but-delicious” baking moments.
Keep the Flavor Coming – Try These:

Oatmeal Creme Pies
Ingredients
For the Cookies:
- 1 cup unsalted butter softened
- ¾ cup packed brown sugar
- ½ cup granulated sugar
- 1 teaspoon pure vanilla extract
- 2 large eggs
- 1½ cups all-purpose flour
- ½ teaspoon salt
- 1 teaspoon baking soda
- ¼ teaspoon ground cinnamon
- 1 tablespoon unsweetened cocoa powder
- 1½ cups quick-cooking oats
For the Creme Filling:
- ½ cup vegetable shortening
- 1½ cups marshmallow creme
- 2 cups powdered sugar
- 1 teaspoon pure vanilla extract
- 1 to 2 tablespoons milk
Instructions
- Preheat the oven to 350°F (175°C). Line baking sheets with parchment paper and set aside.
Prepare the cookie dough:
- In the bowl of a stand mixer fitted with the paddle attachment, cream together the butter, brown sugar, and granulated sugar until light and fluffy. Add the eggs one at a time, mixing well after each addition. Stir in the vanilla extract.
Mix the dry ingredients:
- In a separate bowl, whisk together the flour, salt, baking soda, cinnamon, cocoa powder, and quick oats. Gradually incorporate the dry mixture into the creamed mixture, mixing just until combined.
Chill the dough:
- Cover and refrigerate the dough for approximately 15 minutes to firm slightly.
Bake the cookies:
- Drop the dough by rounded tablespoons onto the prepared baking sheets, spacing each cookie about 1 inch apart. Bake for 10–12 minutes, or until the edges are lightly golden. Do not overbake.
Cool the cookies:
- Allow the cookies to cool on the baking sheet for 2 minutes before transferring them to a wire rack to cool completely.
Prepare the filling:
- In a clean mixing bowl, cream together the vegetable shortening and marshmallow creme until smooth. Add the powdered sugar, vanilla, and 1 tablespoon of milk. Beat on low speed for 1 minute. If needed, add an additional tablespoon of milk to achieve a spreadable consistency.
Assemble the creme pies:
- Once the cookies are fully cooled, turn half of them upside down. Spoon a generous tablespoon of filling onto the flat side of each. Top with the remaining cookies, pressing gently to spread the filling to the edges.
Set the creme pies:
- Place the assembled oatmeal creme pies in the refrigerator for 30 minutes to allow the filling to firm before serving.
Notes
I’m Bitty, owner of nodashofgluten.com, where I share simple, delicious recipes for all tastes, including gluten-free. Check out my “About Me” page for more info!