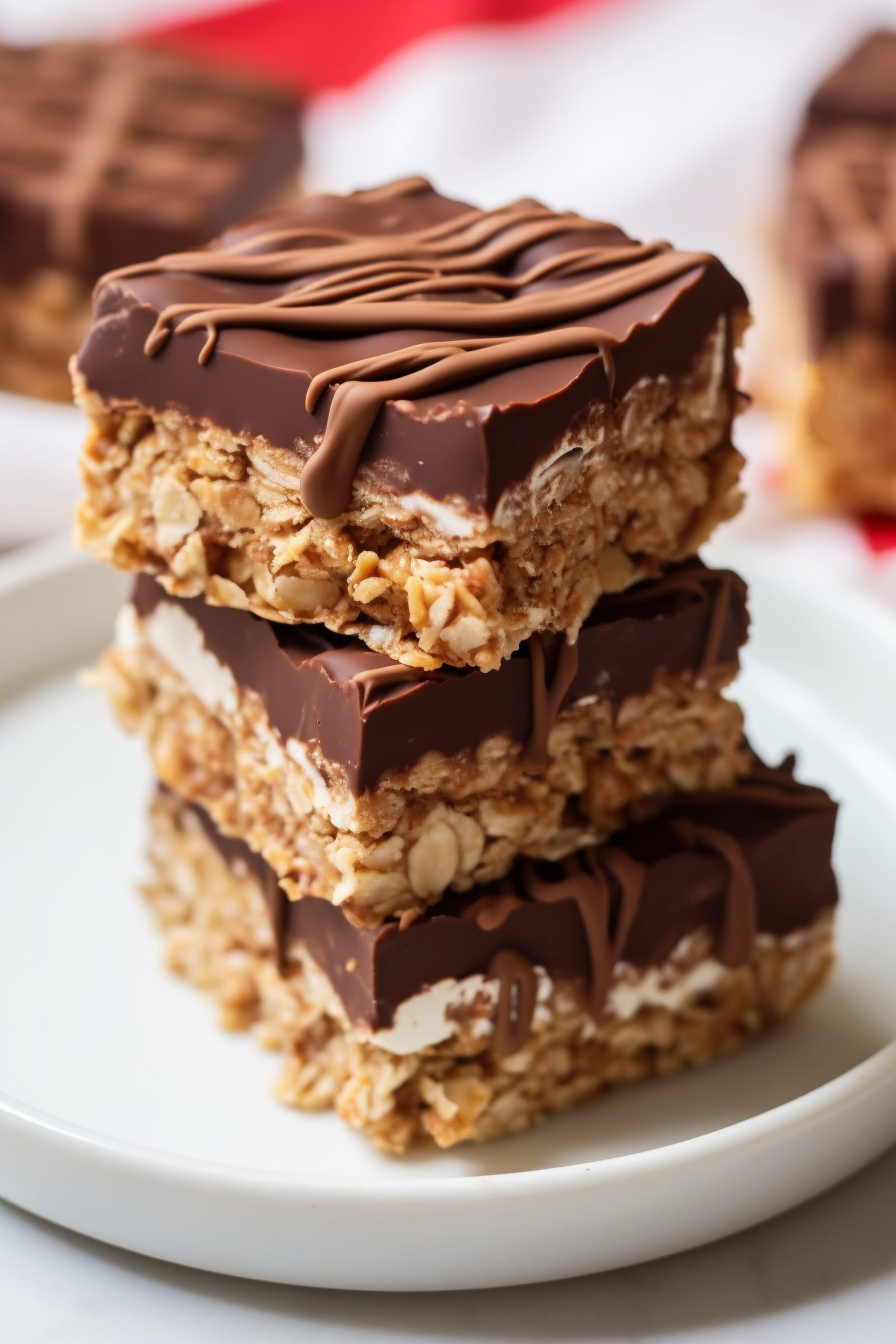
No Bake Chocolate Oat Bars – If you’re, in the mood for a dessert that’s both easy to make and incredibly tasty you’ve come to the right place. These No Bake Chocolate Oat Bars are a treat for anyone with a sweet tooth. They combine the goodness of oats, the richness of chocolate,
and the creaminess of peanut butter making them an absolute must-try. In over two hours you can whip up a batch of these bars that will leave your taste buds singing. So let’s delve into the world of No Bake Chocolate Oat Bars!
I can still vividly recall the first time I prepared these No Bake Chocolate Oat Bars. It was during a busy evening when my family was craving something for dessert. With a few ingredients at hand, I decided to give this recipe a shot. Little did I anticipate that these bars would instantly become our family’s all-time favorite treat. Both my husband and child couldn’t get enough of them. Now they have become an indulgence in our household. The best part is that there’s no need to bake them which makes them perfect, for those moments when you’re seeking an effortless dessert.
What makes this No Bake Chocolate Oat Bars truly special?
What sets these No Bake Chocolate Oat Bars apart is their simplicity and incomparable flavor. They are a dessert option that requires minimal preparation and no baking. The delightful blend of oats, semisweet chocolate chips and creamy peanut butter results, in a combination of textures and flavors. Moreover, you can personalize them by adding your preferred toppings or mix-ins. These bars exemplify the pleasure of making treats that are both easy to prepare and incredibly delicious ensuring you can satisfy your sweet tooth whenever it strikes.
What You Need To Make This No Bake Chocolate Oat Bars Recipe?
Butter: It’s best to use unsalted butter so you can control the saltiness of the bars. If you only have salted butter consider reducing the amount of salt in the recipe to balance the flavors.
Brown Sugar: Packed brown sugar is what gives this recipe its caramel sweetness. Make sure to pack the sugar into the measuring cup to get just the right level of sweetness.
Vanilla Extract: Adding vanilla extract enhances the flavor of the bars with a hint of vanilla. For flavor use pure vanilla extract.
Quick Cooking Oats: The star ingredient here is cooking oats. They provide a texture. Absorb that buttery sweetness to create an ideal oat base. You can substitute rolled oats if needed. Keep in mind that it might slightly affect the texture.
Semisweet Chocolate Chips: Opt, for high-quality semisweet chocolate chips for a decadent chocolate layer. Choose a brand that you really enjoy as it can make a difference in taste.
Creamy Peanut Butter: Creamy peanut butter adds a creaminess to the chocolate layer making it smooth and indulgent. If allergies are a concern there are alternatives, like almond or sunflower seed butter that you can explore.
Chocolate Chips (for drizzle): To add a touch of chocolatey goodness and create an eye-catching appearance you have the option to drizzle some additional chocolate chips over the top of your bars. Using the high-quality chocolate chips in the main layer will ensure a consistent flavor throughout.
Steps To Make No Bake Chocolate Oat Bars:
Step 1: Prepare a 9×9 inch pan by greasing it to prevent the ingredients from sticking and keep it aside.
Step 2: Take a pot and melt the unsalted butter, over low heat. Stir in the packed sugar and vanilla extract until you have a well-combined mixture. After that add the cooking oats. Cook them on low heat for a few minutes. This step ensures that the oats soak up all the buttery goodness.
Step 3: Pour half of this oat mixture into the greased pan. Press it down firmly using a spatula. This creates a base for your bars. Keep aside the remaining oat mixture for later use.
Step 4: In another pot slowly melt the semisweet chocolate chips and creamy peanut butter over low heat while stirring continuously. Be attentive as chocolate can melt quickly. Once you have a mixture pour it evenly over the oat layer in the pan. This rich chocolate peanut butter layer is what makes this recipe special.
Step 5: Evenly crumble the reserved oat mixture, over the chocolate layer while gently pressing it down. This will create a contrast of textures.
Step 6: For a finishing touch melt some chocolate chips and drizzle them over the top of your bars. Not only does this enhance their flavor with chocolate goodness but it also adds an appealing visual touch that gives your bars a professional look.
Step 7: Cover the pan. Put it in the refrigerator for a couple of hours so that the bars can set and become firm. Before serving let the bars come to room temperature so that they are easier to cut into shapes.
Step 8: Now comes the exciting part! These delicious No Bake Chocolate Oat Bars are perfect, for enjoying with your loved ones while sipping on a glass of milk.
Tip:
For an effortless slicing experience try running a knife under hot water prior, to cutting the chilled bars. The heat from the knife will assist you in achieving polished squares without any issues of sticking or crumbling. Remember to wipe the knife clean and reheat it as necessary between each cut, for best results. This easy trick guarantees that your bars will not only taste delicious but look visually appealing!
Frequently Asked Questions:
Can I use rolled oats instead of quick-cooking oats?
Sure you can definitely use rolled oats instead of cooking oats for this recipe. The only thing to keep in mind is that the texture might be slightly different. It should still work out fine.
Can I skip the peanut butter if I have a nut allergy?
Of course! If you or someone you’re serving has a nut allergy feel free to skip the peanut butter. The bars will still be delicious, with the chocolate and oats.
How long do these bars stay fresh?
If stored in an airtight container in the refrigerator these No Bake Chocolate Oat Bars can stay fresh for up, to a week. They also freeze well if you want to enjoy them later.
No Bake Chocolate Oat Bars
- Total Time: 2 hours 12 minutes
- Yield: 9 1x
Description
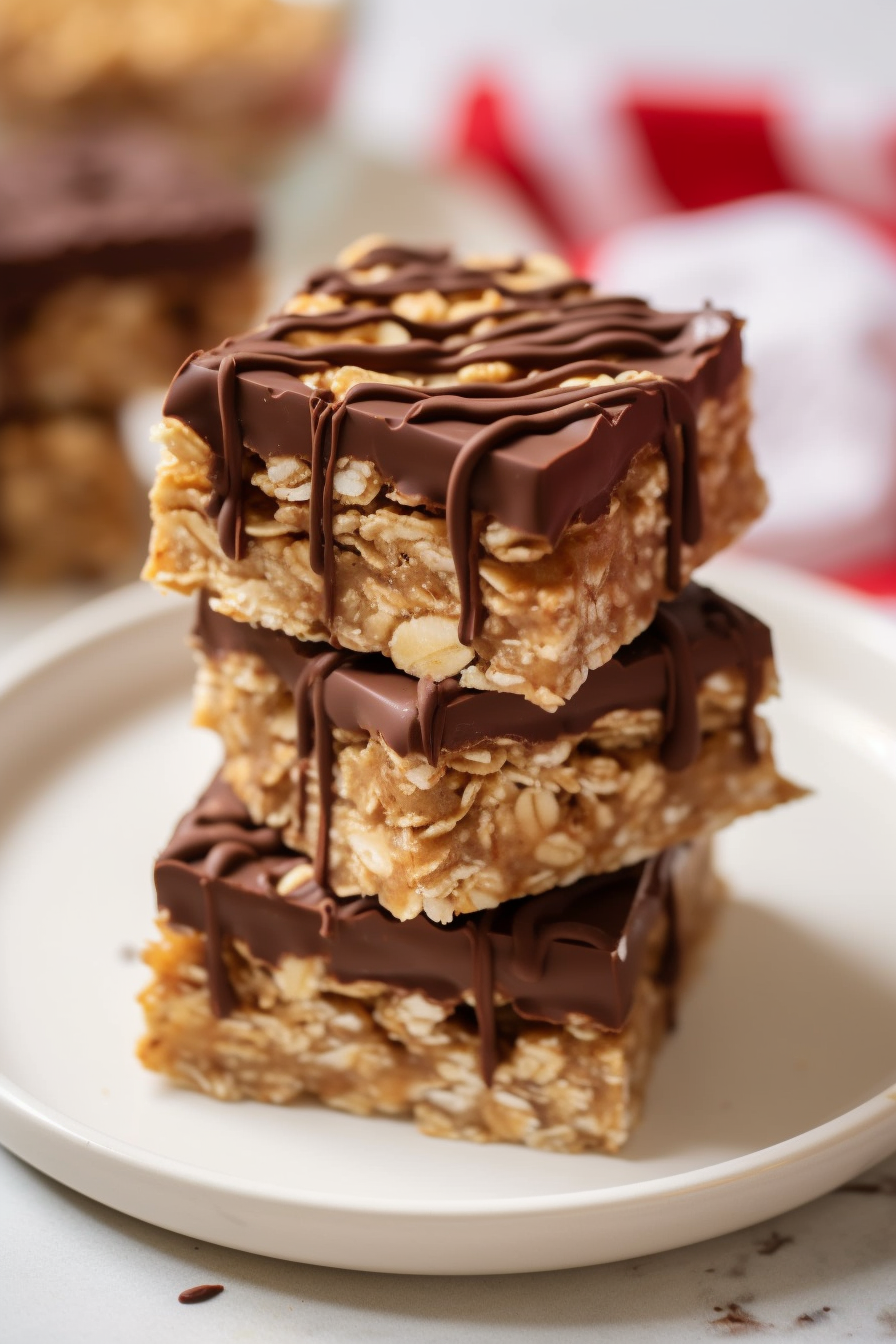
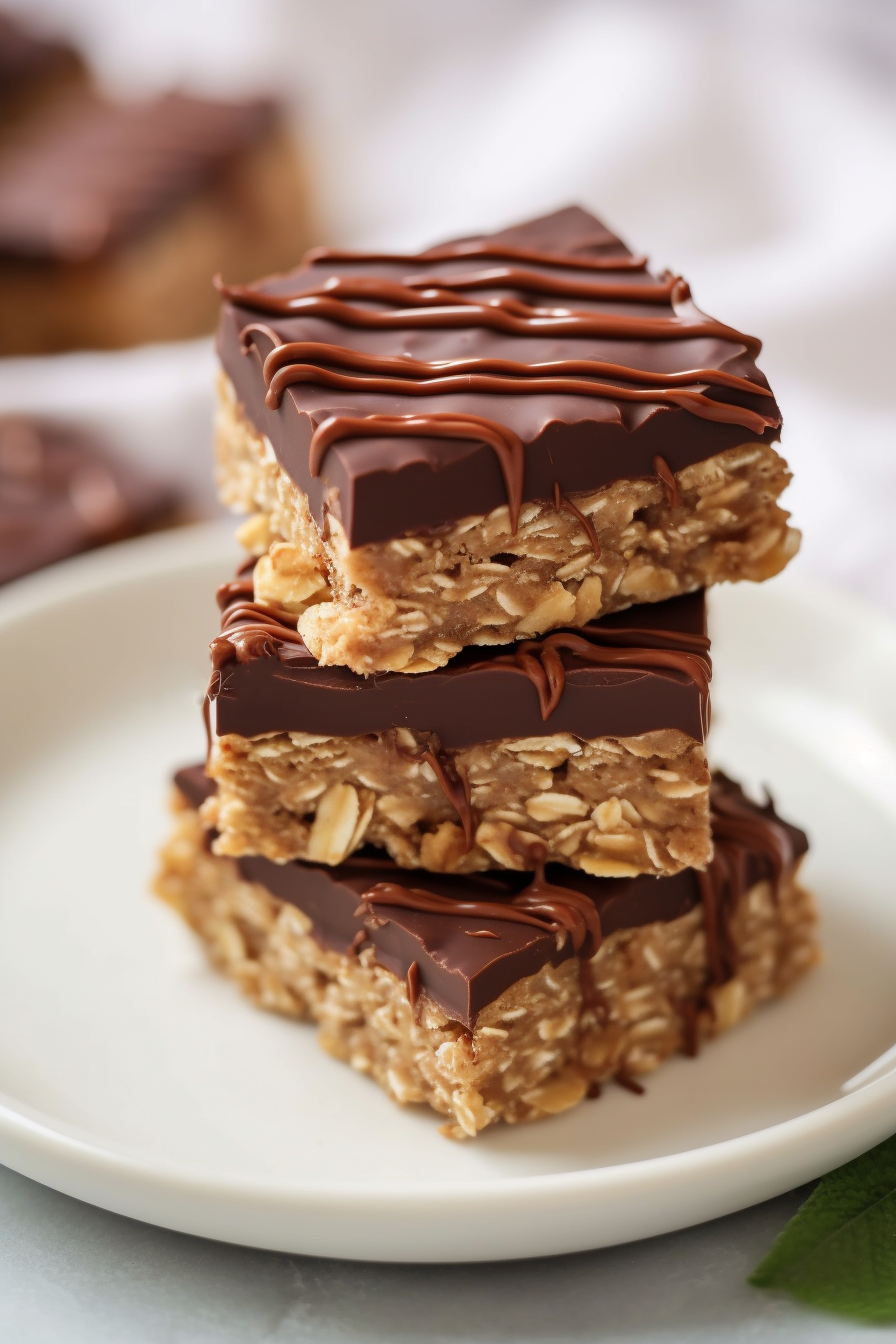
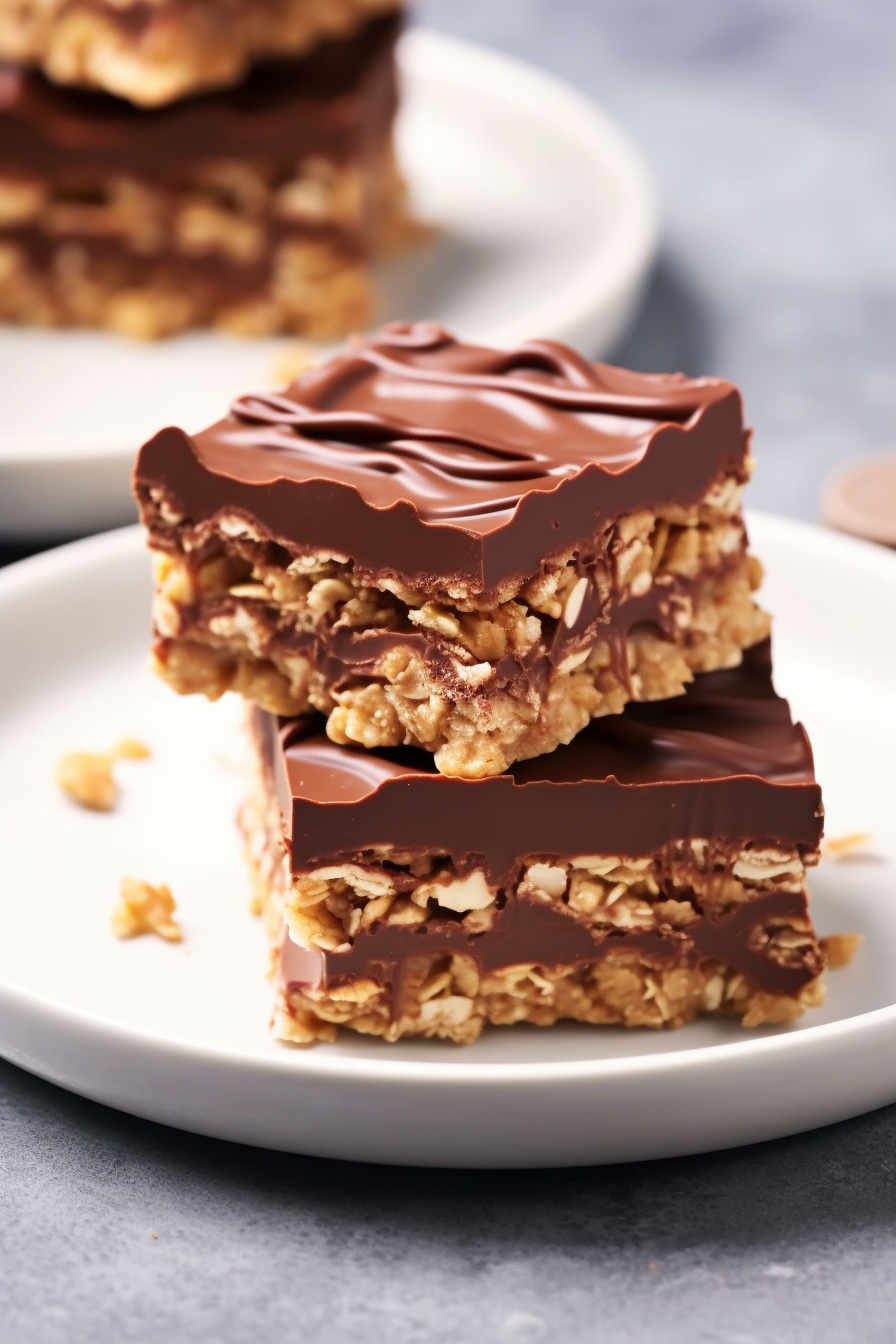
Experience the pleasure of our No Bake Chocolate Oat Bars! Picture this; a coating of velvety chocolate complemented by creamy peanut butter snuggled between two layers of oats imbued with a caramel-like brown sugar. These bars offer a consonance of sweet and savory providing a blend of textures and flavors. Here’s the best part. No need to turn on your oven! In over two hours you’ll have a batch of these tantalizing treats ready to impress. Whether you’re a baker or just starting out in the kitchen our No Bake Chocolate Oat Bars ensure dessert delight. They are perfect for indulging in cravings anywhere. So put on your apron. Let’s embark on a journey, into the world of desserts!
Ingredients
1 c. unsalted butter
1/2 c. packed brown sugar
1 teaspoon vanilla extract
3 c. quick cooking oats
1 c. semisweet chocolate chips
1/2 c. creamy peanut butter
Chocolate chips for drizzle
Instructions
Prepare a 9×9 inch pan by greasing it.
In a saucepan melt the butter. Then add the sugar, vanilla and oats. Cook this mixture for a period of time.
Take half of the mixture. Press it into the greased pan.
In another saucepan melt the chocolate chips and peanut butter together. Pour this mixture over the layer of oats, in the pan.
Crumble the remaining oat mixture on top of the chocolate peanut butter layer.
Melt some chocolate chips. Drizzle them over the bars.
Place the pan in the refrigerator for a few hours until everything has set properly.
Before cutting into bars and enjoying them make sure to bring them to room temperature.
Notes
To make this recipe gluten-free make sure you use oats that are certified as gluten-free. Oats themselves don’t contain gluten. They can sometimes come into contact, with grains that do during processing. So look for oats that are labeled as “gluten-free” to ensure they haven’t been exposed to any gluten-containing grains. Also remember to check if other ingredients, like chocolate chips and vanilla extract, are also certified as gluten-free to keep your No Bake Chocolate Oat Bars free of gluten.
- Prep Time: 12 minutes

My name is Natasha and I am the owner of nodashofgluten.com, a blog dedicated to all kinds of recipes. On my website, you can find classic dishes, vegetarian delights, creative snacks, Gluten-free recipes, and desserts – all proving that cooking isn’t as hard as it seems! With easy-to-follow instructions and tips on how to make your meals even better, I strive to help everyone become master chefs in their own kitchen. Come join me at nodashofgluten.com for some delicious fun!




Leave a Reply