Native American Fry Bread – You know those memories that just stick? For me, it’s the smell of fry bread sizzling away in my grandma’s kitchen. Every Christmas, without fail, she’d whip up a batch for the whole family. The kitchen would get loud—kids running around, adults laughing, and me trying to sneak a piece before dinner (I wasn’t very stealthy, to be honest).
But it wasn’t just about the bread. It was her. The way she’d stretch the dough with these expert hands that had done it a million times before. She’d smile at my impatient little face and say, “Good things take time.” I didn’t get it then (I just wanted my fry bread!), but now I do.

Making this recipe brings me right back to those moments. It’s not just food; it’s a warm, crispy reminder of family and tradition. And hey, if you’re looking for a recipe that’s more than just delicious, this one’s got you covered.
Why You’ll Love This Native American Fry Bread Recipe?
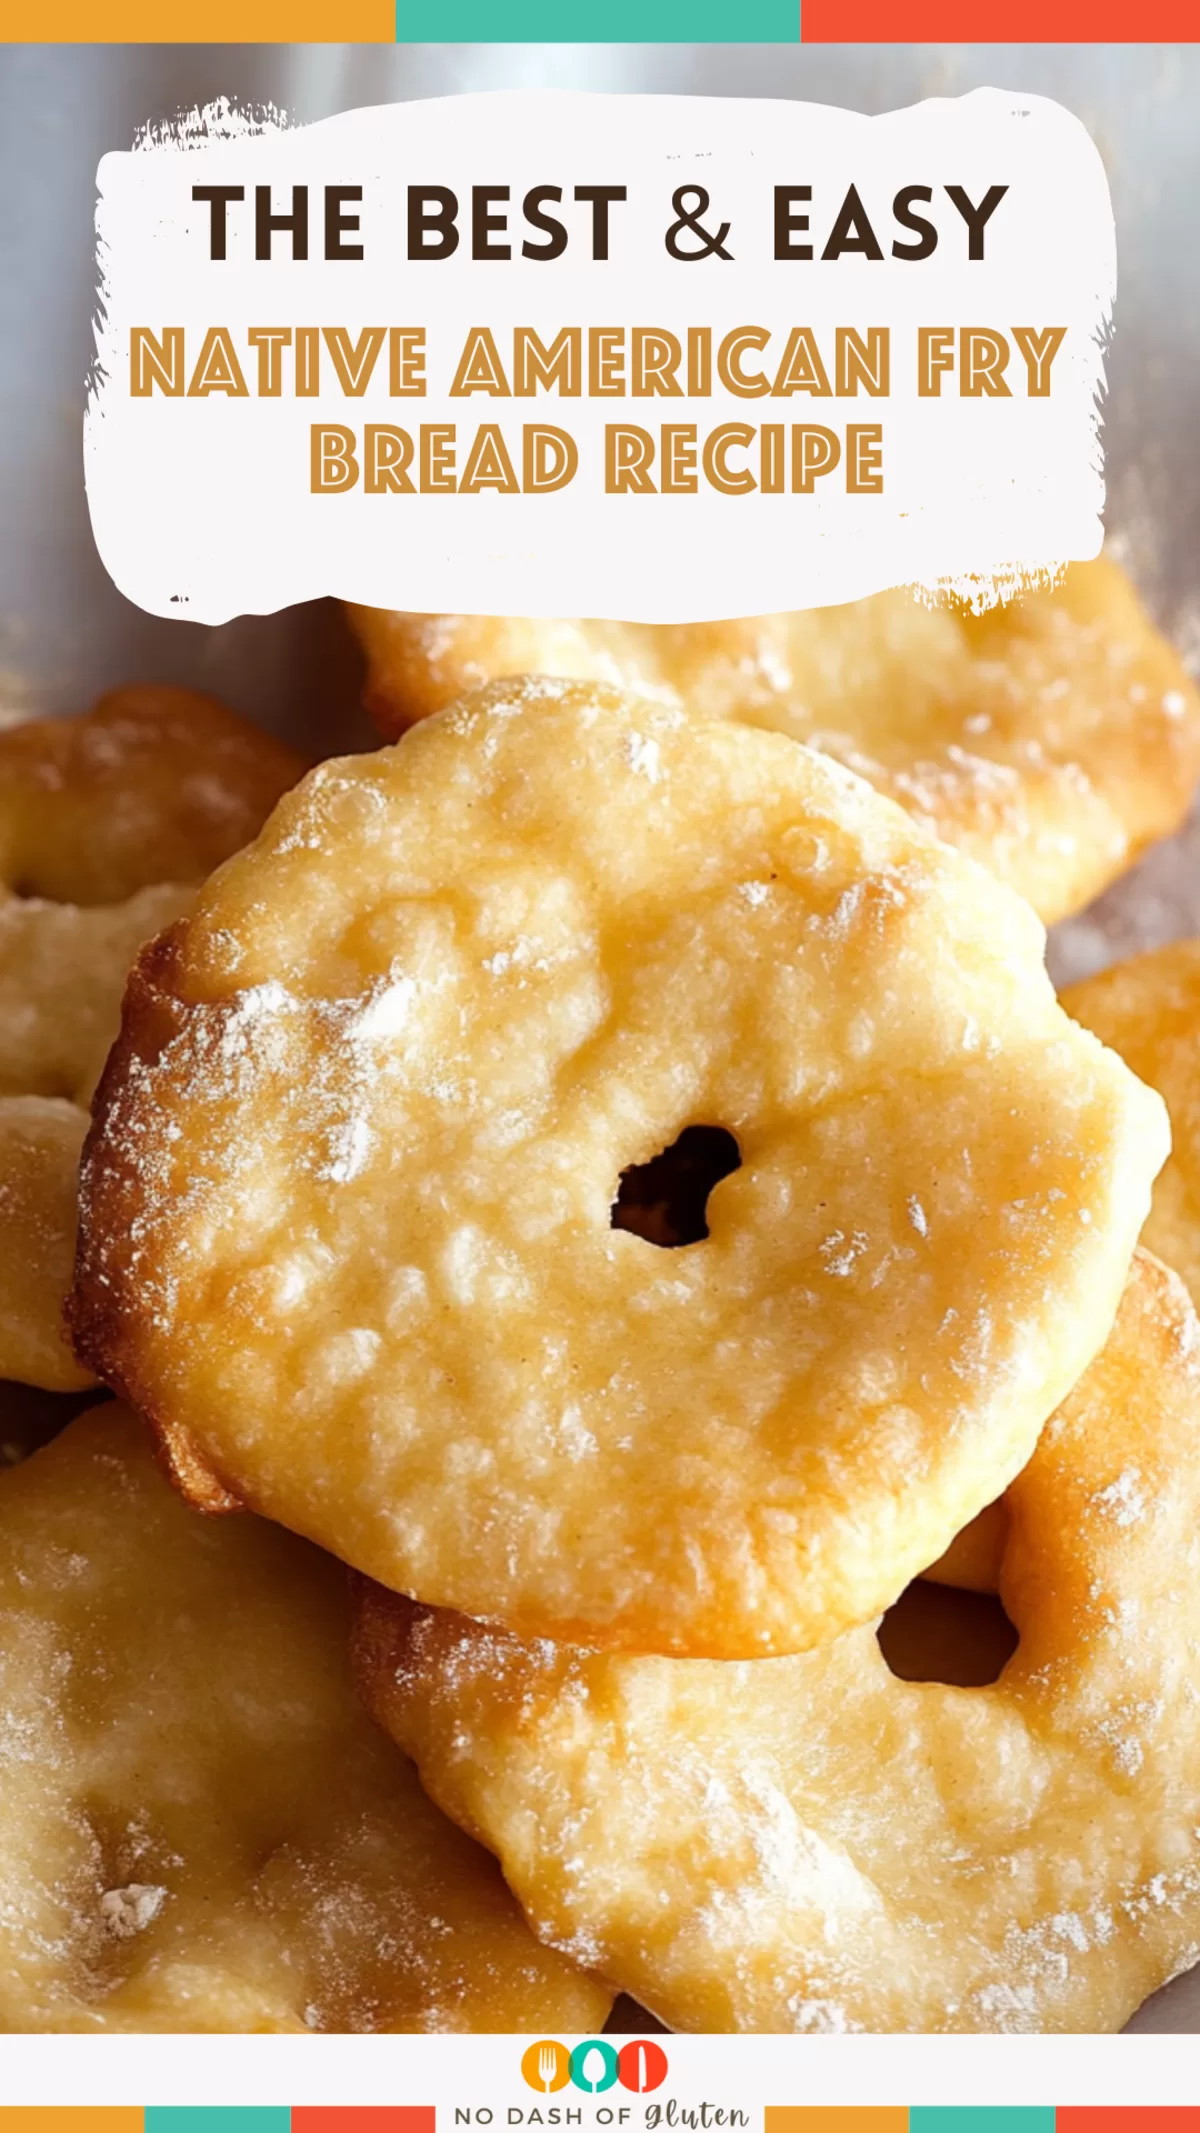
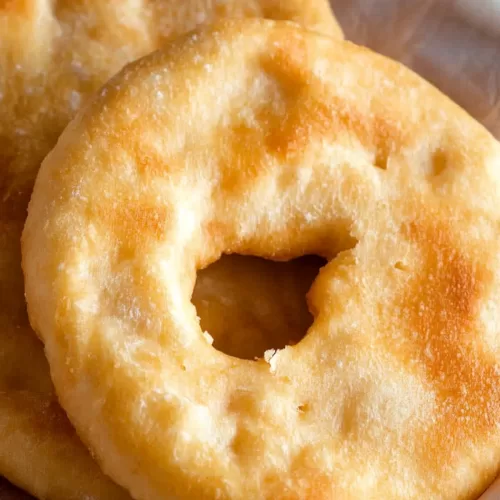
Okay, I’ll just say it—this fry bread is magic. It’s crispy on the outside, soft and fluffy on the inside, and somehow works with everything. Tacos? Yes. A drizzle of honey? Heck yes. Straight-up plain because you “just want to taste the bread”? Absolutely.
Plus, it’s made with simple pantry staples. No need for a 12-ingredient scavenger hunt. And the best part? You don’t need to be a professional chef to nail it. Seriously, if I can do it, so can you.
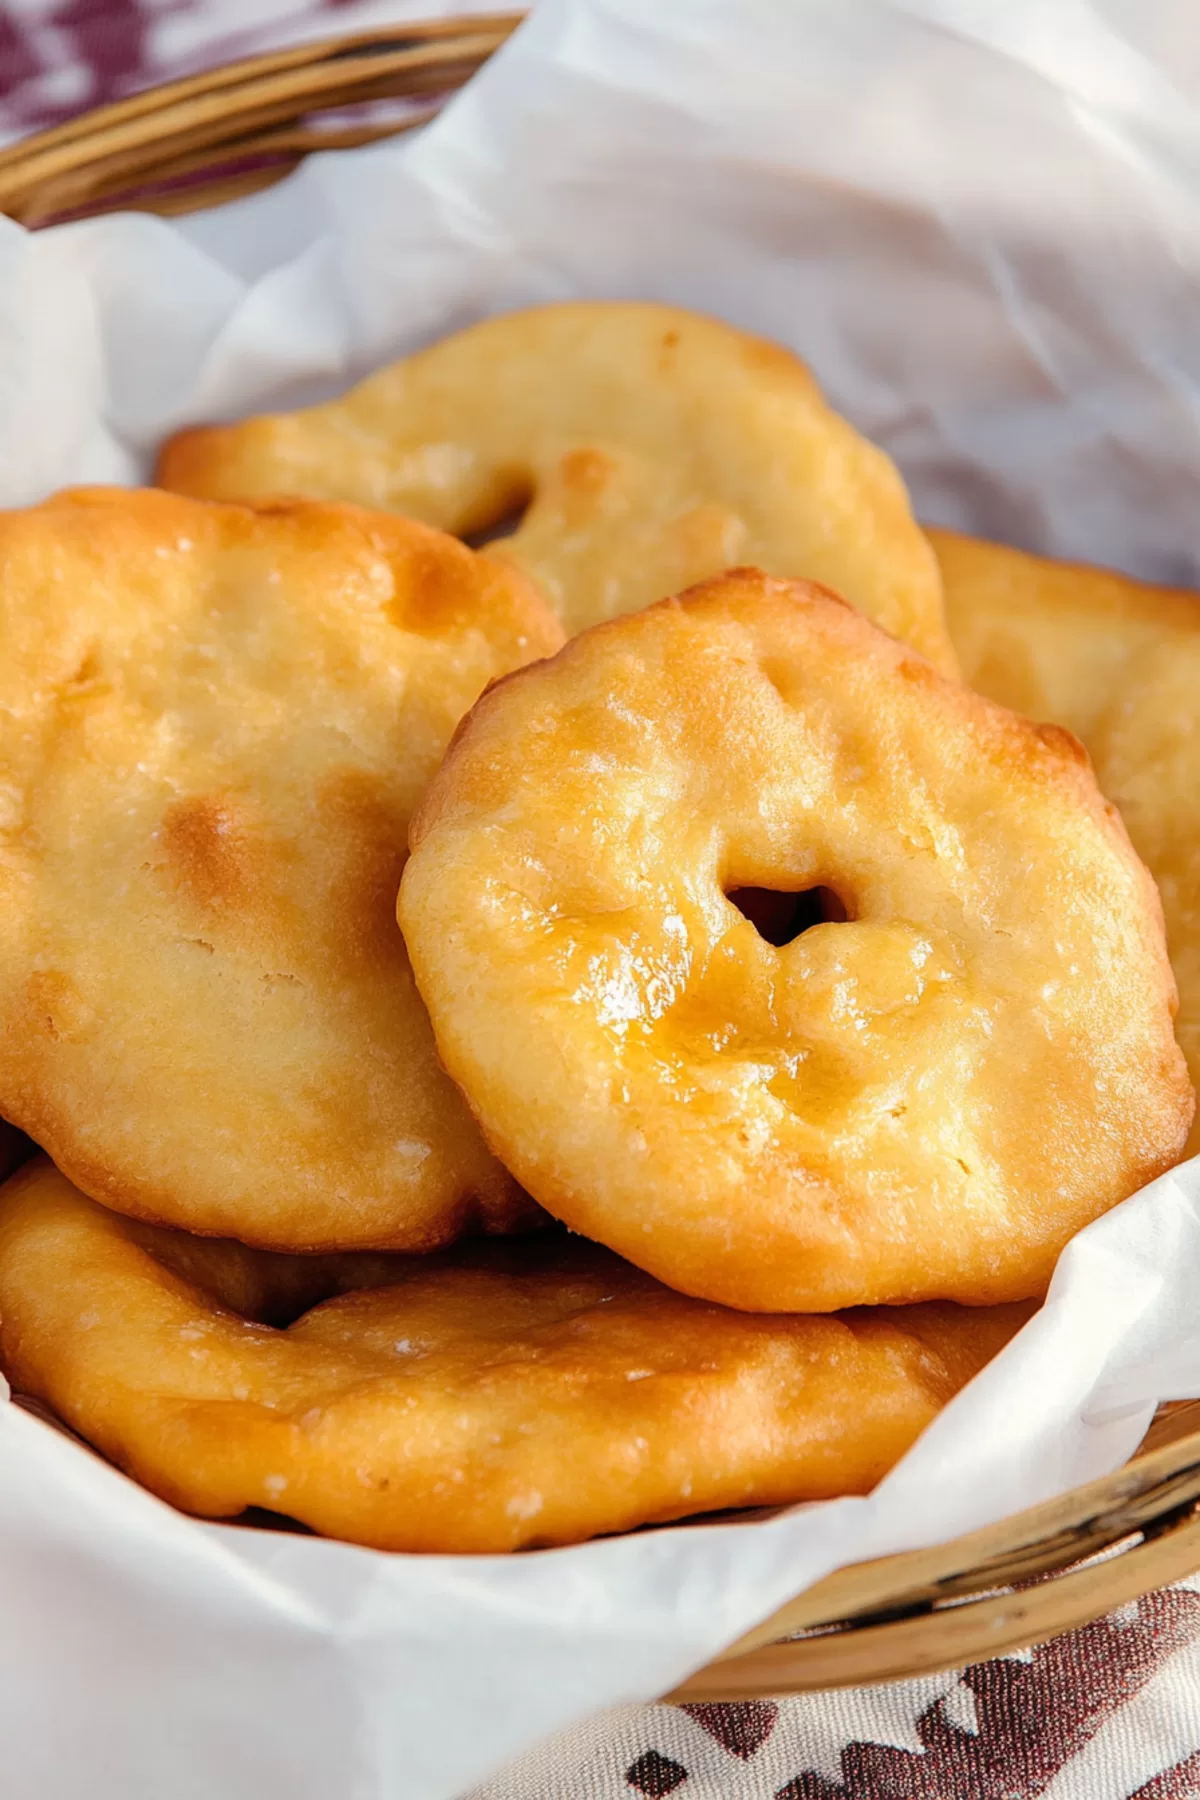
Ingredient Notes:
Let’s talk ingredients. This recipe keeps things simple, but each one plays a part in making the magic happen.
- All-Purpose Flour: The sturdy foundation of the bread. But don’t just scoop it out willy-nilly—too much, and your dough will be as dense as a brick.
- White Sugar: Adds a hint of sweetness. Nothing over the top, just enough to make you go, “Ooh, nice.”
- Baking Powder: Gives the bread a little extra fluff. Think of it as the yeast’s backup dancer.
- Salt: You might think, “Do I really need it?” Yes. Yes, you do. It balances the sweetness like a pro.
- Quick-Rise Yeast: The VIP of this recipe. It gets things moving fast because, honestly, who has the patience for a three-hour dough rise?
- Warm Water: The glue that brings it all together. Just warm, though. Hot water will kill the yeast, and we don’t want that kind of drama.
- Oil for Frying: Go for something neutral, like vegetable or canola oil. Fancy oils just complicate things.
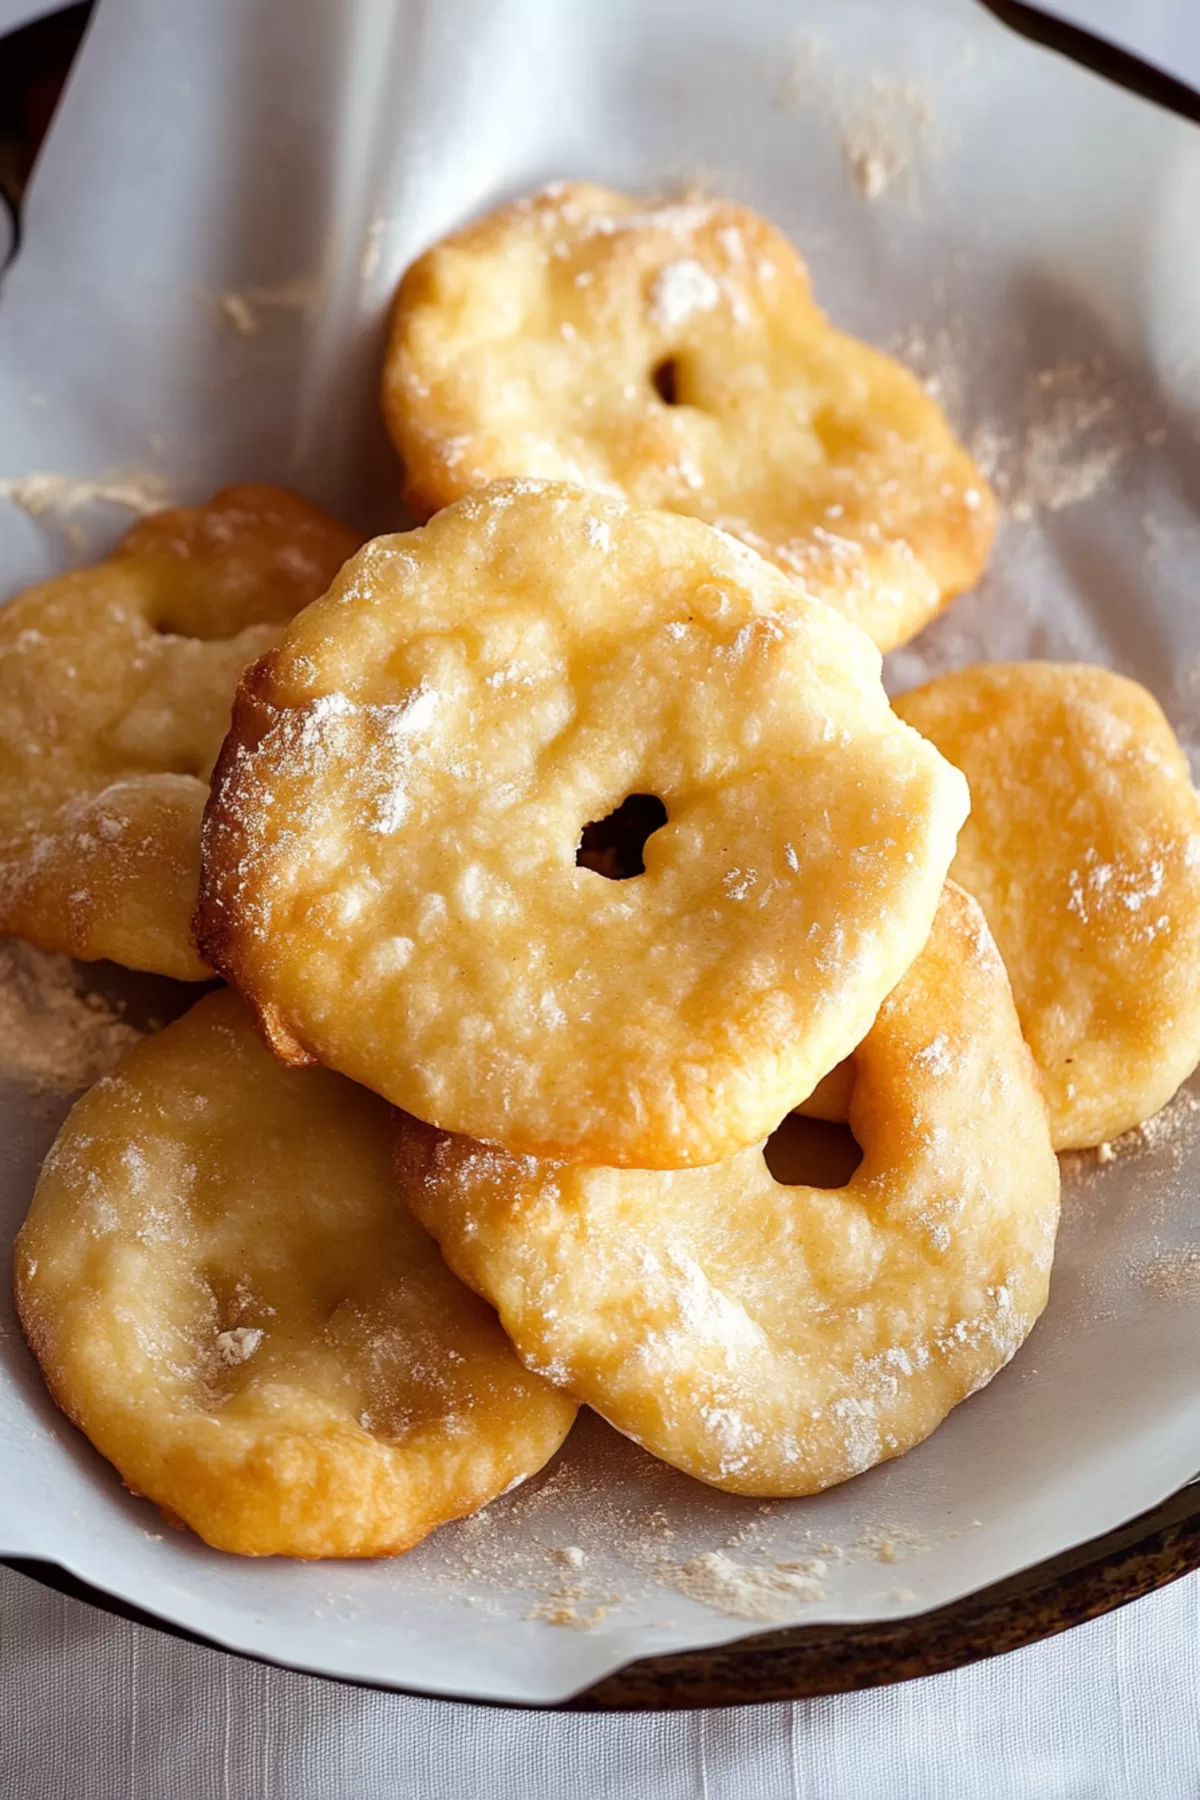
How To Make Native American Fry Bread?
Fry bread might sound intimidating, but trust me—it’s easier than parallel parking. Let’s break it down:
- Mix It Up:
In a big bowl, toss in your flour, sugar, baking powder, and salt. Stir it up, then make a little “well” in the center. (Yes, like a volcano. It’s oddly satisfying.) - Activate the Yeast:
Mix the yeast with warm water in a small bowl. Pour it into your flour well, then mix gently. The dough should be soft and a little sticky—don’t overthink it. Cover it up and let it rest for 15–20 minutes. (Think of this as its power nap before the big event.) - Heat the Oil:
While the dough rests, heat your oil to 375°F. No thermometer? No problem. Toss in a tiny piece of dough—if it sizzles and floats, you’re good to go. - Shape It:
Pinch off a golf-ball-sized piece of dough, then stretch it into a rough circle. And by “rough,” I mean rough. Don’t stress about making it perfect. Imperfections = charm. - Fry It Up:
Carefully drop your dough into the hot oil. Fry each side for about 2 minutes, or until it’s golden and gorgeous. Drain on paper towels and repeat with the rest of the dough. Try not to eat them all as you go (but no judgment if you do).
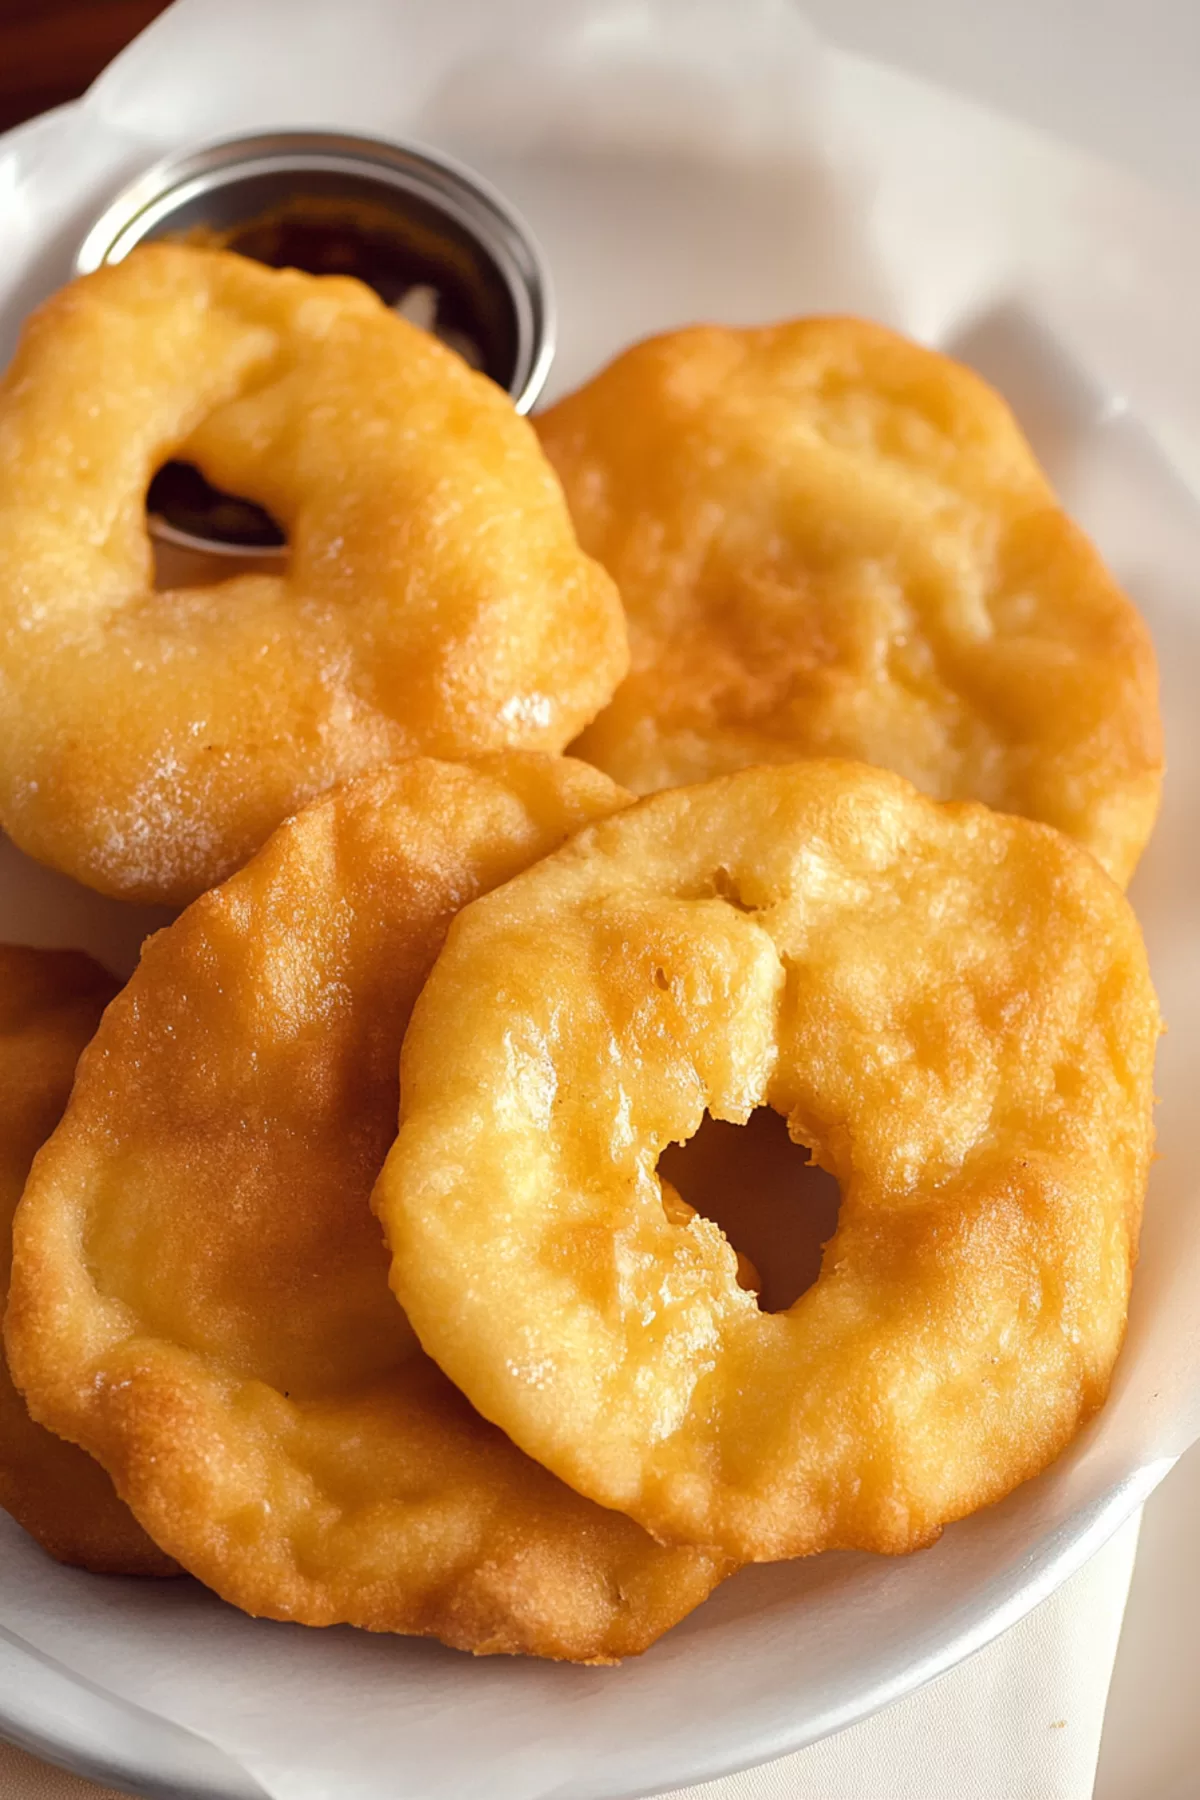
Storage Options:
Fresh fry bread is the best fry bread, but if you’ve got leftovers (lucky you), here’s how to keep them happy:
Want To Save This Recipe?
Enter your email below and we'll send the recipe straight to your inbox.
- Wrap them in foil and store at room temp for up to two days.
- To reheat, pop them in the oven or a hot skillet—no microwaves, please.
- Freezing? Totally an option. Just cool them completely first, then store in an airtight bag. When you’re ready to eat, warm them up in the oven. Easy.
Variations and Substitutions:
This recipe is super versatile, so feel free to get creative:
- Whole Wheat Flour: Swap out half the all-purpose for whole wheat for a heartier vibe.
- Cinnamon & Sugar: Dust the finished bread with cinnamon and sugar for dessert-style fry bread.
- Herbs & Spices: Add garlic powder, paprika, or dried herbs to the dough for a savory twist.
- Gluten-Free: Use a 1:1 gluten-free flour blend. The texture will be slightly different, but still tasty.

What to Serve with Native American Fry Bread?
Fry bread is a blank canvas, and the possibilities are endless:
- Indian Tacos: Pile on seasoned meat, beans, cheese, and your favorite toppings.
- Honey & Butter: Classic and simple. Sometimes less is more.
- Chili: Dunk it in a bowl of chili for the ultimate comfort food combo.
- Powdered Sugar: A little sweet treat never hurt anyone.
Frequently Asked Questions:
Can I make the dough ahead of time?
Totally. Just let it rise, then stick it in the fridge. Bring it back to room temp before frying.
Why is my fry bread too dense?
Overworking the dough can make it tough. Handle it gently—less is more.
Can I bake this instead of frying?
Sure, but you’ll lose that crispy, golden magic. Frying is worth the extra effort, trust me.
So, what do you think? Ready to make some fry bread? Give it a try, and let me know how it turns out. Whether it’s for dinner, dessert, or just because, I’m so excited to hear how it goes!
<Remember it later>
Planning to try this recipe soon? Pin it for a quick find later!
<Remember it later>
Planning to try this recipe soon? Pin it for a quick find later!
Keep the Flavor Coming – Try These:
Native American Fry Bread Recipe
Ingredients
- 6 cups all-purpose flour additional as needed
- 3 tablespoons white sugar
- 1 ½ tablespoons baking powder
- 1 ½ teaspoons salt
- 1 .25 ounce package quick-rise yeast
- 2 cups warm water
- Oil for frying vegetable or canola recommended
Instructions
Prepare the Dry Ingredients:
- In a large mixing bowl, combine the flour, sugar, baking powder, and salt. Mix thoroughly to ensure even distribution of ingredients. Create a well in the center of the mixture.
Activate the Yeast:
- In a small bowl, dissolve the yeast in the warm water. Allow the mixture to sit for a few minutes until it becomes frothy, indicating the yeast is active.
Combine the Mixtures:
- Pour the yeast mixture into the well of the dry ingredients. Mix gently and quickly until a soft, moist dough forms. Avoid over-mixing, as this can make the bread dense. Cover the bowl with a clean kitchen towel and let the dough rise for 15–20 minutes.
Heat the Oil:
- In a deep fryer or large saucepan, heat the oil to 375°F (190°C). The oil should be deep enough to fully submerge the dough rounds.
Shape the Dough:
- With well-floured hands, pinch off a 2-inch piece of dough. Stretch it into a round approximately 5–6 inches in diameter. Add more flour to your hands if the dough feels sticky.
Fry the Bread:
- Carefully place the dough round into the hot oil. Fry for about 2 minutes per side, or until the bread turns a deep golden brown. Use a slotted spoon to remove the bread and transfer it to a paper towel-lined plate to drain. Repeat with the remaining dough.
Serve and Enjoy:
- Serve warm with your choice of toppings, such as honey, powdered sugar, or taco-style fillings.
Notes

I’m Bitty, owner of nodashofgluten.com, where I share simple, delicious recipes for all tastes, including gluten-free. Check out my “About Me” page for more info!


