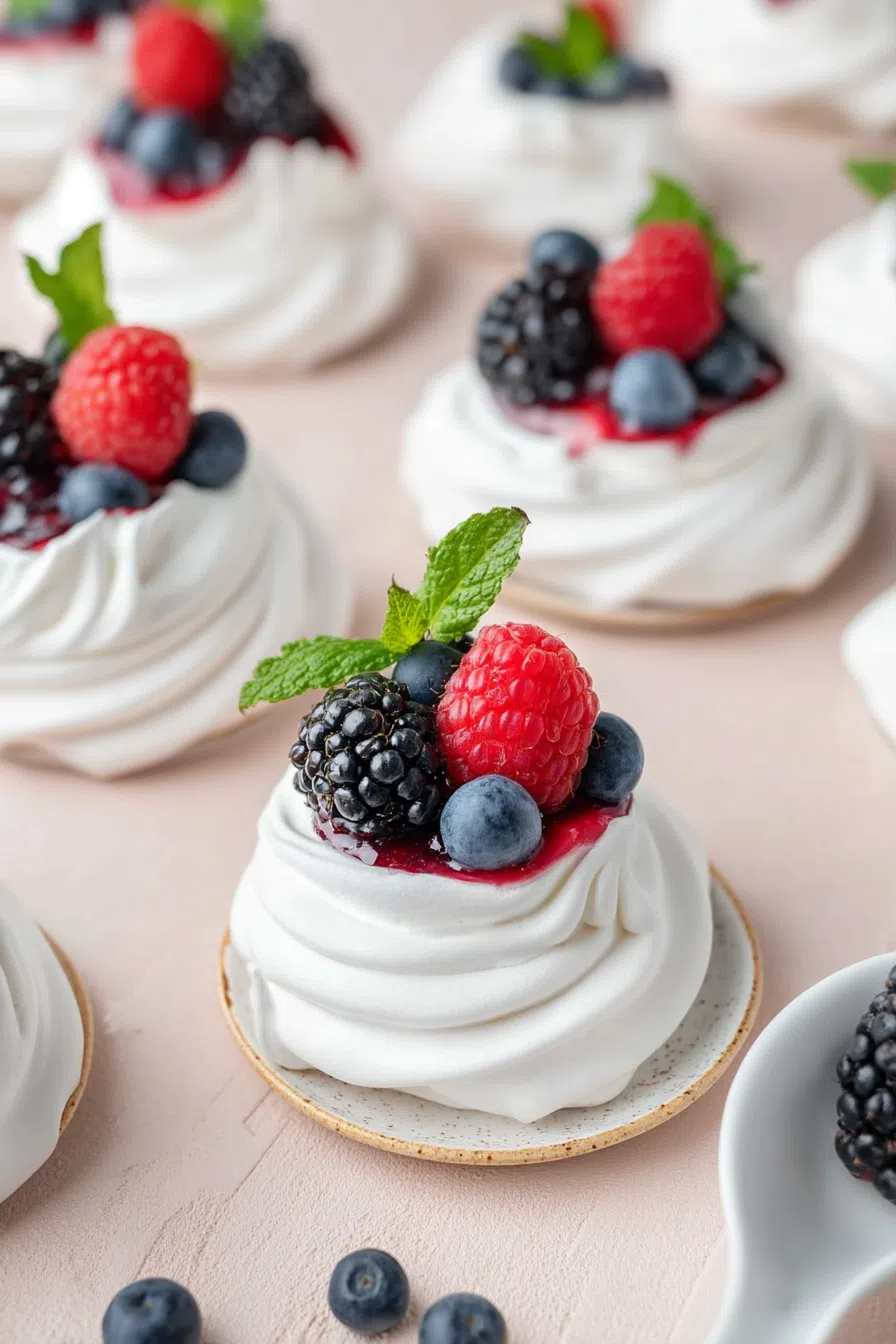
Egg whites, sugar, vanilla, cream, and fruit come together in these crisp-on-the-outside, chewy-inside mini pavlovas for a show-stopping treat.
You ever go to a potluck and try something that completely rewires your dessert brain? That was me, standing awkwardly at a garden party years ago, biting into what looked like an innocent cloud on a plate. I had no idea what it was—just this delicate thing topped with whipped cream and berries. I took one polite bite… and oh no.
I needed more. I needed to know.


Turns out, that sweet little miracle was a mini pavlova. Crisp shell, marshmallow-soft center, silky cream, and fresh fruit? Excuse me, but where has this been all my life? I practically begged the host for the recipe, went home, and tried to recreate it that same weekend. Messed it up the first time (rookie egg-white mistake), but when I got it right? I was obsessed.
Now I make them any time I want to impress someone without too much effort—or just when I want a dessert that looks like it took all day but didn’t. They’re the little black dress of desserts: classic, elegant, and surprisingly easy to pull off.
Why You’ll Love This Mini Pavlovas Recipe?
Here’s the deal. Mini pavlovas are way more forgiving than they look. Seriously. If they crack? Still gorgeous. If they lean to one side like a sleepy puppy? Even better. Here’s why I keep making them on repeat:
-
They’re naturally gluten-free—without even trying. No substitutions, no special flour blends. Just… magic.
-
You can make the bases ahead and store them. Hello, stress-free hosting.
-
They’re like edible canvases. Fruit, whipped cream, lemon curd, even chocolate drizzle. You get to be artsy, but with sugar.
-
They’re crowd-pleasers, always. No one’s ever like, “Ugh, a delicate meringue with fresh fruit? How boring.”
Basically, they’re perfect for when you want to feel like a dessert wizard with very little actual wizardry involved.
Ingredient Notes:
Before we start whipping egg whites like champs, let’s get personal with the ingredients.
-
Egg Whites: Room temperature, always. Cold egg whites don’t whip as well, and warm ones are more cooperative. I separate them cold and let them sit for 30 minutes. Also, no yolk slippage, okay?
-
Sugar: Granulated works just fine. The trick? Add it slowly—one tablespoon at a time—so it dissolves completely and the meringue stays glossy.
-
Cornstarch: This gives the pavs that chewy, marshmallow center. It’s not optional unless you like crunchy disappointment.
-
Vinegar: Weird but necessary. Just a little splash stabilizes everything so your meringue doesn’t sulk halfway through baking.
-
Vanilla: For warmth and flavor. I use the good stuff when I’ve got it. But extract works just fine.
-
Heavy Cream: Cold cold cold. Room temp cream doesn’t whip—it weeps.
-
Powdered Sugar: Sweetens the cream, but gently. We’re not trying to outshine the fruit here.
-
Fruit: Go wild. Kiwi, strawberries, raspberries, blueberries, mango, even pomegranate seeds. I once used figs and it got weirdly fancy.
-
Mint: Optional, but it does make you look like the kind of person who irons their linen napkins.

How To Make Mini Pavlovas?
If I can do this while wrangling a toddler and dodging a cat on the counter, you’ve got this.
Step 1: Preheat and Prep
Heat the oven to 350°F (yep, we’ll drop it later—hang tight). Line two to three baking sheets with parchment. Not wax paper. Learned that one the hard way.
Step 2: Whip Those Whites
Beat egg whites with a pinch of salt until they’re foamy. Then slooooowly add the sugar, one spoonful at a time. You want stiff, glossy peaks—like whipped cream with attitude.
Step 3: Fold in the Flair
Sift the cornstarch right over the bowl, then add vinegar and vanilla. Gently fold it all in. No aggressive mixing here. Be kind to your meringue.
Step 4: Shape the Meringues
Spoon or pipe the meringue into little nests on your sheets. Use the back of a spoon to create a dip in the middle for the cream later. They don’t have to be perfect. Pavlovas are not here for symmetry—they’re here for drama.
Want To Save This Recipe?
Step 5: Bake (Slow and Steady)
Pop the trays in, then drop the temp to 225°F. Bake for 70–80 minutes until they’re dry on the outside. Don’t open the oven door. I know it’s tempting. Let them cool inside the turned-off oven for 3–4 hours or overnight. They’re divas—let them rest.
Step 6: Make the Whip
Right before serving, whip that cold cream with powdered sugar and vanilla until soft peaks form. Taste it. Smile.
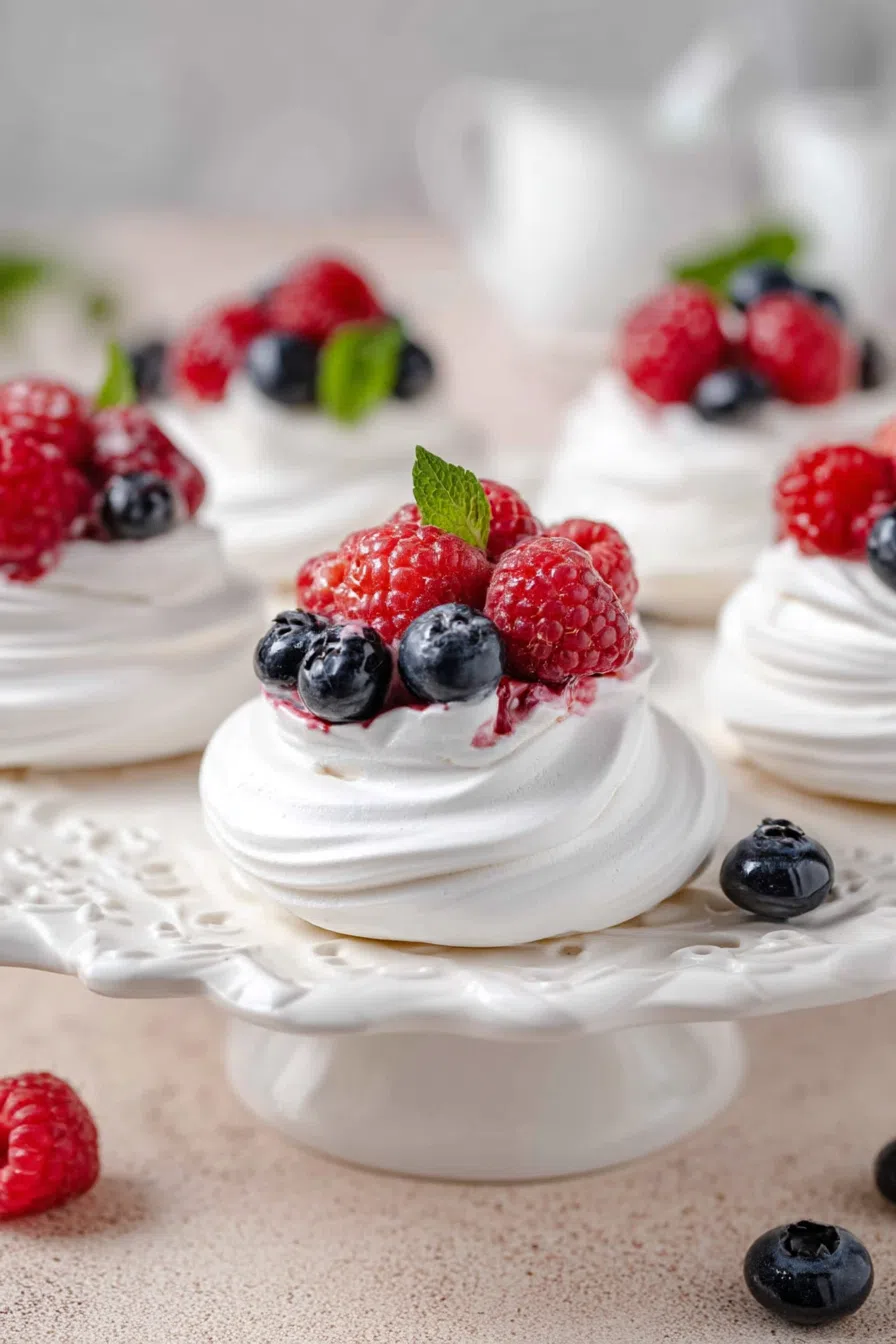
Step 7: Assemble
Dollop the cream into the center of each mini pavlova, top with fruit, and maybe a mint leaf. Take a moment to admire your creation. Take a photo. You earned it.

Storage Options:
-
The shells: Keep them in an airtight container at room temp for up to 3 days. No fridge—humidity is the enemy.
-
Once topped: Best enjoyed within a couple hours. They’ll soften a little, but that’s part of the charm.
Variations and Substitutions:
Because pavlovas are the perfect excuse to get weird (in the best way):
-
Chocolate swirl: Add a spoonful of cocoa to the meringue for a mocha vibe.
-
Lemon curd filling: Skip the whipped cream and go tart.
-
Rosewater whipped cream: Just a hint. Floral, fancy, very Bridgerton.
-
Crushed pistachios on top: For crunch and color.
What to Serve with Mini Pavlovas?
So glad you asked.
-
Espresso or strong tea: Contrast those sweet bites.
-
Sparkling wine: For when you’re feelin’ extra.
-
A sunny afternoon + a blanket + no obligations: Honestly the best combo.
Frequently Asked Questions:
Why did mine crack?
Probably cooled too fast. But hey, cracked pavs still taste like joy. Own the rustic look.
Can I use carton egg whites?
You can, but they don’t always whip well. Fresh is best if you want reliable results.
Do they really need to cool in the oven?
Yes. It’s the secret to crisp outsides and chewy insides. Trust the process.
Mini pavlovas are the kind of dessert that makes people pause mid-bite and say, “Wait—you made this?” And you get to just nod modestly while basking in the glory.
They’re light, elegant, slightly dramatic (just like me tbh), and endlessly customizable. Whether you’re hosting brunch or just want to try something new, these little clouds are calling your name.
If you make them, please tag me or leave a comment. I want to see your creations, hear your combos, and maybe gently beg for a bite through the screen.
So—have you ever tried pavlovas before? What fruit are you dreaming of piling on top? Let’s chat in the comments.
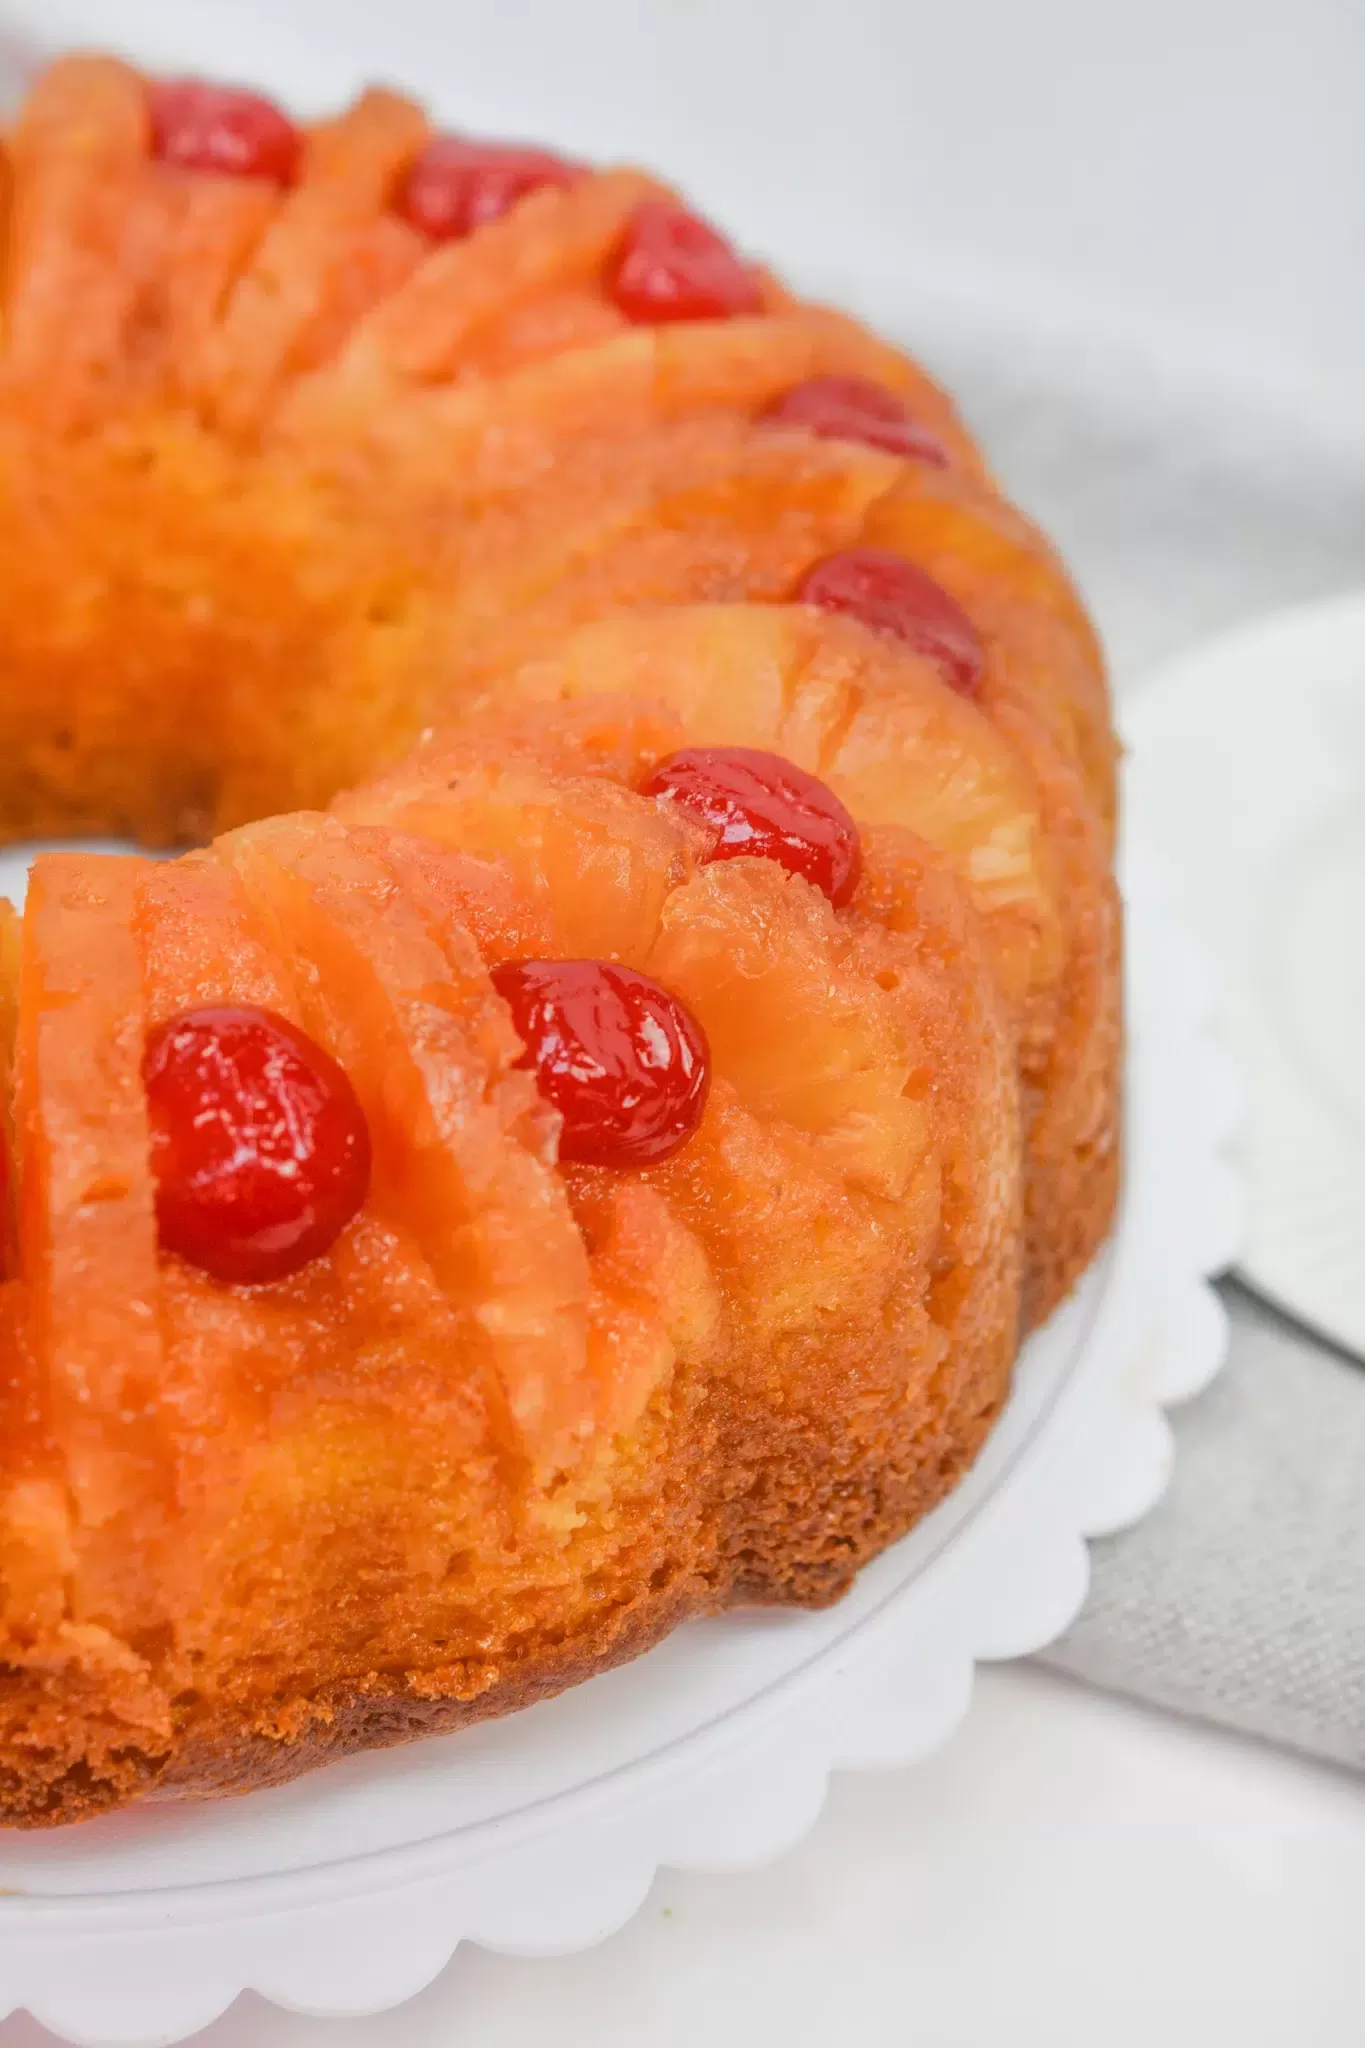
Keep the Flavor Coming – Try These:
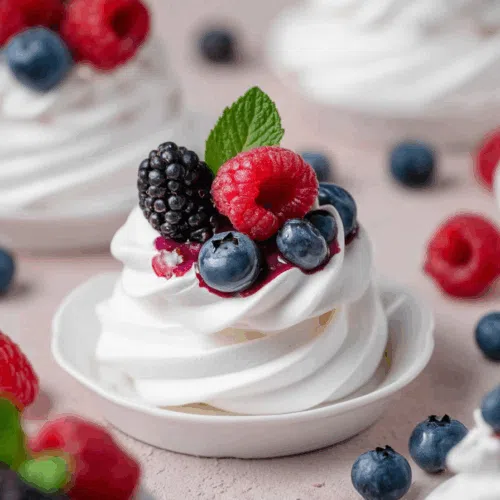
Mini Pavlovas
Ingredients
For the Meringue:
- 6 large egg whites room temperature (approximately ⅔ cup)
- 1 pinch salt
- 1½ cups granulated sugar
- 3 teaspoons cornstarch
- 1½ teaspoons white vinegar
- 1 teaspoon vanilla extract
For the Whipped Cream:
- 2 cups heavy whipping cream chilled
- 2 tablespoons powdered sugar
- 1 teaspoon vanilla extract
For the Toppings:
- 4 –5 cups assorted fresh fruit such as berries, kiwi, mango
- Fresh mint leaves for garnish (optional)
Instructions
Preheat and Prepare Pans:
- Preheat the oven to 350°F (175°C). Line two to three large baking sheets with parchment paper.
Prepare the Meringue Base:
- In a large, clean mixing bowl, beat the egg whites and salt on high speed using a stand mixer or electric hand mixer until firm peaks form. Gradually add the sugar, one tablespoon at a time, continuing to beat until the meringue is thick and glossy (approximately 10 minutes total).
Add Stabilizers:
- Sift the cornstarch over the meringue. Add the white vinegar and vanilla extract. Gently fold until all components are incorporated, taking care not to deflate the mixture.
Form the Meringues:
- Spoon or pipe the meringue into 12 to 18 individual mounds on the prepared baking sheets. Use the back of a spoon to gently create an indentation in the center of each mound to hold filling later.
Bake and Cool:
- Place the trays in the oven and immediately reduce the temperature to 225°F (110°C). Bake for 70 to 80 minutes, or until the pavlovas are dry to the touch. Turn off the oven and allow the pavlovas to cool completely inside, undisturbed, for at least 3–4 hours or overnight. This resting period helps them retain their shape and texture.
Prepare the Whipped Cream:
- In a separate chilled bowl, combine the cold heavy cream, powdered sugar, and vanilla extract. Whip until soft peaks form. Do not overwhip.
Assemble the Pavlovas:
- When ready to serve, spoon a generous amount of whipped cream into the center of each pavlova. Top with assorted fresh fruit and mint leaves if desired. Serve immediately.
Notes
I’m Bitty, owner of nodashofgluten.com, where I share simple, delicious recipes for all tastes, including gluten-free. Check out my “About Me” page for more info!