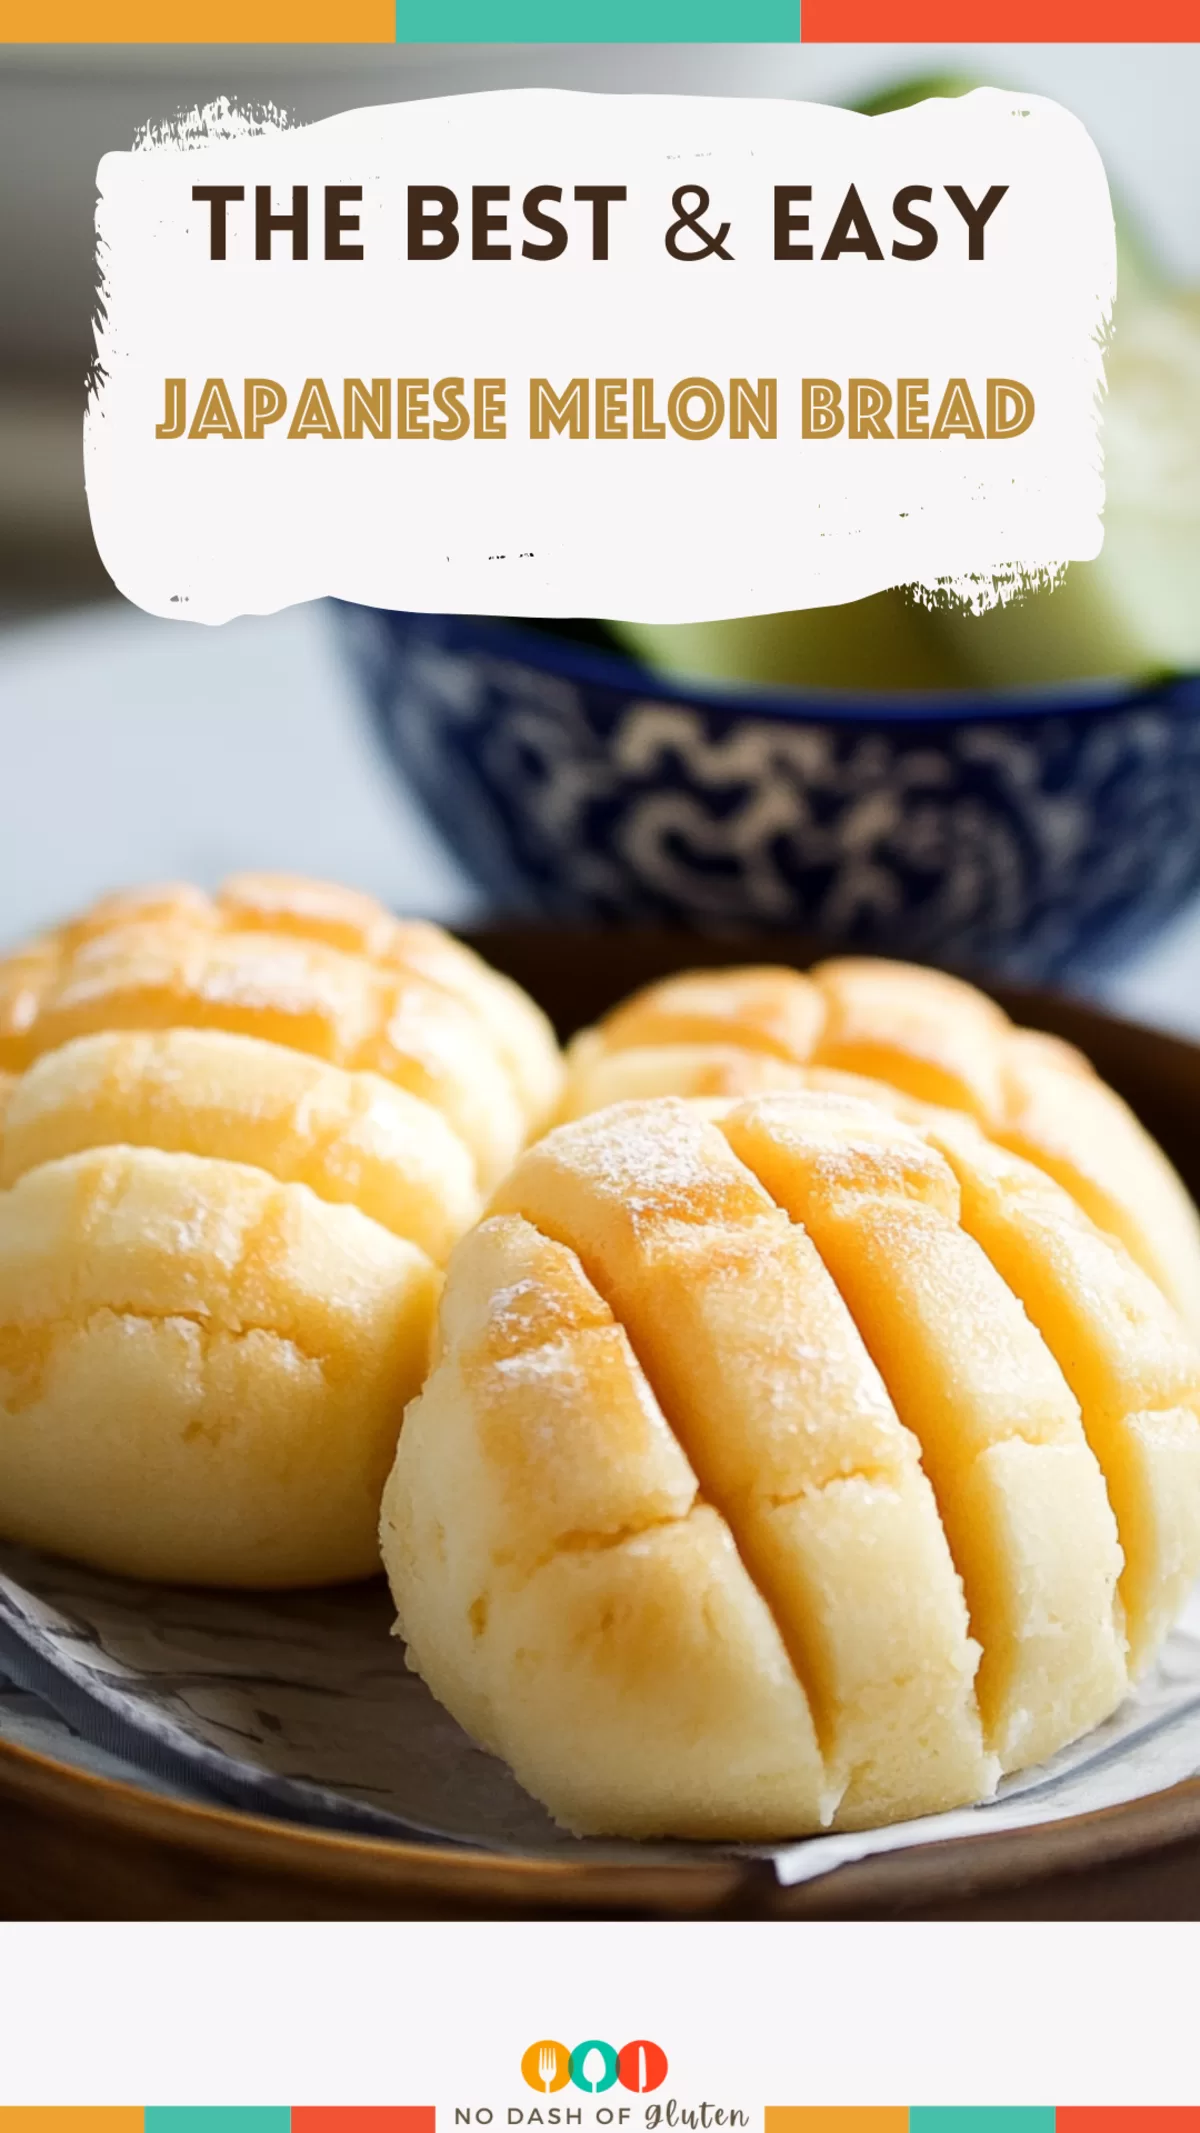
Japanese Melon Bread – You know those moments when food takes you back to a specific time and place? For me, Japanese Melon Bread is that kind of magic. I first stumbled upon it during a trip to Tokyo. I was wandering through a bustling market, my nose trailing the buttery, sugary aroma wafting from a tiny bakery. The baker handed me a warm bun, the cookie crust glistening with sugar. It wasn’t just a snack—it was love at first bite.

Back home, I couldn’t stop thinking about it. The crisp, slightly sweet exterior, the pillowy soft bread inside… I had to recreate it. And, after a lot of trial and error (let’s just say, my first batch was more cookie than bread), I finally nailed the recipe. Now, it’s a family favorite, and I’m thrilled to share it with you.
Why You’ll Love This Japanese Melon Bread Recipe?
- Textural Heaven: The combo of fluffy bread and crunchy cookie crust is something you just have to experience.
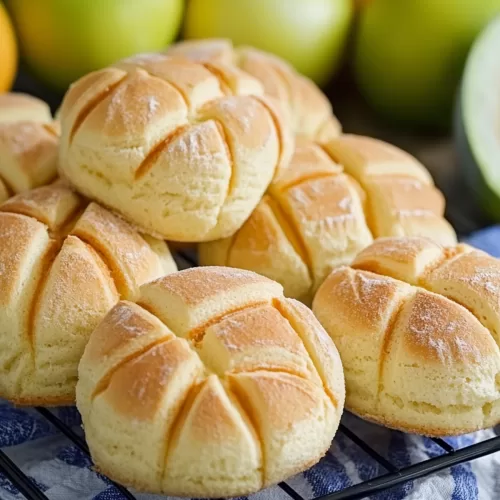
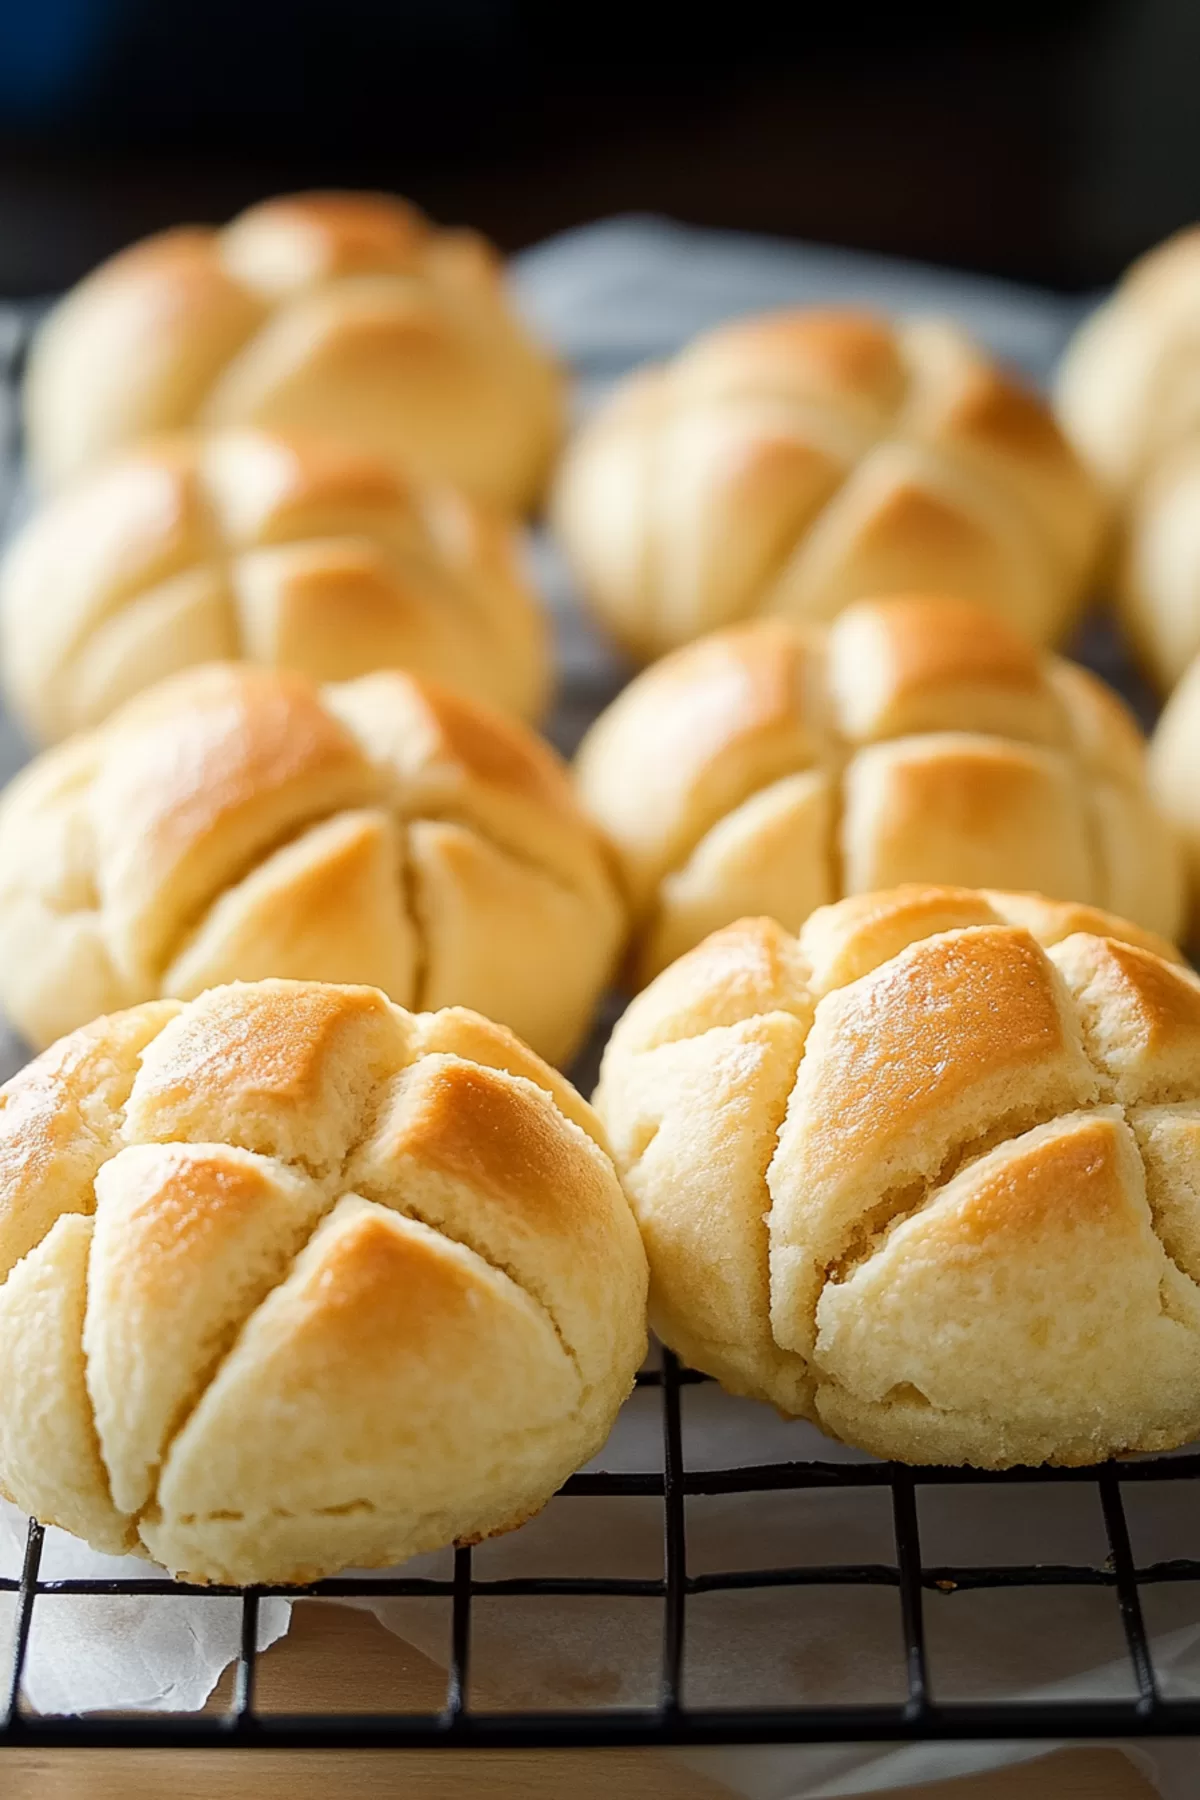
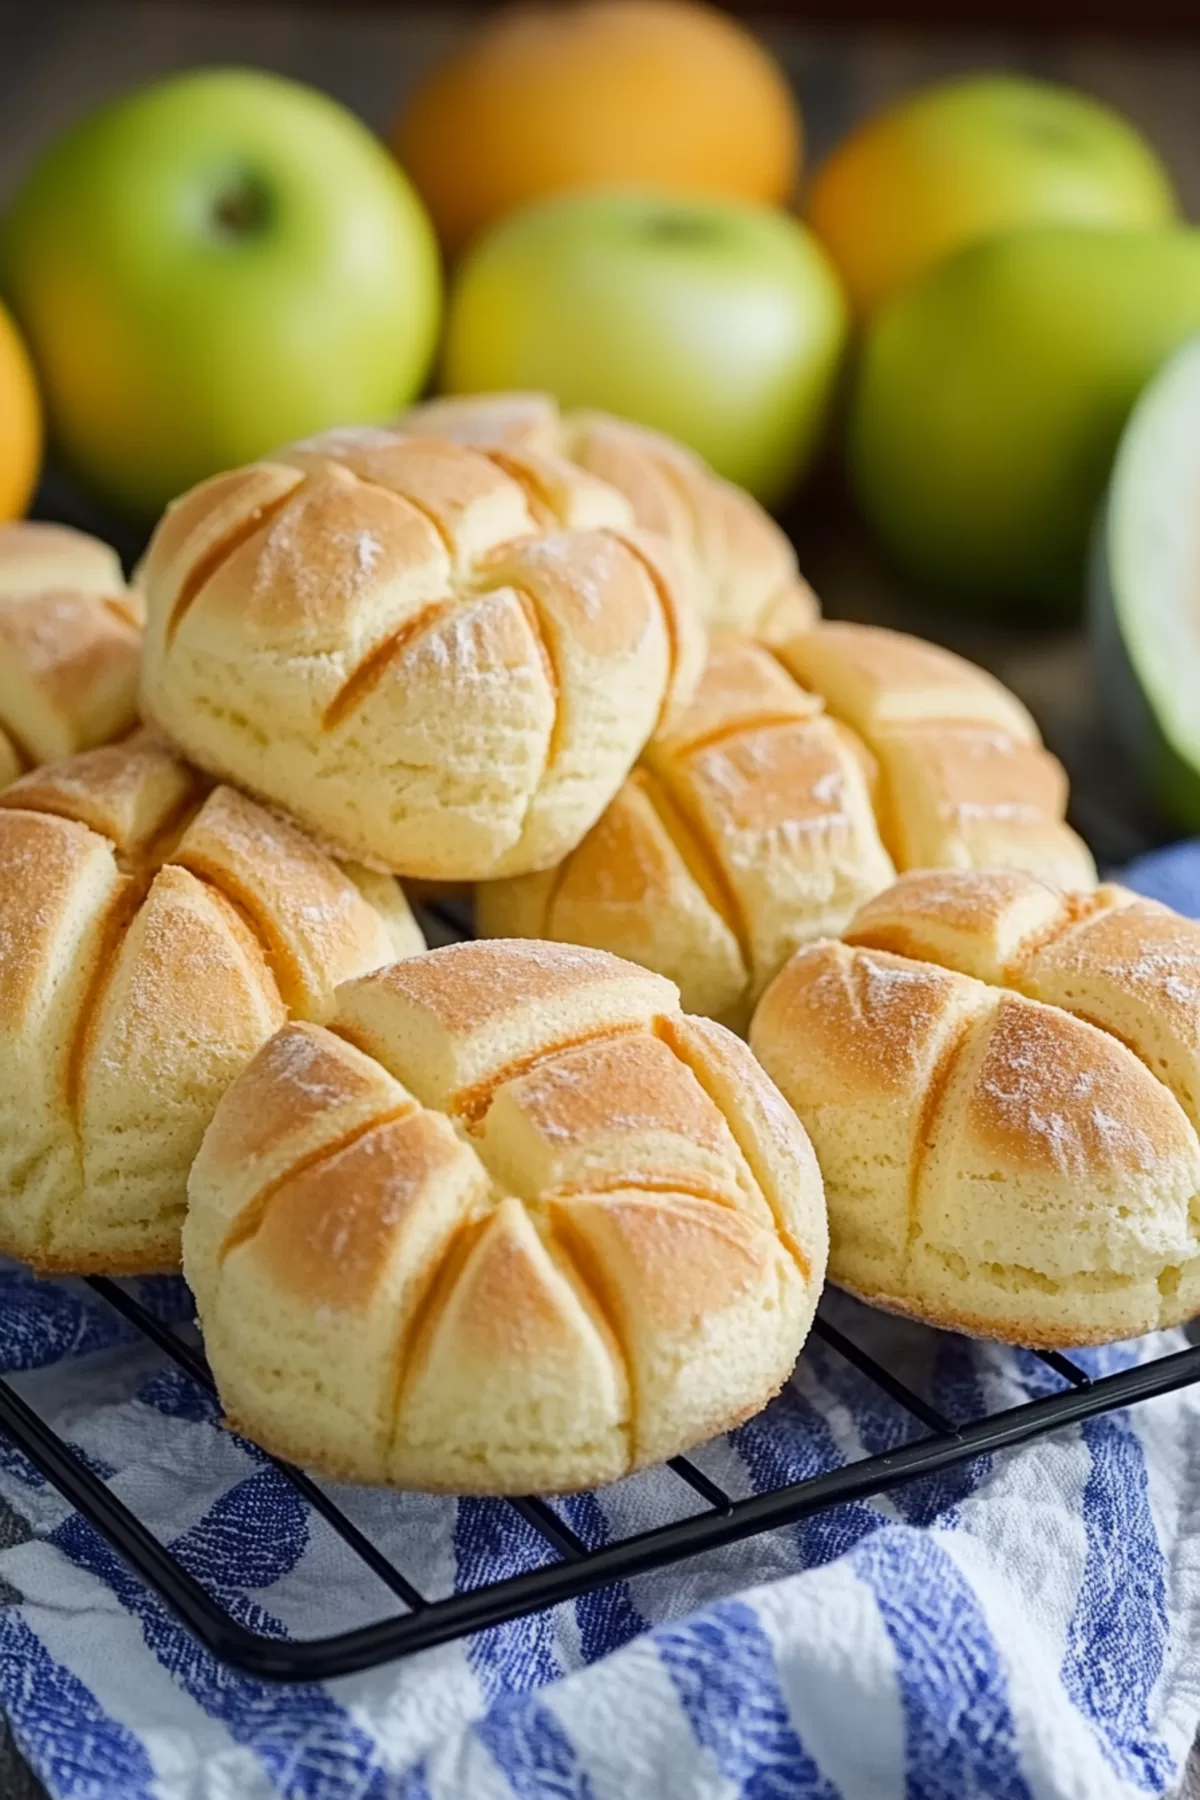
- Adorable Aesthetic: The crisscross design makes it look just like a melon (even though there’s no melon flavor).
- Baking Therapy: There’s something oddly satisfying about shaping dough and scoring that perfect grid pattern.
- Perfect for Any Occasion: Whether it’s breakfast, a snack, or dessert, these buns fit the bill every time.
Ingredient Notes:
Let’s chat about the key players in this recipe:
- Evaporated Milk: Adds a richness to the dough that regular milk just doesn’t quite achieve. If you’re out, whole milk is a decent backup.
- Bread Flour: This is the secret to the soft-yet-chewy texture of the bread. Trust me, it’s worth picking up a bag.
- Butter: Unsalted, please! It’s in both the bread and cookie dough, giving the buns that melt-in-your-mouth quality.
- Cornstarch: A little cornstarch in the cookie dough creates that delicate crunch.
- Sugar: Not just for sweetness—it’s what gives the cookie crust that irresistible texture.
How To Make Japanese Melon Bread?
Making Japanese Melon Bread might look complicated, but I promise it’s simpler than it seems. Let’s break it down:
Step 1: The Bread Dough
Start by mixing evaporated milk, water, and yeast in a bowl. Let it sit for a few minutes until it gets frothy (that’s the yeast waking up). Then, add your dry ingredients and butter, kneading until the dough is smooth and elastic. It’ll feel a bit sticky at first, but don’t panic—that’s normal. Cover it up and let it rise in a warm spot until it’s doubled in size.
Step 2: The Cookie Dough
While the bread dough is doing its thing, whip up the cookie dough. Just mix the ingredients until they come together into a soft, pliable dough. Divide it into 10 equal balls (pro tip: use a scale for precision) and pop them in the fridge. Chilled cookie dough is much easier to handle.
Step 3: Assemble the Melon Bread
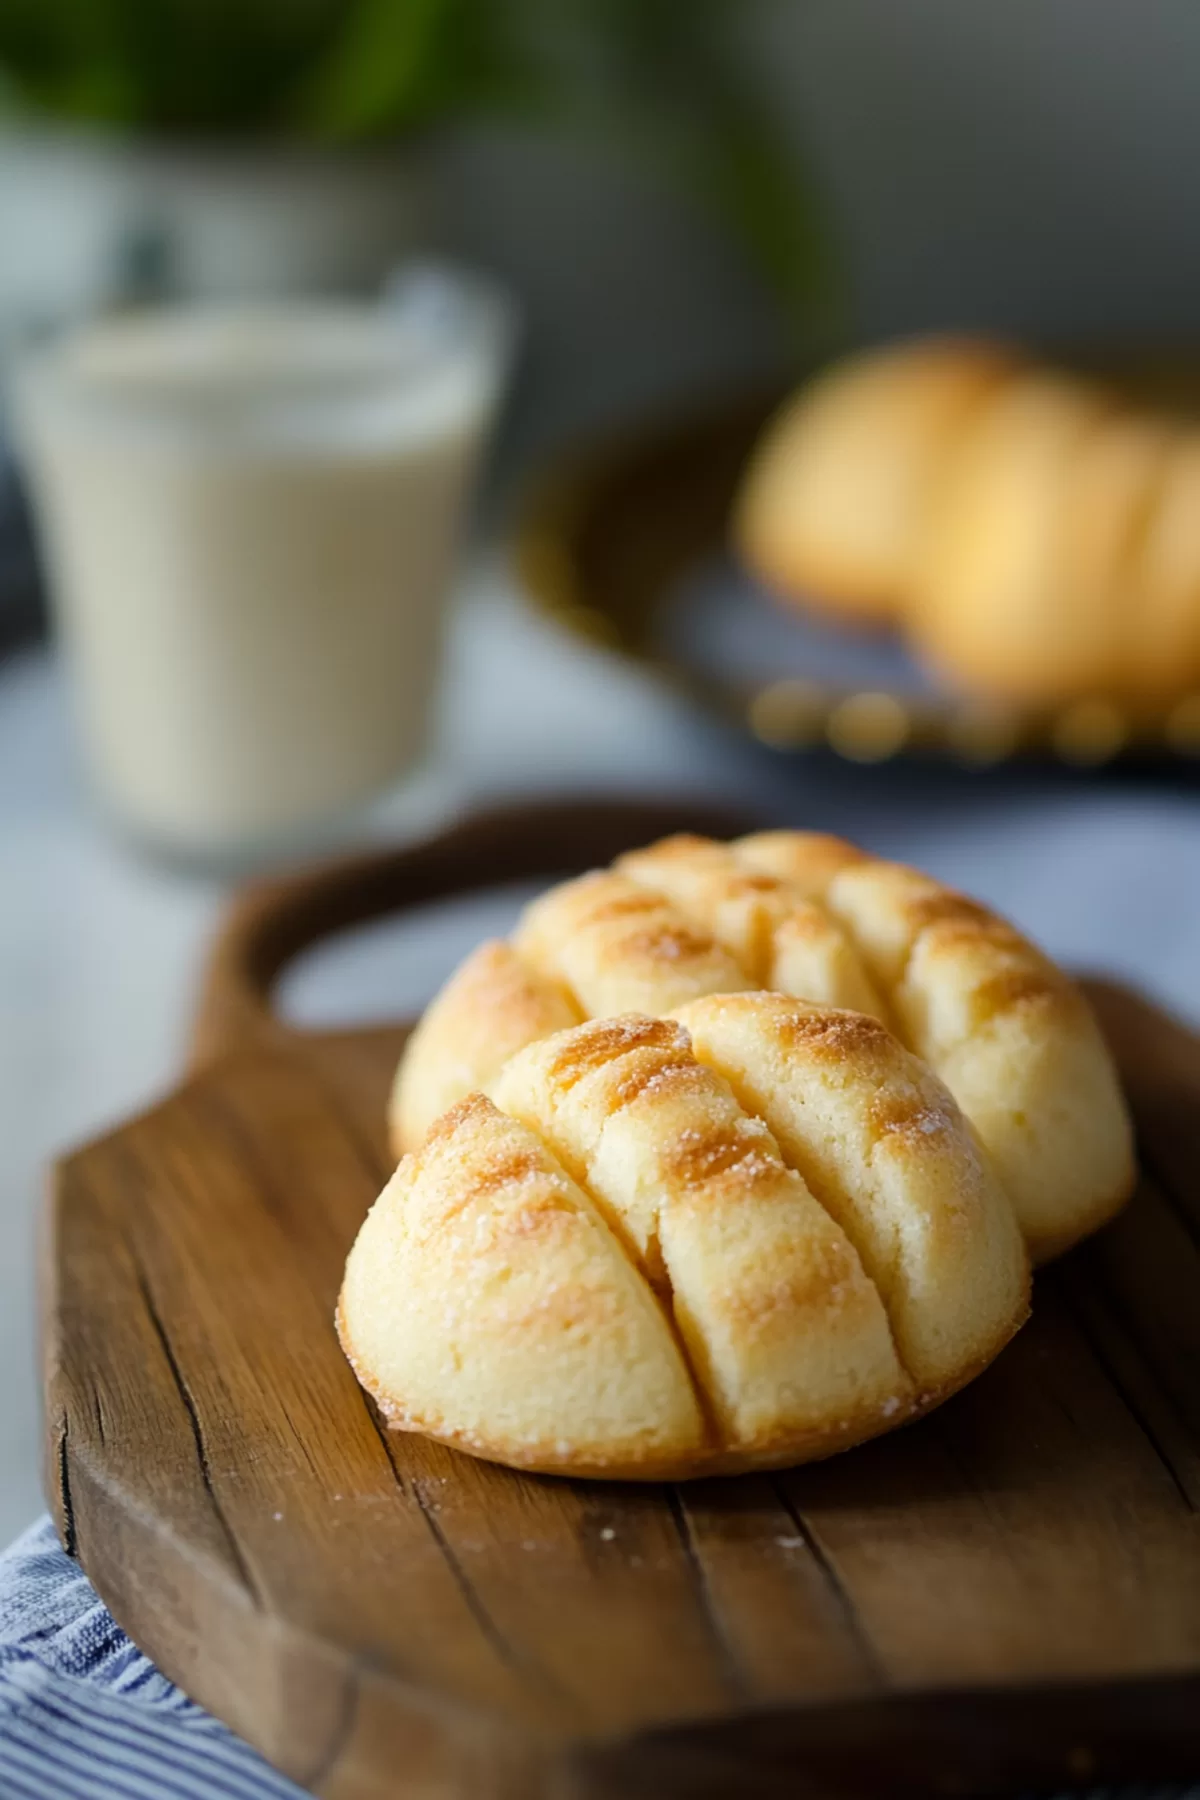
Once the bread dough has risen, punch it down and divide it into 10 pieces. Flatten each cookie dough ball, press it onto a bread ball, and smooth it over. Use a knife to score that classic crisscross pattern on the cookie layer. Don’t skip this step—it’s what gives the bread its iconic look!
Step 4: Bake to Perfection
Place your assembled buns on a baking sheet, leaving space for them to rise again. After about an hour, bake them at 350°F for 15-20 minutes. The tops should be golden and your kitchen will smell like a dream. Cool the buns on a wire rack, then dig in!
Want To Save This Recipe?
Enter your email below and we'll send the recipe straight to your inbox.
Storage Options:
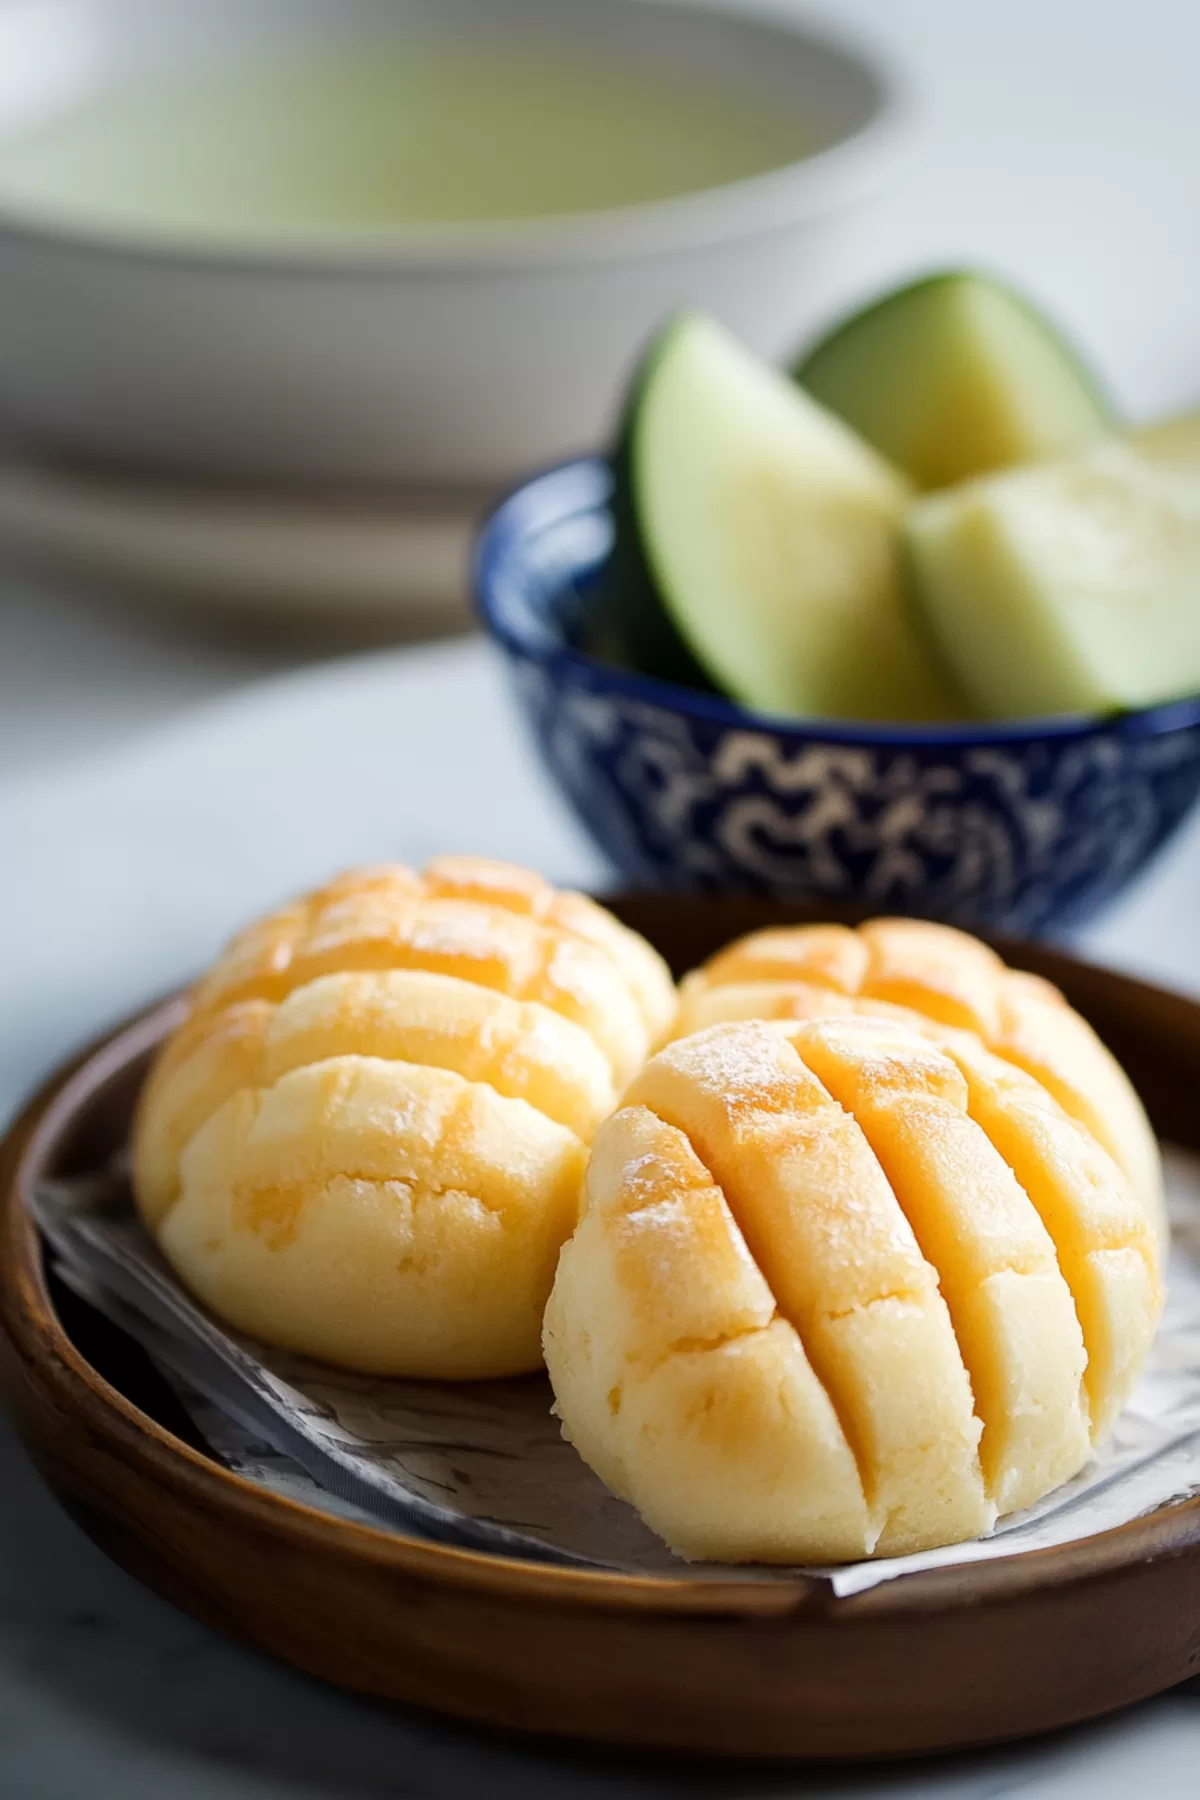
- Room Temperature: Keep them in an airtight container for up to 2 days. They’re best fresh, but still tasty the next day.
- Freezer: Wrap each bun in plastic wrap and store them in a freezer bag. They’ll stay good for up to a month. Just thaw and reheat in the oven when you’re ready to enjoy them again.
Variations and Substitutions:
Here’s where you can get creative:
- Matcha Magic: Add a teaspoon of matcha powder to the cookie dough for a subtle green tea flavor.
- Chocolate Delight: Mix cocoa powder into the cookie dough or add chocolate chips to the bread dough.
- Citrus Twist: A dash of lemon or orange zest in the cookie dough gives it a refreshing zing.
- Gluten-Free Option: Use gluten-free bread flour and all-purpose flour substitutes. The texture might differ slightly, but it’s still delicious.
What to Serve with Japanese Melon Bread?
- Tea Time Treat: Pair with a cup of green tea or matcha latte for a cozy snack.
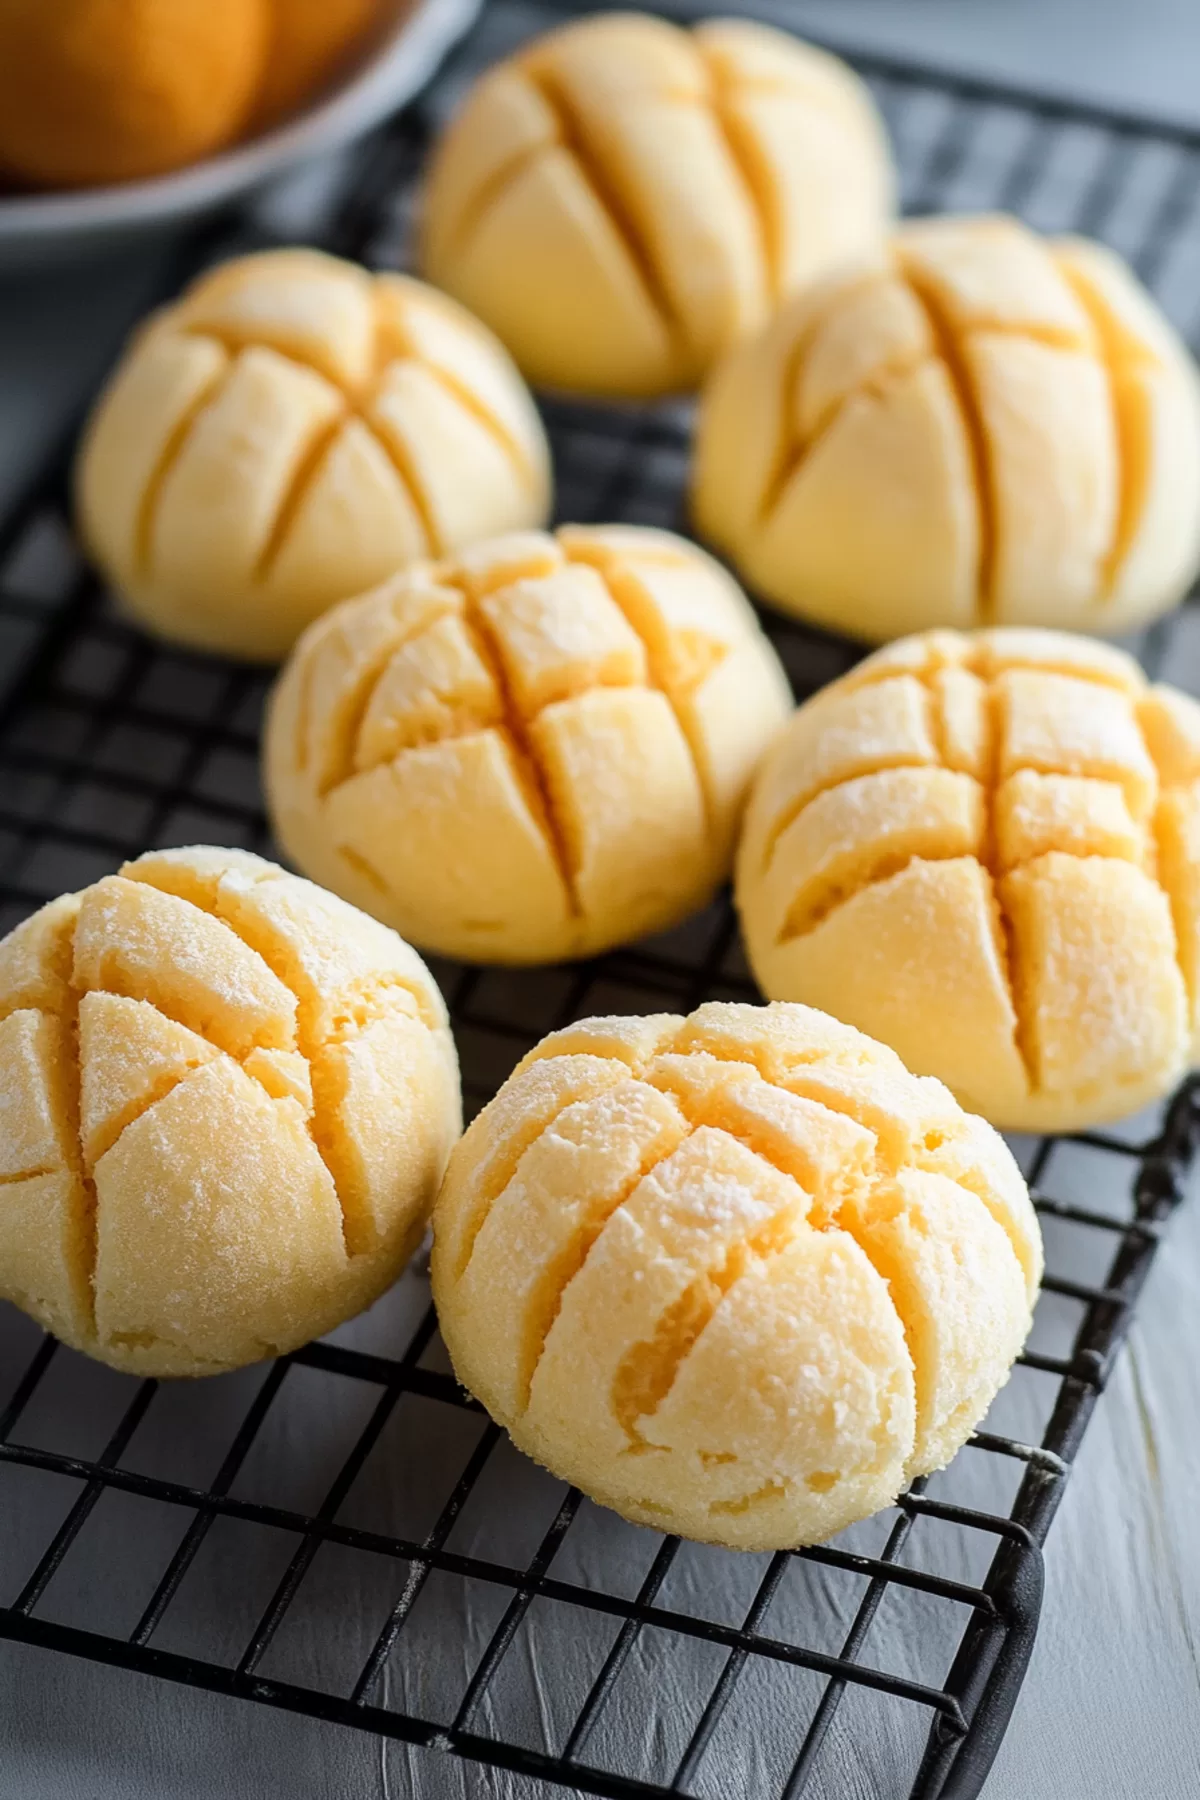
- Fruit Pairing: Serve alongside fresh fruit for a light, refreshing combo.
- Sweet Sandwich: Slice the buns and fill them with whipped cream and strawberries. It’s dessert heaven.
Frequently Asked Questions:
Why is it called “Melon Bread” if there’s no melon in it?
It’s all about the look! The cookie crust’s crisscross pattern resembles the texture of a melon’s skin.
Can I freeze the dough?
Yes! Both the bread and cookie dough can be frozen. Just thaw before assembling and baking.
How do I prevent the cookie dough from cracking?
Let it sit at room temperature for a few minutes if it’s too cold. Slightly softened dough is easier to shape and won’t crack as much.
Japanese Melon Bread is one of those recipes that feels like a little slice of joy. It’s fun to make, even more fun to eat, and guaranteed to impress anyone you share it with. Give it a try, and let me know how it turns out. Did you stick to the classic recipe, or add your own twist? Either way, I can’t wait to hear about your baking adventure!
<Remember it later>
Planning to try this recipe soon? Pin it for a quick find later!
<Remember it later>
Planning to try this recipe soon? Pin it for a quick find later!
Keep the Flavor Coming – Try These:
Ingredients
Bread Dough:
- 50 ml evaporated milk
- 50 ml water
- 4 g instant dry yeast
- 250 g bread flour plus extra for dusting
- 1 tablespoon cornstarch
- 3 g salt
- 40 g sugar
- 1 large egg
- 35 g unsalted butter
Cookie Dough:
- 200 g all-purpose flour
- 1 tablespoon cornstarch
- 2 g baking powder
- 60 g unsalted butter
- 100 g sugar
- 1 large egg
Topping:
- 2 tablespoons granulated sugar
Instructions
For the Bread Dough:
- Activate the Yeast: In a large bowl, combine evaporated milk, water, and instant dry yeast. Stir and allow it to sit for 5 minutes until foamy.
- Prepare the Dough: Add bread flour, cornstarch, salt, sugar, egg, and butter to the yeast mixture. Mix thoroughly until a soft dough forms.
- Knead the Dough: Transfer the dough to a lightly floured surface and knead for approximately 8–10 minutes until it becomes smooth and elastic. Alternatively, use a stand mixer with a dough hook attachment.
- First Proofing: Place the dough in a greased bowl, cover it with a damp cloth, and let it proof in a warm place for about 1 hour, or until it doubles in size.
For the Cookie Dough:
- Mix the Ingredients: Combine all-purpose flour, cornstarch, baking powder, butter, sugar, and egg in a medium mixing bowl. Stir until the mixture forms a smooth dough.
- Divide and Chill: Divide the cookie dough into 10 equal portions, shape them into balls, and refrigerate for at least 30 minutes to firm up.
Assembling the Melon Bread:
- Shape the Bread Dough: After the bread dough has proofed, punch it down to release air. Divide it into 10 equal pieces and shape each piece into a ball.
- Layer with Cookie Dough: Flatten each cookie dough ball and gently drape it over the bread dough ball. Smooth the edges to ensure an even layer.
- Add the Sugar Coating: Lightly press the top of each bread ball into granulated sugar. Use a knife to score a grid pattern on the cookie dough layer.
Final Proofing and Baking:
- Proof Again: Arrange the assembled buns on a baking tray lined with parchment paper, leaving space for expansion. Cover and let them proof for 1–1.5 hours until puffed.
- Bake: Preheat the oven to 350°F (175°C). Bake the melon bread for 15–20 minutes, or until the tops are golden and the bottoms sound hollow when tapped.
- Cool: Transfer the baked buns to a wire rack to cool completely before serving.
Notes

I’m Bitty, owner of nodashofgluten.com, where I share simple, delicious recipes for all tastes, including gluten-free. Check out my “About Me” page for more info!


