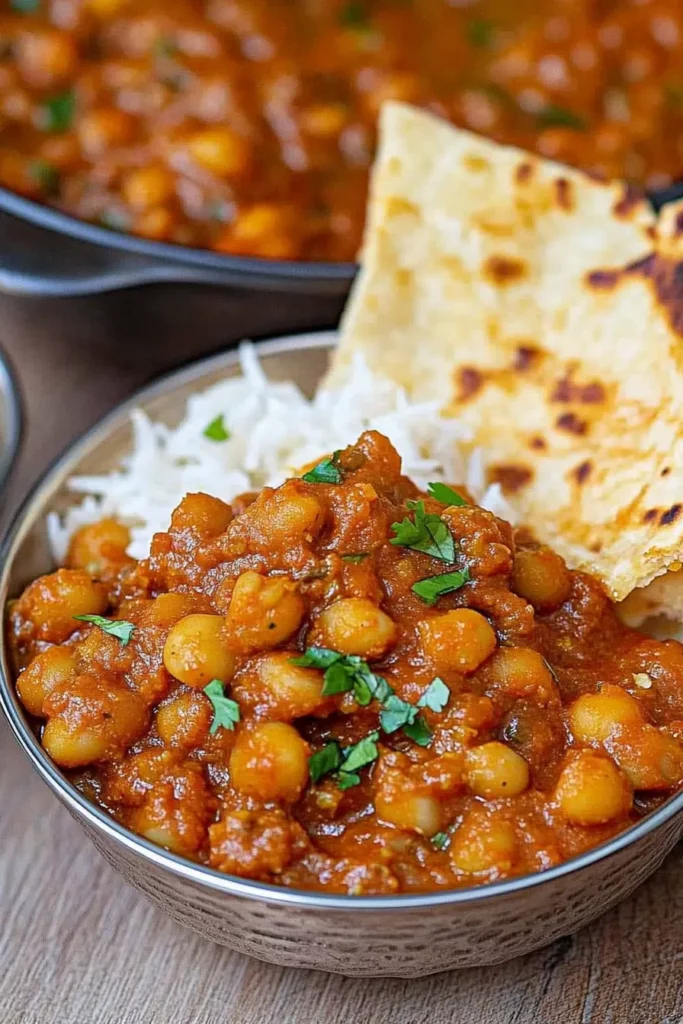
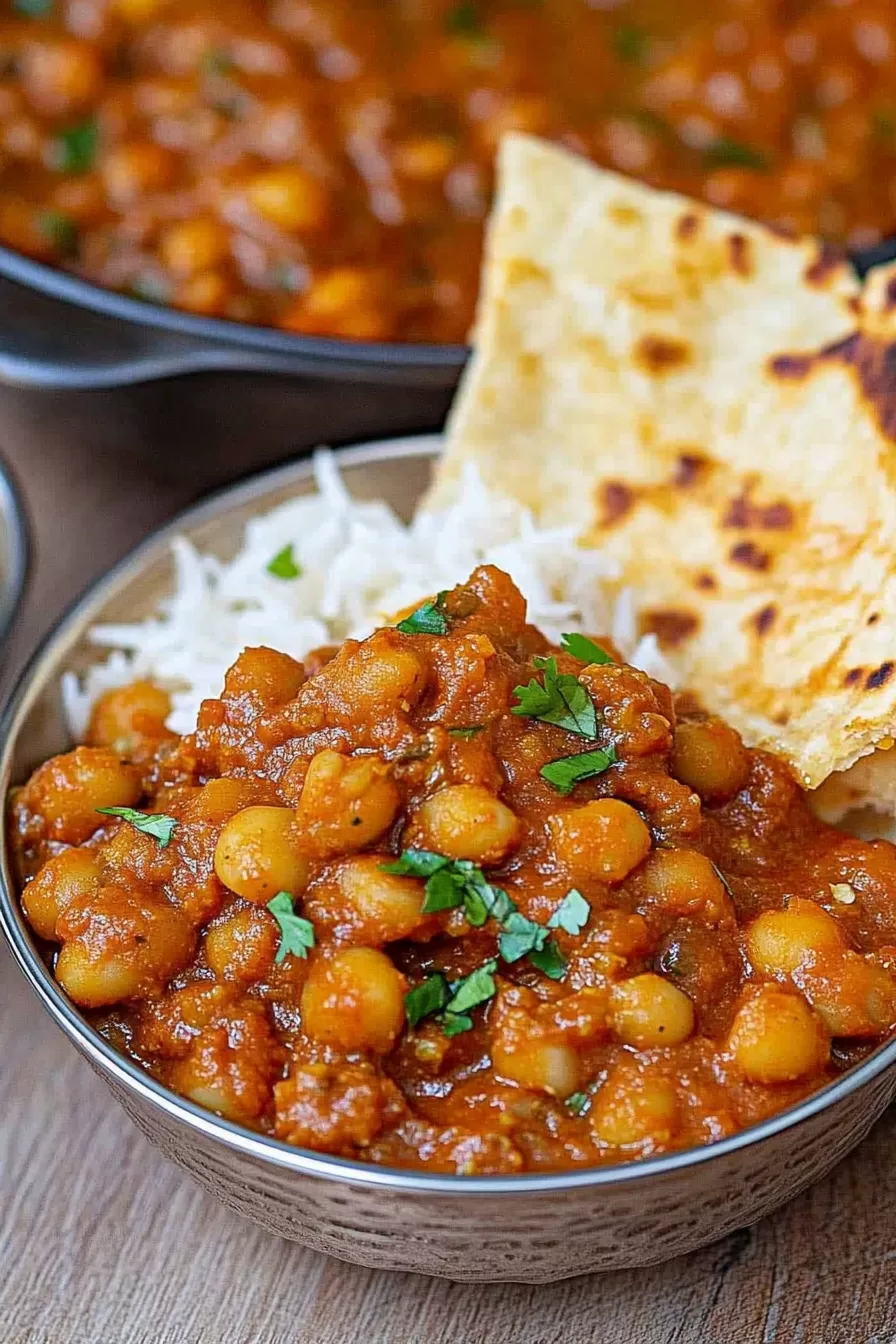
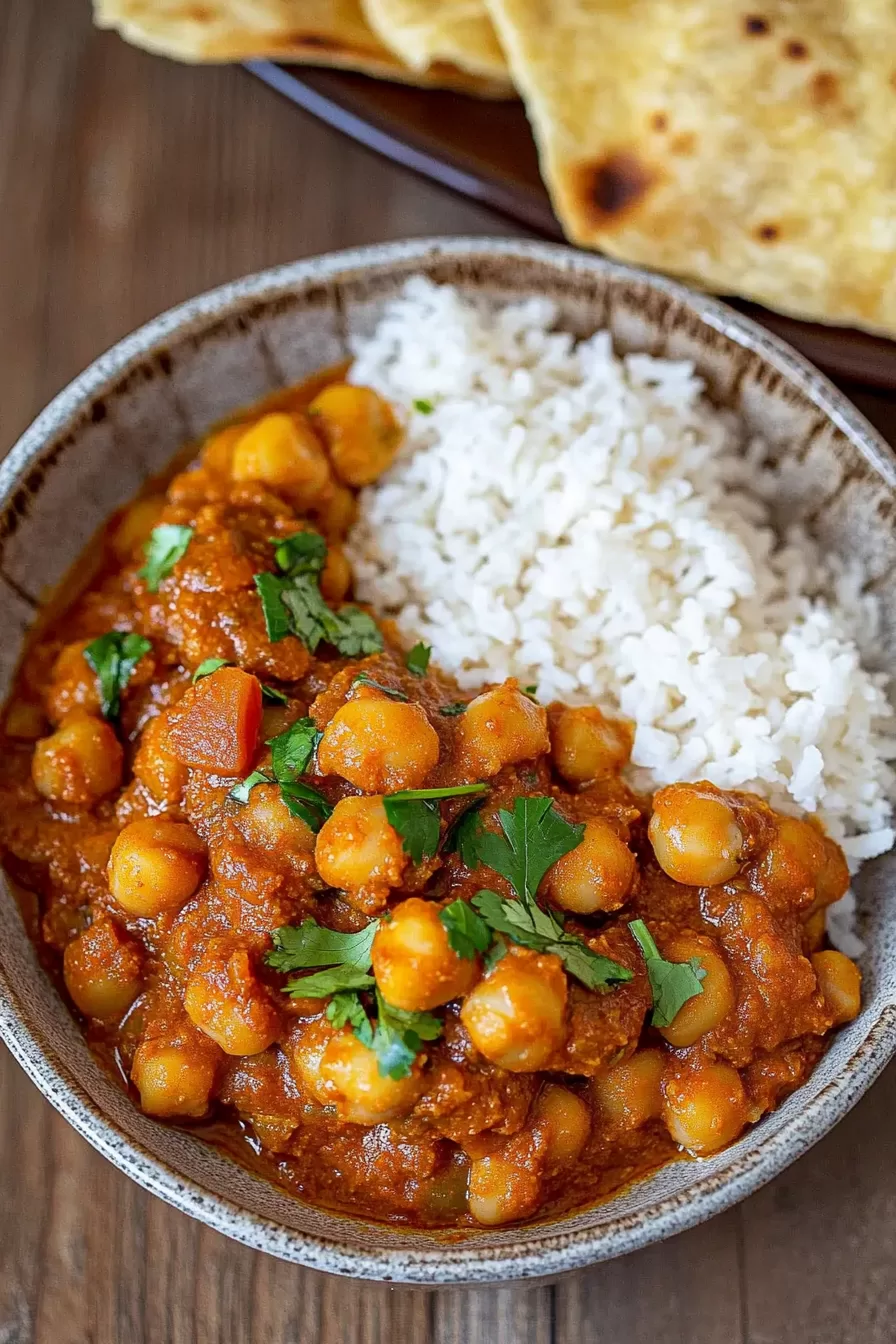
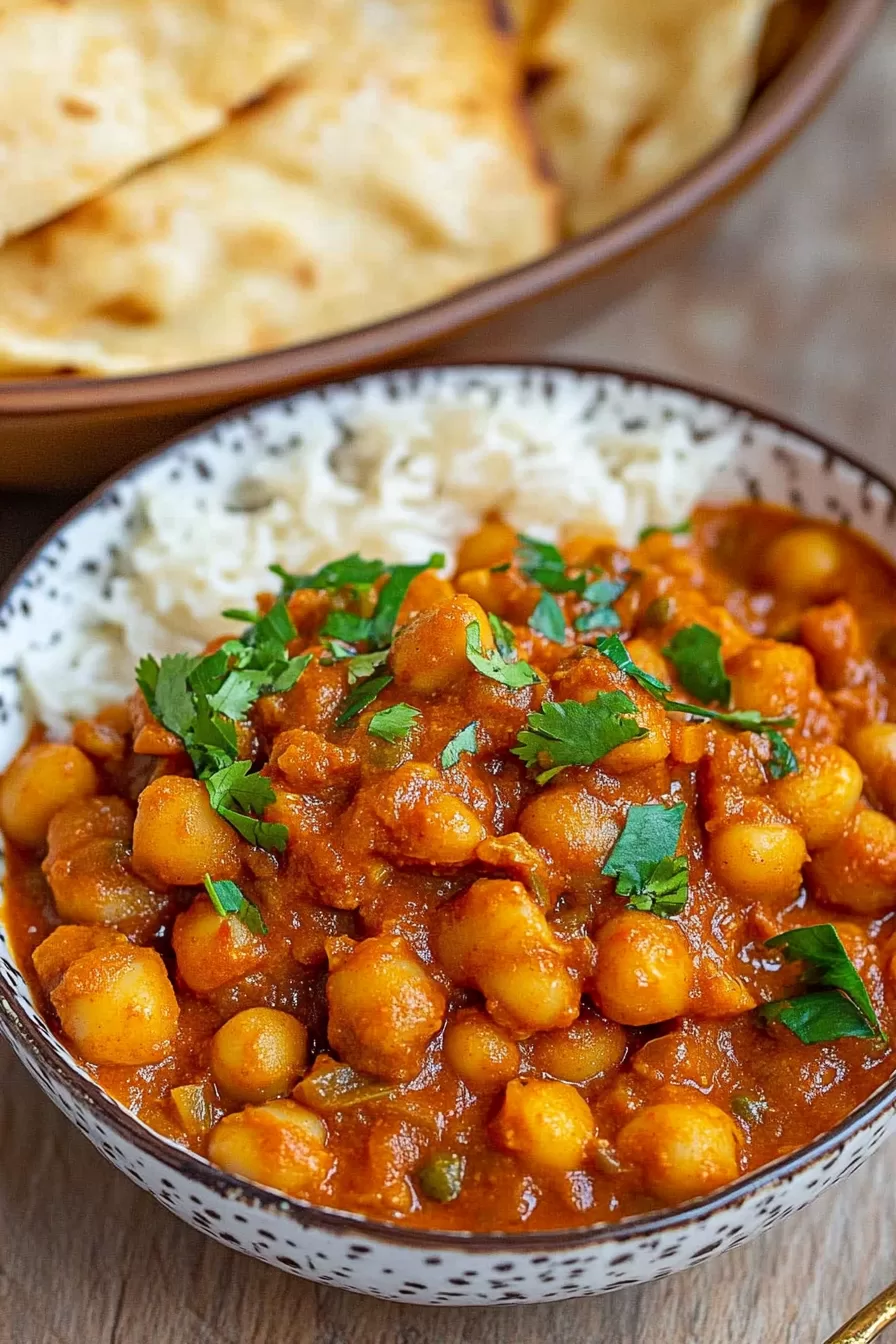
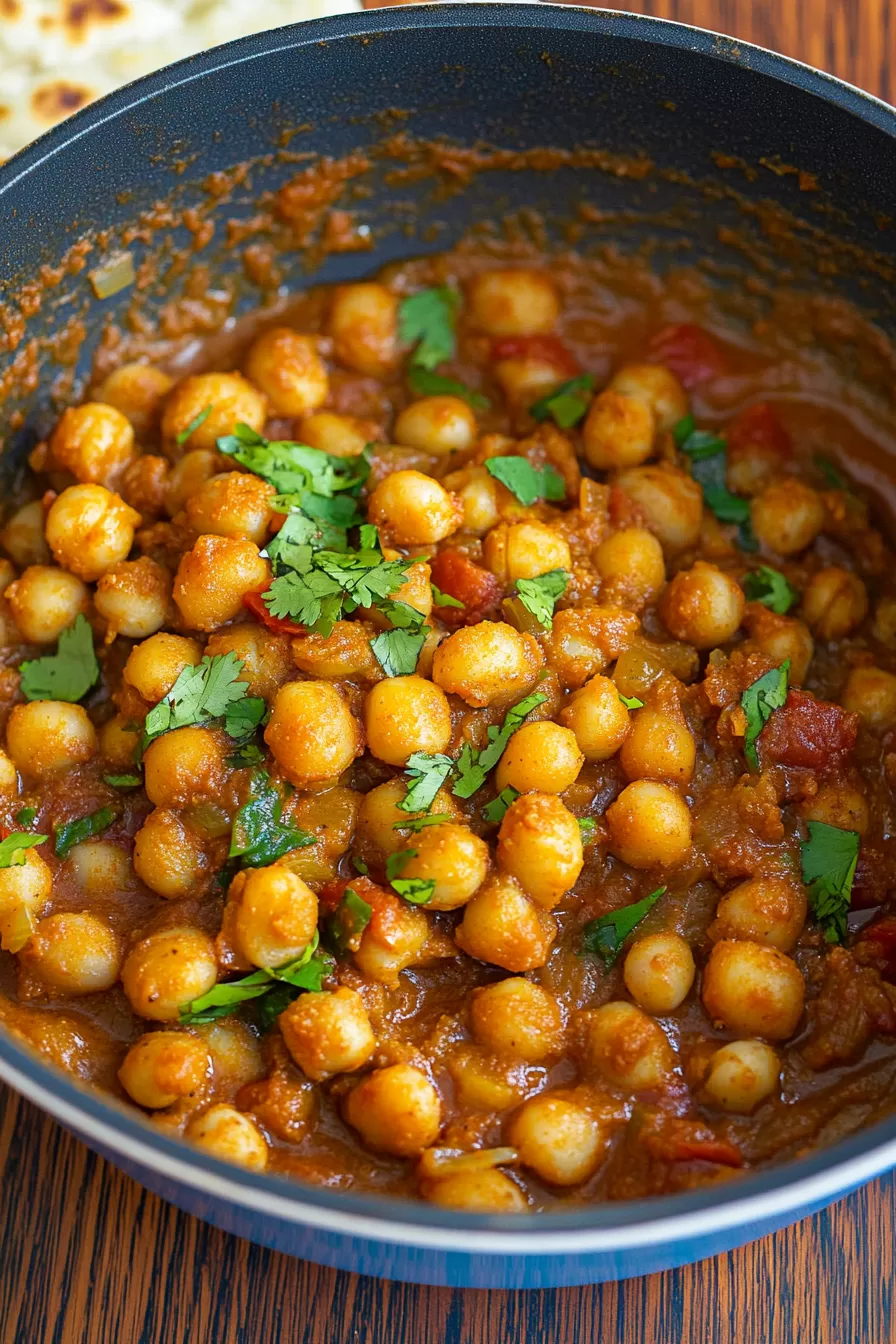
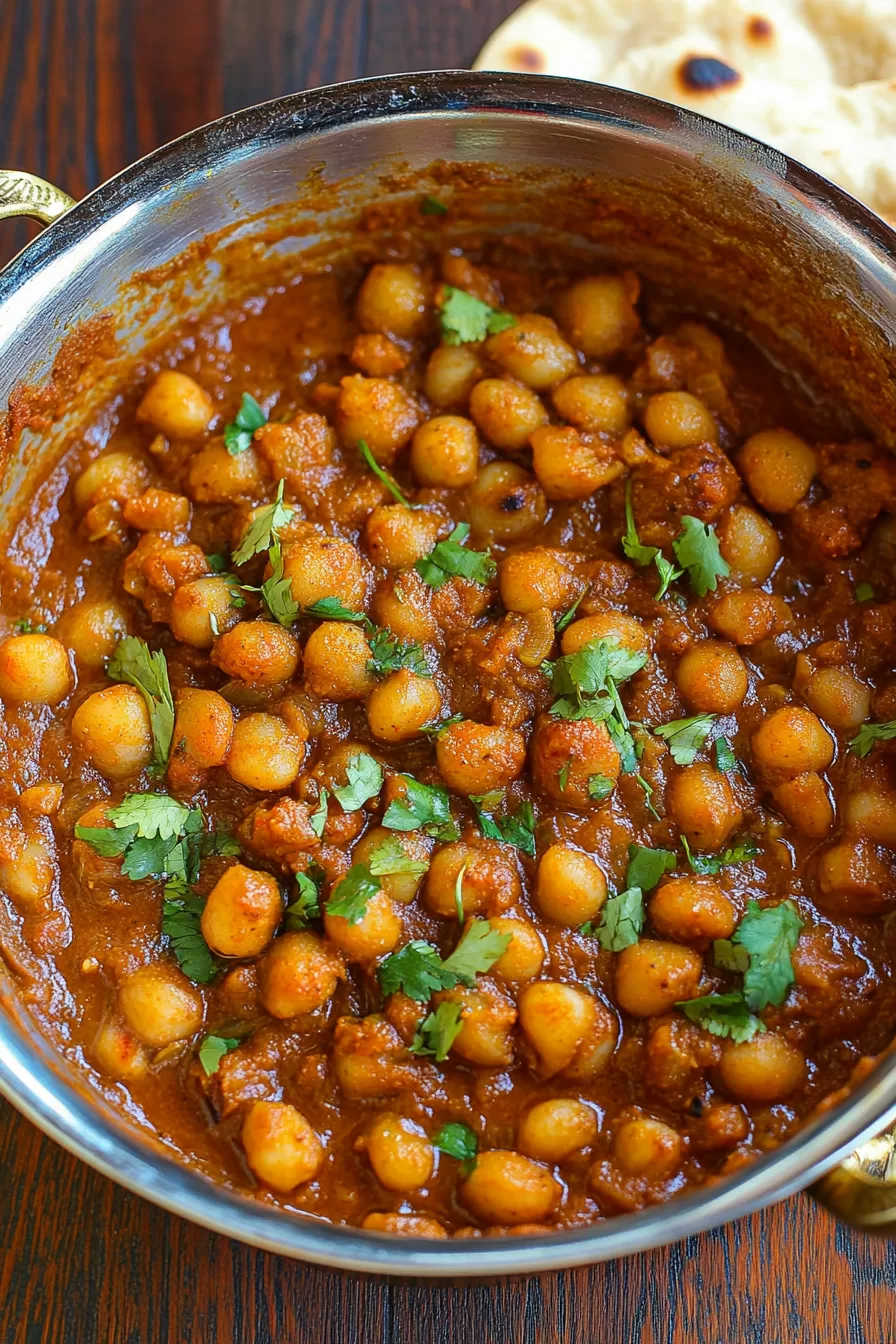
Indian Chana Masala – Funny enough, the first time I tried chana masala wasn’t at an Indian restaurant or even from a recipe book – it was at a friend’s house on a rainy evening. I still remember the way the kitchen smelled, filled with spices I couldn’t yet name but instantly wanted to know. I remember that warm, cozy feeling, eating something spicy and hearty while listening to the rain outside. And ever since, chana masala has become a go-to for me when I’m in the mood for comfort but don’t want to spend hours in the kitchen.

Remember it later!
Planning to try this recipe soon? Pin it for a quick find later!
Remember it later!
Planning to try this recipe soon? Pin it for a quick find later!
This recipe, in particular, became my favorite because it’s simple and adaptable. You can have it with rice, dip naan in it, or honestly, just eat it straight from the bowl (I may or may not have done this on occasion). If you’ve been looking for an easy, flavorful chana masala, this one’s for you.
Here’s a quick peek at what’s inside:
Table of content
Why You’ll Love This Indian Chana Masala Recipe?
- Loaded with Flavor: Between the garam masala, fresh ginger, and bay leaves, this chana masala has all the rich, aromatic goodness you want.
- Quick and Simple: Ready in 30 minutes, it’s perfect for busy weeknights or when you just need something satisfying fast.
- Versatile: Serve it over rice, scoop it up with bread, or add it to a wrap. It’s like the Swiss army knife of comfort food.
- Naturally Vegan: A hearty, plant-based meal that everyone (even the hardcore meat-eaters) will enjoy.
Ingredients Notes:
Each ingredient here has its own little job to do, and together they make magic happen in a bowl. Here’s why they matter:
- Onion: The base, adding that subtle sweetness and giving the sauce some body.
- Tomato: Adds a bit of tang and rounds out the richness of the spices.
- Fresh Ginger and Garlic: Essential in Indian cooking, they bring warmth and a little kick.
- Green Chile Pepper: Optional, but if you’re into a bit of heat, go for it. Just keep it away from the kids if they’re spice-sensitive!
- Olive Oil: Helps the spices toast up, which makes all the difference in flavor.
- Bay Leaves: Add an earthy undertone. Just remember to fish them out before digging in.
- Chickpeas: The heart of the dish. Canned ones are a lifesaver here, but feel free to cook up dried chickpeas if you’re feeling ambitious.
- Spices (Chili Powder, Coriander, Garam Masala, Turmeric): These are the real stars, bringing the warmth, the aroma, and that signature chana masala color.
- Fresh Cilantro: Don’t skip this! It brightens everything up at the end.
How To Make Indian Chana Masala?
This chana masala is straightforward but gives you that rich flavor payoff. Let’s dive in.
- Make the Masala Paste:
Blend the onion, tomato, ginger, garlic, and green chili (if using) in a food processor until smooth. This paste forms the base of our sauce, which is where all the flavor starts. - Sauté the Spices:
Heat the olive oil in a skillet over medium heat. When it’s hot, add the bay leaves and let them toast until they’re fragrant. Then, add your onion-tomato paste, and cook it until it turns a rich golden brown. It should start to smell amazing at this point – that’s when you know it’s time to move on! - Add the Dry Spices:
Stir in the chili powder, coriander, garam masala, turmeric, and a pinch of salt. Let them cook for a few minutes, just enough to release their aromas fully. This step is essential because it unlocks the spices’ flavors, giving your chana masala that authentic taste. - Add Water and Chickpeas:
Stir in enough water to get a thick, saucy consistency. Add the chickpeas, and bring it all to a gentle boil. Let it simmer for 5-7 minutes, so the chickpeas can soak up all those delicious spices. - Finish and Serve:
Once everything’s thickened up nicely, take it off the heat and garnish with fresh cilantro. It’s ready to serve – warm, cozy, and absolutely flavorful.
Storage Options:
Chana masala actually tastes even better the next day (if you have any leftovers, that is). Store it in an airtight container in the fridge for up to 3 days. When you’re ready to eat, just warm it up on the stove with a splash of water if it’s thickened up. You can also freeze it for up to 2 months – just thaw in the fridge overnight before reheating.
Variations and Substitutions:
Feel free to get creative with your chana masala! Here are some ideas:
- Adjust the Heat: Add or omit the green chili depending on your spice tolerance. You can also add a pinch of cayenne for extra heat.
- Spice Swap: No garam masala? You could try a mild curry powder for a different twist.
- Add Greens: Toss in a handful of spinach or kale at the end for extra color and nutrition.
- Creamy Option: Stir in a bit of coconut milk or cashew cream just before serving for a richer, creamier version.
What to Serve with Indian Chana Masala?
Chana masala is fantastic on its own, but here’s what I like to pair it with:
Want To Save This Recipe?
Enter your email below and we'll send the recipe straight to your inbox.
- Basmati or Jasmine Rice: Fluffy rice is perfect for soaking up all that spiced sauce.
- Naan or Roti: Perfect for scooping up each bite – it’s half the fun!
- Cucumber Raita: This cooling yogurt dip balances out the heat and adds a nice creamy texture.
- Mango Chutney: The sweet-tangy chutney is a lovely contrast to the spices.
Frequently Asked Questions:
Can I use dried chickpeas instead of canned?
Yep! Soak 1 cup of dried chickpeas overnight, then cook until tender before adding them to the recipe.
Can I make this ahead of time?
Absolutely. Chana masala tastes even better the next day, as the flavors have time to deepen. Just store in the fridge and reheat when ready to serve.
Can I freeze chana masala?
Yes, you can! It freezes well for up to 2 months. Just thaw overnight and reheat on the stove.
There you go – a cozy, flavor-packed Indian Chana Masala that’s as easy as it is satisfying. Whether it’s for a quick weeknight meal or a special dinner, this dish is bound to hit the spot. Give it a try, and let me know how it turned out! I’d love to hear your thoughts.
Remember it later!
Planning to try this recipe soon? Pin it for a quick find later!
Remember it later!
Planning to try this recipe soon? Pin it for a quick find later!
Keep the Flavor Coming – Try These:
Ingredients
- 1 onion chopped
- 1 tomato chopped
- 1 1-inch piece fresh ginger, peeled and chopped
- 4 cloves garlic chopped
- 1 green chile pepper seeded and chopped (optional)
- 3 tablespoons olive oil
- 2 fresh bay leaves
- 1 teaspoon chili powder
- 1 teaspoon coriander powder
- 1 teaspoon garam masala
- 1/2 teaspoon turmeric powder
- 1 pinch of salt to taste
- Water as needed
- 1 15-ounce can chickpeas, drained and rinsed
- 1 teaspoon fresh cilantro leaves for garnish, or more to taste
Instructions
Prepare the Masala Paste:
- In a food processor, combine the chopped onion, tomato, ginger, garlic, and green chile pepper (if using). Blend until a smooth paste forms. This paste will serve as the flavorful base for the chana masala.
Cook the Spices:
- In a large skillet, heat the olive oil over medium heat. Add the bay leaves and cook until fragrant, approximately 30 seconds. Pour the prepared paste into the skillet, stirring frequently, and cook until the oil begins to separate from the mixture and it turns a golden brown color, about 2-3 minutes.
Add Dry Spices:
- Season the mixture with the chili powder, coriander powder, garam masala, turmeric powder, and a pinch of salt. Stir well and continue cooking for another 2-3 minutes, allowing the spices to fully incorporate and release their aromas.
Incorporate Chickpeas and Water:
- Add enough water to the skillet to achieve a thick gravy consistency (about 1/2 cup, or adjust as needed). Stir in the chickpeas, ensuring they are evenly coated in the spice mixture. Bring to a gentle boil, then reduce the heat to medium, allowing the chickpeas to cook and absorb the flavors for 5-7 minutes.
Finish and Serve:
- Once the chickpeas are heated through and the gravy has thickened slightly, remove the skillet from heat. Garnish the chana masala with fresh cilantro leaves. Serve warm with basmati or jasmine rice, or alongside naan.
Notes

I’m Bitty, owner of nodashofgluten.com, where I share simple, delicious recipes for all tastes, including gluten-free. Check out my “About Me” page for more info!


