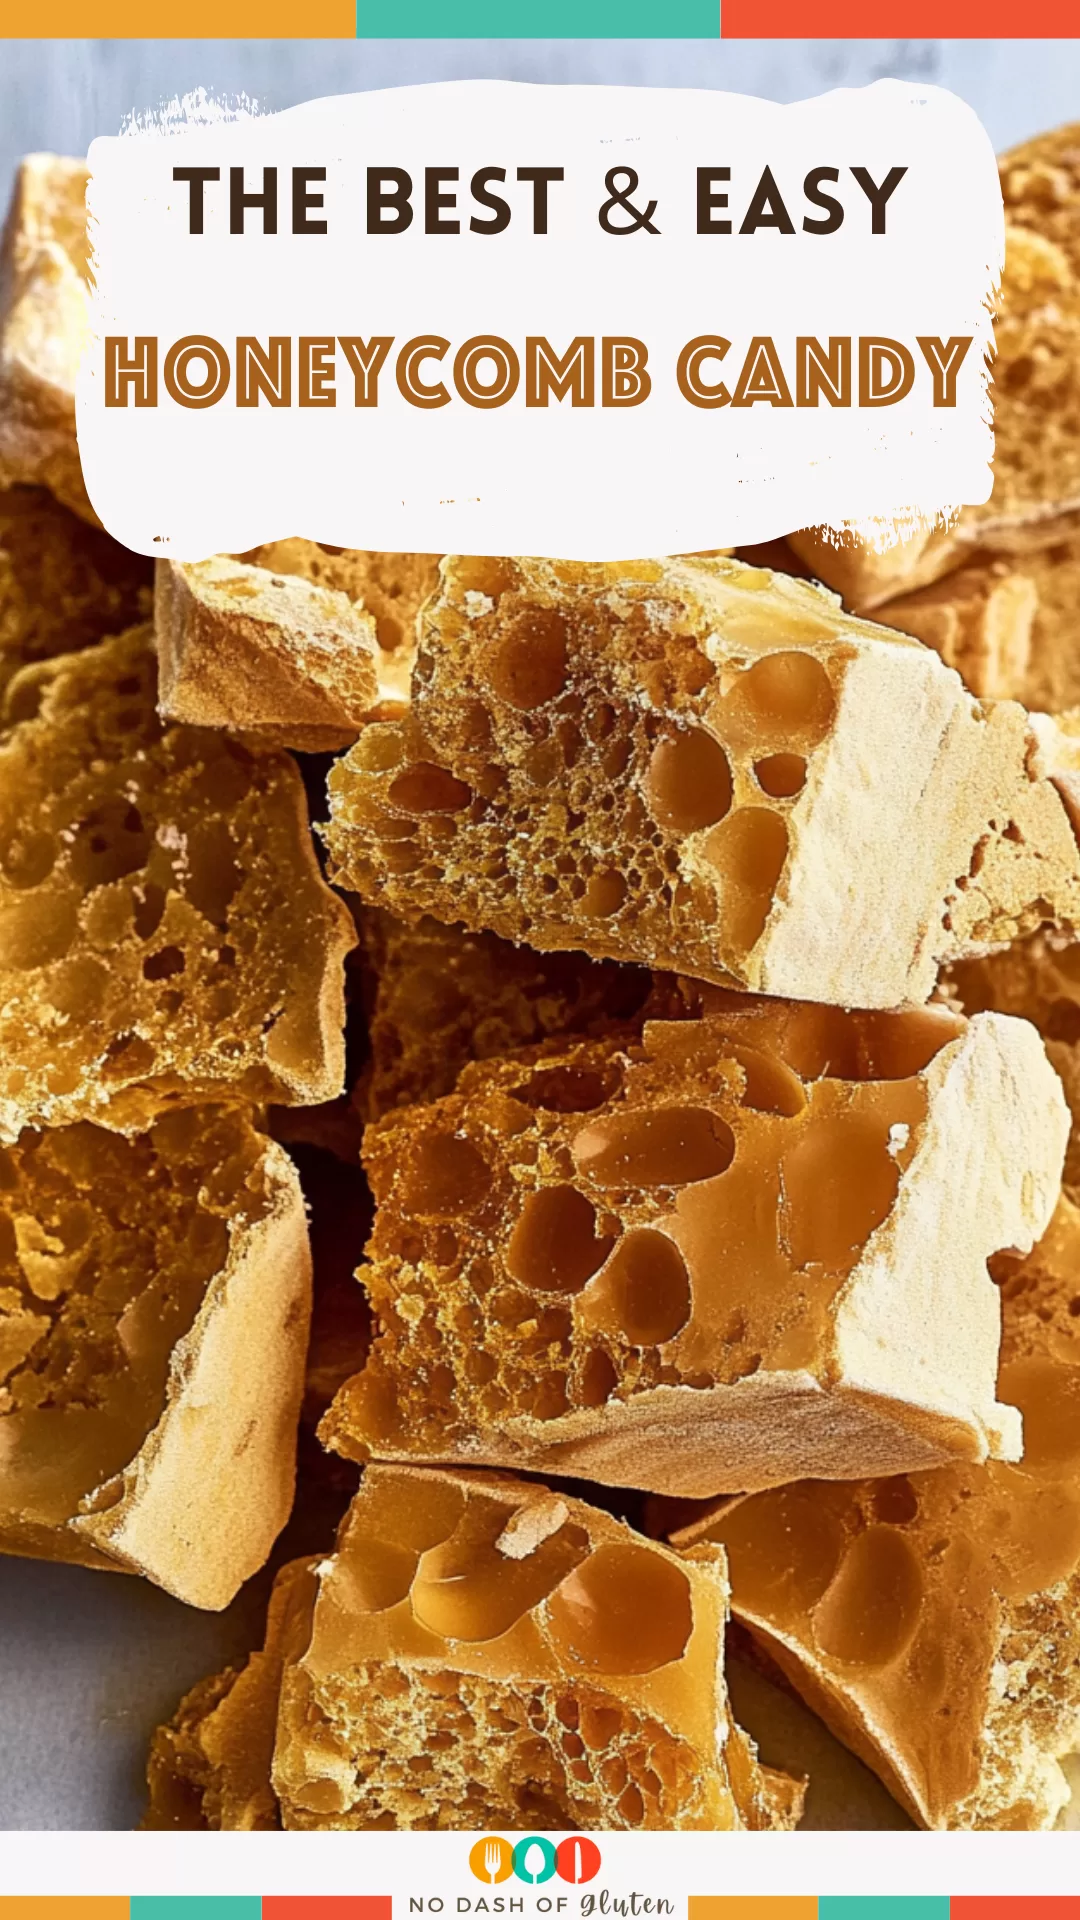
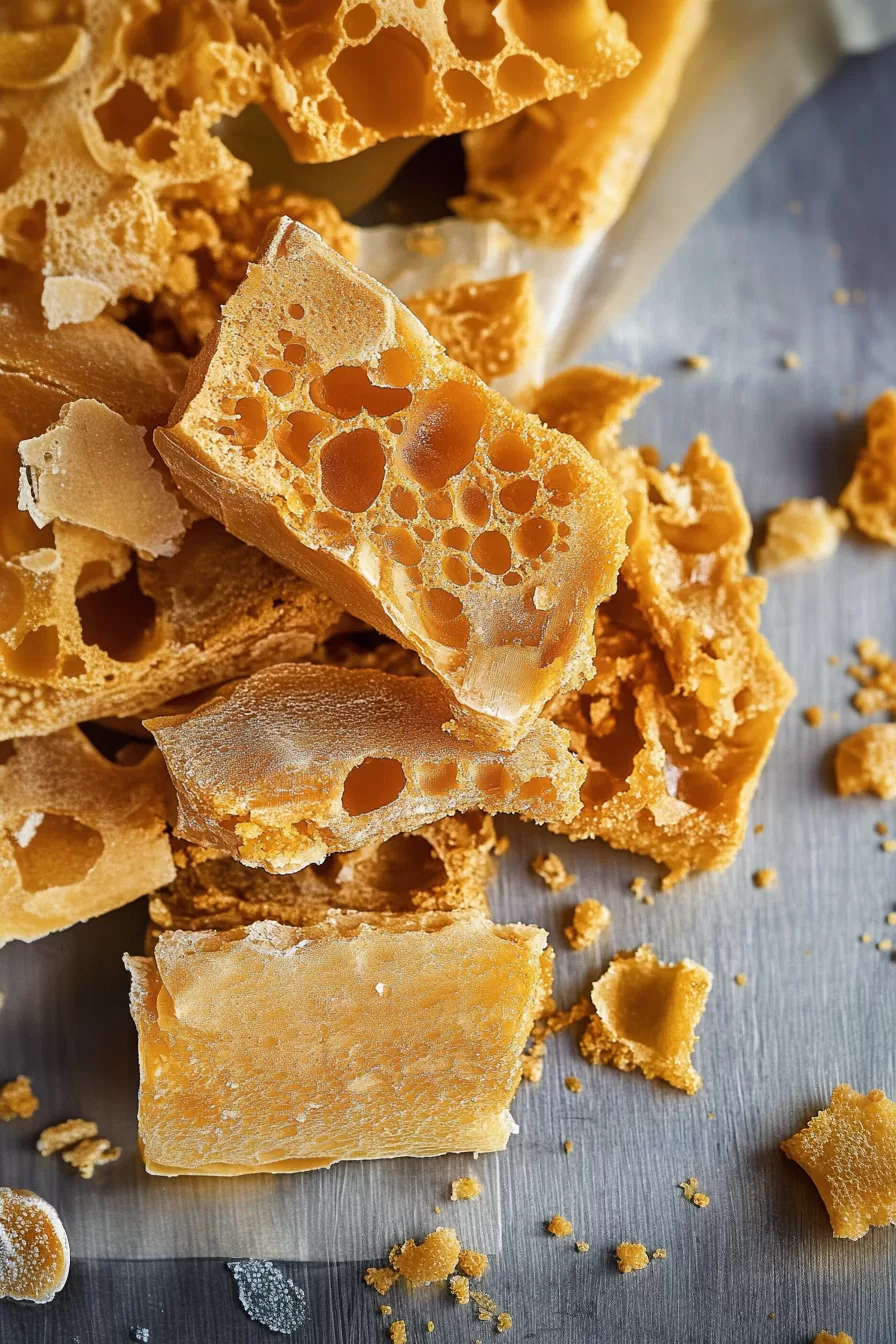
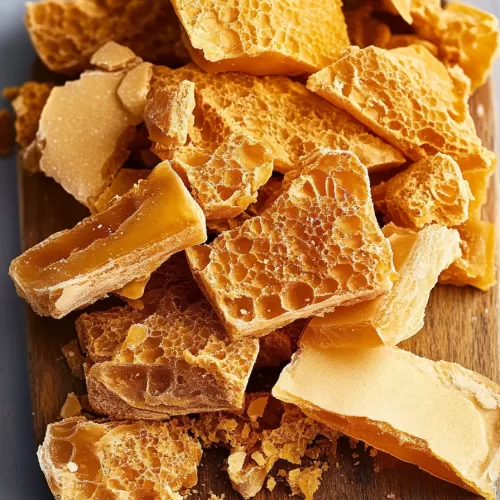
Honeycomb Candy – Ever bite into something so light, airy, and sweet that it instantly takes you back? Honeycomb Candy does that for me, every single time. It’s not just a treat; it’s a memory—of cozy afternoons in the kitchen, experimenting with sugar and baking soda like some kind of culinary mad scientist.
The first time I made honeycomb candy, it was pure chaos. Picture me frantically stirring sugar, desperately trying to keep it from burning while flipping through instructions with sticky fingers. (Pro tip: Always prep your ingredients first—lesson learned the hard way!) But when I poured that golden, bubbling mixture into the pan and watched it transform into a crunchy, airy masterpiece? Totally worth the panic.

Now, it’s a family tradition. My kids love helping with the “magic moment” when the baking soda turns the syrup into a foamy cloud, and my husband? He’s all about the chocolate-dipped pieces. Whether you’re a seasoned baker or just love a good DIY project, this recipe is a must-try.
Why You’ll Love This Honeycomb Candy Recipe?
- It’s magical: Watching sugar bubble up and transform feels like a science experiment (and tastes way better).
- Simple ingredients: You probably have most of these in your pantry already.
- Quick and fun: It takes just 15 minutes to make the candy, and the process is oddly satisfying.
- Customizable: Keep it classic or add chocolate, nuts, or even a sprinkle of sea salt for a gourmet twist.
- Perfect for gifting: Pack it in jars or little bags, and you’ve got a homemade gift everyone will love.
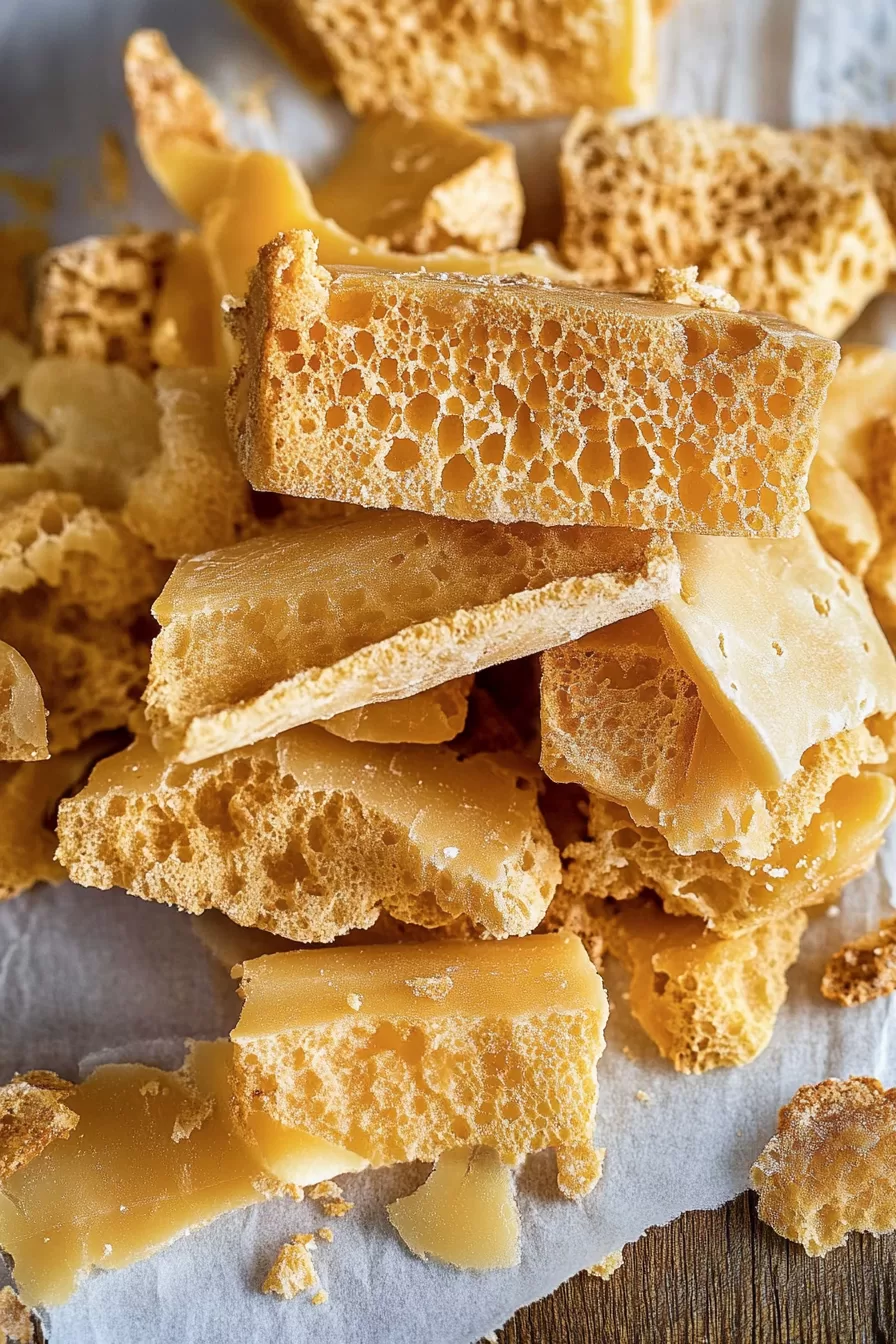
Ingredient Notes:
Every ingredient in honeycomb candy has its role, and here’s why they matter:
- Granulated sugar: The base of any great candy—it caramelizes and brings that signature sweetness.
- Light corn syrup: Keeps the sugar mixture smooth and prevents it from crystallizing.
- Water: Helps dissolve the sugar and creates the right consistency.
- Baking soda: The game-changer! It reacts with the hot sugar to create all those airy pockets that make honeycomb candy so light.
- Chocolate (optional): Dipping or drizzling takes this treat to the next level. Who doesn’t love a little extra indulgence?
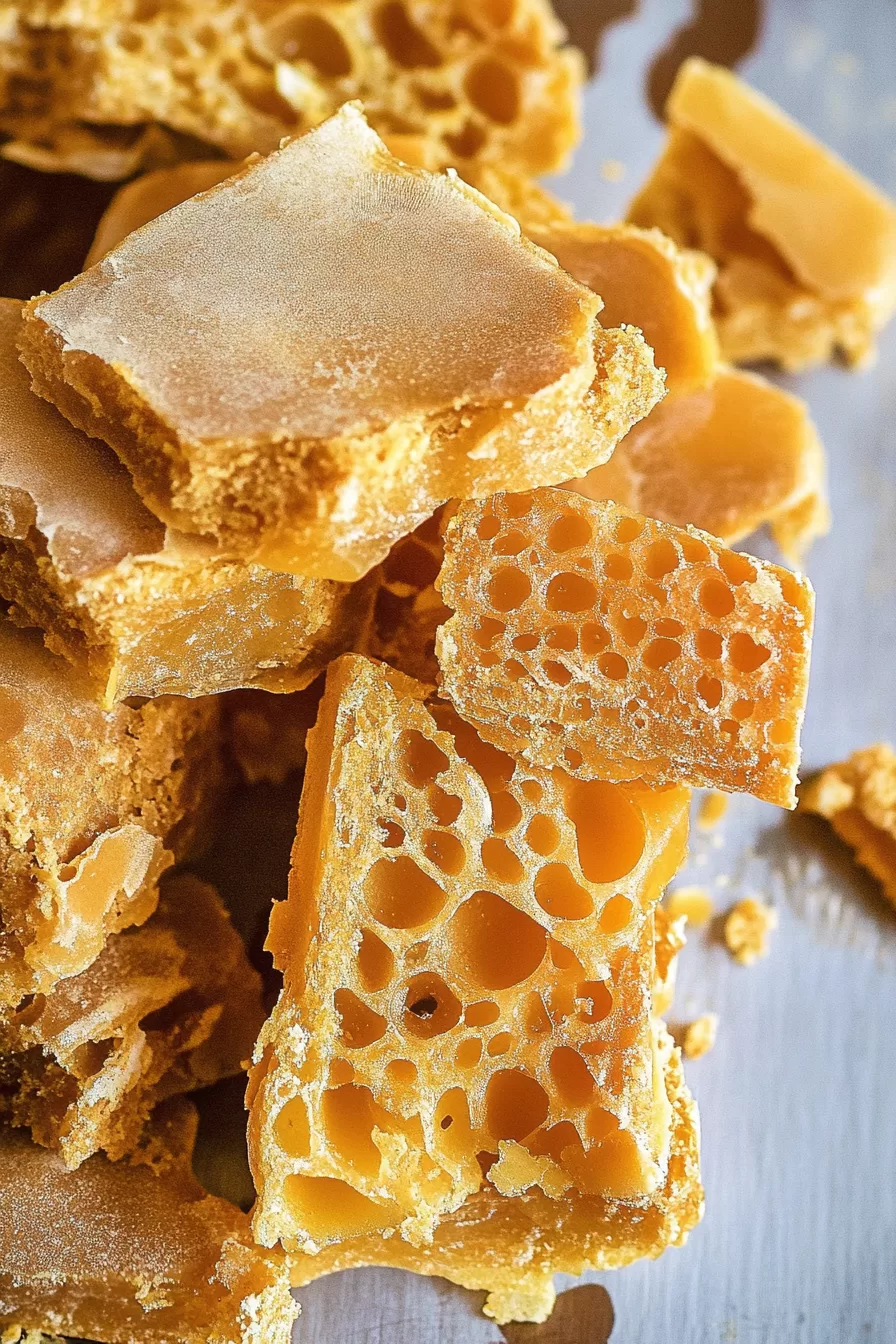
How To Make Honeycomb Candy?
Making honeycomb candy is way easier than you’d think, especially when you break it down step by step:
Step 1: Prep the Pan
Start by lining an 8×8-inch pan with parchment paper. Trust me, this is non-negotiable unless you want to spend hours chiseling candy off your pan.
Step 2: Combine the Ingredients
In a medium saucepan, mix together the sugar, corn syrup, and water. Heat it over medium, stirring constantly until the sugar dissolves and the mixture starts to boil. Be patient—this part takes a little time, but it’s worth it.
Step 3: Heat to Perfection
Once the mixture is boiling, stop stirring. Attach a candy thermometer and let it cook until it hits 300°F. This is the “hard crack” stage, and it’s what gives honeycomb candy its signature crunch.
Step 4: Add the Baking Soda
Here comes the fun part. Remove the pan from the heat and quickly stir in the baking soda. The mixture will foam up dramatically—don’t panic, this is supposed to happen. Stir just enough to combine the baking soda, but don’t overdo it, or you’ll lose all those lovely bubbles.
Step 5: Cool and Break
Pour the foamy mixture into your prepared pan and let it cool for at least an hour. Once it’s hard, break it into pieces using your hands or a mallet.
Want To Save This Recipe?
Enter your email below and we'll send the recipe straight to your inbox.
Step 6: Add Chocolate (Optional)
If you’re feeling fancy, melt some chocolate and drizzle it over the pieces, or dip them entirely. The combination of creamy chocolate and crunchy candy is chef’s kiss.
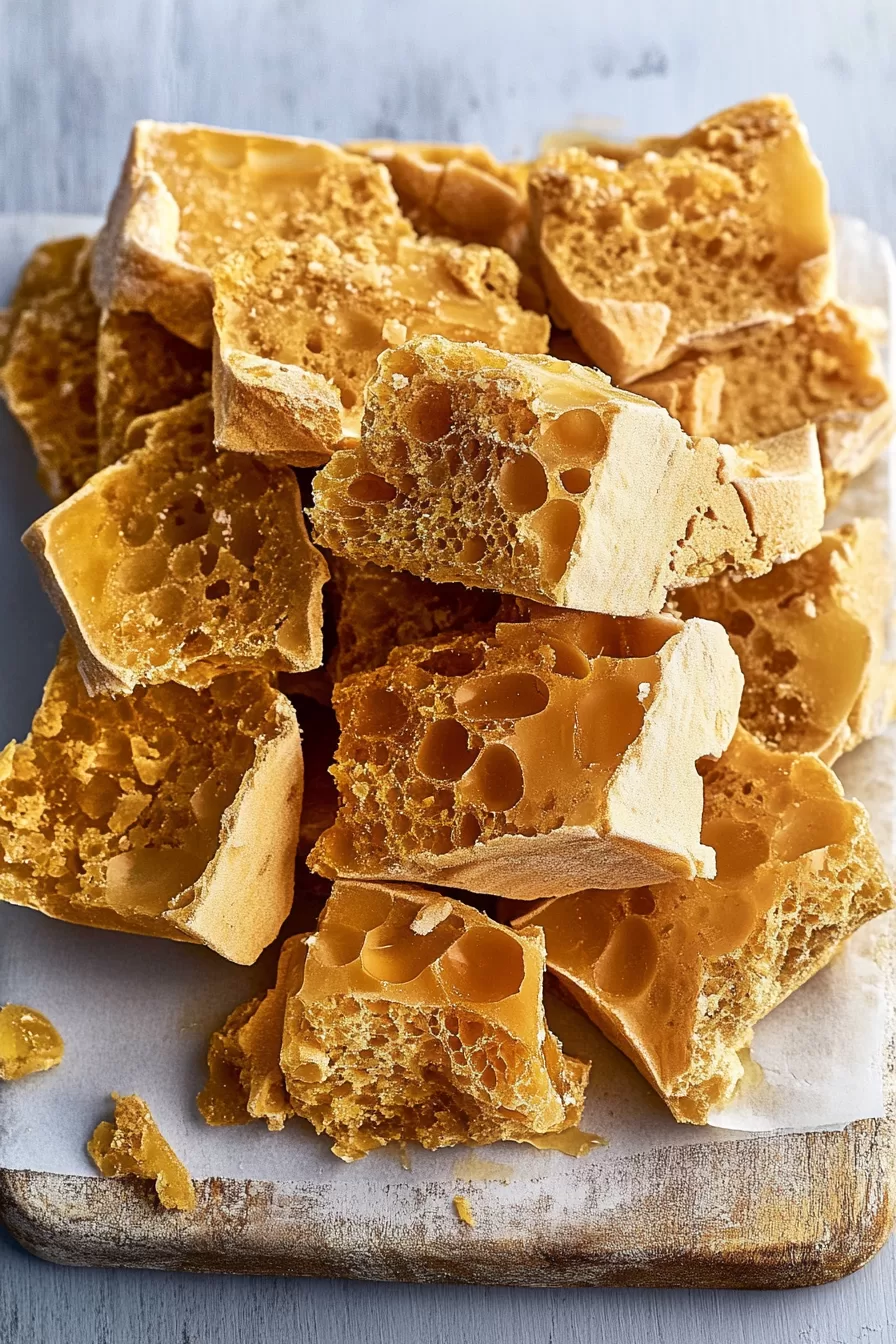
Storage Options:
- Room temperature: Store in an airtight container for up to two weeks. Add a silica gel packet if you’re in a humid climate—it works wonders!
- Refrigerator: If it’s warm where you live, the fridge can help keep the candy from getting sticky, but it might lose a bit of its crunch.
- Freezer: Freezing isn’t ideal as it can make the candy sticky and affect the texture. Stick to room temperature for the best results.
Variations and Substitutions:
Want to get creative? Here are some fun ways to make this recipe your own:
- Flavored honeycomb: Add a drop of vanilla, almond, or peppermint extract for a subtle twist.
- Colored candy: Stir in a few drops of food coloring to match a theme or holiday.
- Gourmet touch: Sprinkle sea salt or crushed nuts over the candy before it sets.
- Golden syrup: Swap corn syrup for golden syrup for a richer, more caramel-like flavor.
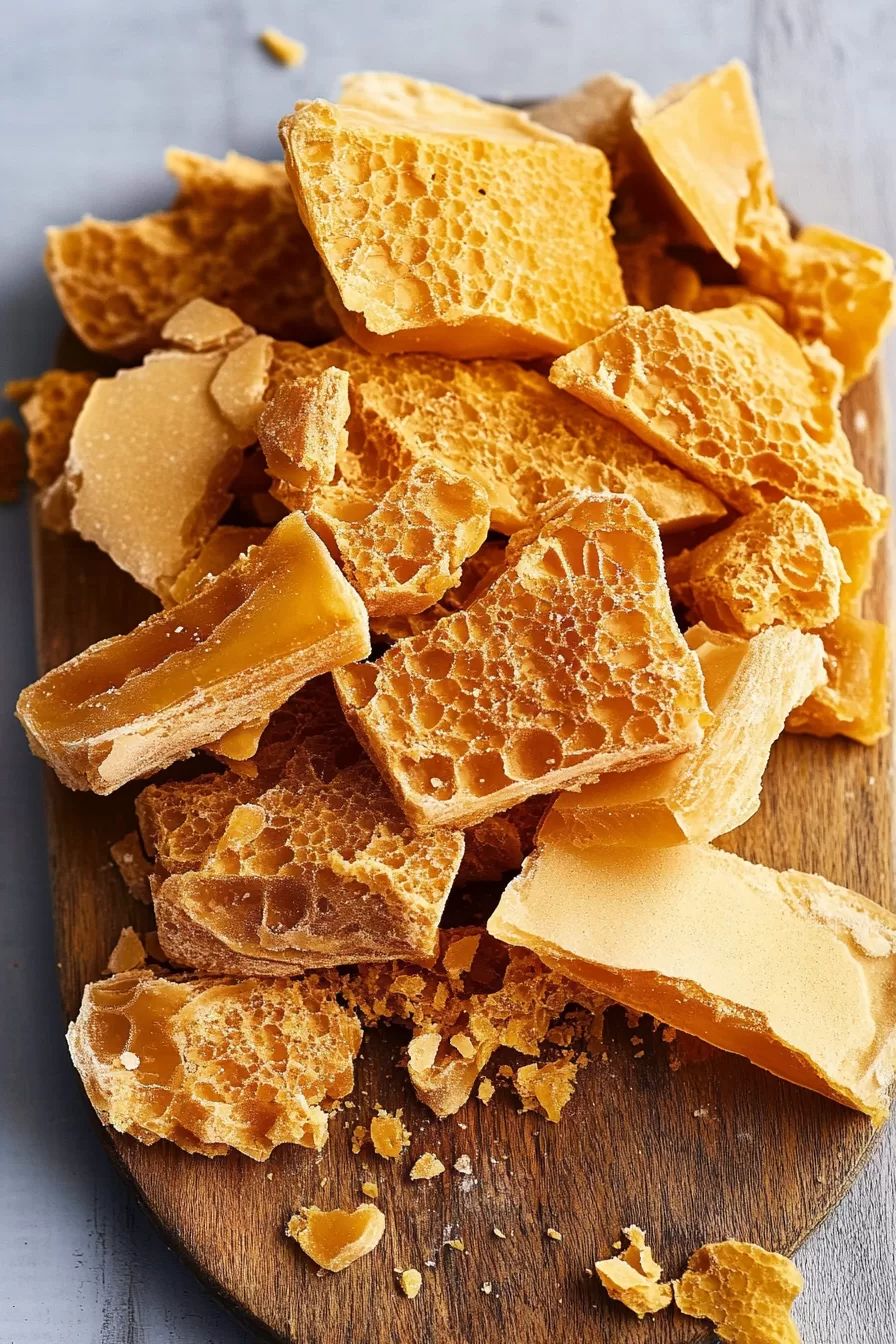
What to Serve with Honeycomb Candy?
Honeycomb candy is amazing on its own, but it also pairs beautifully with other treats:
- Ice cream: Crumble pieces over vanilla or chocolate ice cream for a crunchy topping.
- Hot cocoa: Stir a piece into your hot chocolate for a sweet, caramelized kick.
- Cheesecake: Use it as a garnish for an extra layer of texture and sweetness.
- Coffee: A piece of honeycomb candy alongside your morning brew? Yes, please!
Frequently Asked Questions:
Why is my candy sticky?
Humidity is the enemy of honeycomb candy. Store it in an airtight container with a silica gel packet to keep it crunchy.
Can I make this without a candy thermometer?
Technically, yes, but it’s tricky. A thermometer ensures you hit the right temperature for that perfect crunch.
Can I use dark chocolate for dipping?
Absolutely! The bitterness of dark chocolate pairs wonderfully with the sweetness of the candy.
And there you have it—everything you need to know to make Honeycomb Candy that’s light, airy, and totally addictive. Whether you’re gifting it, sharing it, or sneaking a piece straight from the container (no judgment here), this recipe is sure to impress. Let me know how yours turns out—I’d love to hear your candy-making stories!
<Remember it later>
Planning to try this recipe soon? Pin it for a quick find later!
<Remember it later>
Planning to try this recipe soon? Pin it for a quick find later!
Keep the Flavor Coming – Try These:
Honeycomb Candy
Ingredients
- 1 cup 200 g granulated sugar
- ⅓ cup 80 ml light corn syrup
- ⅓ cup 80 ml water
- 2 ½ teaspoons baking soda
- Chocolate for dipping or drizzling optional: Melted chocolate chips, chocolate bars, or melting wafers.
Instructions
Prepare the Pan:
- Line an 8x8-inch square baking pan with parchment paper, ensuring the paper extends slightly over the edges for easy removal. Set aside.
Measure Ingredients in Advance:
- Pre-measure the baking soda and keep it within reach. Once the sugar mixture reaches the correct temperature, you will need to add it immediately.
Combine Sugar, Corn Syrup, and Water:
- In a medium-sized heavy-bottomed saucepan, combine the granulated sugar, corn syrup, and water. Stir the mixture over medium heat until the sugar dissolves and the liquid becomes clear.
Heat to 300°F (149°C):
- Once the mixture begins to boil, attach a candy thermometer to the side of the saucepan. Ensure the thermometer's tip does not touch the bottom of the pan. Without stirring, allow the mixture to reach 300°F, also known as the "hard crack" stage.
Incorporate Baking Soda:
- Remove the saucepan from the heat and quickly stir in the baking soda. The mixture will foam up immediately. Stir just enough to evenly distribute the baking soda without overmixing, as over-stirring will deflate the airy texture.
Transfer to Prepared Pan:
- Pour the foamy mixture into the prepared baking pan. Avoid pressing down or smoothing the surface, as this can flatten the candy. Let the mixture cool at room temperature for at least 1 hour.
Break into Pieces:
- Once the candy has fully hardened, remove it from the pan using the parchment paper. Break it into pieces by hand or use a knife or mallet for more precise shapes.
Optional Chocolate Coating:
- If desired, melt chocolate of your choice and either drizzle it over the candy pieces or dip each piece for a more indulgent treat. Allow the chocolate to set completely before serving.
Notes

I’m Bitty, owner of nodashofgluten.com, where I share simple, delicious recipes for all tastes, including gluten-free. Check out my “About Me” page for more info!


