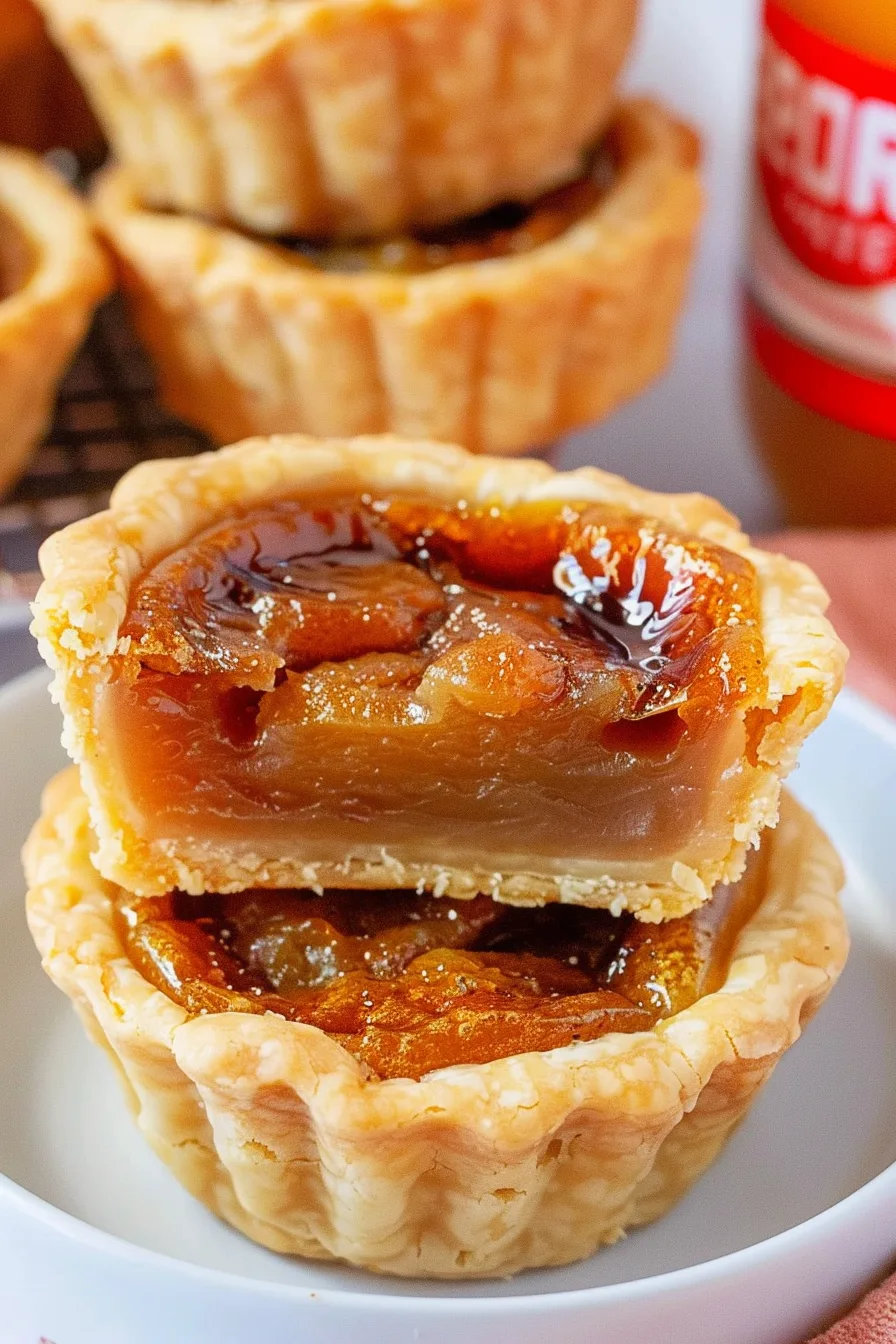
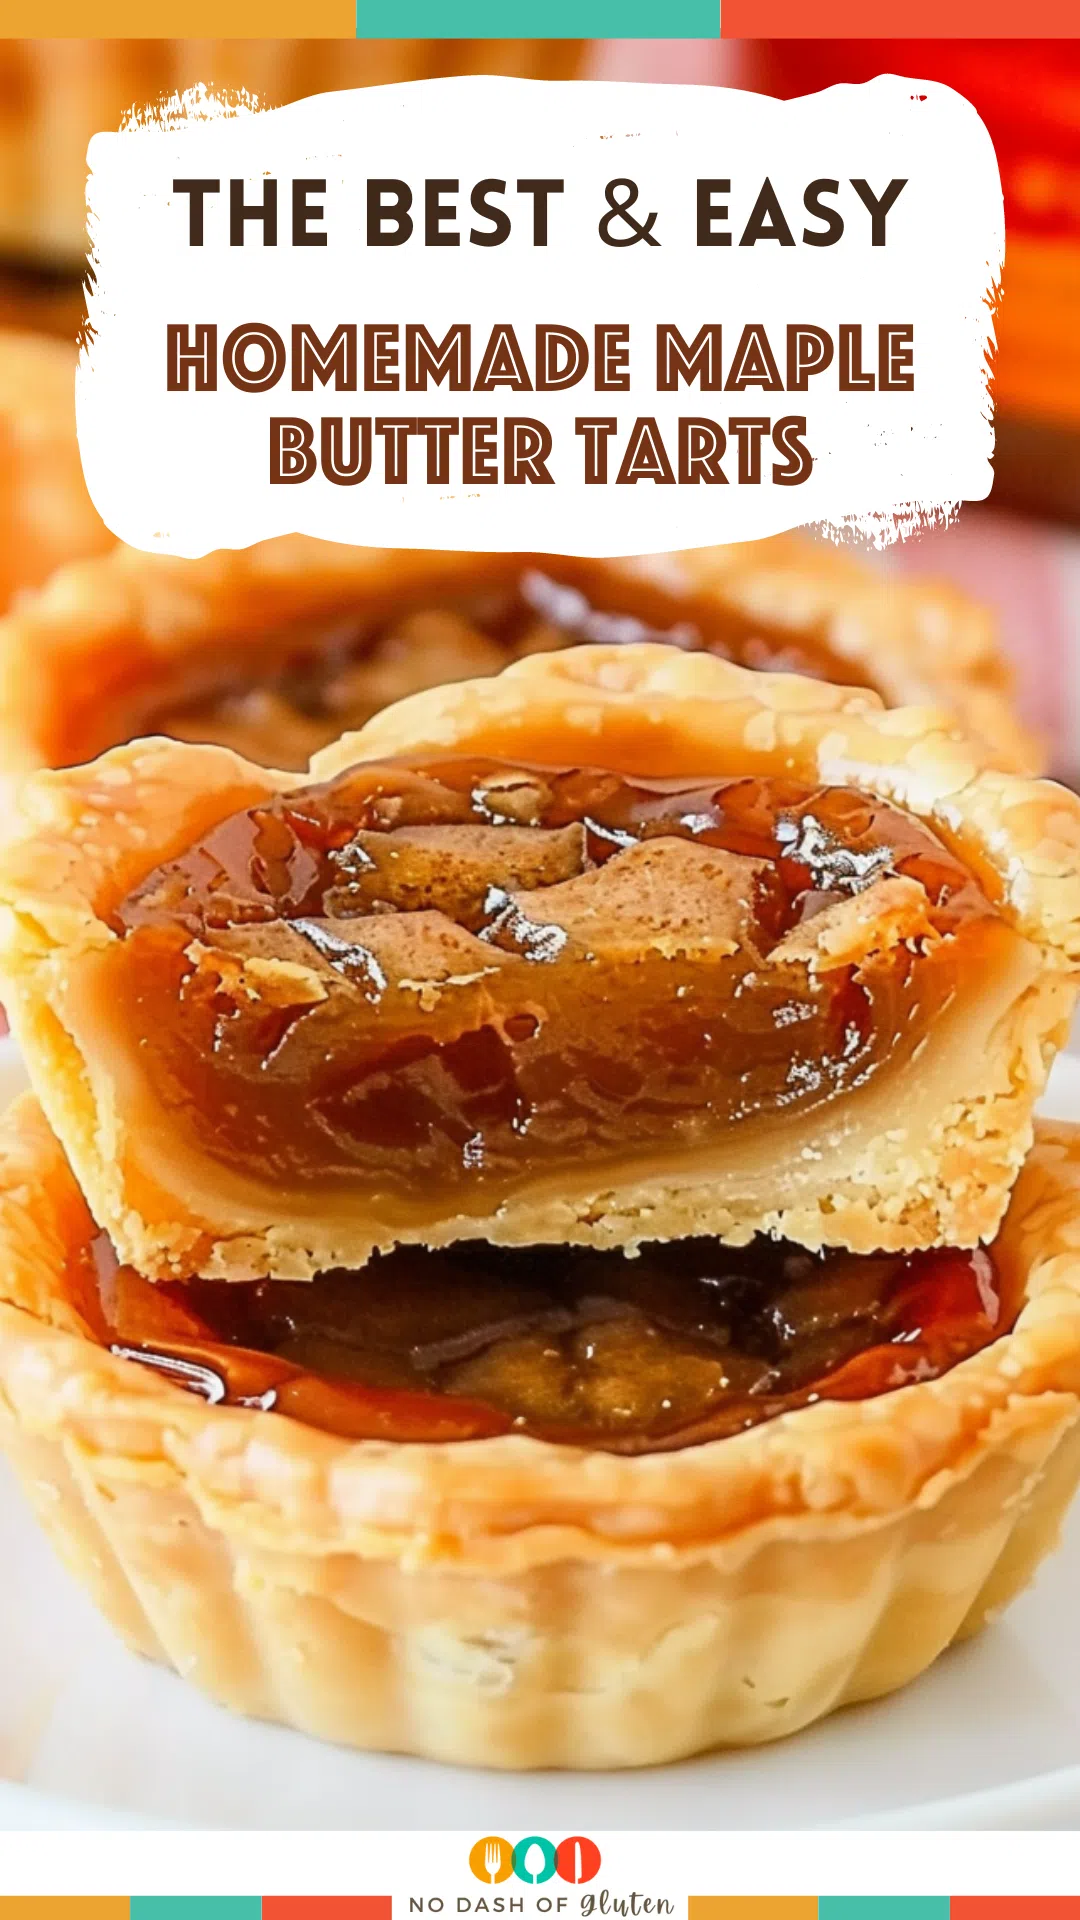
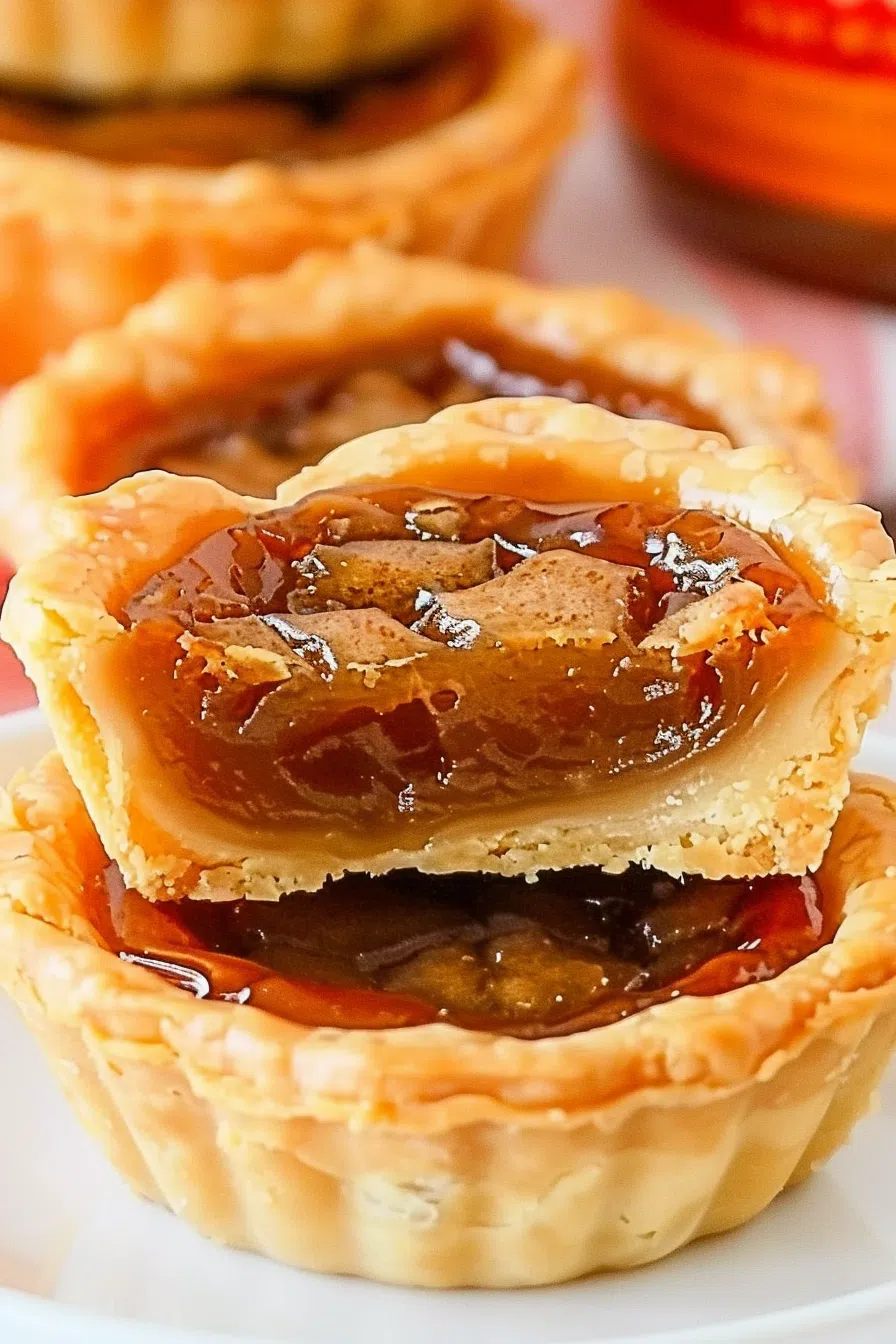
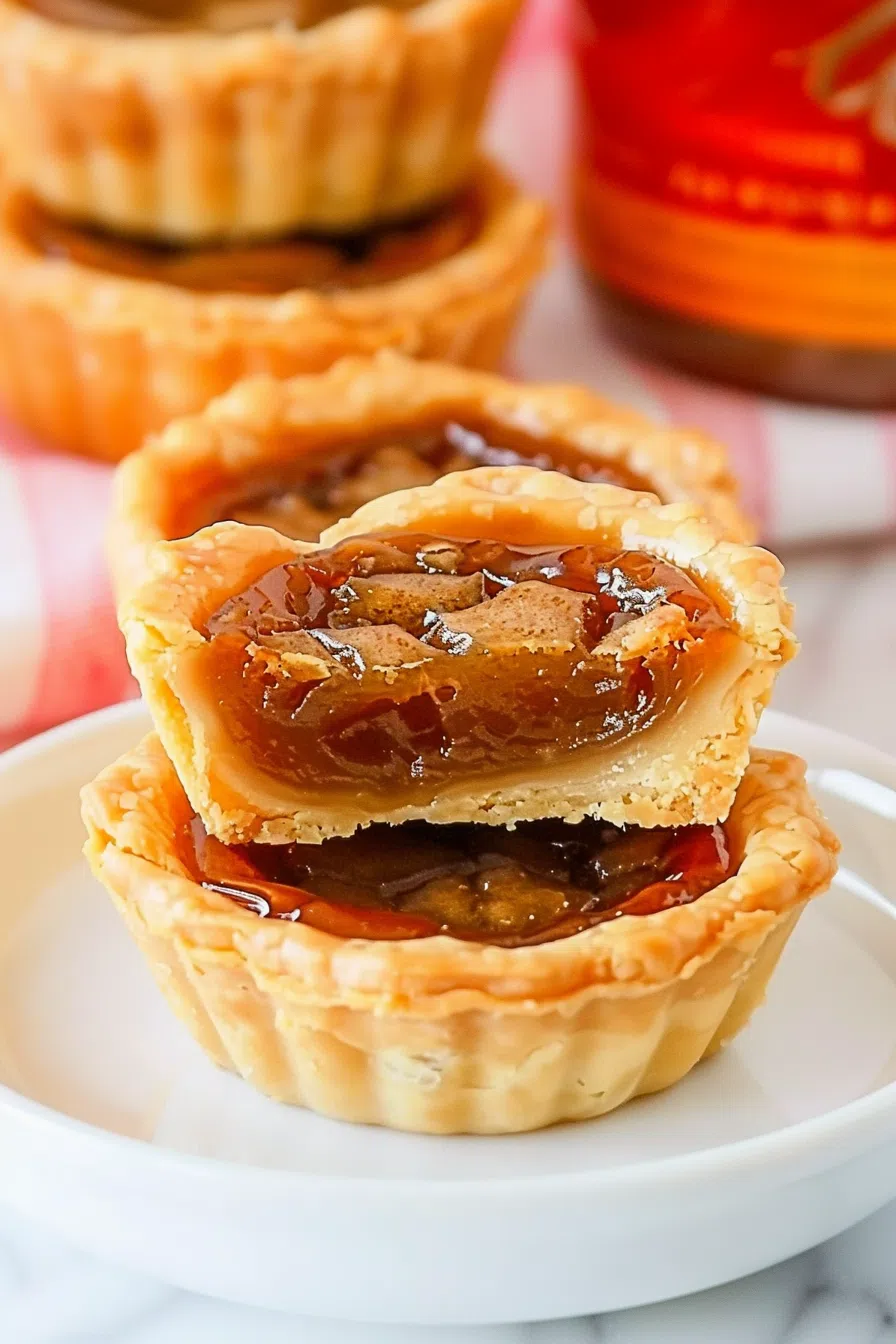
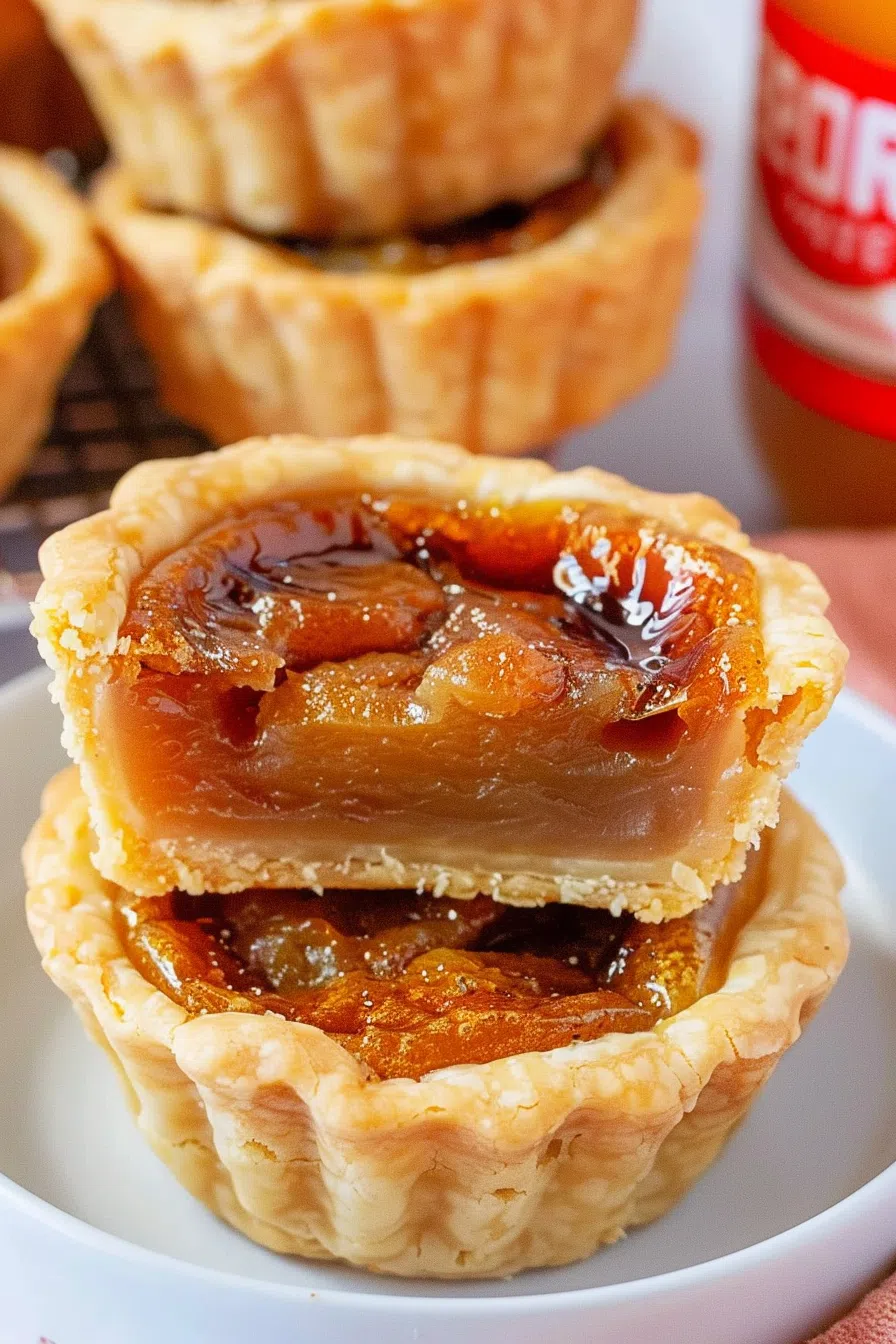
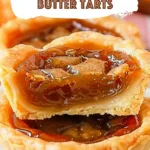
Homemade Maple Butter Tarts – If you’re looking for a sweet and indulgent treat. These Homemade Maple Butter Tarts are the perfect choice. With their flaky tart shells filled with a rich maple syrup mixture. They’re sure to satisfy your sweet tooth. Ready in just 35 minutes. These tarts make an excellent dessert. For any occasion.

Remember it later!
Planning to try this recipe soon? Pin it for a quick find later!
Remember it later!
Planning to try this recipe soon? Pin it for a quick find later!
The first time I made these Homemade Maple Butter Tarts. It was a chilly autumn evening. My husband and our little one. Were craving something sweet. And I wanted to try something new. As the tarts baked. The kitchen was filled with the warm, comforting aroma of maple syrup. And brown sugar. When I served them. The look of pure delight on their faces was priceless. These tarts quickly became a family favorite. Requested time and time again.
Here’s a quick peek at what’s inside:
Table of content
What makes this Homemade Maple Butter Tarts truly stand out?
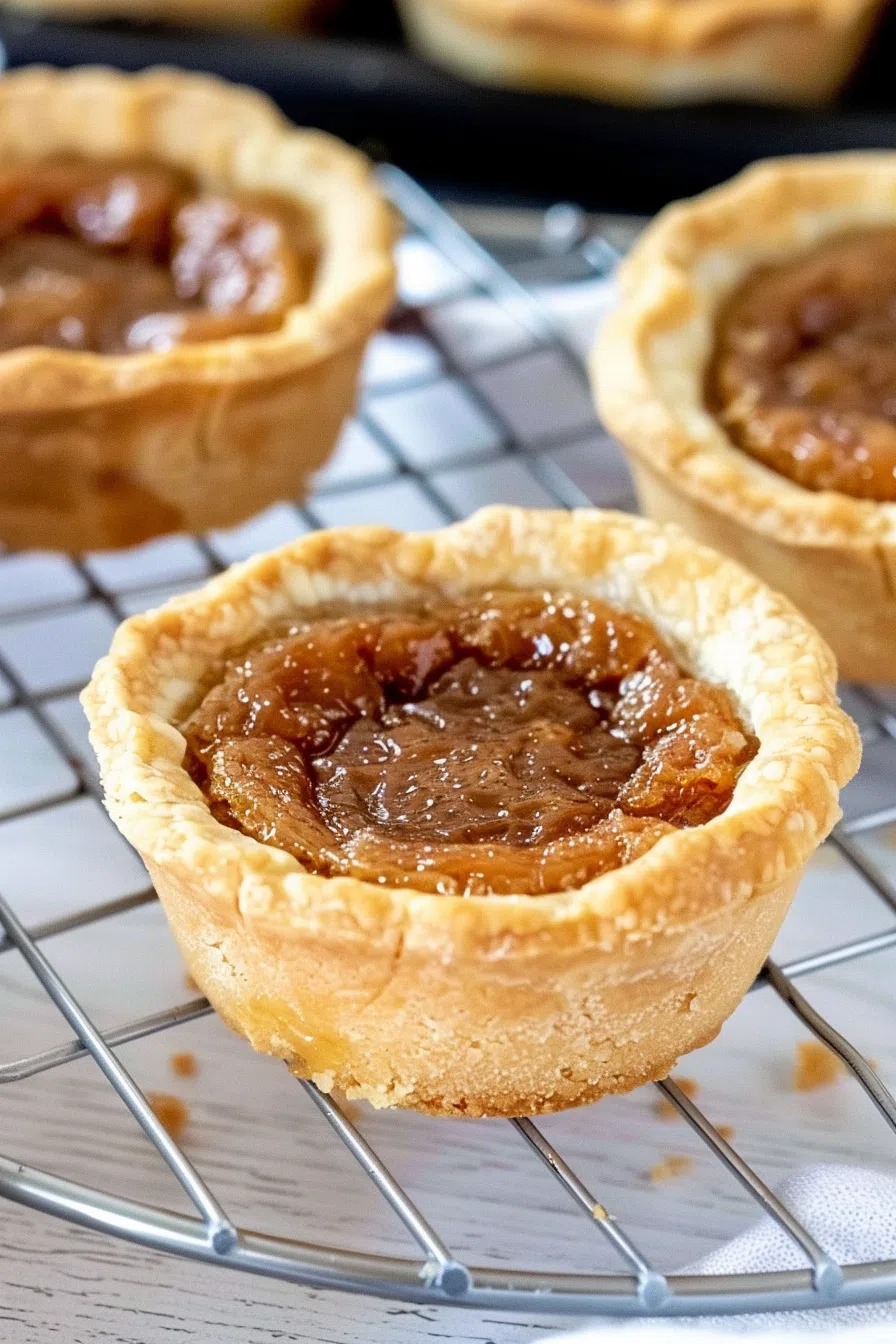
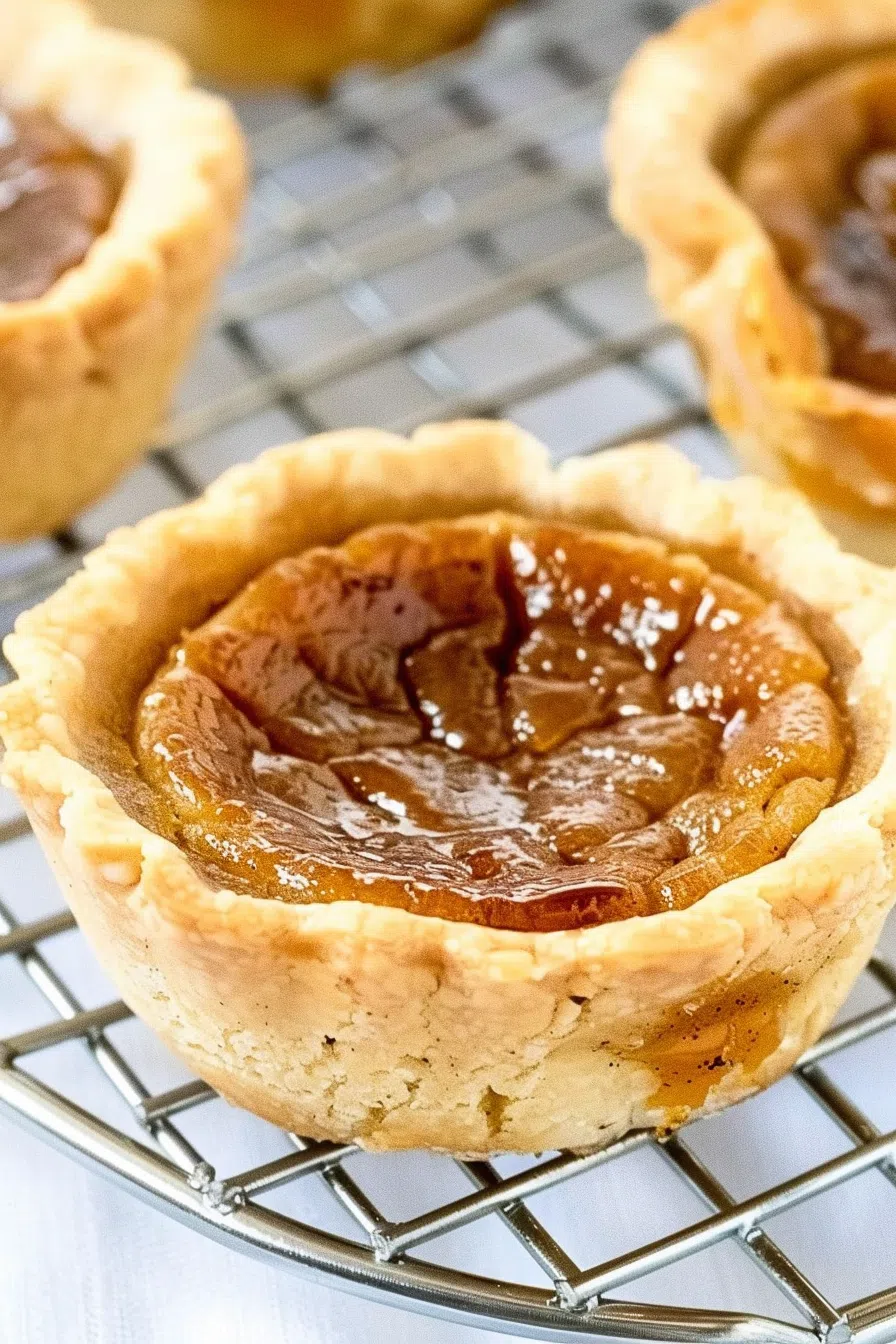
These Homemade Maple Butter Tarts stand out. With their perfectly flaky crust. And rich, gooey filling. The combination of brown sugar, butter, and maple syrup. Creates a sweet, caramel-like flavor. That’s hard to resist. Plus, they’re quick and easy to make. Ready in just 35 minutes. Making them a fantastic dessert. For any occasion.
What You Need To Make This Homemade Maple Butter Tarts Recipe?
Tart Shells: Using store-bought 3-inch tart shells. Is a huge time-saver. And they turn out perfectly flaky every time. If you’re feeling adventurous. Making homemade tart shells can add a personal touch. But there’s no shame in opting for convenience!
Raisins: These little gems add bursts of sweetness. And a delightfully chewy texture. If you’re not a fan of raisins. Feel free to swap them out. For other dried fruits like cranberries or chopped dates.
Brown Sugar: Brown sugar brings a deep, caramel-like sweetness to the filling. Make sure it’s packed tightly in the measuring cup. To get the right amount.
Butter: Softened butter is crucial for a smooth, creamy filling. Take it out of the fridge ahead of time. Or give it a quick zap in the microwave. But be careful not to melt it!
Eggs: Large eggs help to bind the filling together. Giving it that perfect custard-like texture. Beat them well. For a smooth mix.
Maple Syrup: Opt for pure maple syrup. Not the pancake kind. The authentic flavor of real maple syrup. Makes a world of difference in these tarts.
All-Purpose Flour: Just a tablespoon helps to thicken the filling slightly. Ensuring it sets beautifully.
Vanilla Extract: A tablespoon might seem like a lot. But it really amplifies the flavors. Making the tarts irresistibly fragrant.
Salt: Just a pinch balances out the sweetness. And enhances all the flavors.
Steps To Make Homemade Maple Butter Tarts:
Step 1: Preheat and Prep: Start by preheating your oven to 350 degrees F (175 degrees C). Place your tart shells on a baking sheet. Sprinkle raisins evenly. Into the bottom of each tart shell.
Step 2: Make the Filling: In a mixing bowl. Beat together the brown sugar. And softened butter until smooth. Add in the eggs, one at a time. Whisking well after each addition. Pour in the maple syrup. And add the flour, vanilla extract, and a pinch of salt. Whisk everything together. Until the mixture is well combined. And smooth.
Step 3: Fill the Tarts: Carefully fill each tart shell about 3/4 full with the maple syrup mixture. This ensures they don’t overflow while baking.
Want To Save This Recipe?
Enter your email below and we'll send the recipe straight to your inbox.
Step 4: Bake: Place the baking sheet in the preheated oven. Bake for about 16 minutes. Or until the filling is set. And the tart shells are golden. For even baking. Turn the baking sheet halfway through the baking time.
Step 5: Cool and Serve: Once baked. Let the tarts cool on the baking sheet. For a few minutes before transferring them to a wire rack. To cool completely. Enjoy these delicious tarts warm. Or at room temperature.
Tip:
For an extra layer of flavor. And a touch of sophistication. Try browning the butter before adding it to the filling mixture. To do this. Melt the butter in a small saucepan over medium heat. Stirring constantly until it turns golden brown. And smells nutty. This simple step. Adds a rich, caramelized depth to the filling. Making your Homemade Maple Butter Tarts even more irresistible. Just let the browned butter cool slightly. Before mixing it with the other ingredients.
Frequently Asked Questions:
Can I make these tarts ahead of time?
Yes. You can make these tarts a day in advance. Store them in an airtight container. At room temperature. They can also be refrigerated. For up to 3 days.
Can I use a different dried fruit instead of raisins?
Absolutely! Chopped dates, dried cranberries, or currants. Would also work well in these tarts. Adding a unique twist. To the classic recipe.
How can I make these tarts gluten-free?
To make these tarts gluten-free. Simply use gluten-free tart shells. And substitute the all-purpose flour. With a gluten-free flour blend. Ensure that all other ingredients are certified gluten-free. To avoid cross-contamination.
Remember it later!
Planning to try this recipe soon? Pin it for a quick find later!
Remember it later!
Planning to try this recipe soon? Pin it for a quick find later!
Keep the Flavor Coming – Try These:
Homemade Maple Butter Tarts
Ingredients
- 16 3-inch unbaked tart shells
- 1 c raisins
- 3/4 c brown sugar
- 1/4 c butter softened
- 2 large eggs
- 1/2 c maple syrup
- 1 tbsp all-purpose flour
- 1 tbsp vanilla extract
- 1 pinch salt
Instructions
- Preheat your oven to 350°F (175°C).
- Place the tart shells on a baking sheet and evenly distribute the raisins in each shell.
- In a bowl, beat together the brown sugar and softened butter until smooth. Whisk in the eggs, maple syrup, flour, vanilla extract, and salt until well combined.
- Fill each tart shell about 3/4 full with the maple mixture.
- Bake for about 16 minutes, or until the filling is set and the shells are golden. Turn the baking sheet halfway through for even baking.
- Let the tarts cool slightly before serving. Enjoy!
Notes

I’m Bitty, owner of nodashofgluten.com, where I share simple, delicious recipes for all tastes, including gluten-free. Check out my “About Me” page for more info!



One Response
I usually don’t take the time to comment on recipes but this one is definitely worth it. These butter tarts are easy and came out amazing. They will be a nice add on to me Christmas gifts this year! Thank you so much!