Made with flour, buttermilk, and melted butter, these scones are quick, fluffy, and wildly adaptable—perfect for any morning.


Let me set the scene. I was house-sitting for my cousin in a tiny town that only has one store—and it closes before 6 p.m. I woke up early, starving, and all I had in the fridge was a lonely bottle of buttermilk and a stick of butter. Flour? Check. Baking powder? Thankfully, yes. I figured I’d try something, even if it flopped. Spoiler alert: I accidentally created one of the easiest and most comforting things I’ve ever eaten.
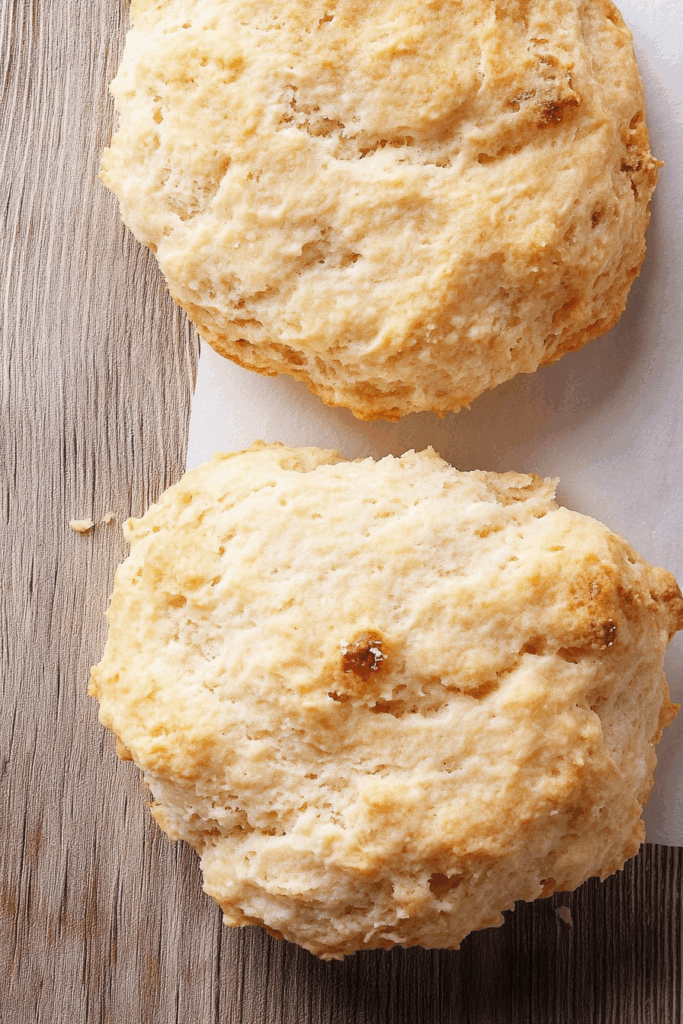
Since then, these homemade buttermilk scones have become one of those “don’t think, just bake” recipes. They remind me of cozy mornings, sleepy eyes, and butter melting into warm golden crumb. Even now, every time I bake them, there’s that familiar sense of calm—and butter-scented happiness—that shows up before the coffee’s even ready.
Why You’ll Love This Homemade Buttermilk Scones Recipe?
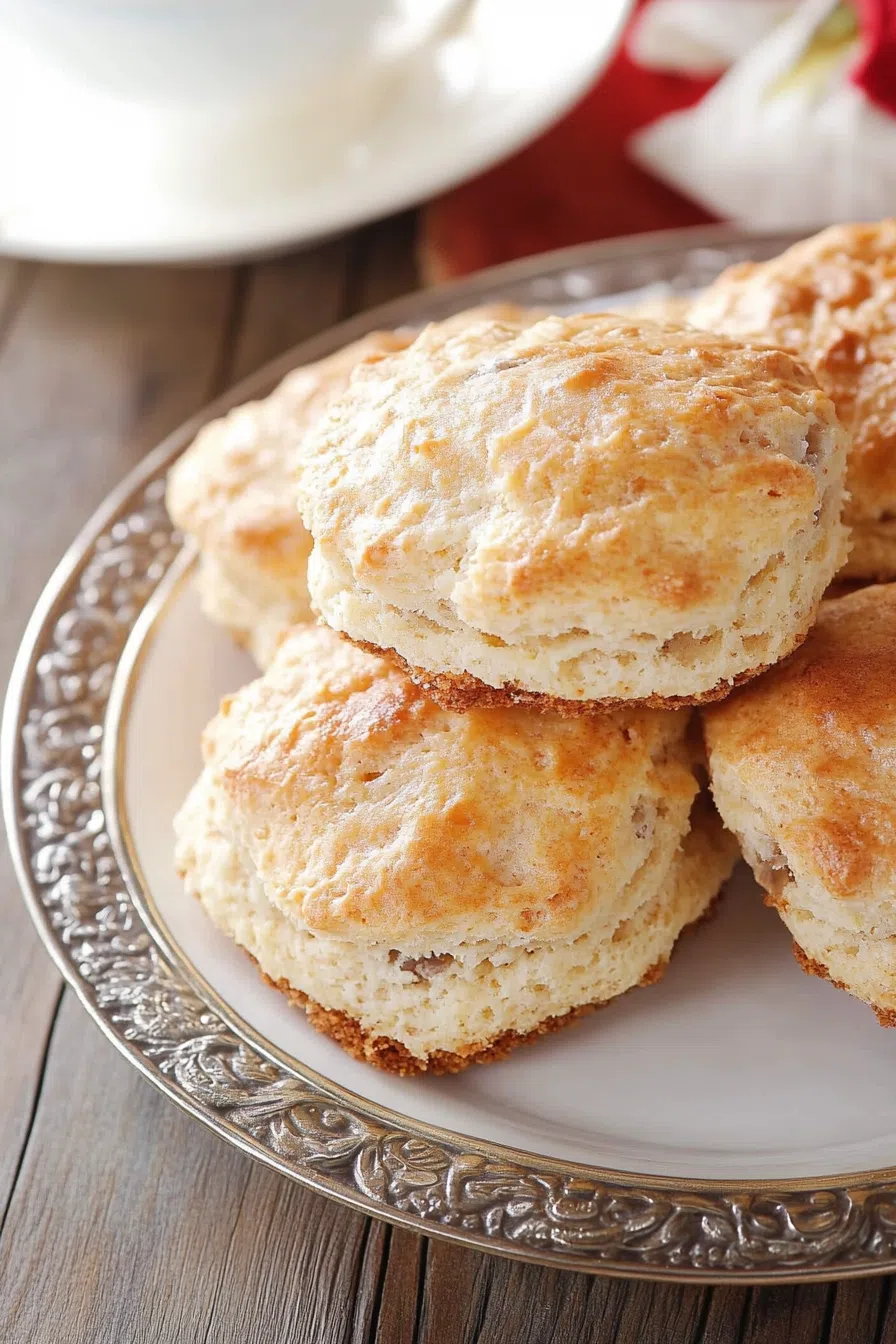
Let’s be real: not all scones are created equal. Some are dry enough to choke on. Others are basically biscuits pretending to be scones. But these? They’re soft, slightly crumbly, and have that just right balance between cozy and fancy. The melted butter trick? It’s a time-saver and a texture game-changer. And the buttermilk gives them that slight tang, so they taste like something straight out of your favorite bakery—even though they came from your very real, very messy kitchen.

Ingredient Notes:
Now let’s break it down. You don’t need anything complicated here. Just five ingredients, and they all pull their weight.
-
All-purpose flour: Go-to for structure. Nothing fancy—just the classic.
-
Baking powder: We’re not relying on yeast or magic here. This gives your scones that lift without stress.
-
Salt: Seems minor, but trust me—it balances everything out.
-
Buttermilk: The secret MVP. Adds richness and tenderness. And if you don’t have any? There’s a cheat for that. (Keep reading!)
-
Melted butter: I know, I know—most scone recipes call for cutting in cold butter. But who has time? Melted works here and makes the whole thing easier and more foolproof.
How To Make Homemade Buttermilk Scones?
Step 1: Heat it up.
Preheat your oven to 425°F. (You want it nice and hot to give the scones that golden edge.) Grease a baking sheet or just throw down parchment paper if you’re lazy like I usually am.
Step 2: Stir the basics.
Sift the flour, baking powder, and salt together in a big bowl. Or skip the sifting and just give it a good whisk—saves time, works just as well.
Step 3: Mix it up.
Pour in the buttermilk and melted butter. Stir gently until a soft dough forms. It’ll look a little rough and maybe even a tad sticky—that’s okay! Don’t overthink it.
Step 4: Shape and cut.
Turn the dough out onto a floured counter. Gently press it into a rectangle about ¾ inch thick. Mine never ends up a perfect rectangle and honestly, who cares? Slice it into 8 pieces—triangles, squares, blobs, whatever makes you happy.
Step 5: Bake until beautiful.
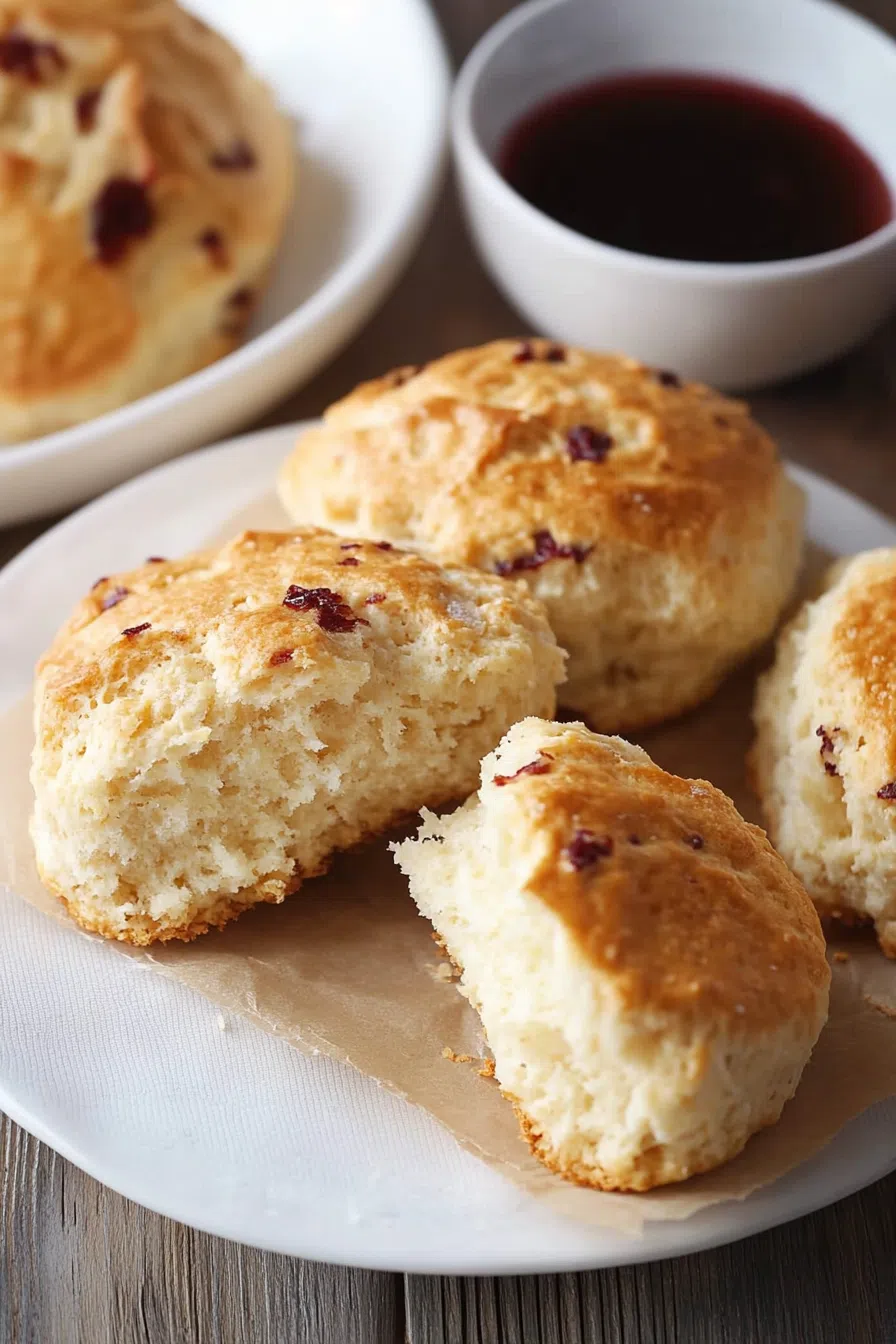
Pop those babies into the oven for about 10 to 15 minutes. You’ll know they’re done when they’re puffed up and the edges have that gorgeous golden brown thing going on.
Let them cool just a bit before eating… or don’t. I’m not here to judge.
Storage Options:
Room temp? Totally fine for 1–2 days in an airtight container. For longer life, freeze them in a zip-top bag, then reheat in the oven. They’ll taste like they were baked five minutes ago, not last week.
Want To Save This Recipe?
Variations and Substitutions:
You can seriously riff on this recipe however you want. Here are a few ideas I’ve tried (or at least daydreamed about):
-
Sweet Add-ins: Dried cranberries, chopped dates, a handful of chocolate chips… even lemon zest if you’re feeling fancy.
-
Savory Twist: Swap the sugar entirely (oh wait, there isn’t any!) and toss in shredded cheddar, cracked black pepper, or chopped chives.
-
No Buttermilk? Add 1 tbsp vinegar or lemon juice to 1 cup of milk. Let it sit for 5–10 minutes and voilà—DIY buttermilk.
What to Serve with Homemade Buttermilk Scones?
-
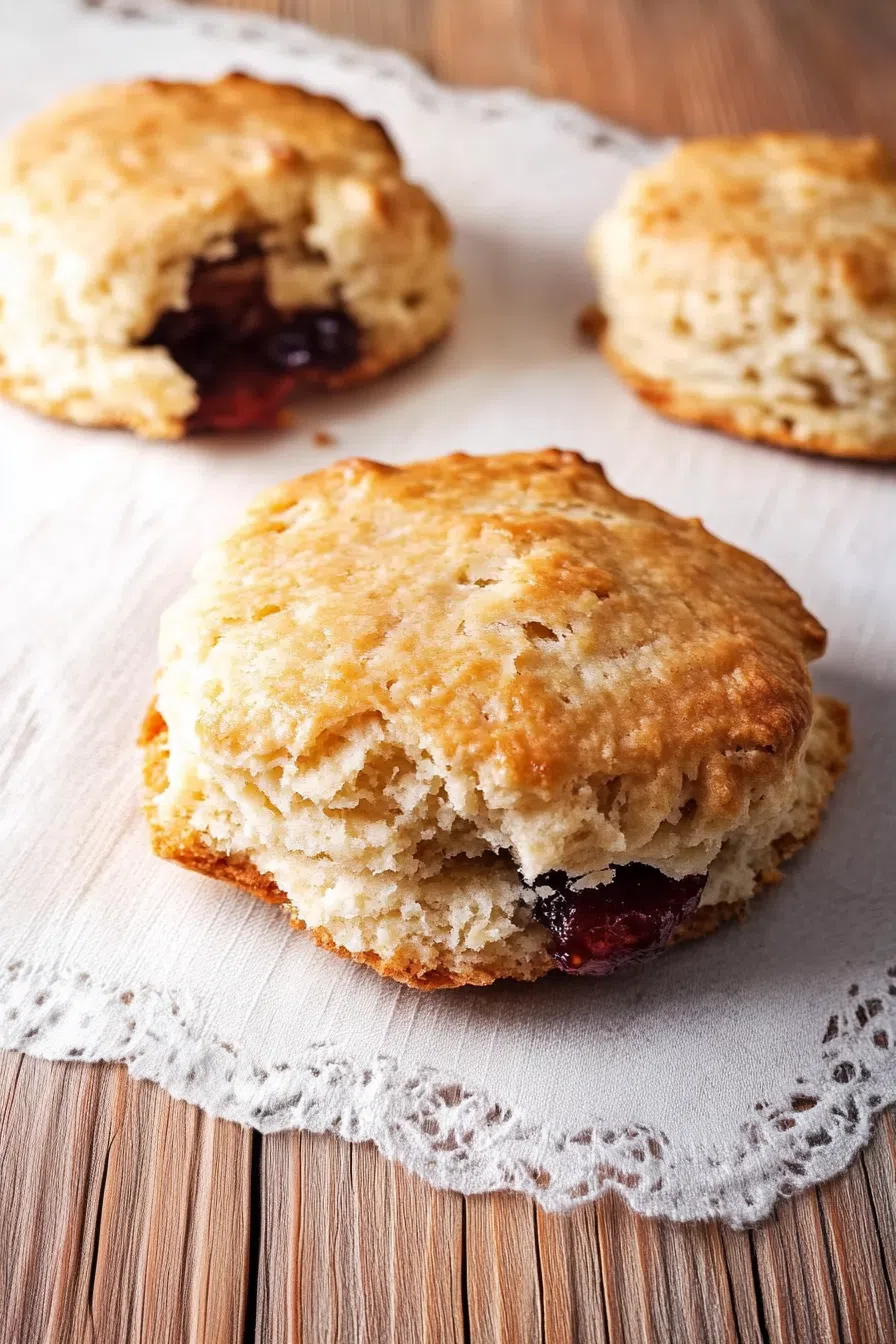
Jam & Butter: Classic for a reason.
-
Clotted cream or whipped mascarpone: If you’re feeling like royalty.
-
Savory option: Sliced cheese and ham. Breakfast board vibes.
-
Drink pairings: Earl Grey, cappuccino, or hot chocolate. Yes, hot chocolate. Don’t @ me.
Frequently Asked Questions:
Can I freeze the dough before baking?
Yes! Shape them, then freeze. Bake from frozen—just add a few extra minutes.
Can I double the recipe?
Absolutely. You’ll thank yourself when you’re pulling a second batch out of the oven two days later.
Why are my scones flat?
Check that baking powder—it might be expired. And make sure your dough isn’t too warm.

That’s it. You’re officially in the scone club. These Homemade Buttermilk Scones are the kind of thing you’ll bake once, then memorize because they’re just that easy and good. Try them soon. I’d love to hear what add-ins you try—or what memories they bring up. Let’s keep the scone chat going.
Keep the Flavor Coming – Try These:


Homemade Buttermilk Scones
Ingredients
- 3 cups all-purpose flour
- 2 tablespoons baking powder
- ¼ teaspoon salt
- 1¼ cups buttermilk
- ⅓ cup unsalted butter melted
Instructions
Preheat the Oven
- Set your oven to 425°F (220°C) and lightly grease a baking sheet or line it with parchment paper.
Combine Dry Ingredients
- In a large mixing bowl, sift together the all-purpose flour, baking powder, and salt to ensure even distribution.
Incorporate Wet Ingredients
- Pour the buttermilk and melted butter into the dry ingredients. Stir gently with a wooden spoon or spatula until a soft dough forms. Do not overmix; the dough should be slightly sticky yet pliable.
Shape the Dough
- Turn the dough out onto a lightly floured surface. Press or gently roll it into a rectangle approximately ¾ inch thick and about 4 inches wide.
Cut and Arrange
- Slice the dough into 8 equal rectangular or triangular pieces. Arrange them evenly on the prepared baking sheet, leaving space between each scone for even baking.
Bake
- Bake in the preheated oven for 10 to 15 minutes, or until the tops are lightly golden and a toothpick inserted into the center comes out clean.
Cool and Serve
- Allow the scones to cool slightly on the baking sheet before transferring to a wire rack. Serve warm or at room temperature with your choice of butter, jam, or clotted cream.
Notes
I’m Bitty, owner of nodashofgluten.com, where I share simple, delicious recipes for all tastes, including gluten-free. Check out my “About Me” page for more info!