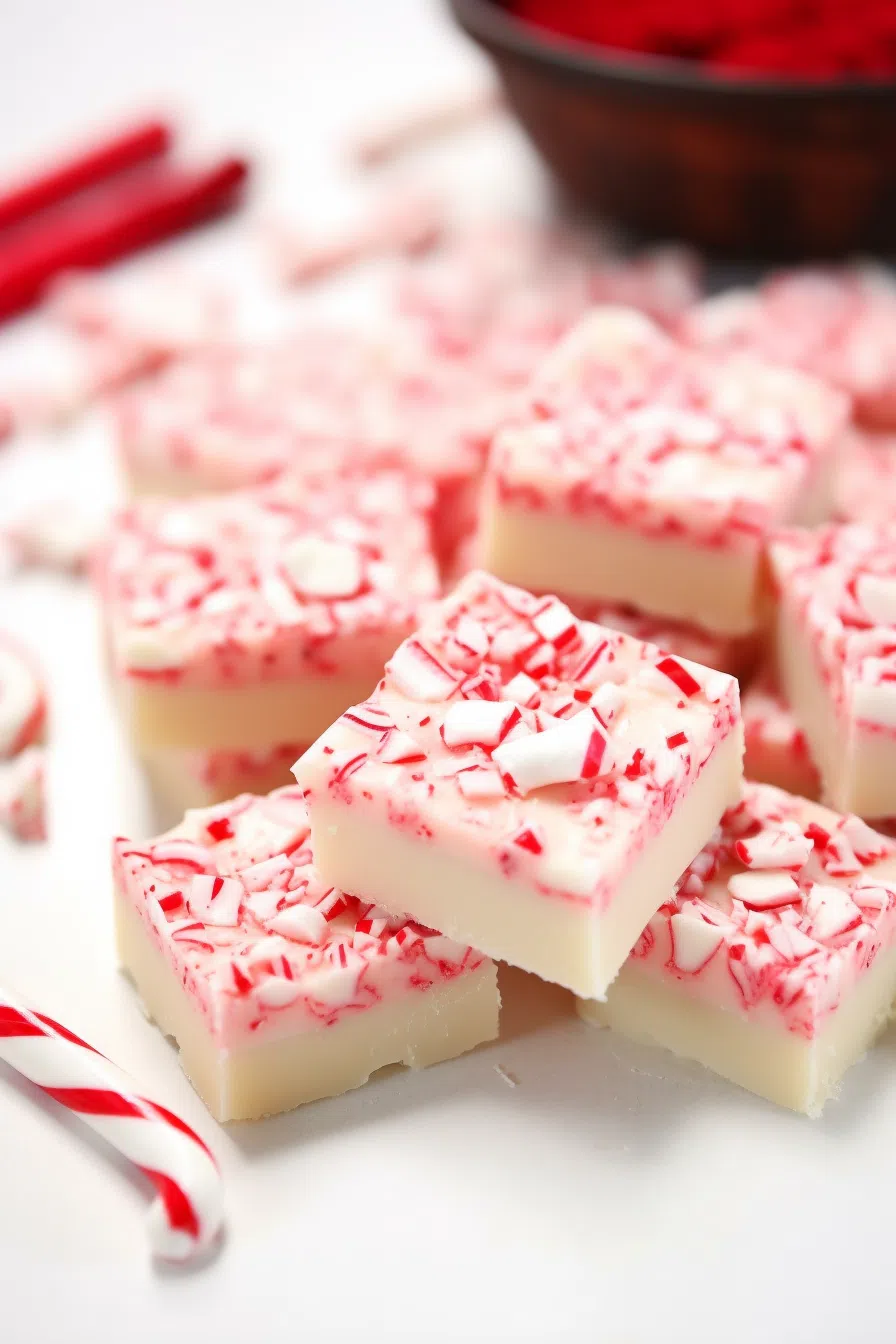
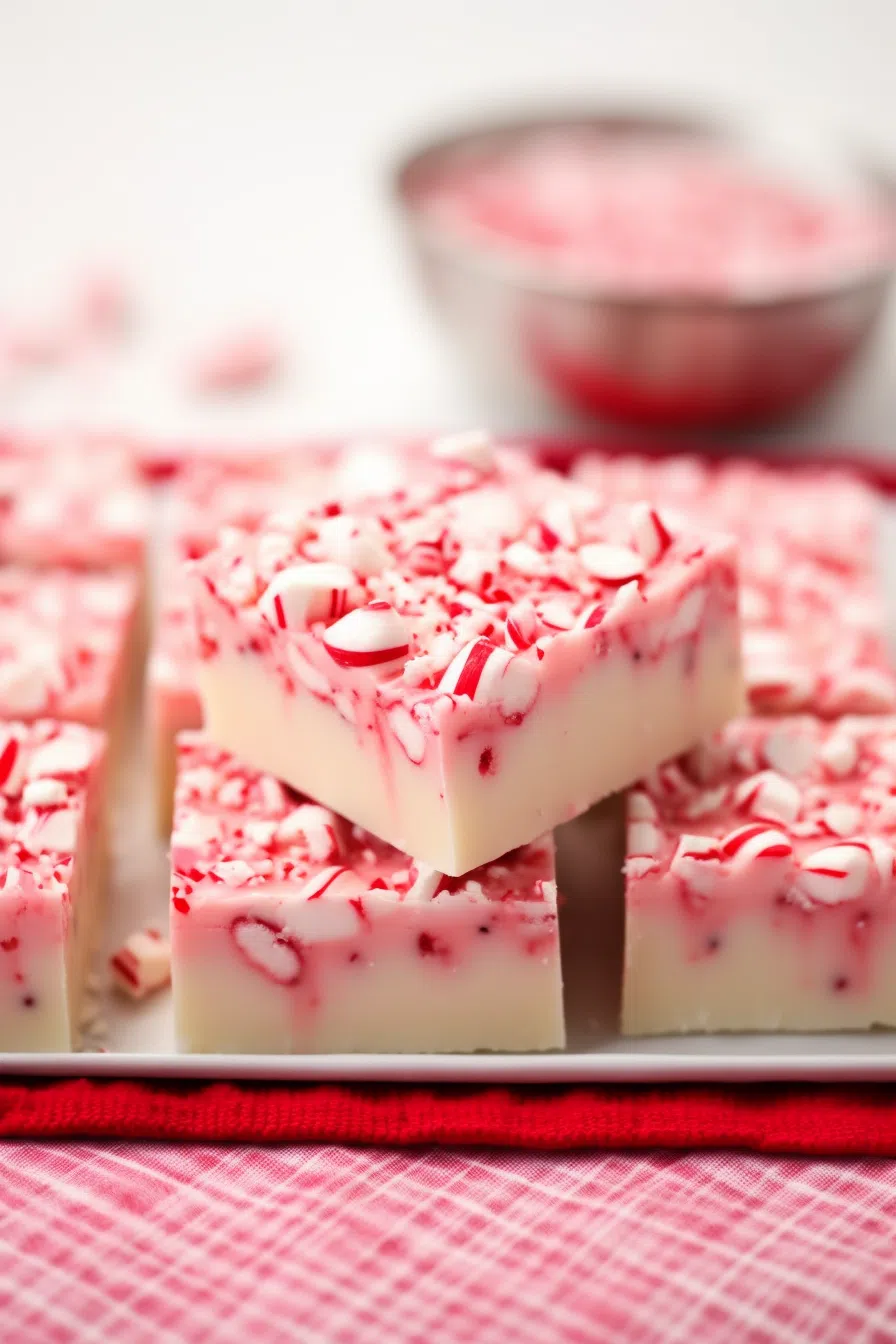
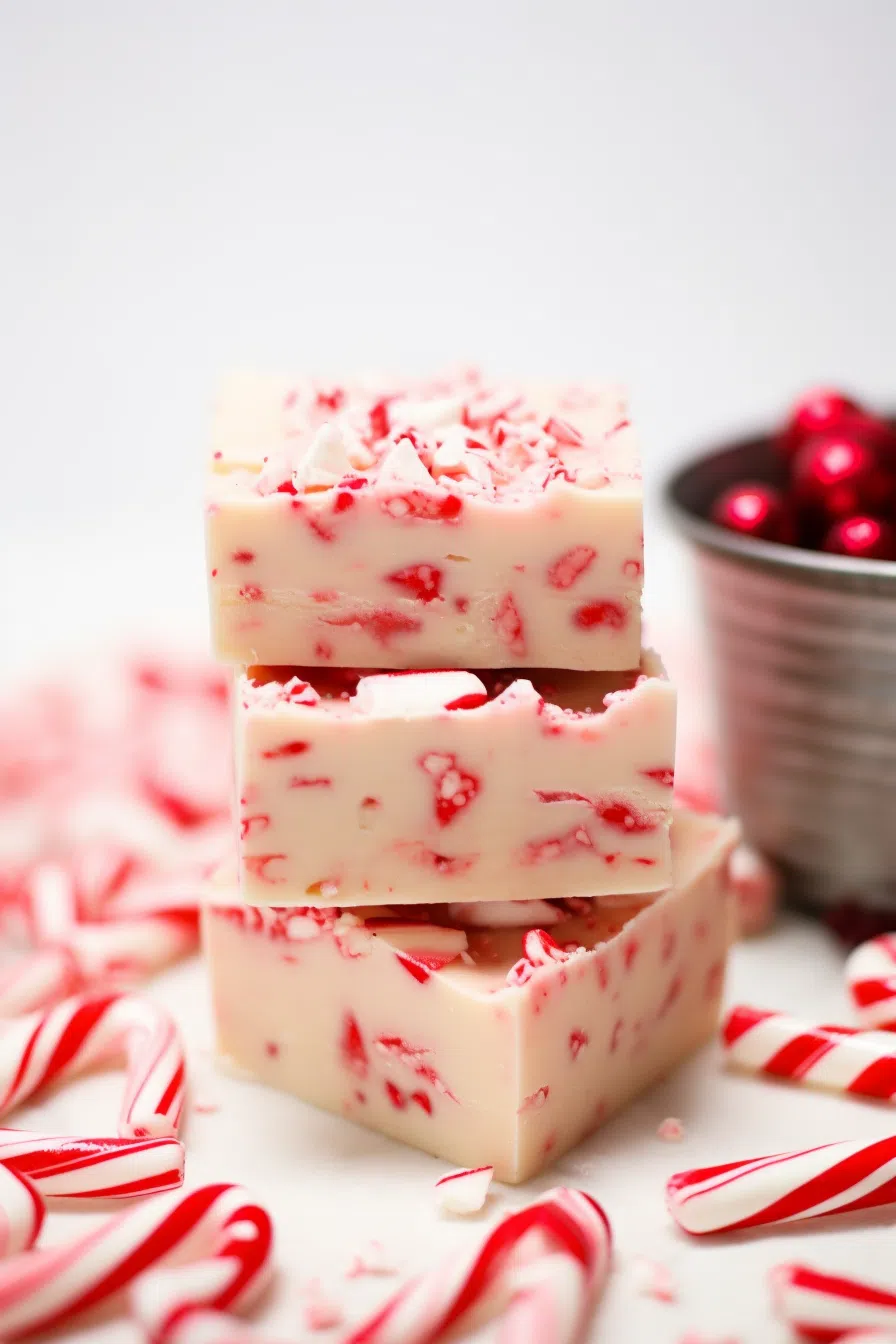
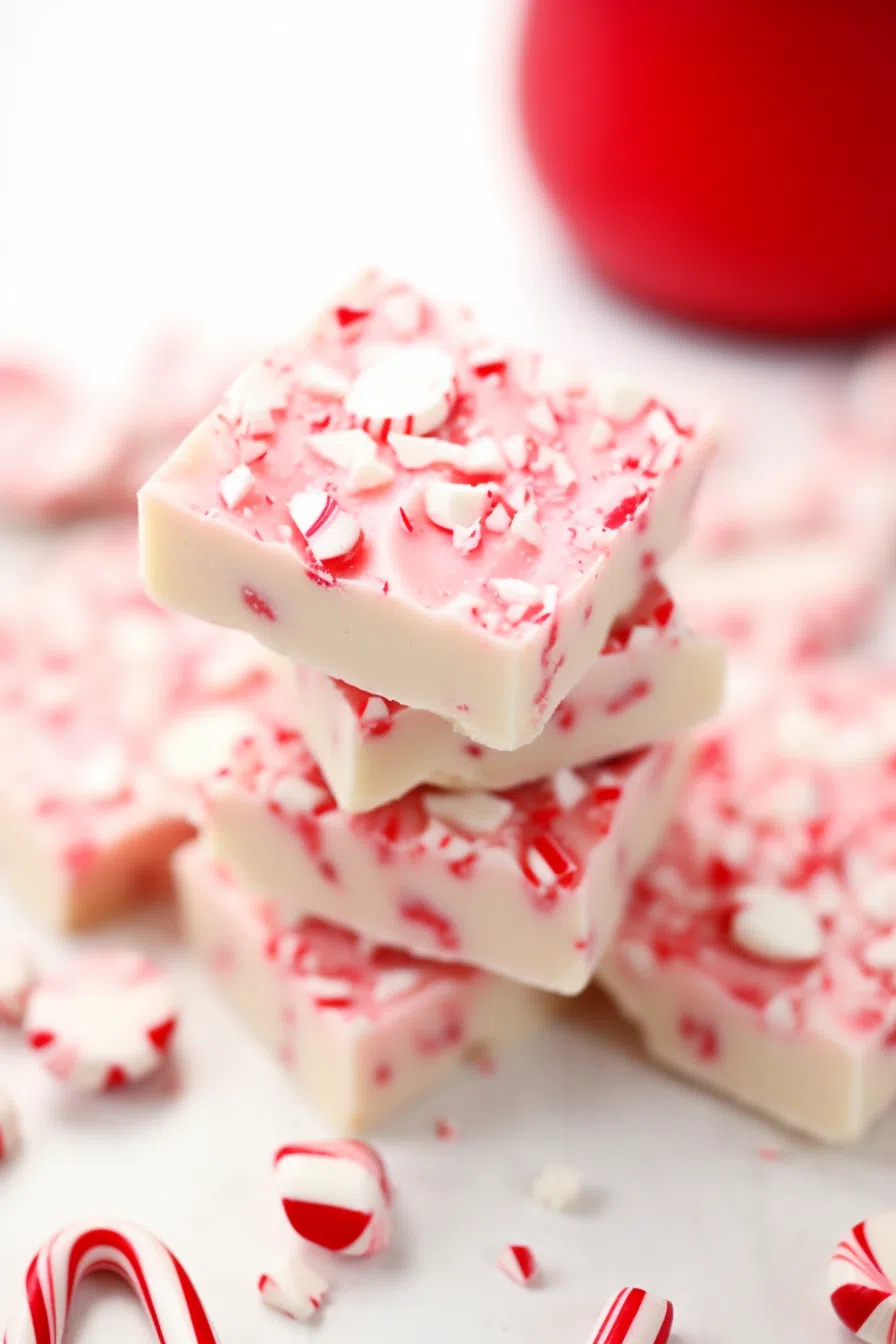
Candy Cane Fudge made with white chocolate chips, crushed candy canes, and sweetened condensed milk—so simple, so festive!
Let me tell you a little something about me and last-minute holiday chaos. We’re old friends. Picture this: It’s two days before Christmas Eve. I’m knee-deep in wrapping paper, running on coffee and sheer panic, when I realize I promised to bring dessert to our family get-together.
Now, if you know me, you know I love to bake… when I have time. (Ha!) But at that moment, time was not on my side. So I did what any frazzled holiday human would do—I raided my pantry like a contestant on one of those cooking challenge shows.

Remember it later!
Planning to try this recipe soon? Pin it for a quick find later!
Remember it later!
Planning to try this recipe soon? Pin it for a quick find later!
And there they were. A sad, half-used bag of white chocolate chips. A dusty can of sweetened condensed milk (probably from last Christmas). And candy canes… oh man, everywhere. Mostly broken from when we tried to hang them on the tree and failed. I thought, “This is it. This is how I’m gonna save Christmas.”
So I threw it all together, said a little prayer, and somehow whipped up the most magical Candy Cane Fudge I’ve ever tasted. My kids lost their minds over it. My sister texted me later asking for the recipe. And now? It’s not Christmas around here unless there’s a batch (or three) chilling in the fridge.
Here’s a quick peek at what’s inside:
Table of content
Why You’ll Love This Candy Cane Fudge Recipe?
I get it. Fudge recipes are everywhere. But this one? It’s special. Here’s why:
-
It’s only three ingredients. THREE! I mean, c’mon. That’s a holiday miracle on its own.
-
No fancy gadgets. You won’t need a candy thermometer or a prayer circle to get this right.
-
It’s make-ahead friendly. You can stash it in the fridge for days (if it lasts that long).
-
It’s a gift-giving lifesaver. Wrap up a few squares in a cute tin, and you’ll be the star of the cookie swap.
-
Minty, creamy, crunchy goodness. It’s like biting into Christmas. Without the stress.
Ingredient Notes:
These are humble pantry staples. But let’s give them the love they deserve, shall we?
-
White Chocolate Chips (2 cups): Not all white chocolate melts the same. I’ve had some that turned into grainy disasters. Go with a brand you trust.
-
Crushed Candy Canes (2 cups): This part is weirdly fun. Put them in a zip-top bag and take out your holiday frustrations with a rolling pin. Therapy, I tell you.
-
Sweetened Condensed Milk (6 oz): This is the glue that holds your fudge dreams together. And no, evaporated milk won’t cut it. Trust me. Made that mistake in 2019 and we don’t talk about it.
How To Make Candy Cane Fudge?
This is the “I don’t have time but still want to feel festive” dessert. Here’s the lowdown:
Step 1: Get Your Pan Ready
Line an 8×8 baking pan with parchment paper. Leave a little overhang. Why? Because fishing sticky fudge out of a pan without it is a holiday headache you don’t need.
Step 2: Smash Some Candy Canes
Bag. Rolling pin. Smash away. This is where you release the stress of untangling lights or dealing with that one relative who always has an opinion on your “store-bought” pie crust.
Step 3: Melt the Chocolate
Toss your white chocolate chips and sweetened condensed milk in a saucepan over medium heat. Stir constantly. Don’t walk away! White chocolate burns faster than the marshmallows on my sister’s sweet potato casserole.
Step 4: Stir In the Candy Canes
Once smooth, pull it off the heat and stir in half of your crushed candy canes. You’ll see little flecks of peppermint magic start to happen.
Step 5: Spread It and Top It
Spread that mixture evenly into your pan. Smooth it out (or leave it a little rustic—no judgment). Sprinkle the rest of those candy canes on top. Press them in gently so they stick.
Want To Save This Recipe?
Enter your email below and we'll send the recipe straight to your inbox.
Step 6: Chill
Pop it in the fridge for at least 4 hours. If you’re in a rush? Freezer for 2 hours works, but be patient when slicing. Rock-hard fudge is no fun unless you’re looking to lose a tooth.
Step 7: Slice and Serve
Lift it out using the parchment (see, told ya). Slice into squares. Sneak a taste. Then maybe two. I’m not here to judge.
Storage Options:
- Fridge: Airtight container. Lasts about two weeks.
- Freezer: Yep, you can freeze it. Layer with parchment between pieces so they don’t fuse into a fudge brick.
Pro tip? Let it come to room temp before eating so it gets that creamy, dreamy texture.
Variations and Substitutions:
Feeling a little wild? Try this:
-
Chocolate Swap: Milk or dark chocolate works too. It’s a different vibe, but hey, life’s about options.
-
Add Peppermint Extract: If you’re a “more mint!” person, go ahead and add a drop. Just… not too much. It’s powerful stuff.
-
Throw in Marshmallows or Nuts: Mini marshmallows, chopped pistachios, or even crushed Oreos would be chef’s kiss.
-
Vegan It Up: Use dairy-free white chocolate and sweetened condensed coconut milk. Delicious and inclusive.
What to Serve with Candy Cane Fudge?
-
Hot Cocoa: Double peppermint? Yes, please.
-
Coffee: Black coffee + sweet fudge = balance.
-
Holiday Cookie Platters: Give it a spot alongside gingerbread and sugar cookies. It plays nice with others.
-
Peppermint Martinis: Just saying. They go together like ugly sweaters and office parties.
Frequently Asked Questions:
Can I make this ahead of time?
Totally! Make it a few days early. It keeps like a champ.
Do I have to refrigerate it?
It’ll stay firm longer if you do. Room temp is fine if you’re serving it soon.
Can I use peppermint candies instead of candy canes?
Yep! As long as they’re pepperminty, you’re good.
I know you’re going to love this Candy Cane Fudge recipe. It’s the easiest way to bring some homemade magic to your holiday without pulling an all-nighter. If you make it, let me know! Did you add your own twist? Did your kids eat half the batch while you weren’t looking? I wanna hear about it.
Cheers to fudge, fun, and not losing our minds this holiday season!
Remember it later!
Planning to try this recipe soon? Pin it for a quick find later!
Remember it later!
Planning to try this recipe soon? Pin it for a quick find later!
Keep the Flavor Coming – Try These:
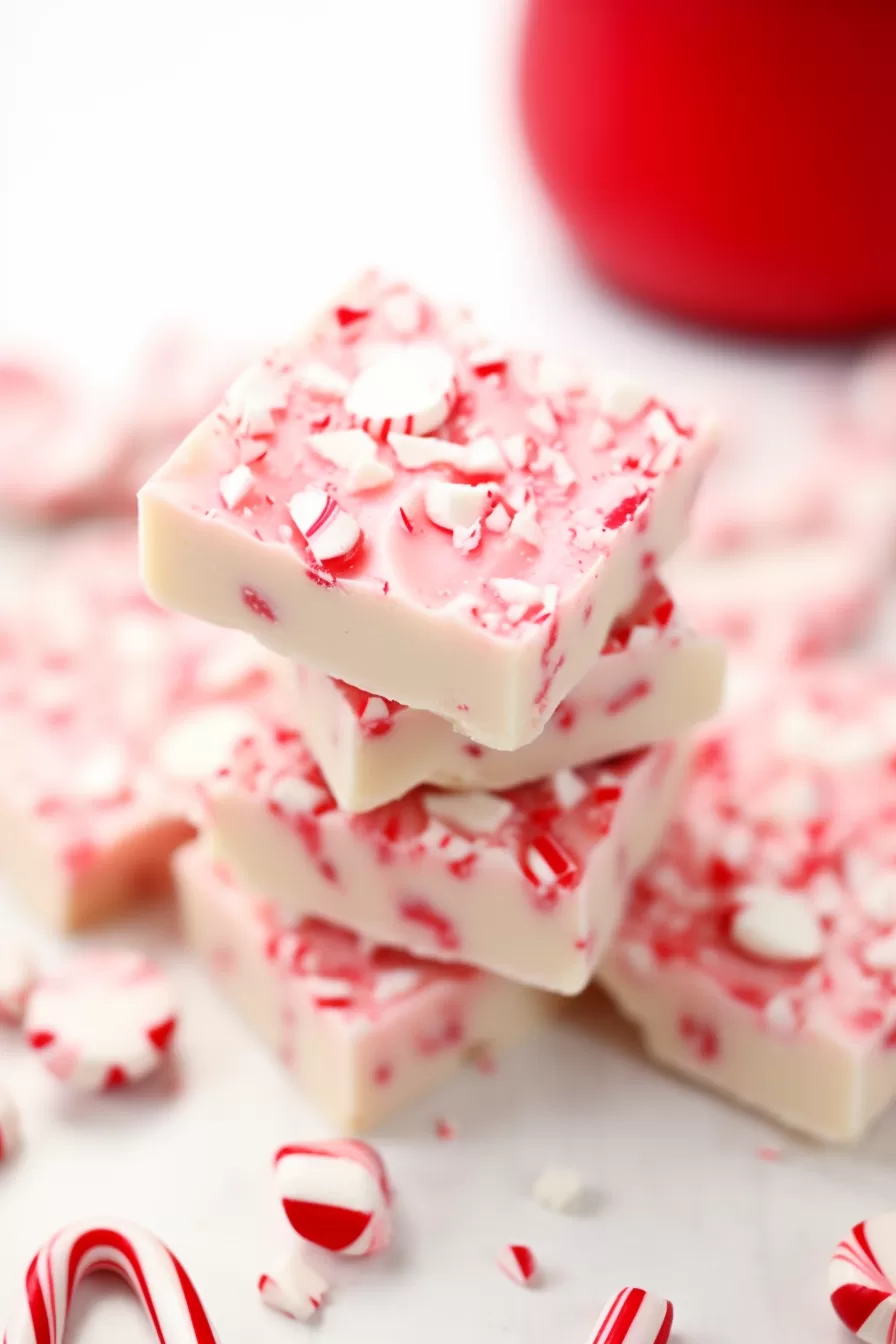
Festive Candy Cane Fudge
Ingredients
- 2 c white chocolate chips
- 2 c crushed candy canes
- 6 ounces sweetened condensed milk
Instructions
- Place a sheet of parchment paper in an 8x8-inch baking pan.
- Take the candy canes. Put them in a ziplock bag. Seal it tightly. Use a pin to crush them until you have approximately 2 cups of crushed candy canes.
- In a boiler combine the chocolate chips with sweetened condensed milk. Heat the mixture over medium-high heat while stirring continuously until it becomes smooth and completely melted.
- Add one cup of the candy canes into the melted chocolate mixture. Stir everything together until well combined.
- Pour the fudge mixture into your prepared baking pan spreading it evenly.
- Sprinkle the remaining crushed candy canes on top of the fudge gently pressing them in so they stick.
- Place the pan in the refrigerator, for about 4 to 6 hours to let it set. Alternatively you can also freeze it for around 2 hours if you prefer a texture.
- Once chilled or frozen remove the fudge from the pan by lifting it using parchment paper. Allow it to thaw for 30 minutes if frozen before cutting into squares or desired shapes.
Notes

I’m Bitty, owner of nodashofgluten.com, where I share simple, delicious recipes for all tastes, including gluten-free. Check out my “About Me” page for more info!


