
Eskimo Cookies made with butter, cocoa, oats, and sugar—no oven, just sweet no-bake snowball magic in minutes.


The first time I had Eskimo Cookies wasn’t even during winter—it was actually at a Fourth of July picnic. I remember laughing because they looked like little snowballs melting in the summer heat. My aunt handed me one off a paper plate, powdered sugar clinging to her fingers, and I swear I can still taste the mix of cocoa and oats when I think back on that moment. Funny how certain recipes get stuck in your memory that way, right?
Now, in my own house, they’ve become this sort of “lazy day” treat. You know the kind—you’re craving something chocolatey, but there’s no way you’re preheating the oven. My kids hover around the kitchen counter like vultures while I roll them out, and half the time, I end up with sugar smudges on my shirt because I forget I’m wearing black. Not the Instagram version of baking, but real life. And honestly? That’s better.
Why You’ll Love This Eskimo Cookies Recipe?
Here’s the thing about this Eskimo Cookies recipe: it doesn’t pretend to be fancy. No oven, no chill-for-six-hours nonsense, and no expensive ingredients you have to hunt down. You mix, you roll, you coat them in sugar, and you’re basically done.
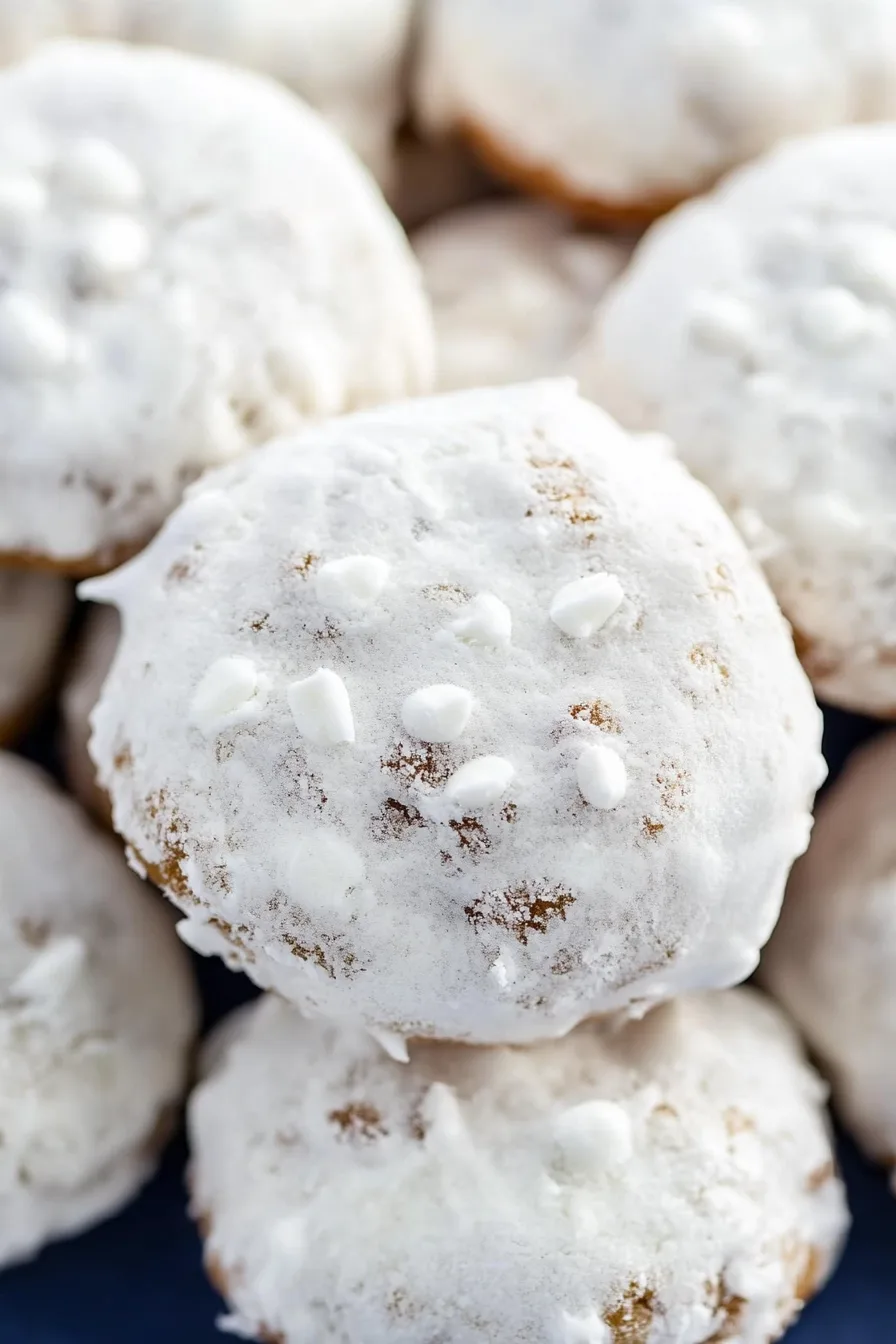
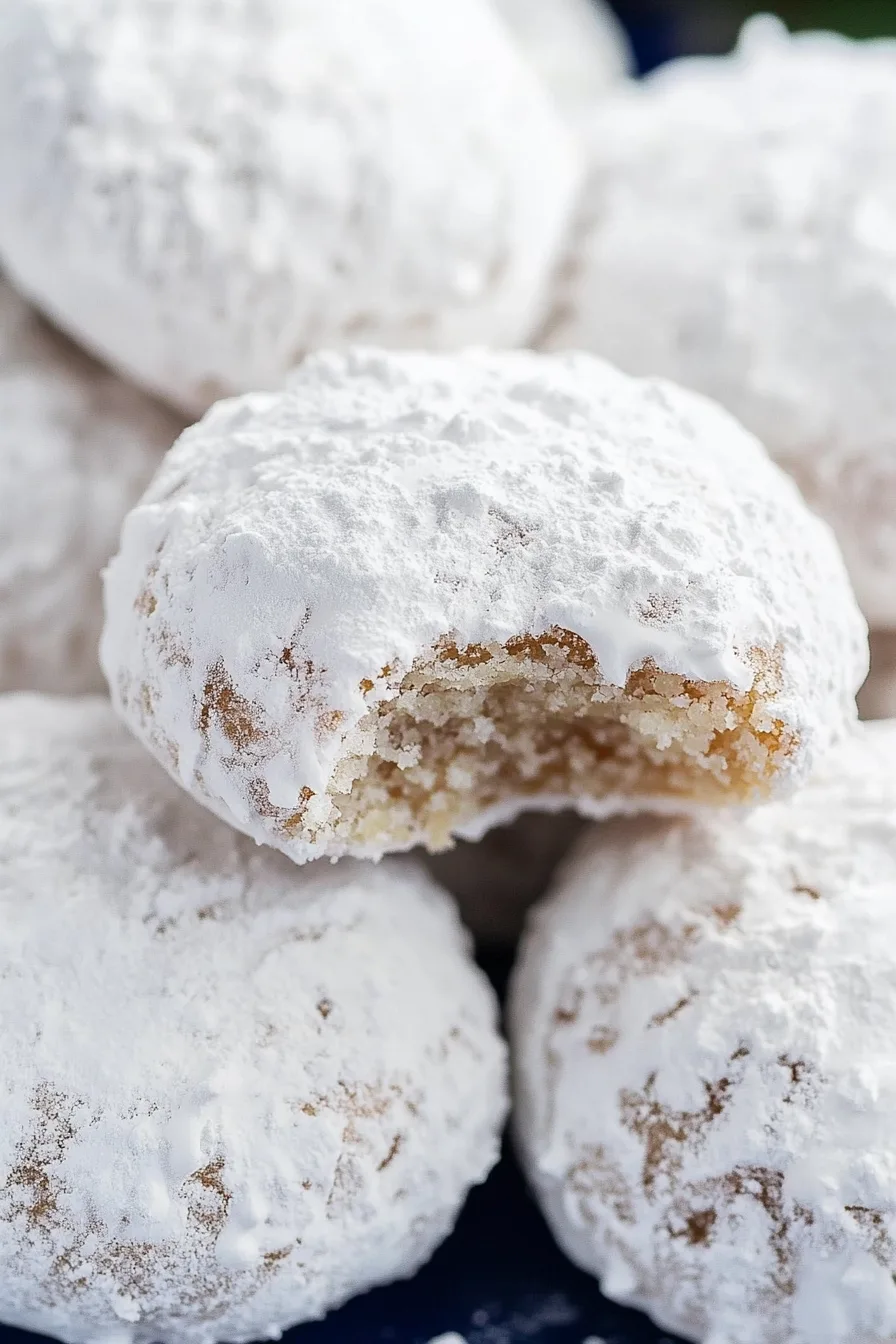
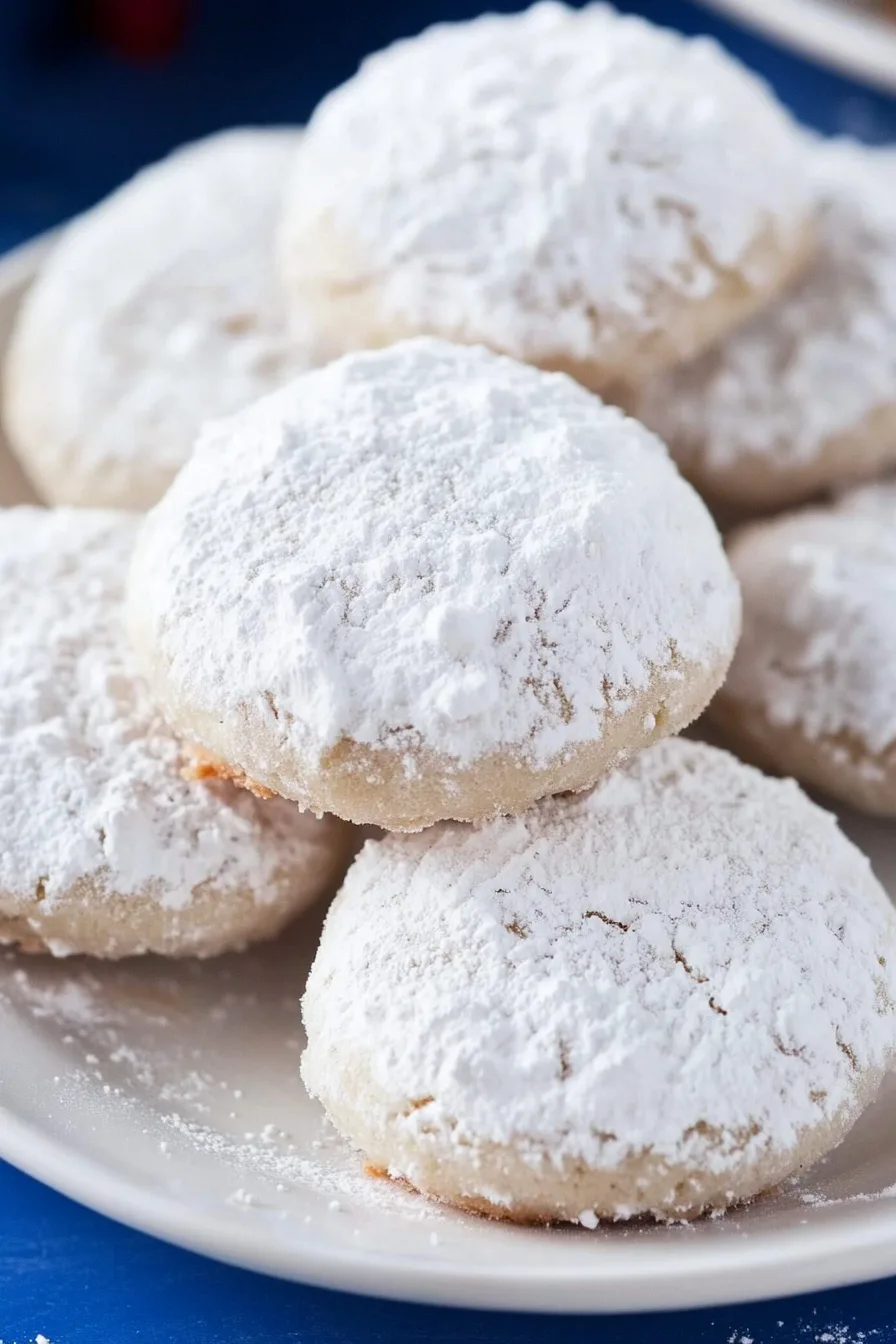
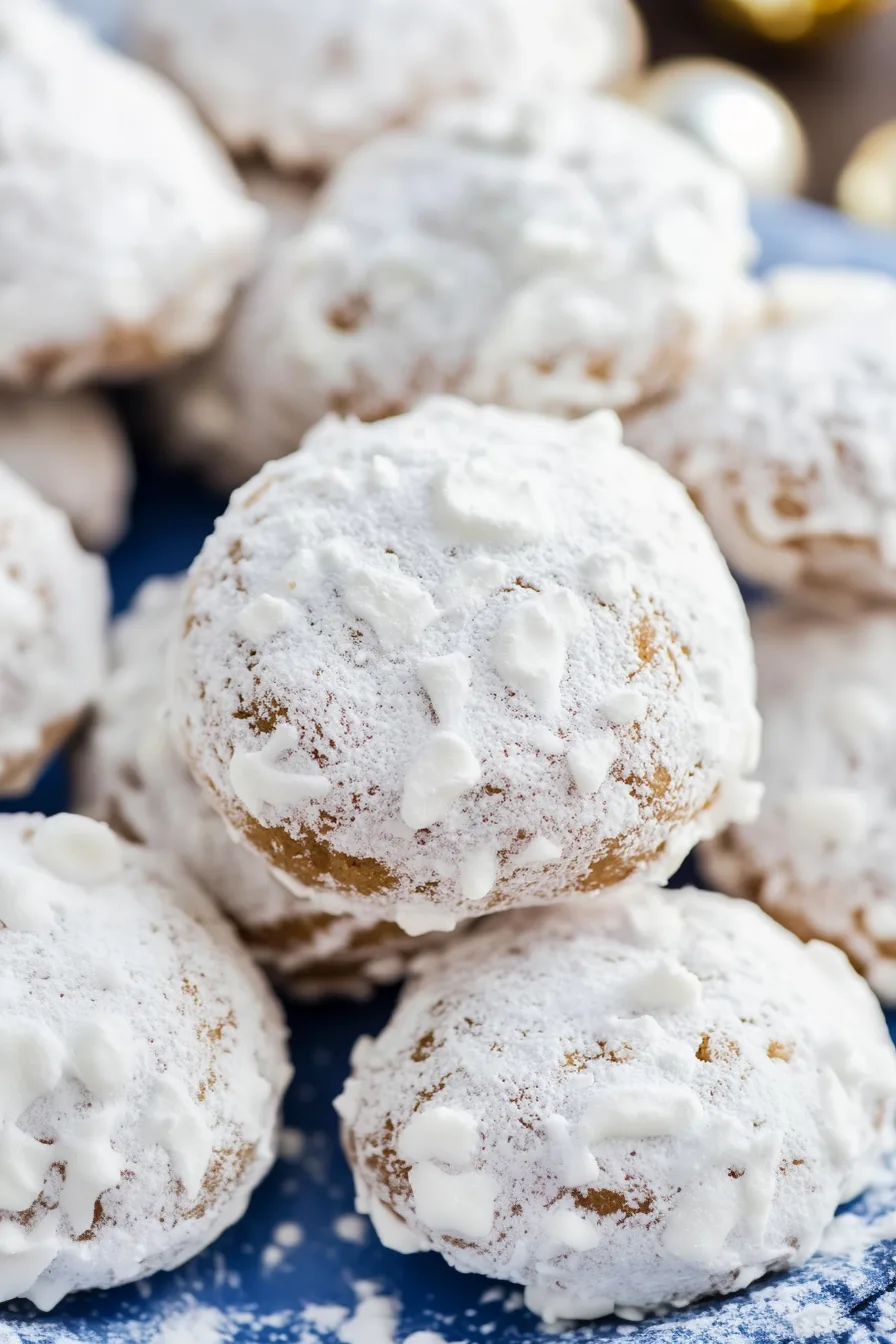
They’ve got that perfect texture combo too—chewy oats on the inside, fudgy cocoa flavor, and that sweet powdered sugar coating that makes them look like little snowballs. They fit on a holiday cookie tray, sure, but they’re also the kind of treat you can sneak from the fridge at midnight. And let’s be real, midnight snacks always taste better.
Ingredient Notes:
The beauty of these no-bake Eskimo Cookies is that the ingredient list is short and familiar:
-
Butter – Softened, so you don’t break your spoon mixing.
-
Sugar – Plain old white sugar, the sweet backbone.
-
Cocoa Powder – Unsweetened, so you get that deep chocolate flavor.
-
Vanilla Extract – Just a splash, but it makes the cocoa pop.
-
Water – Yep, just a spoonful—it helps pull the mixture together.
-
Rolled Oats – This is the “chewy” part. No oats, no texture.
-
Powdered Sugar – The “snow” look. Without it, they’re just brown lumps (tasty lumps, but still).
How To Make Eskimo Cookies?
Step 1: Cream it up.
Soften the butter and stir in the sugar. Don’t overthink it—you just want it smooth.
Step 2: Make it chocolatey.
Add the cocoa powder, vanilla, and water. Stir until you’ve got a rich, fudgy base.
Step 3: Fold in the oats.
This is where the magic happens. The dough should look sticky, chunky, and hold its shape when you scoop it.
Step 4: Roll into balls.
Scoop out spoonfuls, roll them in your hands (yes, it gets messy), then toss each ball in powdered sugar until coated.
Step 5: Eat or chill.
You can snack on them right away, but if you let them hang out in the fridge for an hour, they’ll firm up a bit. I usually sneak one before they’re “done” though—impatience is part of the fun.
Storage Options:
They’ll last about three days on the counter in an airtight container, but honestly, mine never make it that long. In the fridge, they’ll keep for about a week, and if you want to freeze them? Go for it. Just let them thaw for a few minutes before biting in unless you like breaking a tooth on frozen oats (your dentist will thank you).
Want To Save This Recipe?
Variations and Substitutions:
Want to play around with the recipe? Here are a few ideas:
-
Roll in cocoa powder instead of powdered sugar for extra chocolate kick.
-
Use shredded coconut if you want snowy vibes turned up to eleven.
-
Swap oats for Rice Krispies if you’re feeling rebellious.
What to Serve with Eskimo Cookies?
They’re perfect on their own, but if you want to turn them into part of a spread:
-
Add them to a holiday cookie tray with gingerbread and sugar cookies.
-
Serve with hot cocoa on a snowy afternoon.
-
Pair with coffee if you’re sneaking one for breakfast (no judgment).
-
Midnight fridge raids—they practically taste better that way.
Frequently Asked Questions:
Do Eskimo Cookies need baking?
Nope. That’s the whole point—they’re no-bake and quick.
Can I make them ahead of time?
Yes! They taste even better the next day after chilling.
What if I don’t like powdered sugar?
Leave them plain, or roll in cocoa, coconut, or even sprinkles. Totally fair game.

So there you have it—Eskimo Cookies, my go-to no-bake treat when I want something sweet without the hassle. They’re nostalgic, a little messy, and way too easy to eat by the handful.
Tell me—are you a fridge-chiller, or are you eating these straight off the counter like me?
Keep the Flavor Coming – Try These:


Eskimo Cookies
Ingredients
- 3/4 cup unsalted butter softened
- 3/4 cup granulated sugar
- 3 tablespoons unsweetened cocoa powder
- 1/2 teaspoon vanilla extract
- 1 tablespoon water
- 2 cups rolled oats
- 1/3 cup confectioners’ sugar for rolling
Instructions
Prepare the base
- In a large mixing bowl, soften the butter. Add the granulated sugar and stir until fully combined and smooth.
Incorporate cocoa and flavoring
- Add the cocoa powder, water, and vanilla extract. Mix until the ingredients are thoroughly blended and a rich chocolate mixture is formed.
Fold in oats
- Add the rolled oats to the mixture. Stir until all oats are evenly coated, and the dough becomes sticky and holds together.
Shape the cookies
- Using a spoon or your hands, scoop portions of the dough and roll them into small balls.
Coat with sugar
- Roll each cookie ball in confectioners’ sugar until fully coated. Place on a tray lined with parchment paper.
Chill and serve
- Refrigerate the cookies for at least 30 minutes to firm up before serving. Enjoy as a quick no-bake dessert or holiday snack.
Notes
I’m Bitty, owner of nodashofgluten.com, where I share simple, delicious recipes for all tastes, including gluten-free. Check out my “About Me” page for more info!

