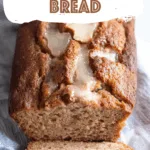
Cozy Dutch Apple Bread made with tart apples, walnuts, buttery cinnamon topping, and vanilla glaze—perfect for mornings or dessert.
Here’s the thing—Dutch Apple Bread wasn’t even on my radar until one random Tuesday. I’d bought a big bag of green apples with the best intentions. You know the story: school lunch snacks, maybe a healthy afternoon pick-me-up for me (lol, sure), and then—nope. They just sat there, side-eyeing me every time I walked past the counter.


So one day I thought, fine, let’s bake with you before you turn into applesauce on your own. I didn’t want to make another crisp (my family had already groaned “again?” the week before). Then I remembered this cozy little recipe for Dutch Apple Bread tucked in an old church cookbook that smelled like someone’s grandma’s kitchen. It felt homey and old-fashioned in the best way.
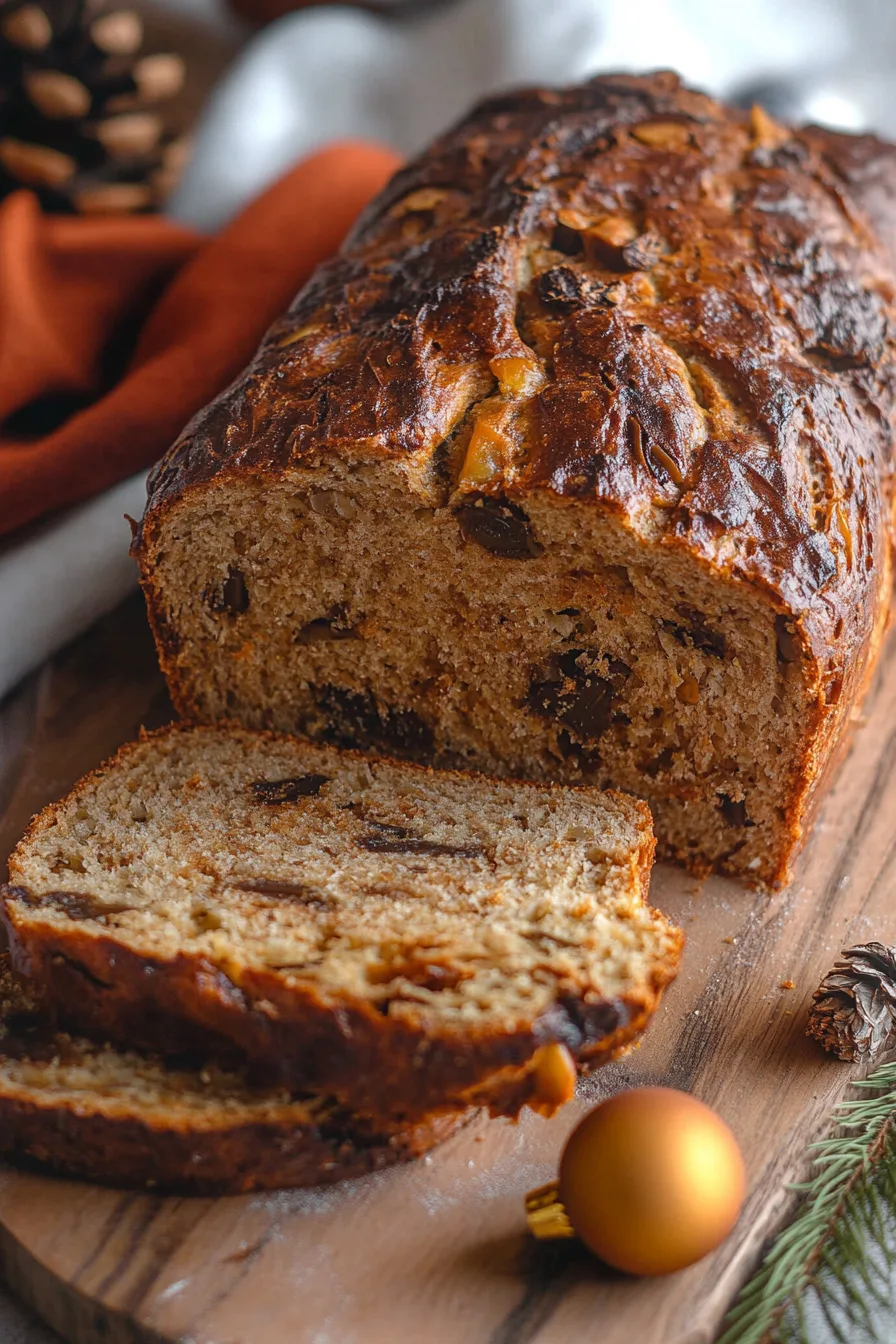
When I pulled it out of the oven, the whole house smelled like fall—even though it was spring and my kids were running around barefoot in the yard. The topping was golden, the glaze ran down the sides like messy icing on a cinnamon roll, and we cut into it way too early because, well, patience is not our strong suit. It wasn’t perfect—my glaze pooled weirdly on one side—but it tasted so good nobody cared. Honestly, I think the “imperfections” made it better.
Why You’ll Love This Dutch Apple Bread Recipe?
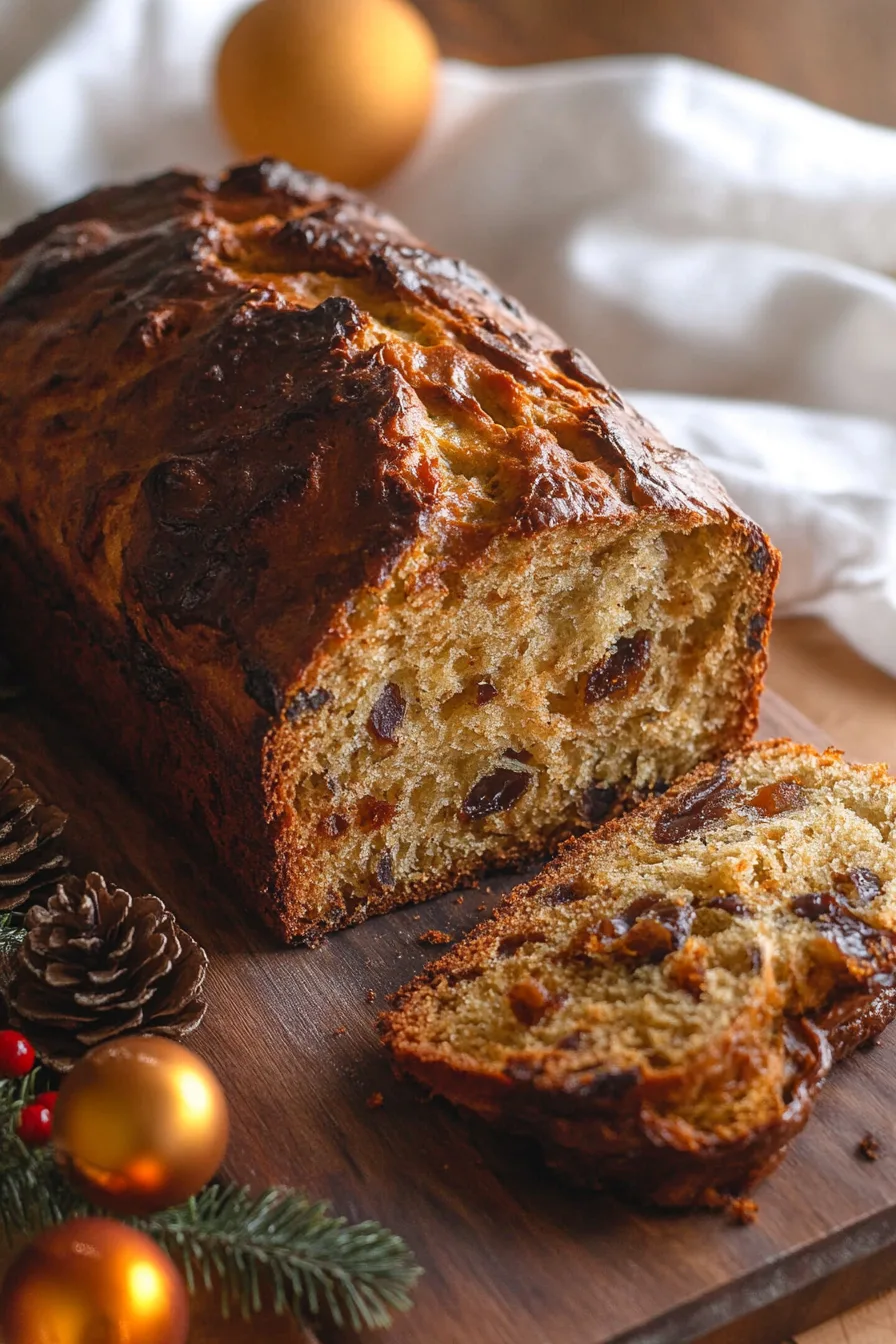
What’s special about Dutch Apple Bread? It’s not flashy, it’s not complicated, but it feels like home. The texture is soft and tender, with little tart pops of apple. Walnuts sneak in a bit of crunch, and the cinnamon topping is basically the stuff you steal off coffee cake when no one’s looking (don’t deny it, we’ve all done it). And then there’s the glaze—sweet, simple, slightly messy. It’s not optional in my book. Is this bread bakery-perfect every single time? Probably not. But that’s the point—it’s cozy, forgiving, and just so darn good.
Ingredient Notes:
I like to think of ingredients as characters—everyone’s got their role:
-
Green Apples – Tart and crisp, they keep the bread from being too sweet. Use Granny Smith if you’ve got ‘em.
-
Butter – It’s everywhere in this recipe. In the bread, the topping, the glaze. Butter is the glue (and the glory).
-
Sugar – White sugar sweetens the bread, brown sugar makes the topping caramelly. Together, they’re magic.
-
Eggs – Simple but essential. They keep everything together.
-
Milk – Gives the bread that soft, tender crumb.
-
Walnuts – My kids pick them out, but I like the crunch. Pecans also work.
-
Cinnamon – Warm, nostalgic, absolutely necessary.
-
Vanilla Extract – Subtle, but it ties everything together.
-
Glaze – Does it look a little messy? Sure. But trust me, it makes the bread taste like it belongs in a bakery window.
How To Make Dutch Apple Bread?
This isn’t fussy, but here’s how I walk through it:
Step 1 – Prep the pan.
Oven to 350°F, loaf pan sprayed. Don’t skip this or you’ll be chiseling bread out later.
Step 2 – Cream it up.
Beat butter and sugar until fluffy. Add in milk, eggs, vanilla. It doesn’t have to be silky smooth—just mixed.
Step 3 – Dry meets wet.
Mix in flour, baking powder, salt. Stir gently—don’t overthink it. Over-mixing = tough bread.
Step 4 – Apples & nuts.
Fold in diced apples and walnuts. Batter will feel chunky and heavy, but that’s exactly what you want.
Step 5 – The crumble.
Mix flour, sugars, cinnamon, and cold butter until crumbly. It’s okay if it’s uneven—that’s character. Sprinkle it over the batter.
Step 6 – Bake.
50–60 minutes, until a toothpick comes out clean. The smell will tell you it’s ready before the timer does.
Step 7 – Glaze.
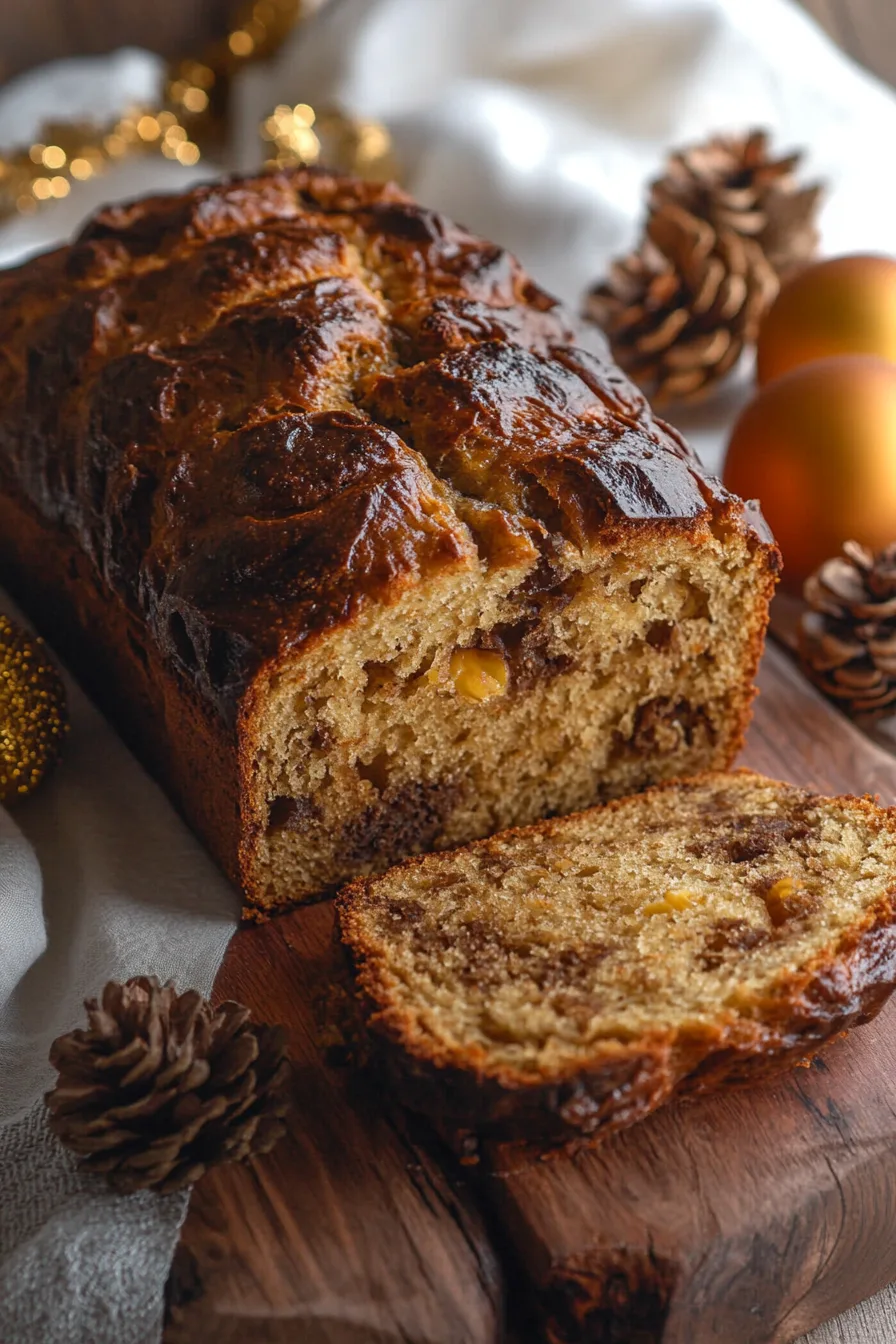
Let it cool mostly (I never fully wait), then drizzle the glaze. If it runs off the sides, who cares—it’s delicious.
Want To Save This Recipe?

Storage Options:
This bread actually holds up pretty well, which is dangerous because you’ll keep sneaking slices. Wrap it up tight, and it stays fresh on the counter for 2–3 days. In the fridge, it lasts about 5. Want to stretch it out? Freeze slices individually so you can grab one when the craving hits. Warm it in the microwave for 20 seconds and boom—it tastes like fresh-baked again.
Variations and Substitutions:
The fun of Dutch Apple Bread is how flexible it is. Try:
-
Different Apples – Sweet ones like Fuji or Honeycrisp if you want less tang.
-
Nut-Free – Just skip the walnuts, or swap with pecans if that’s your thing.
-
Add-Ins – Raisins, cranberries, even white chocolate chips if you’re feeling fancy.
-
Spice Boost – Nutmeg or allspice for extra cozy vibes.
-
Healthier-ish – Sub half the flour with whole wheat. It’ll be a little denser but still tasty.
What to Serve with Dutch Apple Bread?
This bread doesn’t need company, but it plays well with others:
-
Coffee or Tea – Classic morning combo.
-
Vanilla Ice Cream – A warm slice with ice cream on top? Unreal.
-
Whipped Cream – Easier and lighter if you’re not into ice cream.
-
Sharp Cheddar Cheese – Okay, trust me on this one. Apple + cheddar = unexpectedly amazing.
Frequently Asked Questions:
Can I make this ahead?
Yes, and it’s actually better the next day. The flavors settle in.
Do I need the glaze?
Technically no, but honestly yes. It’s what makes it special.
Can I make this into muffins?
Absolutely. Bake for 20–25 minutes instead of an hour. Same deliciousness, portable size.
And that’s the beauty of Dutch Apple Bread—it’s not perfect, but it’s cozy, nostalgic, and kind of irresistible. It makes your kitchen smell like a bakery and turns random apples into something worth gathering around the table for.
So tell me—are you going to save this one for a cozy fall weekend, or are you more like me and bake it “just because” on a random Tuesday?
Keep the Flavor Coming – Try These:

Dutch Apple Bread
Ingredients
For the Bread:
- 1 ½ cups green apple peeled and diced
- ½ cup unsalted butter softened
- 1 cup granulated white sugar
- 1 teaspoon baking powder
- 1 teaspoon vanilla extract
- 2 large eggs
- ½ cup milk
- ½ teaspoon salt
- 2 cups all-purpose flour
- ½ cup walnuts chopped
For the Topping:
- ⅓ cup all-purpose flour
- 2 tablespoons brown sugar
- 2 tablespoons granulated sugar
- 2 teaspoons ground cinnamon
- 5 tablespoons unsalted butter cold and cubed
For the Glaze:
- 1 tablespoon unsalted butter melted
- ½ cup confectioner’s sugar
- ¼ teaspoon vanilla extract
- 1 tablespoon milk
Instructions
Prepare the oven and pan
- Preheat the oven to 350°F (175°C). Grease or spray a standard loaf pan with non-stick cooking spray.
Cream butter and sugar
- In a large mixing bowl, cream together the softened butter and granulated sugar until light and fluffy. Add the milk, eggs, and vanilla extract, mixing thoroughly until smooth.
Combine dry ingredients
- In a separate bowl, whisk together the baking powder, salt, and flour. Gradually add the dry mixture to the wet mixture, stirring until just combined. Avoid over-mixing.
Add apples and walnuts
- Fold in the diced green apples and chopped walnuts until evenly distributed. Spread the batter into the prepared loaf pan.
Prepare the topping
- In a small bowl, combine the flour, brown sugar, granulated sugar, and ground cinnamon. Add the cubed cold butter and cut it into the mixture with a fork until coarse crumbs form. Sprinkle evenly over the batter.
Bake
- Bake for 50–60 minutes, or until a toothpick inserted into the center of the bread comes out clean. Allow the bread to cool in the pan for several minutes before transferring to a wire rack.
Glaze the bread
- In a small bowl, whisk together the melted butter, confectioner’s sugar, vanilla extract, and milk until smooth. Drizzle the glaze evenly over the cooled bread before slicing and serving.
Notes
I’m Bitty, owner of nodashofgluten.com, where I share simple, delicious recipes for all tastes, including gluten-free. Check out my “About Me” page for more info!