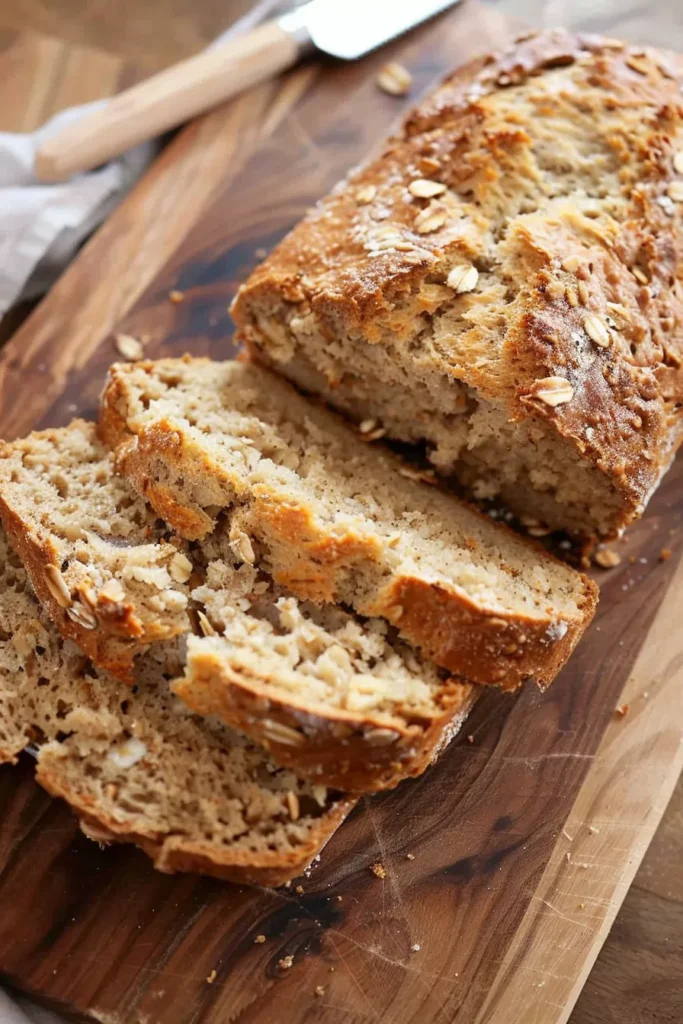
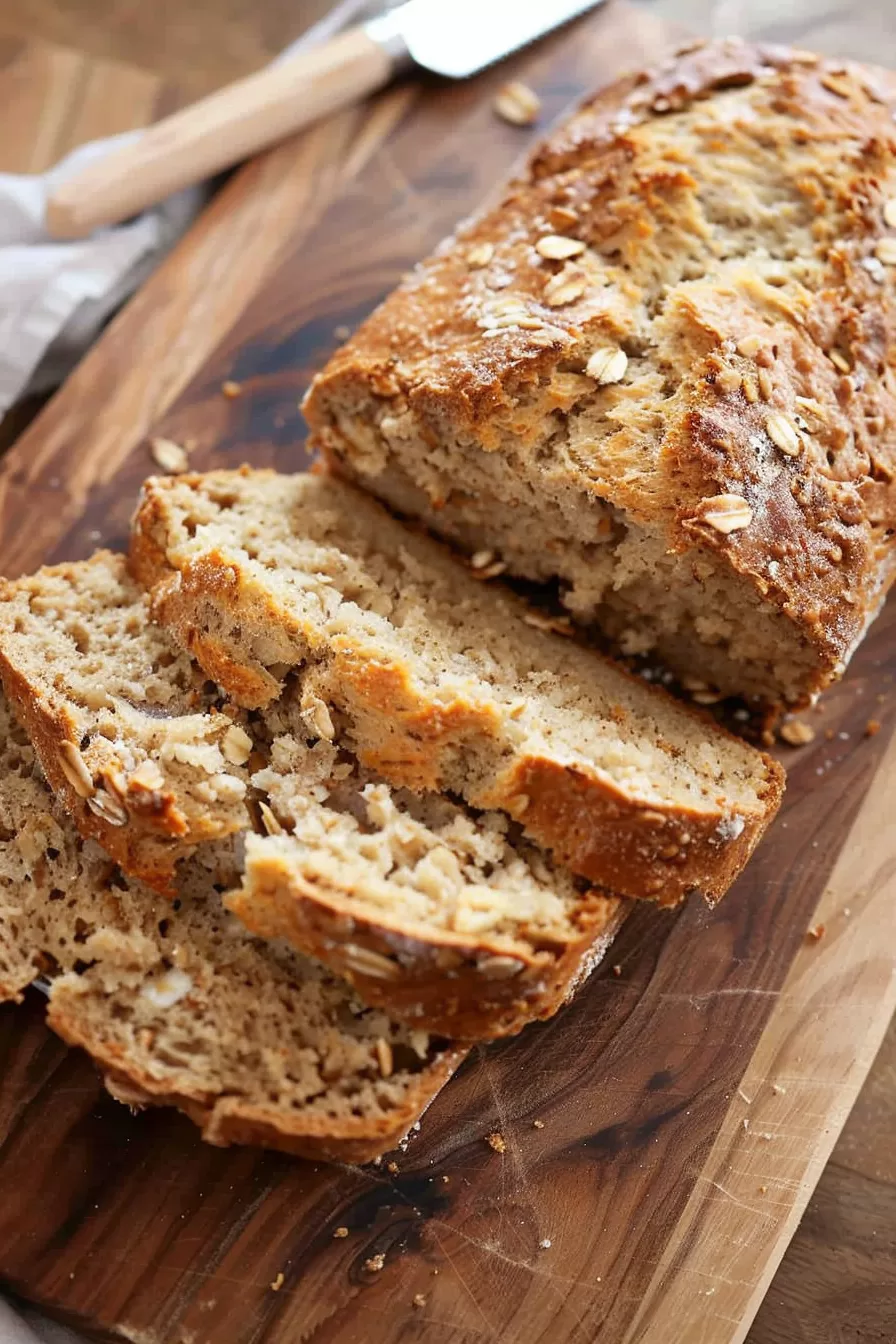
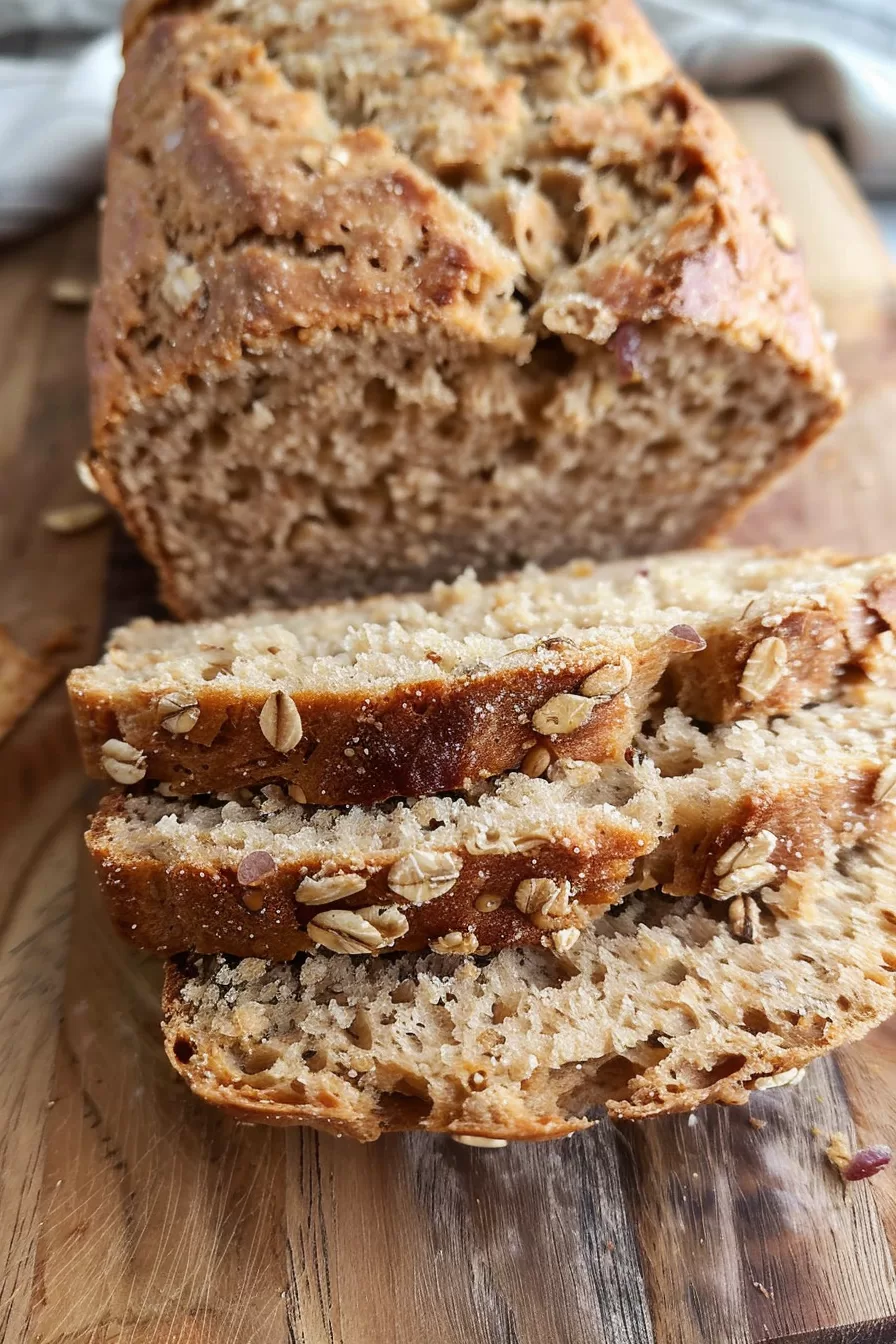
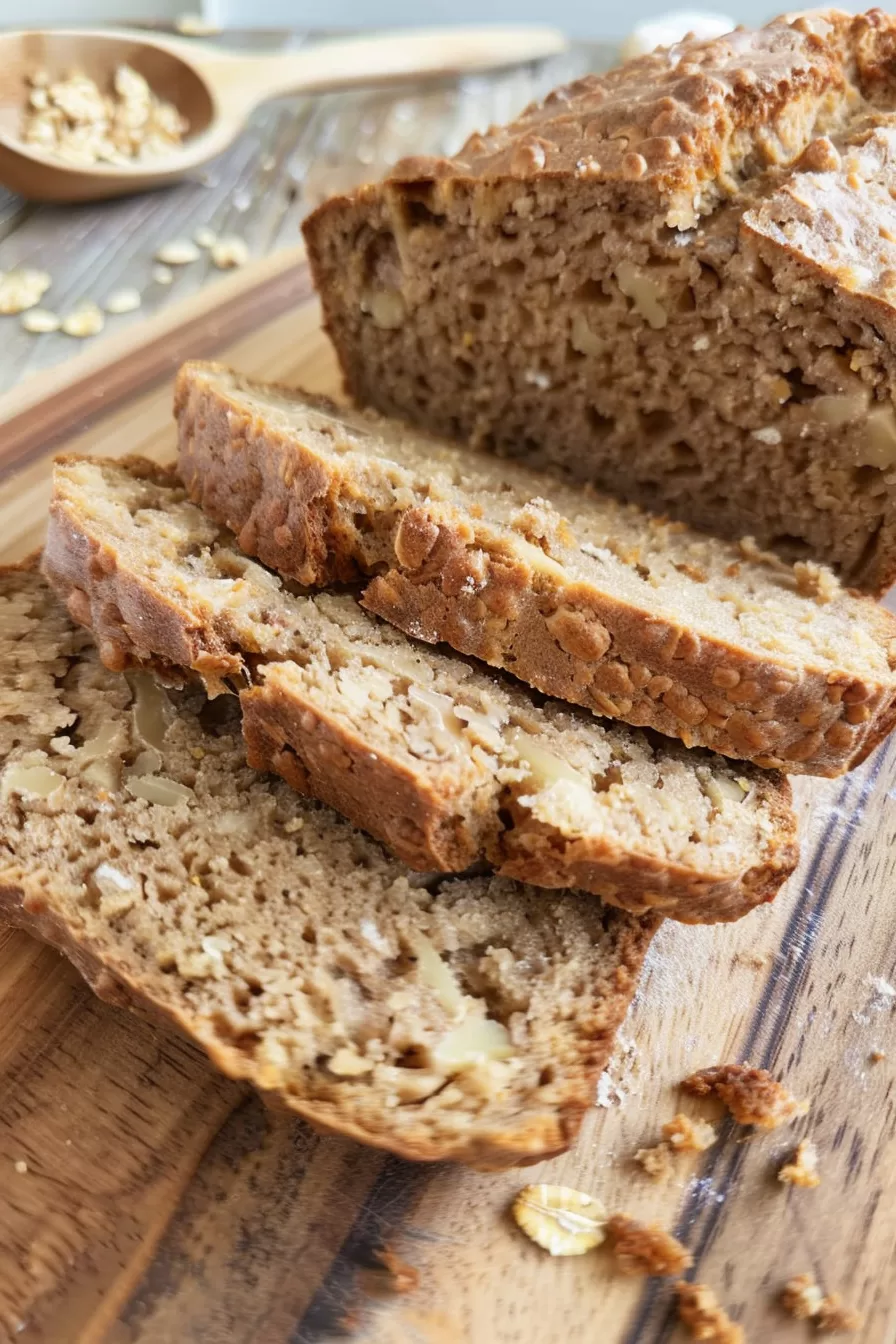
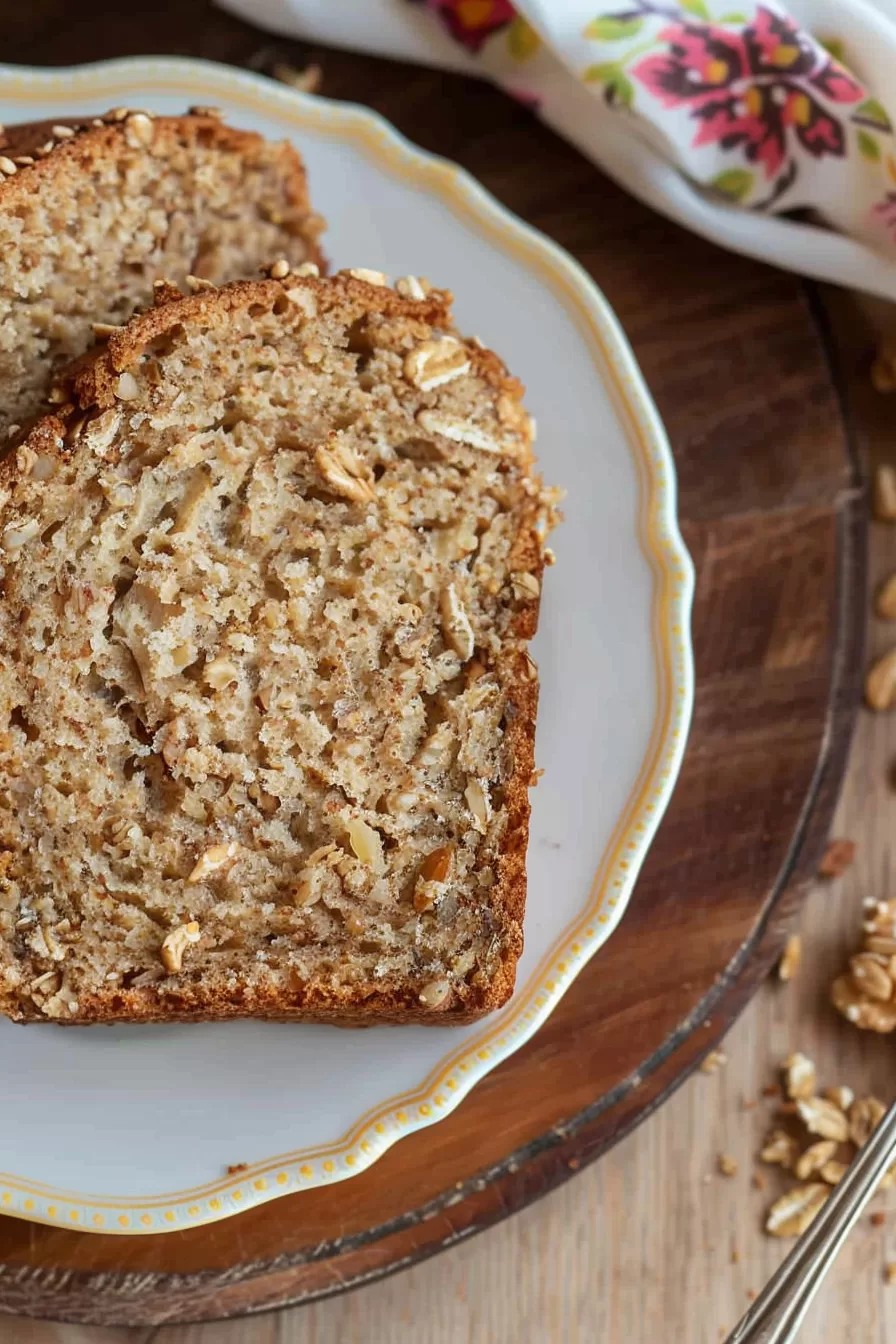
Classic Grape-Nuts Bread – Sometimes, you just need a slice of something simple and comforting, right? This Classic Grape-Nuts Bread is that kind of treat—warm, cozy, and full of those nostalgic flavors that remind you of home. With Grape-Nuts cereal, a bit of sugar, and a splash of milk, this bread is easy to make and even easier to love.

Remember it later!
Planning to try this recipe soon? Pin it for a quick find later!
Remember it later!
Planning to try this recipe soon? Pin it for a quick find later!
The first time I made this Grape-Nuts Bread, it was one of those days when I needed a little comfort. I remembered how my grandma used to make it on cold mornings, her kitchen filling with that nutty, toasty aroma. So, I gave it a try, expecting it would carry back those memories. And wow, as it baked, the smell was just like I remembered. My husband and kid were drawn in, asking what that amazing smell was! When we finally cut into it, still warm, it was perfect. The taste, the texture, everything was like a warm hug. Now it’s a family favorite whenever we want something simple and special.
Here’s a quick peek at what’s inside:
Table of content
What makes this Classic Grape-Nuts Bread truly special?
This Grape-Nuts Bread has such a perfect blend of flavors—just a bit sweet, warm and nutty, with a dense texture that’s somehow still soft. It’s perfect on its own, but toasted? It’s next-level scrumptious! Spread a little butter or jam on top, and it’s like the ultimate comfort snack. Plus, it’s straightforward to assemble with elements you probably already keep in your pantry. This is one of those recipes that just makes you feel right and gets everyone together around the table.
What You Need To Make This Classic Grape-Nuts Bread Recipe?
Milk: This softens the Grape-Nuts and brings moisture to the bread, keeping it tender and just the right amount of chewy. Any kind of milk works here—whole milk, 2%, even almond milk if that’s what you have on hand. It’s the secret to making sure this bread isn’t too dry.
Grape-Nuts Cereal: The star ingredient! Grape-Nuts add a nutty, earthy flavor and a bit of texture that makes this bread so unique. As they soak in the milk, they soften and blend right into the bread, but still keep that subtle crunch that’s just perfect.
All-Purpose Flour: The foundation of the bread, holding everything together. Sifting the flour is a little extra step, but it keeps the texture light and ensures everything blends nicely.
Baking Powder: This gives the bread a little lift, so it’s not too dense. It helps keep things light and fluffy without overpowering the texture.
Salt: Just a touch, but don’t skip it! Salt balances out the sweetness and brings out all the other flavors.
Granulated Sugar: Adds just the right amount of sweetness. It’s not an overly sweet bread, but the sugar rounds out the flavors and pairs so well with the nutty Grape-Nuts.
Egg: Binds everything together and adds moisture. Make sure it’s well-beaten so it mixes in smoothly. It also gives the bread a nice color and richness.
Melted Butter or Shortening: This adds a bit of richness and flavor to the bread. Butter gives it that classic, slightly buttery taste, while shortening can make it even a bit softer. Either one works, so use what you like best!
Steps To Make Classic Grape-Nuts Bread:
Prep the Cereal Mix: Start by mixing the milk and Grape-Nuts together in a microwave-safe bowl. Pop it in the microwave for about a minute, then give it a good stir. Let it sit and cool down while you gather the rest of the ingredients. This step softens up the cereal so it blends right into the bread—no crunchy surprises here!
Preheat the Oven: Set your oven to 350°F (175°C). It’ll be nice and hot by the time you’re ready to bake, so you can get that perfect golden crust.
Mix the Dry Ingredients: In a large mixing bowl, whisk together the flour, baking powder, salt, and sugar. Give it all a good mix, so everything’s ready to come together once you add the wet ingredients.
Add the Wet Ingredients: Pour in the cooled milk and Grape-Nuts mixture, then add the beaten egg and melted butter. Gently stir it all together until just combined—no need to go overboard on the mixing here! We want that bread soft and tender, not too dense.
Want To Save This Recipe?
Enter your email below and we'll send the recipe straight to your inbox.
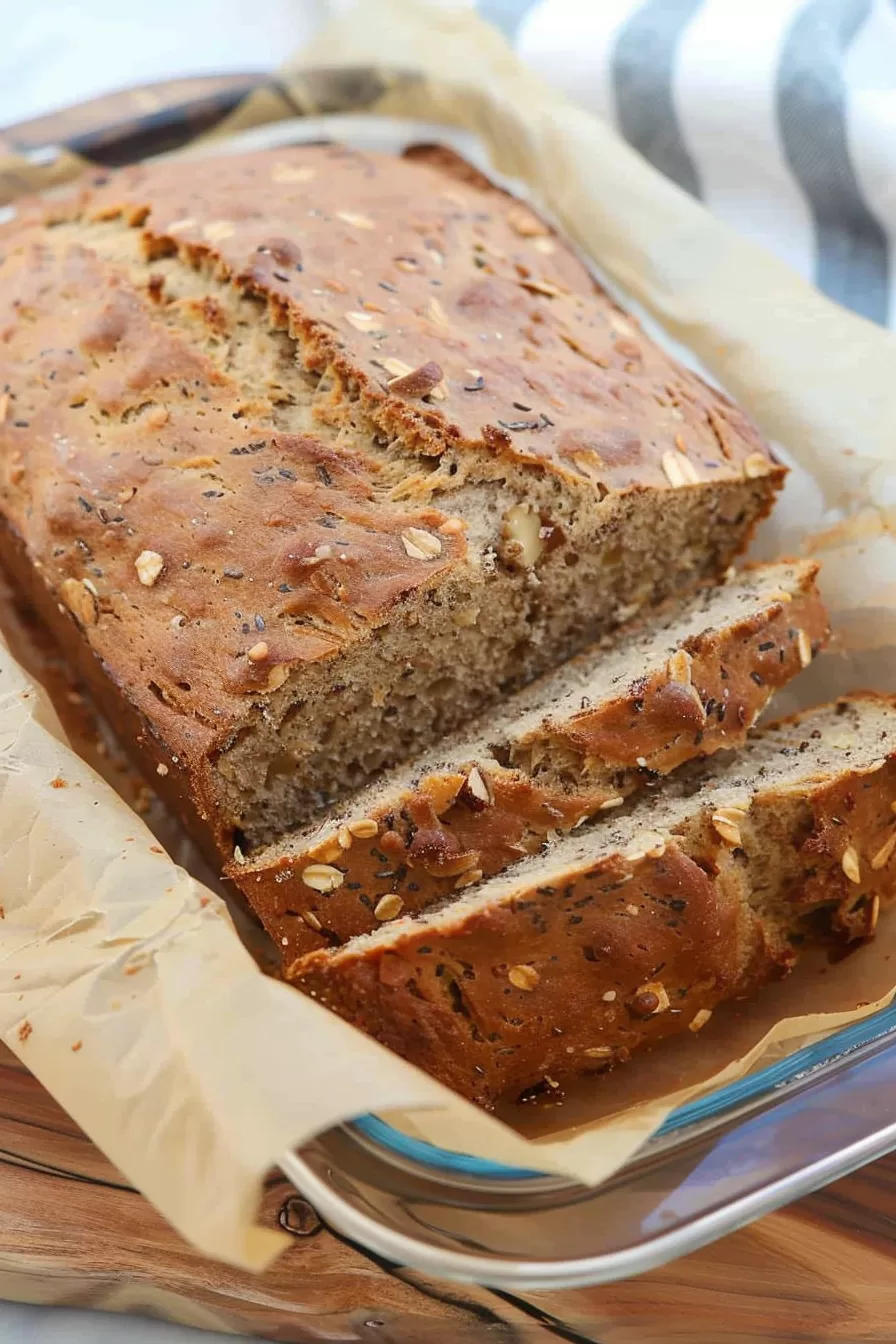
Pour and Bake: Pour the batter into a lined or greased 9×5-inch loaf pan, spreading it out evenly. Pop it into the oven and bake for 55-60 minutes, or until a toothpick or knife comes out clean from the center.
Cool and Slice: Let the bread cool in the pan for about 10 minutes, then move it to a wire rack to cool completely. Give it a good hour to set up before slicing—trust me, it’s worth the wait! And if you want to take it up a notch, toast a slice and add a little butter or jam. Heaven!
Tip:
For the best flavor and texture, let the Grape-Nuts mixture soak in the milk until it’s fully cooled. This extra time lets the cereal soften and absorb the milk, making it blend seamlessly into the bread batter. If you have a bit more time, try letting it sit for 10-15 minutes after microwaving. It makes a surprising difference in the bread’s texture—no overly crunchy bits, just smooth, nutty goodness in every bite. And here’s a little extra: when the bread is done and cooled, try toasting a slice! It brings out a whole new layer of flavor, especially with a bit of butter or jam. It’s one of those small steps that make a big impact on the overall experience.
Storage Options
So, you’ve baked this bread, and now you’re wondering—how long can you make that deliciousness last? Been there! Here’s what I do, and honestly, it keeps the bread just as cozy and perfect as when it’s fresh out of the oven (or close enough):
- Countertop: If you’re like me and know you’ll be nibbling on this over the next couple of days, just pop it in an airtight container on the counter. It’s good for about 2-3 days—but seriously, does it ever last that long?
- Fridge: When I want it to hang around a bit longer, the fridge is my go-to. Wrap it up or toss it in a container, and it’ll last about a week. Just slice off a piece, warm it up, and it’s like an instant trip back to “just baked” (ok, maybe I’m overselling, but it’s close!).
- Freezer: Here’s a tip if you want a slice whenever the mood hits: slice it up first, then wrap each piece individually. I keep mine in a freezer bag, and anytime I want some, I pull out a slice, toast it, and… well, it’s almost like fresh bread. Almost—but trust me, it’s still a treat.
Variations and Substitutions
If you’re anything like me, you’re always thinking, “What else can I add to this?” or maybe, “I’m out of milk, now what?” Here are some tweaks I’ve tried (and loved) or ideas for when you’re working with whatever you’ve got on hand.
- Switch Up the Sweetness: Regular sugar is great, but sometimes I throw in brown sugar or even honey if I want that warm, rich flavor. Just don’t go overboard with the honey, though—learned that the hard way. Sticky mess.
- Flour Substitutions: Whole wheat gives it a nice, hearty feel (though yeah, it’s a bit denser). And if you’re gluten-free, a 1:1 baking blend is your best friend here. Works like a charm!
- Dairy-Free Twist: No milk? No worries. Almond milk, oat milk—pretty much whatever’s in the fridge can work here. It’s flexible, which is kinda nice, right?
- Add a Little Extra: I’m a fan of adding chopped nuts or dried fruit for an extra bit of chew and flavor. And cinnamon? Yes, please. Adds a touch of warmth that makes me think of cozy fall mornings.
- Butter Alternatives: No butter on hand? Vegetable oil or shortening can step in, and fun fact: shortening actually makes the bread a bit softer. I know, it sounds like a “grandma trick,” but it works!
What to Pair with Your Classic Grape-Nuts Bread
Now, let’s talk toppings. Sure, this bread is fantastic on its own, but adding a little something? Game changer. Here are my favorite ways to enjoy a slice—or two… or, you know, more:
- Persimmon Jam: Okay, this one might sound fancy, but if you’ve got persimmon jam around, just try it. The sweet-spicy flavor with this bread? Oh, you’ll be telling everyone about it, trust me.
- Butter and Honey: The classic, and for good reason. Spread on a little butter, drizzle some honey, and you’ve got yourself the coziest treat ever.
- Cream Cheese: Want a little tang? Cream cheese is it. It adds this nice richness that plays off the bread’s sweetness. Perfect for brunch with a cup of coffee, if you ask me.
- Nut Butters: Almond butter, peanut butter—heck, I’d even go for cashew butter. It’s creamy, a little salty, and adds a protein punch if you need a more filling snack.
- Fruit Compote: Feeling fancy? Try a fruit compote like raspberry or apricot. I think it gives this humble bread a “dessert” vibe without feeling over-the-top.
- Cheese Plate: Hear me out on this one—add it to a cheese plate! Mild cheeses like brie or gouda pair surprisingly well with the nutty bread. It’s like an unexpected match made in heaven. Who knew?
What’s your favorite way to enjoy it? I love hearing how other people dress up their bread. Sometimes the simplest changes make it feel brand new. 🍞
Frequently Asked Questions:
Can I make this bread ahead of time?
Absolutely! This bread keeps well for a couple of days when stored in an airtight container at room temperature. It’s also freezer-friendly—slice it up, wrap each slice individually, and pop them in the freezer. When you’re ready to enjoy, just thaw a slice and toast it.
Can I use a different cereal if I don’t have Grape-Nuts?
Grape-Nuts give a unique, nutty flavor and texture, but if you’re in a pinch, you could try a similar, hearty cereal like bran flakes or granola. Just keep in mind that it may change the texture slightly and might need less soaking time.
What’s the best way to serve this bread?
This bread is delicious as is, but if you really want to go the extra mile, try toasting it. Spread a bit of butter, honey, or your favorite jam on top. Cream cheese is also a great choice if you like a bit of extra richness. Perfect for a cozy breakfast or snack!
Remember it later!
Planning to try this recipe soon? Pin it for a quick find later!
Remember it later!
Planning to try this recipe soon? Pin it for a quick find later!
Keep the Flavor Coming – Try These:

Classic Grape-Nuts Bread
Ingredients
- 1 1/3 c milk
- 2/3 c Grape-Nuts cereal
- 2 c sifted all-purpose flour
- 2 1/2 tsp baking powder
- 1 tsp salt
- 2/3 c granulated sugar
- 1 egg well-beaten
- 3 tbsp melted butter or shortening
Instructions
- In a microwave-safe bowl, mix together the milk and Grape-Nuts cereal. Pop it in the microwave for about a minute, give it a good stir, and let it cool while you get the rest of the ingredients ready.
- Preheat your oven to 350°F (175°C). In a large bowl, whisk together the flour, baking powder, salt, and sugar until everything is well combined. Now, add in the cooled cereal mixture, the beaten egg, and melted butter. Stir until it all comes together into a smooth batter.
- Pour the batter into a 9x5-inch loaf pan lined with parchment paper or lightly greased. Bake for about 55-60 minutes, or until you can stick a knife into the center and it comes out clean. Once baked, let the bread cool for at least an hour before slicing and serving.
- For an extra treat, try toasting a slice and spreading a little butter or jam on top—delicious!
Notes

I’m Bitty, owner of nodashofgluten.com, where I share simple, delicious recipes for all tastes, including gluten-free. Check out my “About Me” page for more info!


