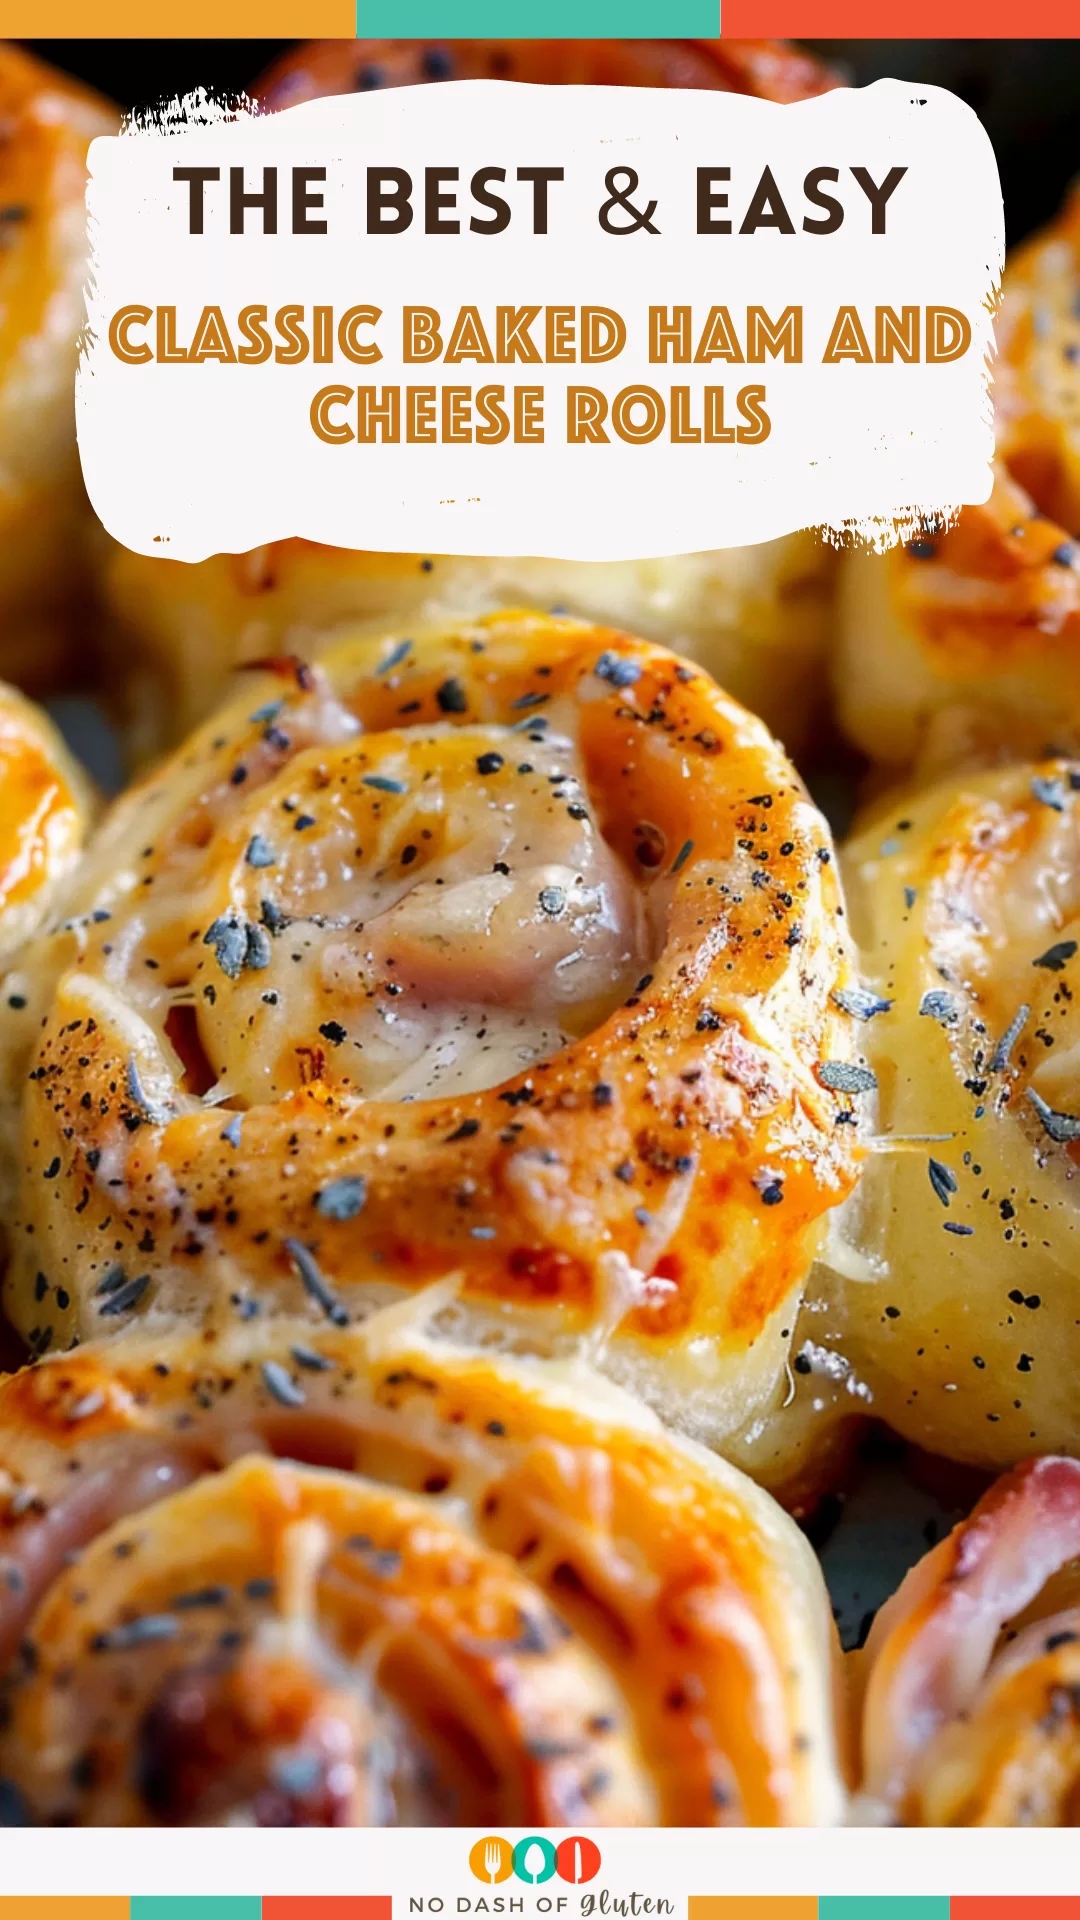
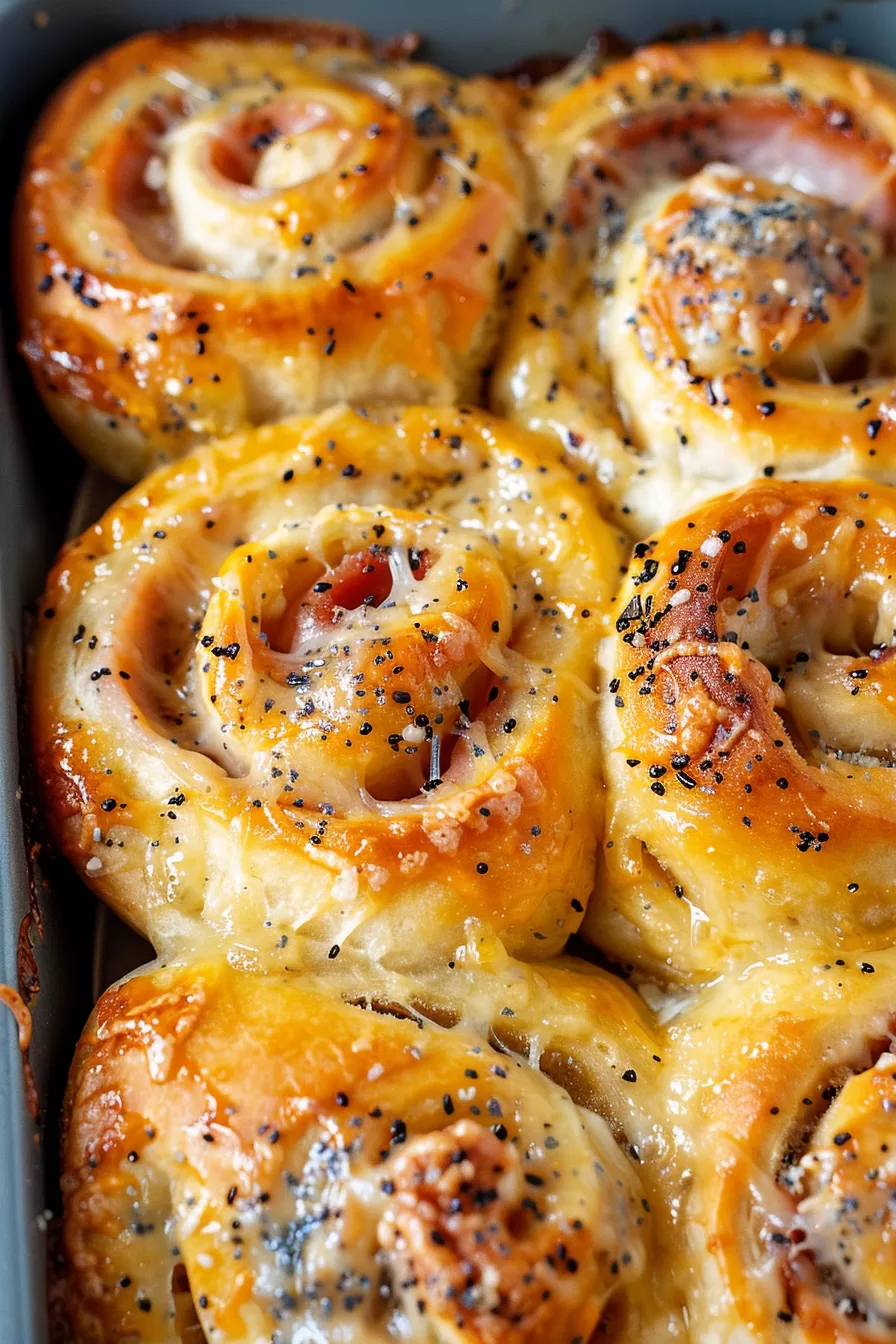
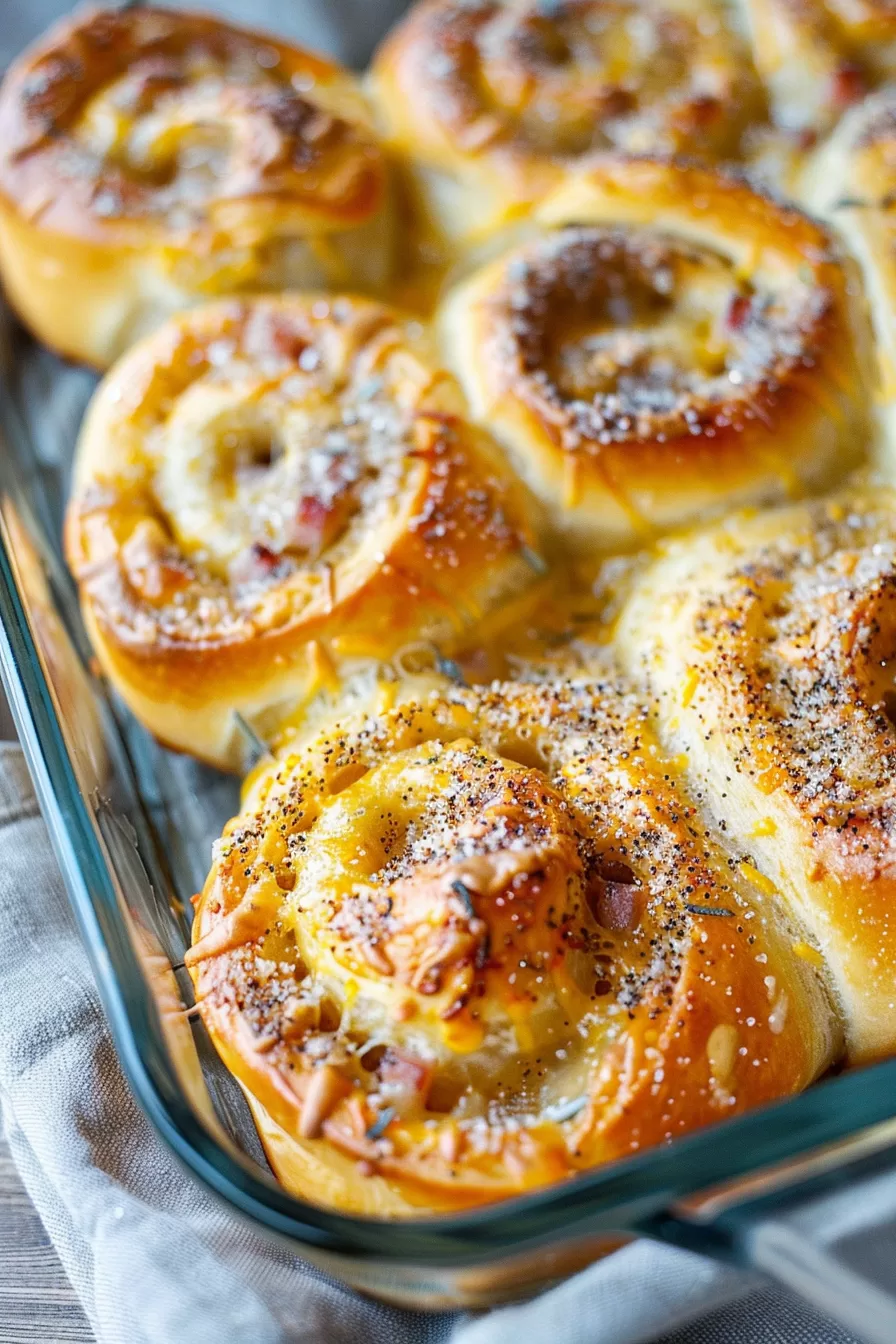
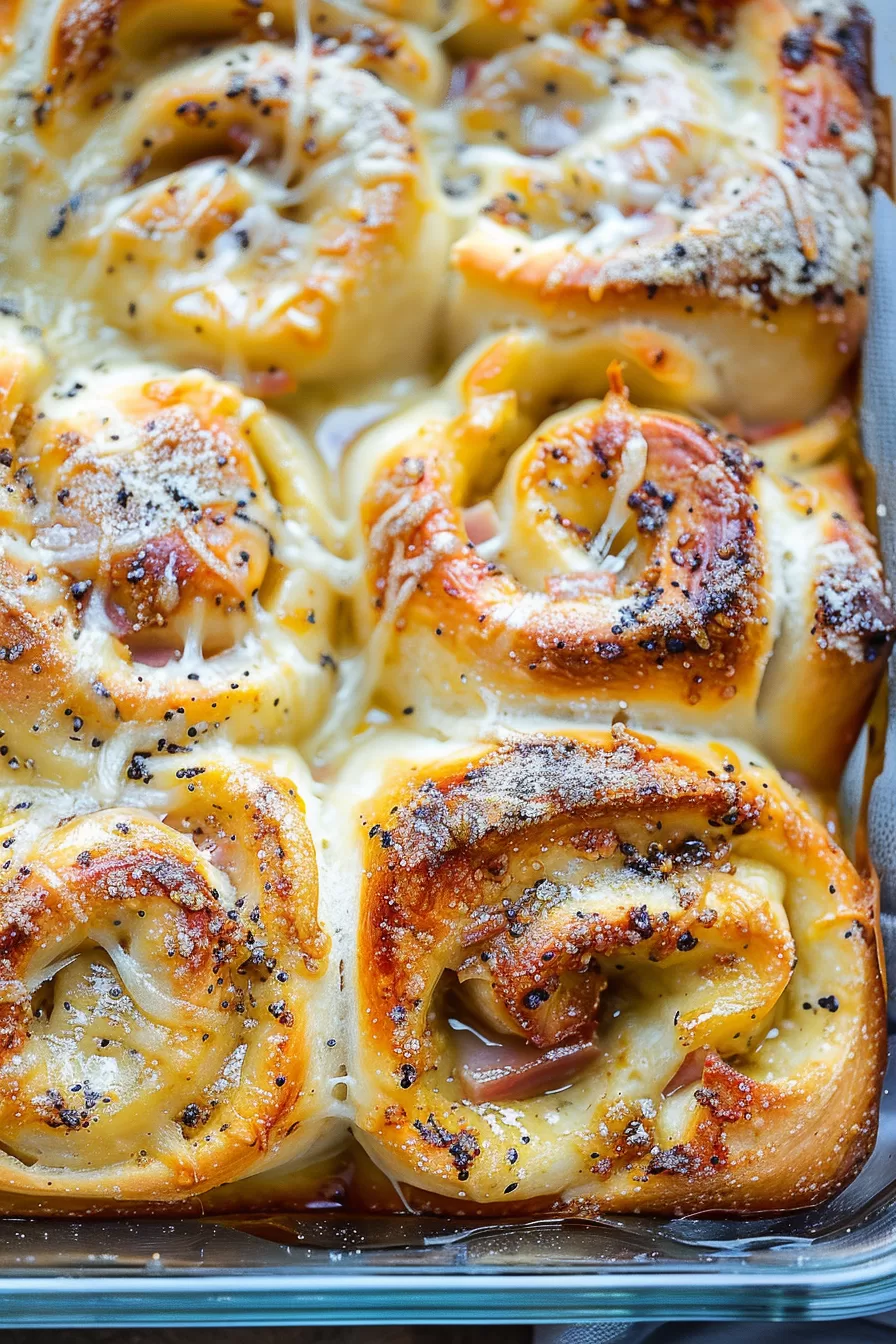
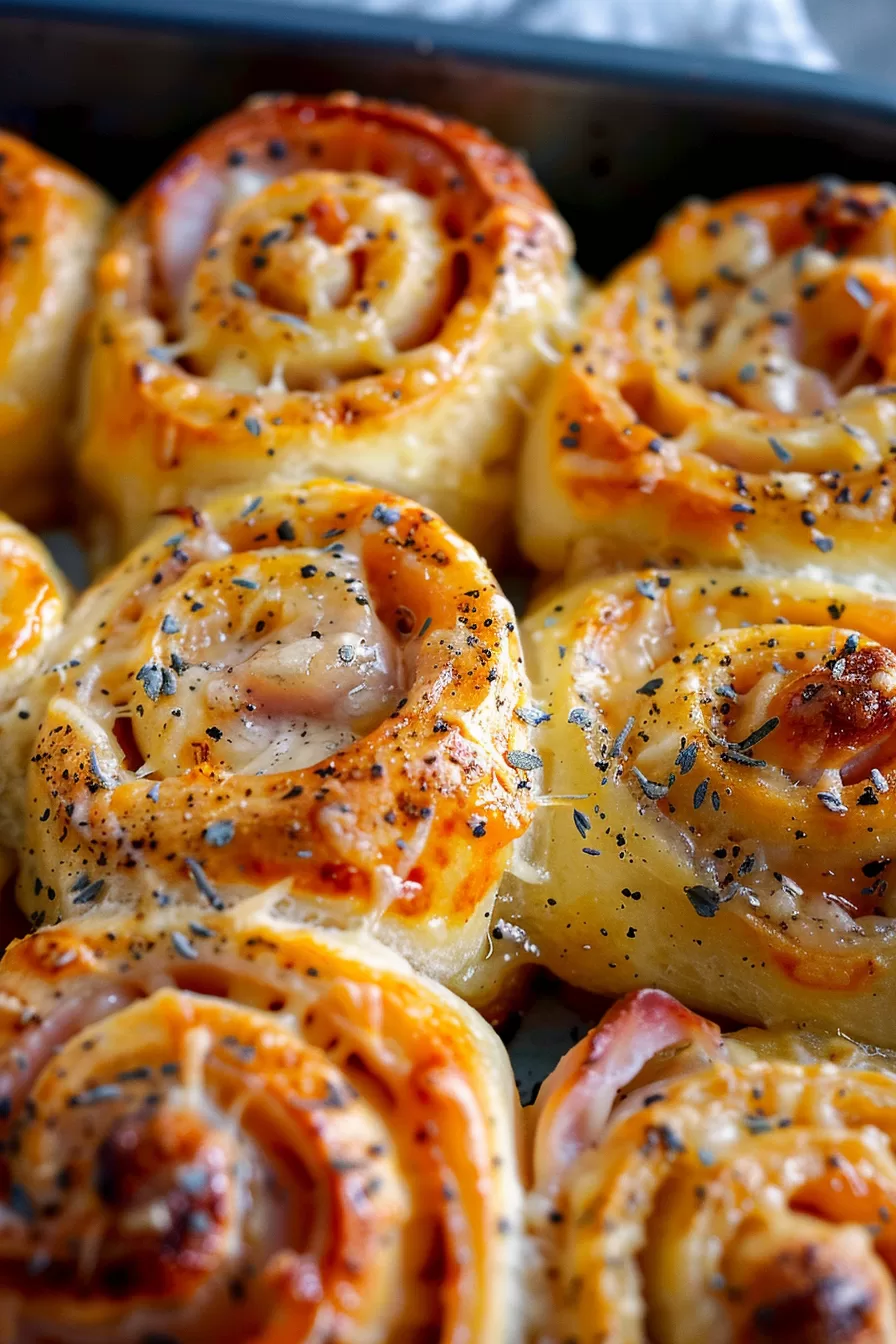
Classic Baked Ham and Cheese Rolls – Okay, confession time: I was never one to fuss too much over ham and cheese sandwiches. I mean, they’re fine, right? But one day, on a particularly lazy Sunday, I wanted something that felt like comfort food but with a little oomph. So, I thought, Why not roll it all up, bake it, and see what happens? And let me tell you – what came out of the oven was a warm, cheesy, buttery slice of heaven. My family inhaled them. There was no “wait till it cools” moment, just a frenzied grab for the plate!

Remember it later!
Planning to try this recipe soon? Pin it for a quick find later!
Remember it later!
Planning to try this recipe soon? Pin it for a quick find later!
These Classic Baked Ham and Cheese Rolls became our thing – a recipe I’d make when I wanted to feel like a hero without actually doing much. Honestly, they remind me of my grandma’s approach to cooking: simple, unfussy, and packed with flavor. Grandma would approve. And you know what? If you’re in need of a little cozy food hug (don’t we all sometimes?), these rolls might just be it.
Here’s a quick peek at what’s inside:
Table of content
Why You’ll Love This Classic Baked Ham and Cheese Rolls?
- Ultimate Comfort in Every Bite: It’s ham, it’s cheese, it’s buttery golden dough – pretty much comfort food central. I don’t think you can go wrong here.
- Perfect for Any Occasion: Family brunch, Sunday dinner, or a cozy snack – these rolls somehow fit everywhere. They’re that kind of food.
- Super Easy to Make: Minimal prep, little bake time, and they’re on your table. Sometimes delicious doesn’t need to be complicated, right?
- Customizable Flavors: This recipe can be your canvas. Add in your favorite cheeses, try different meats, or even sprinkle in some unexpected spices. Make it yours!
Ingredients Notes:
These rolls keep it straightforward, but each ingredient is like a little VIP bringing its own flair to the party.
- Pizza Dough: Store-bought refrigerated dough is my lifesaver here. It’s soft and bakes to a golden perfection. Plus, less work is always a win in my book.
- Ham Slices: Thin slices work best for layering without bulking up the roll. Personally, I love using smoked ham, but honey-baked adds a hint of sweetness too.
- Swiss Cheese: Swiss melts beautifully, giving that mild, nutty flavor. But if you’re craving cheddar, provolone, or anything else melty, go for it.
- Butter: Ah, butter. You melt it down for brushing on the dough and making the glaze. It’s what gives these rolls that indulgent quality.
- Dijon Mustard: This is where the magic happens in the glaze. Dijon’s tangy kick plays so well with the richness of the butter and cheese.
- Poppy Seeds: They might seem like a small thing, but they add a little crunch and classic feel. Plus, they just look pretty on top.
- Dried Minced Onion: Just a hint of savory flavor that’s not too in-your-face. Perfect for adding that little something-something to the glaze.
- Worcestershire Sauce: I call this the “secret sauce” – it adds a depth of flavor you didn’t even know you needed.
How To Make Classic Baked Ham and Cheese Rolls:
You know when a recipe sounds all fancy but is actually super easy? That’s these rolls. Here’s how to bring them to life in just a few steps.
- Preheat the Oven & Prep the Dish: Start by setting your oven to 400°F and greasing an 8×8-inch baking dish with nonstick spray. If you’re like me, nonstick spray is just a must – no sticking and no mess.
- Roll Out the Dough: Lightly flour your work surface and roll out the pizza dough into a nice 8×16-inch rectangle. Picture yourself rolling a map or something – snug, but not too tight. Just enough for the magic to happen.
- Layer on the Ham and Cheese: Lay out the ham slices in a single layer over the dough, followed by the cheese. This way, every bite gets a little bit of everything. Because, really, who wants a bite with no cheese?
- Roll It Up: Here comes the fun part. Starting from the side closest to you, roll the dough up into a log. Picture it like a sleeping bag – all snug and wrapped up.
- Slice into Rolls: Take a serrated knife (trust me, it’s way easier) and slice the log into 9 rounds. Arrange them in your greased baking dish, giving each one a little wiggle room.
- Let Them Rise: Cover the rolls with a cloth and let them rise for about 20 minutes. This makes them soft and fluffy in the oven. It’s like letting bread do its thing, but way less time.
- Make the Glaze: Whisk the remaining melted butter, Dijon mustard, poppy seeds, minced onion, and Worcestershire sauce. Just the smell of this is enough to make you hungry. Pour this over the rolls right before baking.
- Bake to Golden Goodness: Bake for 30-40 minutes, or until the rolls are golden on top. Serve warm and get ready to see them disappear!
Storage Options:
So, if you happen to have leftovers (and I’m impressed if you do), here’s how to keep them fresh. Store them in an airtight container in the fridge, and they’ll stay good for up to three days. Reheat them in the oven at 350°F for about 10 minutes to keep them nice and crispy – none of that sad microwave sogginess. And yes, you can freeze them! Wrap each roll in plastic wrap, stick them in a freezer-safe bag, and you’re good for a month. Thaw in the fridge overnight, then warm up in the oven. Easy as pie…or rolls.
Variations and Substitutions:
If you’re like me and love a little adventure in the kitchen, these rolls are begging for a twist or two. Here are some ideas:
- Different Cheeses: Swiss is classic, but cheddar, provolone, or mozzarella would all work great. Each gives a different vibe.
- Mix Up the Meat: Instead of ham, try turkey, roast beef, or even salami for a fun twist.
- Spicy Kick: Add a layer of thin jalapeño slices or sprinkle some red pepper flakes in the glaze. If you’re feeling bold, go for it!
- Herb Explosion: Fresh rosemary, thyme, or basil sprinkled into the butter glaze adds a whole new flavor.
- Whole Wheat Dough: For a slightly nutty, hearty twist, whole wheat dough is a tasty and healthier option.
What to Serve With Classic Baked Ham and Cheese Rolls:
These ham and cheese rolls are delicious on their own, but here are a few sidekicks that make them shine.
Want To Save This Recipe?
Enter your email below and we'll send the recipe straight to your inbox.
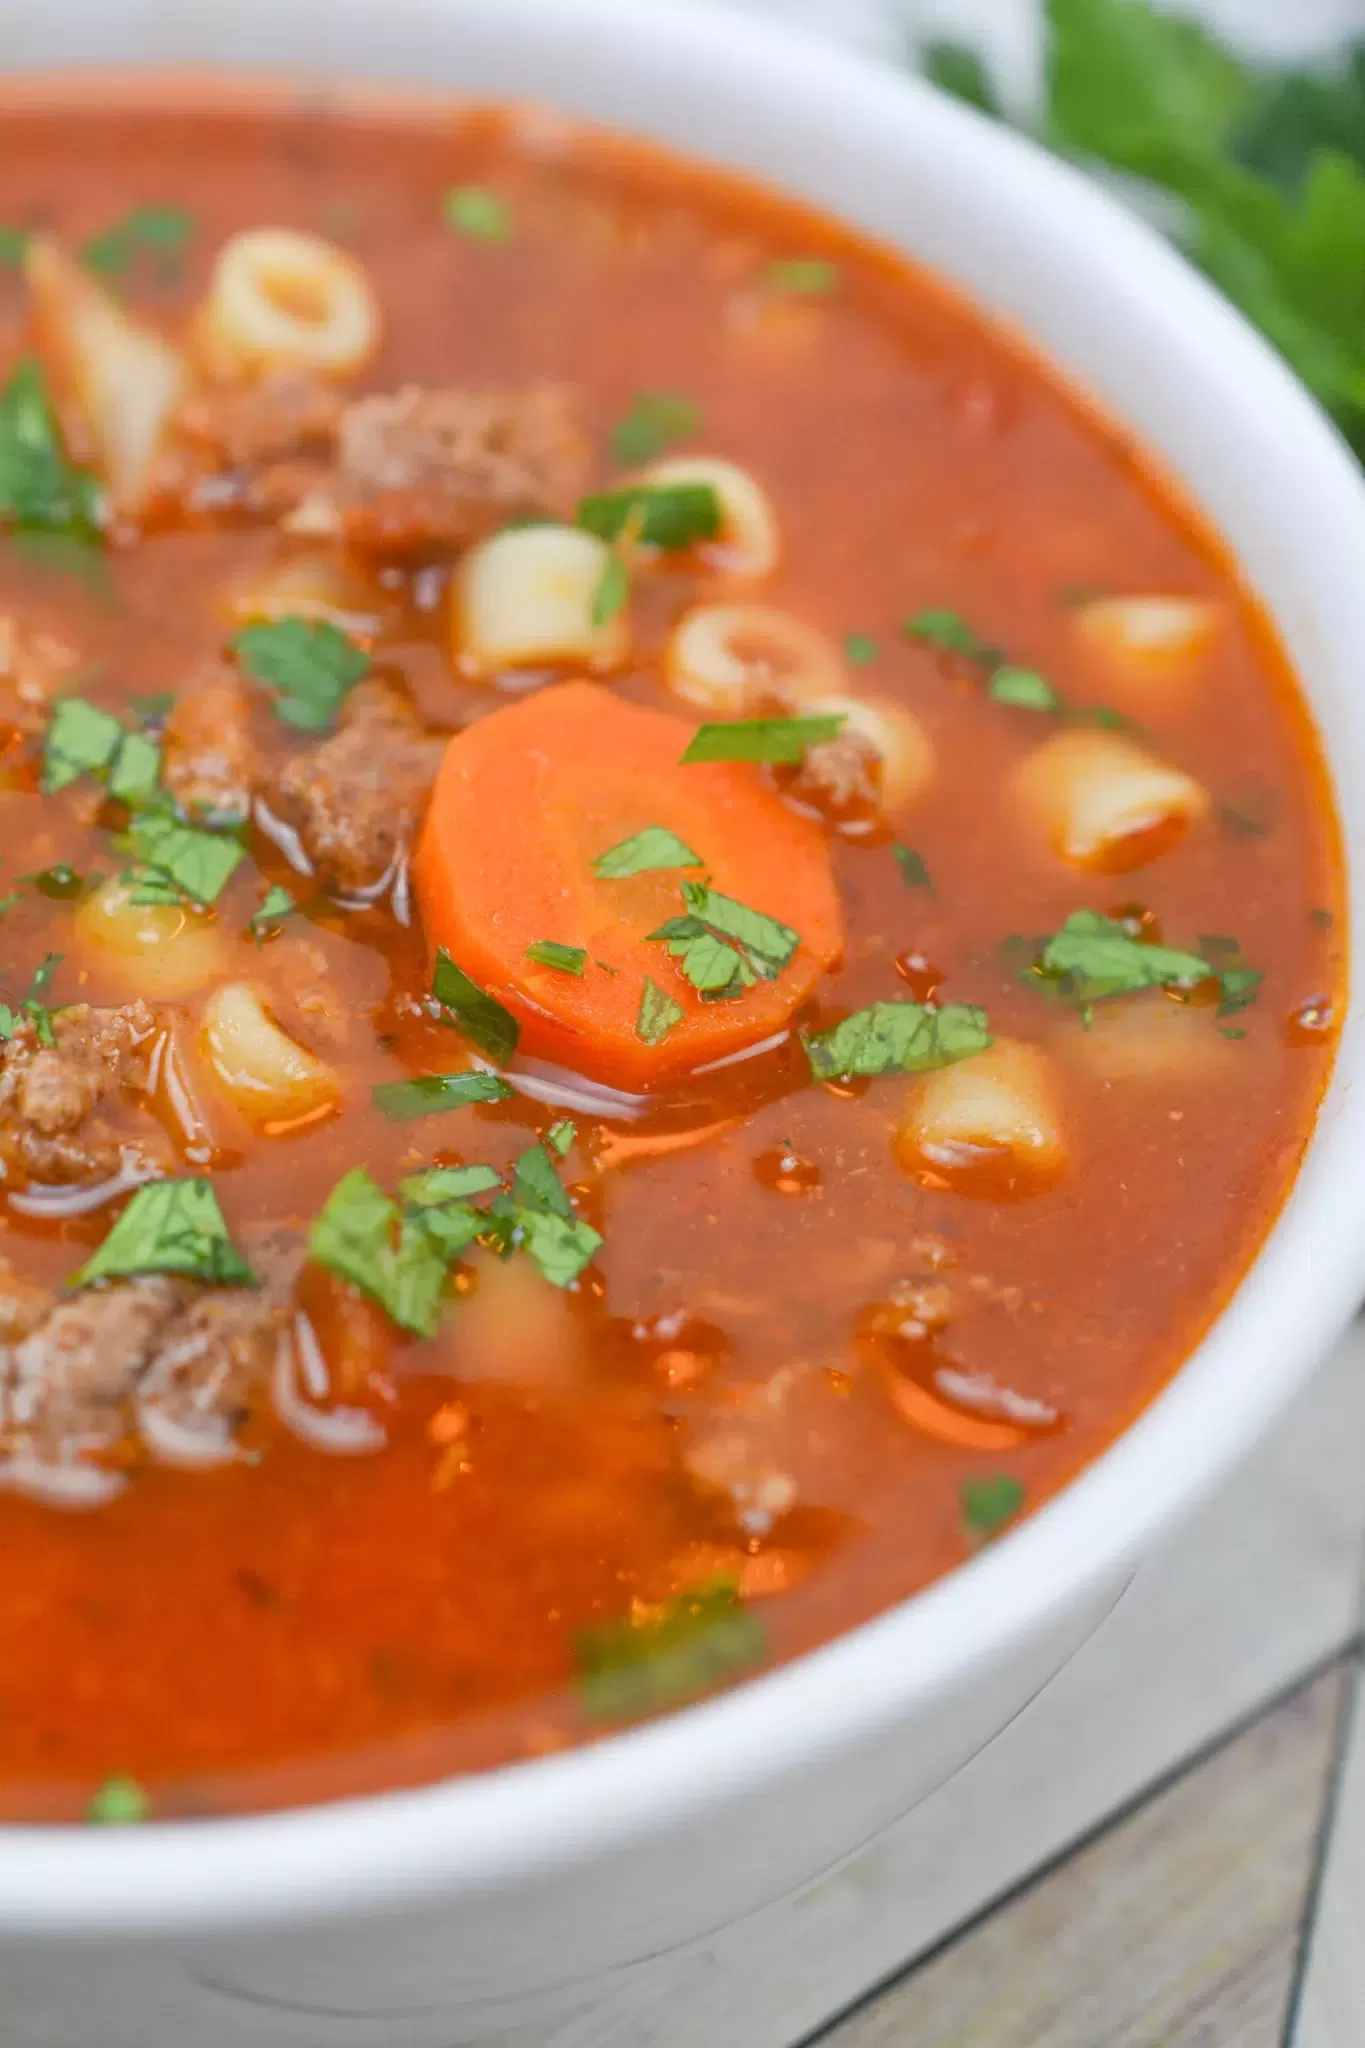
- Tomato Soup: Who doesn’t love dunking bread into a hot bowl of tomato soup? Total comfort food heaven.
- Simple Salad: A fresh, green salad with vinaigrette cuts through the richness of the rolls perfectly. It’s like the salad that says, “Look at me, I’m healthy… sort of.”
- Potato Wedges: Because, let’s be real, anything with potatoes is always a good idea.
- Fruit Salad: If you’re going for a lighter side, a fresh fruit salad gives that sweet contrast to the savory rolls.
- Pickles: The tangy crunch of pickles makes for a classic pairing if you’re serving these as snacks or appetizers.
Frequently Asked Questions:
Can I make these rolls ahead of time?
Absolutely! Prep them, pop them in the fridge for up to 12 hours, and bake when you’re ready. The glaze can hang out in the fridge too, so you’re good to go!
Can I add extra fillings?
Of course! Thinly sliced veggies like bell peppers, spinach, or even some herbs are fantastic. Just don’t go overboard – too much filling can make them tough to slice and bake.
So, what do you think? Ready to give these a go? Whether you’re in the mood for comfort or want to impress your friends, these Classic Baked Ham and Cheese Rolls are ready to become your new favorite. I’d love to hear how they turn out – shoot me a message or leave a comment!
Remember it later!
Planning to try this recipe soon? Pin it for a quick find later!
Remember it later!
Planning to try this recipe soon? Pin it for a quick find later!
Keep the Flavor Coming – Try These:
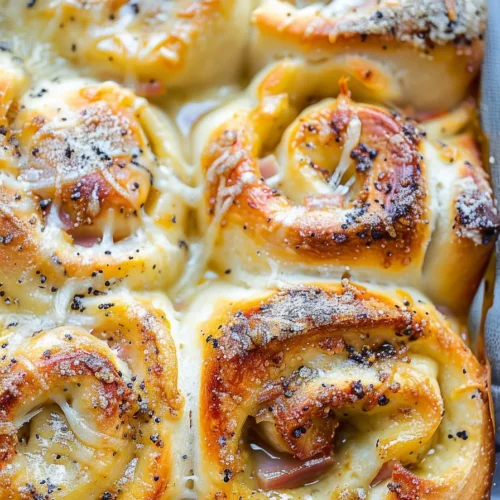
Classic Baked Ham and Cheese Rolls
Ingredients
- 1 can refrigerated pizza dough
- 8 slices thinly sliced ham
- 8 slices Swiss cheese
- 1/2 cup butter melted
- 1 tablespoon Dijon mustard
- 2 teaspoons poppy seeds
- 2 teaspoons dried minced onion
- 1 teaspoon Worcestershire sauce
Instructions
- Prepare the Oven and Baking Dish: Preheat the oven to 400°F (200°C). Lightly grease an 8x8-inch baking dish with nonstick spray or butter to prevent sticking.
- Roll Out the Dough: On a lightly floured surface, roll out the pizza dough into a rectangle approximately 8x16 inches. Ensure the dough is evenly flattened for easier rolling and even cooking.
- Layer Ham and Cheese: Place the ham slices in a single layer over the rolled-out dough, followed by a layer of Swiss cheese slices. Arrange them evenly to cover the surface.
- Roll and Slice: Starting from the edge closest to you, carefully roll the dough into a tight log. Use a serrated knife to slice the log into 9 even rolls.
- Arrange Rolls in Baking Dish: Place each roll into the prepared baking dish, spacing them slightly apart. Allow them to rise for about 20 minutes, which will create a softer texture.
- Prepare the Glaze: In a small mixing bowl, whisk together the melted butter, Dijon mustard, poppy seeds, dried minced onion, and Worcestershire sauce until well combined.
- Apply the Glaze and Bake: Pour the glaze evenly over the rolls, ensuring each roll is well-coated. Bake in the preheated oven for 30-40 minutes or until the rolls are golden brown and cooked through.
- Serve: Allow the rolls to cool slightly before serving warm.
Notes

I’m Bitty, owner of nodashofgluten.com, where I share simple, delicious recipes for all tastes, including gluten-free. Check out my “About Me” page for more info!


