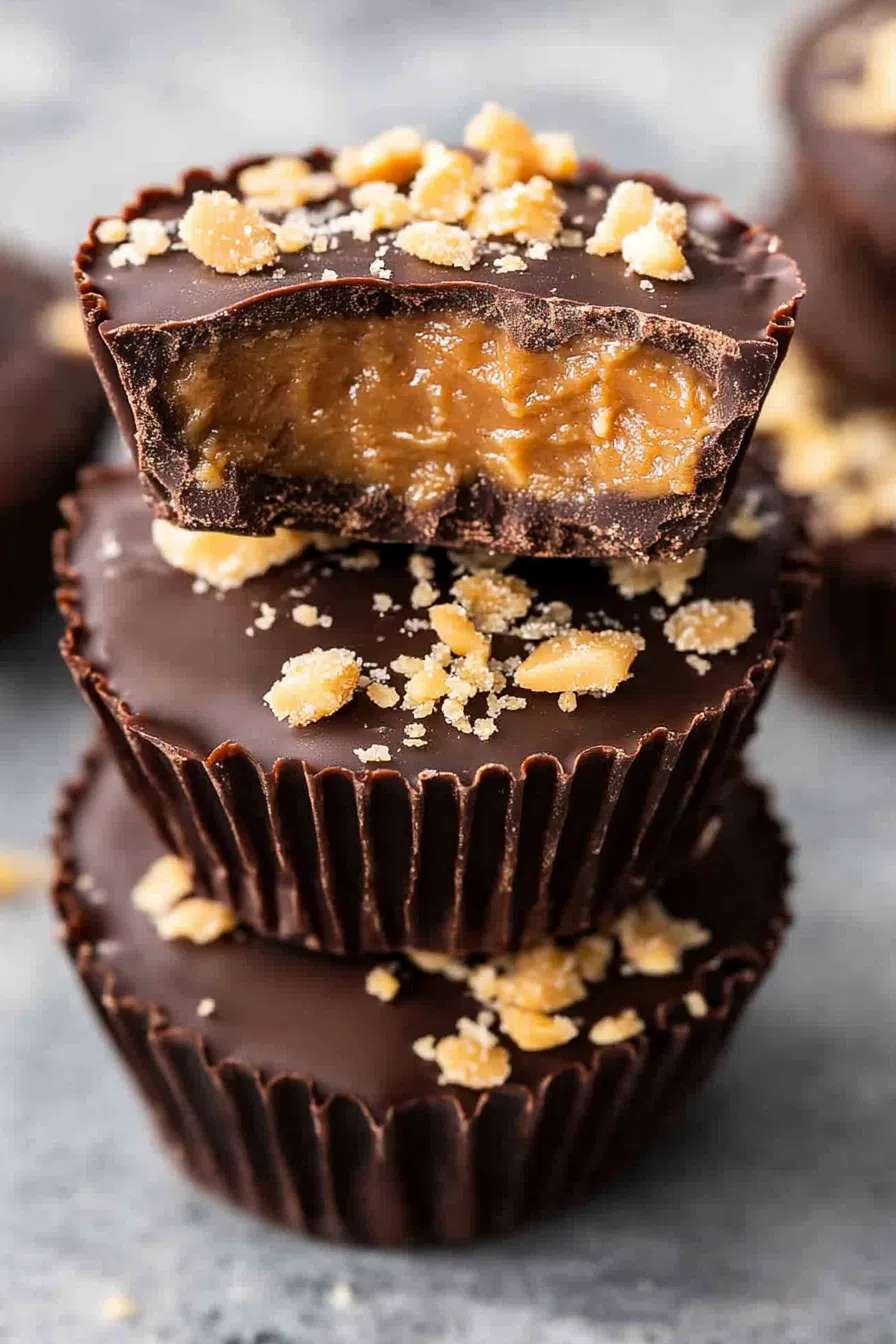
Dark chocolate chips, peanut butter, and crispy brown rice cereal come together to make these easy, no-bake Chocolate Peanut Butter Crunch Cups.


I still remember the night this recipe happened. It was 10:43 PM (don’t ask why I remember that), I was already in sweatpants, and the craving hit—something sweet, something chocolatey, now. But here’s the kicker… I was out of eggs. And flour. Basically, everything required for normal dessert-making. Story of my life, right?
So I did what any desperate snacker would do: I scavenged. Chocolate chips? Check. Peanut butter? Always. A lonely half-bag of brown rice cereal? Didn’t even remember buying it. That night, these crunchy little chocolate peanut butter dreams were born. And I’ve been making them ever since—mostly because they come together in five minutes and I can keep pretending it’s “just one more.”
Why You’ll Love This Chocolate Peanut Butter Crunch Cups Recipe?
Let’s be real: sometimes you want a dessert that doesn’t involve preheating the oven or washing fifteen dishes. These Chocolate Peanut Butter Crunch Cups are that no-fuss, no-mess, can’t-mess-it-up kind of treat. It’s like Reese’s and Rice Krispies had a baby—sweet, salty, creamy, crunchy, and totally satisfying. You don’t even need a mixer. Heck, you barely need a spoon.
They’re naturally gluten-free, ridiculously customizable, and they freeze like a dream. They’re perfect for sneaky freezer raids, lazy Sundays, bake sales you forgot about, or those “treat yourself” moments that creep up around 2pm. You feel me?

Ingredient Notes:
Before you get started, here’s a little rundown—because even three-ingredient recipes deserve a bit of attention.
-
Dark Chocolate Chips: I prefer dark chocolate because it balances the sweetness like a champ. But honestly? Use what you love. Semi-sweet, milk chocolate, even vegan chips if that’s your thing.
-
Peanut Butter: Creamy makes it silky, crunchy gives you more texture—both are solid options. Just skip the super oily natural kind unless you want to wrestle your dessert into shape.
-
Brown Rice Cereal: This is where the crunch comes in. I like the crisped brown rice kind, but regular puffed rice works too. Or swap in crushed pretzels if you’re feeling salty and chaotic.
How To Make Chocolate Peanut Butter Crunch Cups?
Here’s where the magic happens. No fancy tools, no special skills—just melt, mix, and chill.
Step 1: Melt the Chocolate
Throw the chocolate chips into a microwave-safe bowl. Heat in 30-second bursts, stirring each time. Don’t walk away or you’ll end up with a scorched mess that smells like heartbreak.
Step 2: Stir in the Peanut Butter
Add your peanut butter straight into the melted chocolate and stir until it’s smooth and glossy. This is the point where I usually eat a spoonful or two. Just me?
Step 3: Fold in the Cereal
Now toss in the cereal and mix gently until every little piece is coated. You’re aiming for a texture that’s chunky but sticks together like a good friend.
Step 4: Scoop into Muffin Cups
Use a silicone muffin tin if you’ve got one—it’s a lifesaver. Otherwise, line a regular tin with paper liners. Spoon the mixture in and press it down just a little.
Step 5: Freeze and Forget (for an Hour)
Pop the whole tray in the freezer. Come back in about an hour, and you’ve got perfect, crunchy cups of chocolatey peanut butter joy waiting for you.
Storage Options:
These store beautifully—almost too well. Keep them in an airtight container in the fridge for up to 2 weeks (if they last that long) or stash them in the freezer for a couple months. Pro tip: frozen ones are amazing straight out of the freezer with a hot cup of coffee. Or wine. I don’t judge.
Variations and Substitutions:
This recipe is a blank canvas. Want to switch it up? Go wild:
Want To Save This Recipe?
-
Nut-free? Use sunflower seed butter or cookie butter (um, yes).
-
Extra texture? Add chopped peanuts, shredded coconut, or crushed pretzels.
-
Sweeter tooth? Stir in mini marshmallows or a swirl of caramel.
-
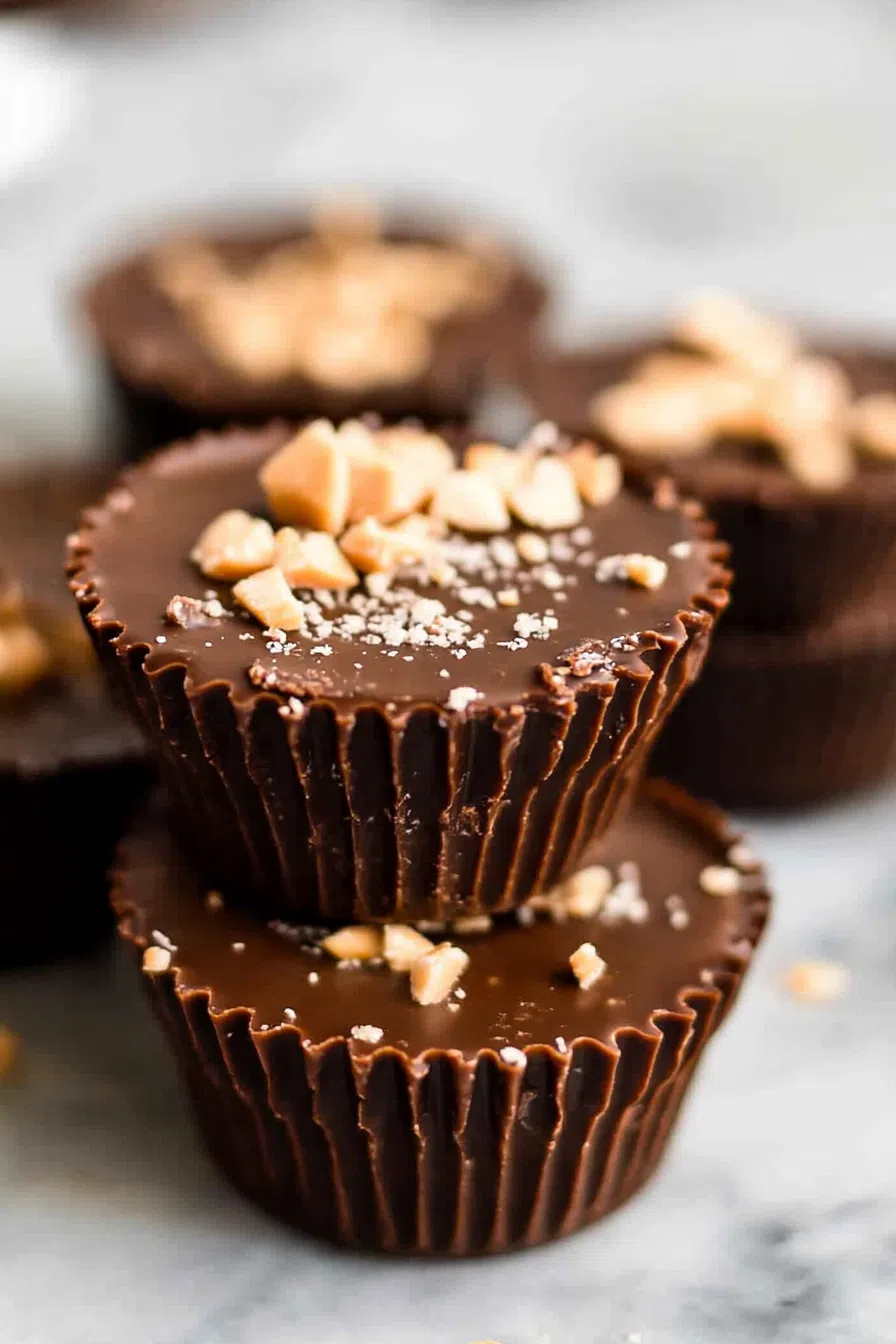
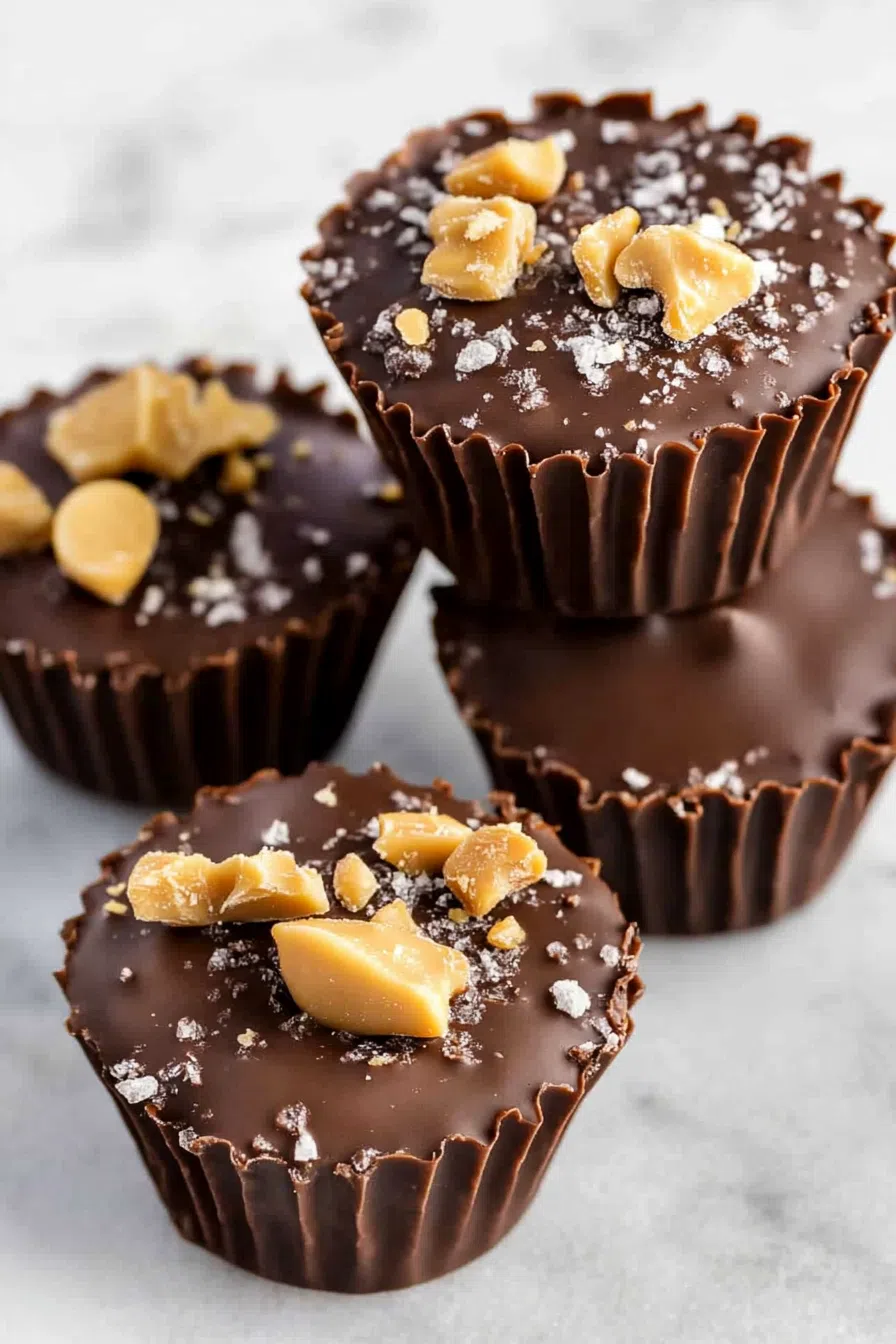
Salty finish? A sprinkle of flaky sea salt on top makes them taste fancy.
What to Serve with Chocolate Peanut Butter Crunch Cups?
They’re great solo, but here are a few next-level ideas:
-
Serve alongside coffee or hot cocoa for cozy dessert vibes.
-
Pair with fruit for a “balanced” snack (it totally counts).
-
Crumble one on top of ice cream for the crunchiest sundae ever.
-
Wrap in parchment and tie with twine—instant homemade gift. You’re welcome.
Frequently Asked Questions:
Can I use almond butter instead of peanut butter?
Totally. It’ll be a little less salty, but still delicious. Cashew butter works too.
Do I have to use brown rice cereal?
Nope! Any puffed rice or crunchy cereal should work. Even cornflakes or granola if you want to get weird.
Do they melt at room temp?
They’ll soften a bit but usually hold their shape. Keep them chilled if you want that satisfying snap.

So there you have it—my go-to for when the sweet craving strikes hard and the oven is not an option. These Chocolate Peanut Butter Crunch Cups are one of those treats you’ll make once, then keep coming back to. Try them out and let me know how they turn out! And hey—if you add something wild like crushed cookies or peanut M&Ms, I need to hear about it.
Keep the Flavor Coming – Try These:


Chocolate Peanut Butter Crunch Cups
Ingredients
- 2 1/2 c dark chocolate chips
- 1/4 c peanut butter creamy or crunchy
- 2 c brown rice crisp cereal
Instructions
- You can use a silicone muffin tin or grease a regular one. The silicone option is recommended as it makes removal easier.
- Take caution not to overheat and melt the chocolate chips either, in the microwave or, on the stovetop.
- Mix together the melted chocolate and peanut butter until they're well combined. After that add in the rice cereal and give it a good stir.
- Use a spoon to fill each muffin cup with the mixture of chocolate, peanut butter and cereal.
- Place the tray in your freezer. Let it sit for an hour or until it becomes firm.
- Once fully set remove each cup from the muffin tin and voila! They're now ready to be enjoyed!
Notes
I’m Bitty, owner of nodashofgluten.com, where I share simple, delicious recipes for all tastes, including gluten-free. Check out my “About Me” page for more info!