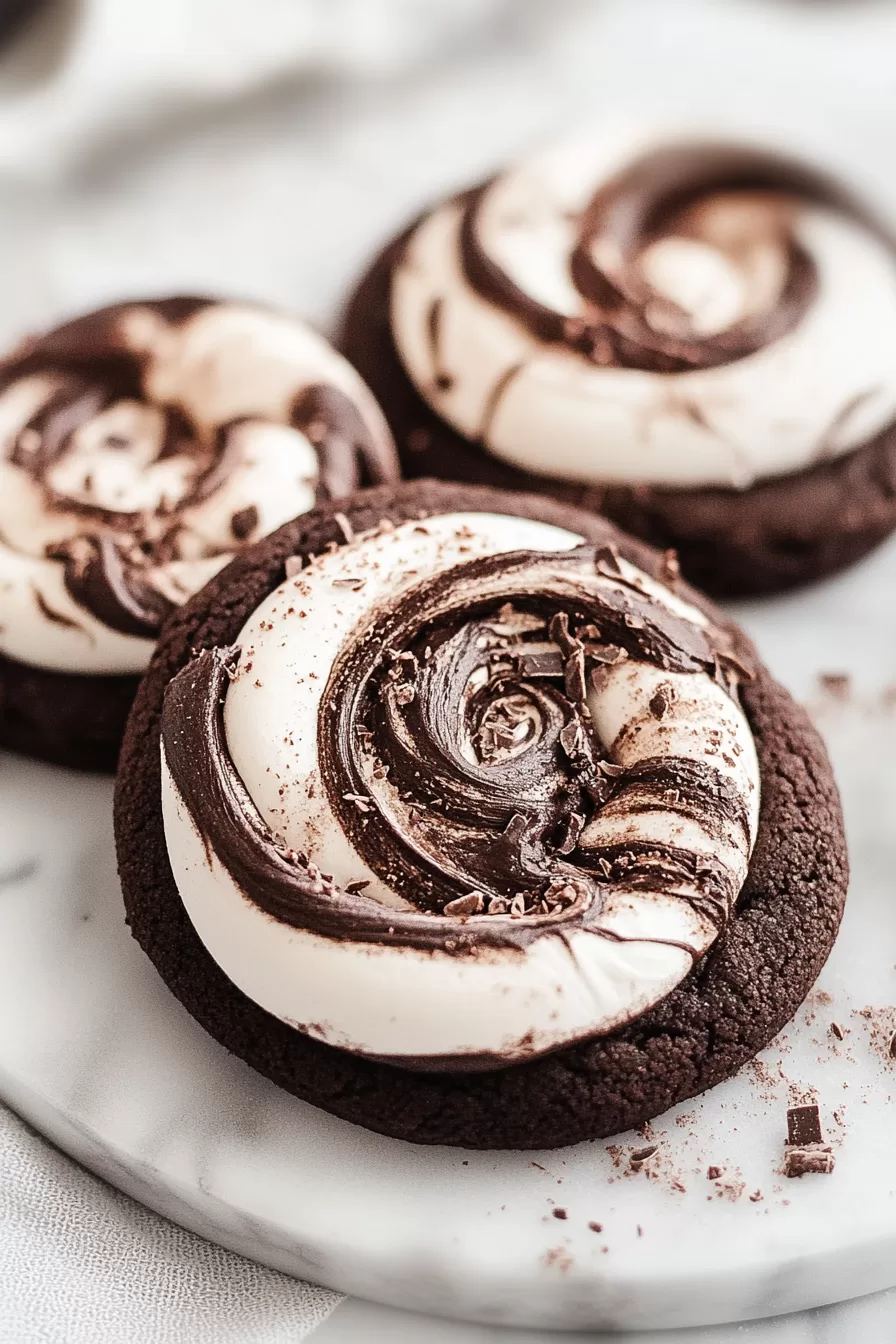
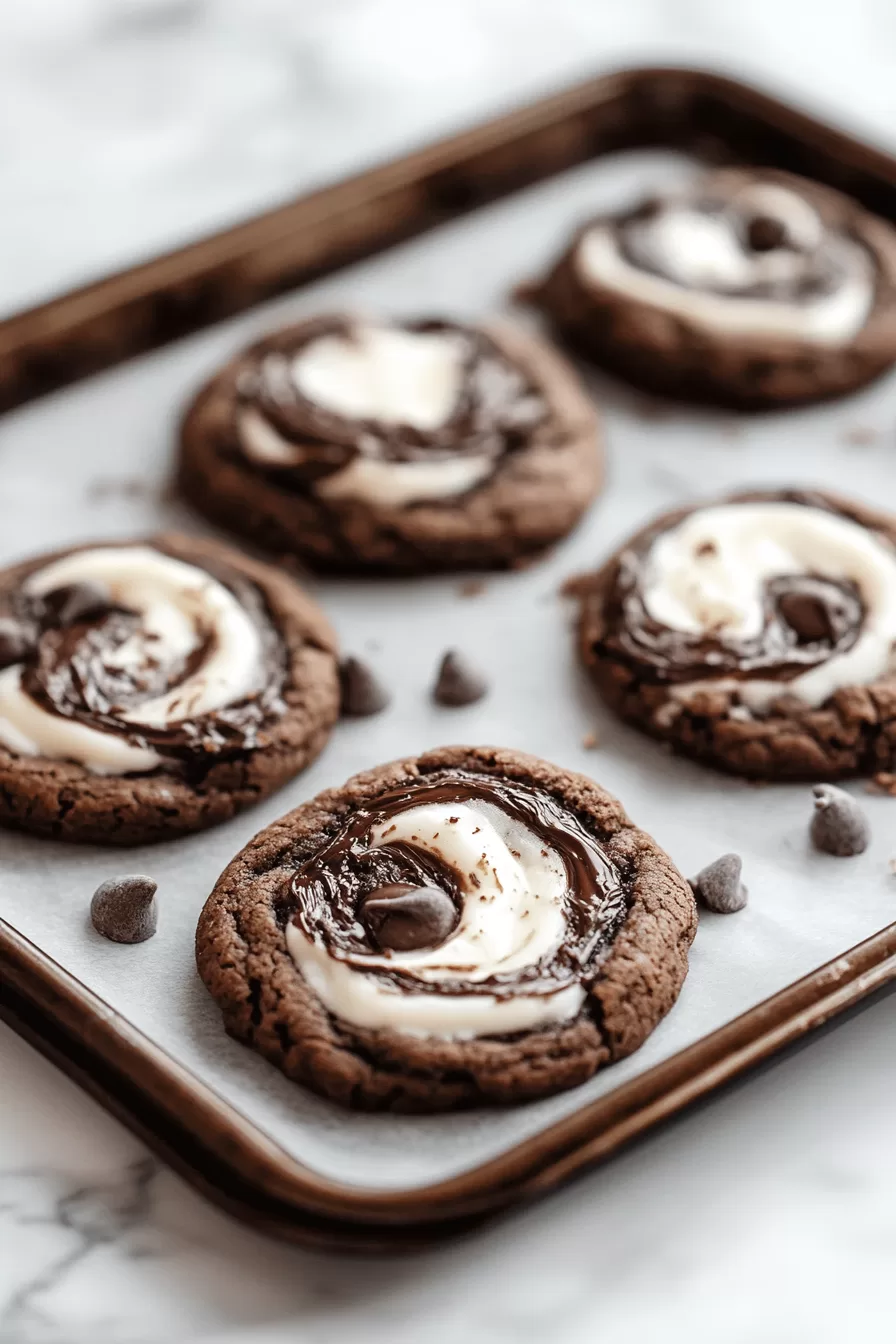
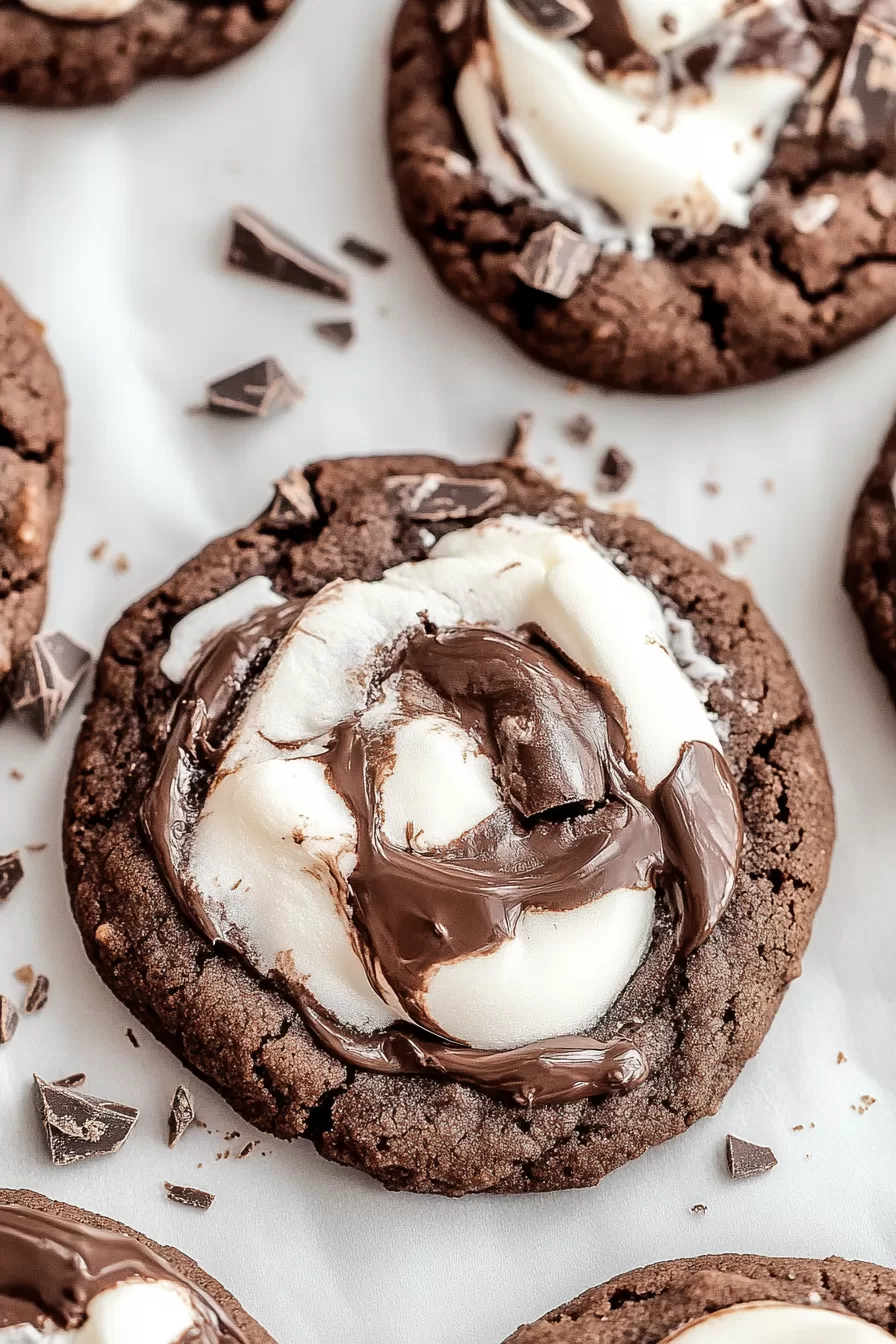
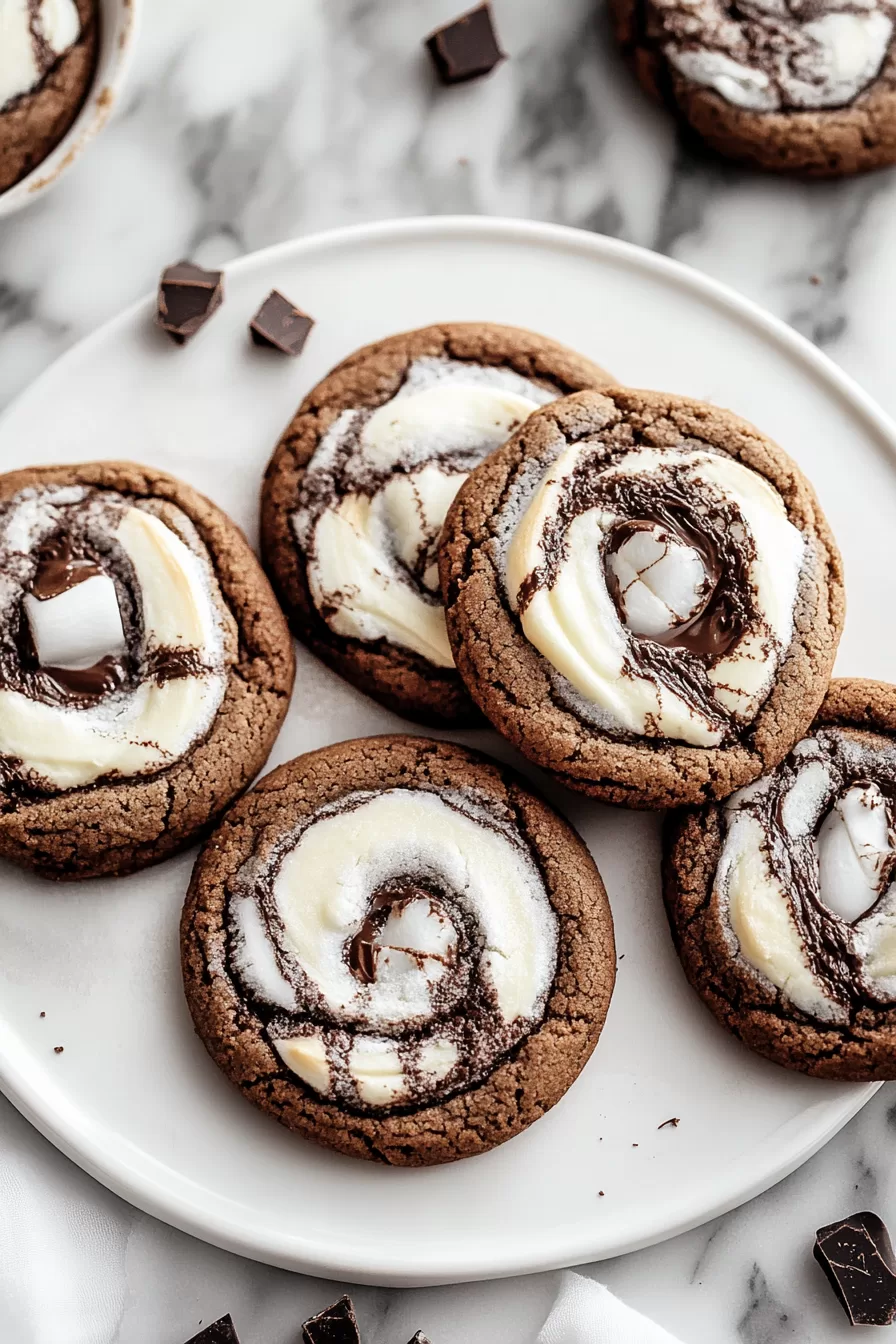
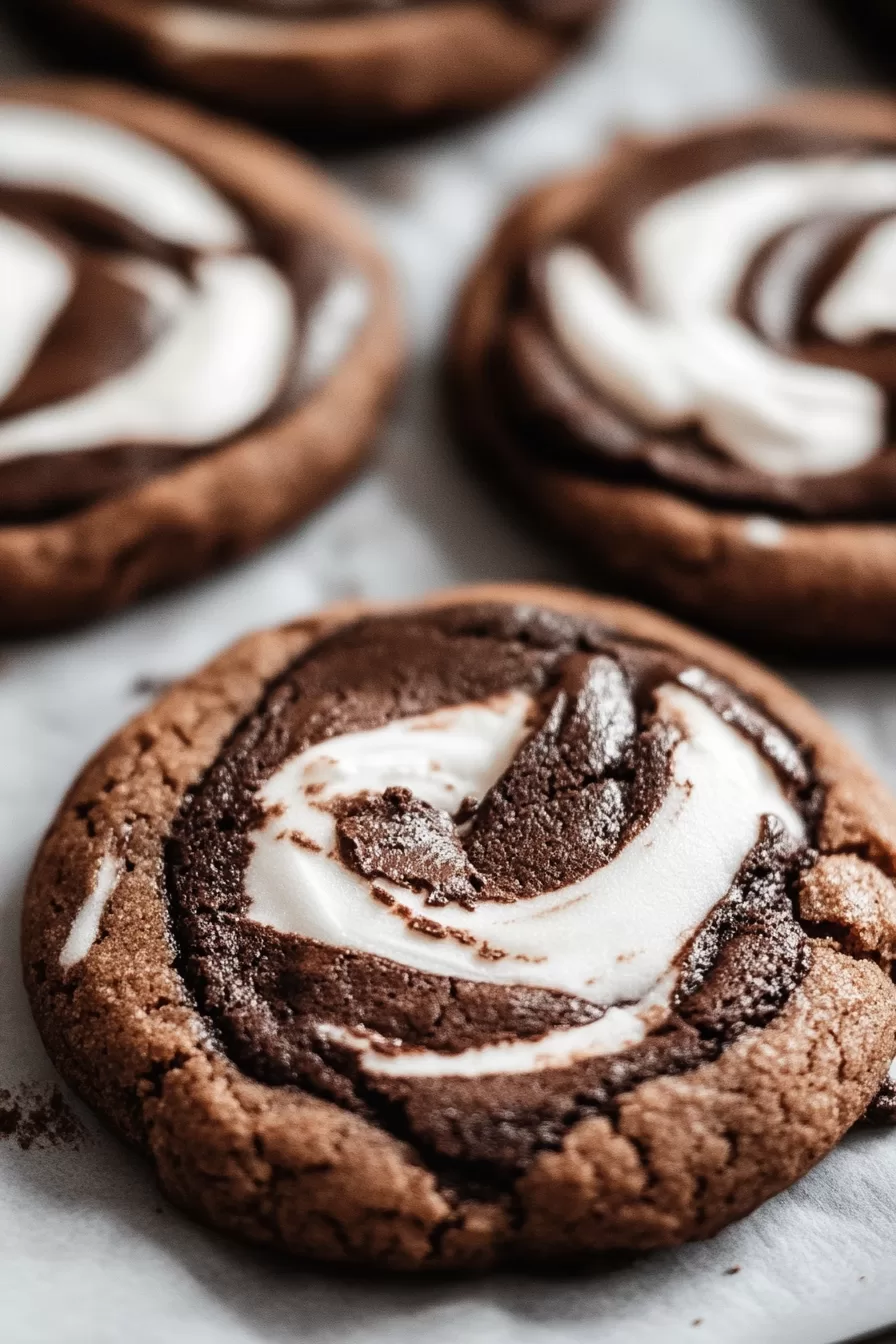
Indulge in fudgy chocolate marshmallow cookies — rich, brownie-like, and stuffed with gooey marshmallows. A perfect treat in just 30 minutes!
Do you ever stumble upon a recipe that takes you straight back to childhood? For me, these Chocolate Marshmallow Cookies are a direct ticket to the days of messy kitchens, sticky fingers, and fighting over the last warm cookie with my siblings.

Remember it later!
Planning to try this recipe soon? Pin it for a quick find later!
Remember it later!
Planning to try this recipe soon? Pin it for a quick find later!
The first time I made these cookies was during a particularly cozy weekend, one of those where staying in your PJs all day feels like the best decision ever. I was craving something chocolatey but not overly complicated — basically, a cookie that gives brownie vibes but with a twist. And then it hit me: Why not stuff them with marshmallows? Because, honestly, isn’t everything better with marshmallows?
What makes these cookies so special isn’t just the gooey marshmallow center. It’s the way they feel like a warm hug on a plate — rich, chewy, and just the right amount of indulgent. If you’re looking for a treat that sparks joy (and maybe a little nostalgia), these are it.
Here’s a quick peek at what’s inside:
Table of content
Why You’ll Love This Chocolate Marshmallow Cookies Recipe?
- Marshmallow Surprise: Each cookie hides a gooey, melty marshmallow center that takes things to a whole new level of delicious.
- Brownie-Like Texture: Think crispy edges with soft, fudgy centers — basically, the perfect cookie.
- No-Fuss Baking: You don’t need fancy tools or hours of prep. These cookies come together quickly and easily.
- Customizable: Sprinkle some sea salt on top, add extra chocolate chips, or even try flavored marshmallows. The options are endless!
Ingredient Notes:
Let’s talk about what makes these cookies so irresistible.
- Butter: Melted butter gives these cookies their rich, fudgy texture. Make sure it’s slightly cooled before mixing.
- Dutch-Processed Cocoa Powder: This is the secret to that deep, dark chocolate flavor. If you don’t have it, regular cocoa works, but the flavor won’t be as intense.
- Mini Marshmallows: These are the stars of the show. They create that gooey center that makes every bite magical.
- Brown Sugar: Adds depth and chewiness to the cookies.
- Demerara Sugar (Optional): A sprinkle on top gives the cookies a little crunch and a sparkly finish.
How To Make Chocolate Marshmallow Cookies?
If you’re new to baking or just looking for a no-stress recipe, this one’s for you. Here’s how to make these cookies step by step.
Step 1: Prep Your Baking Tools
Start by preheating your oven to 350°F (180°C) and lining two baking trays with
Step 2: Mix the Dry Ingredients
In a medium bowl, whisk together the flour, cocoa powder, baking soda, and salt. This ensures all the chocolate goodness is evenly distributed.
Step 3: Combine the Wet Ingredients
In a large mixing bowl, whisk the melted butter with both sugars until smooth. Add the egg and vanilla extract, and whisk again until everything’s silky.
Step 4: Bring It All Together
Gently fold the dry ingredients into the wet mixture using a spatula. Don’t overmix! The dough should look slightly crumbly but come together when pressed. Let it sit for about 10 minutes — this makes it easier to work with.
Step 5: Stuff the Cookies
Scoop about 2 tablespoons of dough and roll it into a ball. Create a small dent in the center, stuff in a few mini marshmallows, and pinch the dough closed. Roll it back into a smooth ball.
Step 6: Bake and Perfect
Place the dough balls on the baking trays, leaving space between each one. Sprinkle a little demerara sugar on top if you’re feeling fancy. Bake for 9–10 minutes. For a pro touch, swirl a round cookie cutter around each cookie as soon as they’re out of the oven to make them perfectly round.
Step 7: Cool and Enjoy
Let the cookies cool on the trays for 10–15 minutes before transferring them to a wire rack. They’ll firm up as they cool — if you can resist digging in right away!
Want To Save This Recipe?
Enter your email below and we'll send the recipe straight to your inbox.
Storage Options:
Good news: These cookies store really well, so you can bake ahead or savor them over a few days.
- At Room Temperature: Store in an airtight container for up to 5 days. Layer them with
parchment paper to prevent sticking. - In the Freezer: Freeze baked cookies for up to 2 months. Just let them thaw at room temperature before enjoying.
Variations and Substitutions:
Feeling creative? Here are some ideas to switch things up:
- Add Chocolate Chips: For extra chocolatey goodness, throw in some semi-sweet or dark chocolate chips.
- Flavored Marshmallows: Peppermint marshmallows for the holidays? Yes, please!
- Sea Salt: A sprinkle of flaky sea salt on top balances the sweetness perfectly.
- Gluten-Free: Substitute with a 1:1 gluten-free flour blend — the cookies will still be amazing.
What to Serve with Chocolate Marshmallow Cookies?
These cookies are a treat on their own, but pairing them can make them even better:
- Hot Chocolate: Dunking one of these into a mug of hot cocoa is pure bliss.
- Ice Cream: Make a cookie sandwich with vanilla or caramel ice cream.
- Coffee or Espresso: The rich chocolate pairs beautifully with a strong, bold coffee.
Frequently Asked Questions:
Can I use regular marshmallows?
Yes, but cut them into smaller pieces to fit inside the cookies.
Why did my marshmallows melt out?
Make sure the dough completely covers the marshmallows before baking.
Can I make the dough ahead of time?
Definitely! Store it in the fridge for up to 24 hours. Let it sit at room temperature for a few minutes before rolling.
What do you think? Ready to whip up a batch of gooey, fudgy Chocolate Marshmallow Cookies? They’re perfect for cozy nights in, impressing guests, or just treating yourself because, let’s face it, you deserve it.
Let me know how they turn out — and don’t forget to grab one while it’s still warm. You won’t regret it!
Remember it later!
Planning to try this recipe soon? Pin it for a quick find later!
Remember it later!
Planning to try this recipe soon? Pin it for a quick find later!
Keep the Flavor Coming – Try These:
Chocolate Marshmallow Cookies
Ingredients
- 113 g unsalted butter melted and slightly cooled (1 stick / ½ cup / 4oz)
- 165 g all-purpose flour 1 ¼ cups / 5.8oz
- 55 g Dutch-processed cocoa powder ½ cup / 2oz
- ¾ teaspoon baking soda
- ½ teaspoon salt
- 135 g light brown sugar ⅔ cup / 4.8oz
- 50 g white granulated sugar ¼ cup / 1.8oz
- 1 large egg room temperature
- 1 teaspoon vanilla extract
- ¾ cup mini marshmallows
- 1 teaspoon demerara sugar optional, for sprinkling
Instructions
Prepare the Oven and Baking Trays
- Preheat the oven to 180°C (350°F) or 160°C for fan-forced ovens. Line two large baking trays with parchment paper and set aside.
Combine Dry Ingredients
- In a medium mixing bowl, whisk together the all-purpose flour, Dutch-processed cocoa powder, baking soda, and salt. Ensure the mixture is evenly blended.
Mix Wet Ingredients
- In a separate large mixing bowl, combine the melted butter with the light brown sugar and granulated sugar. Whisk thoroughly until smooth. Add the egg and vanilla extract, and whisk again until the mixture is well incorporated and glossy.
Combine Wet and Dry Ingredients
- Gradually fold the dry ingredients into the wet mixture using a spatula. Stir just until combined, avoiding overmixing. Let the dough rest for 10 minutes to firm up slightly.
Shape the Cookies
- Scoop approximately two tablespoons of dough and roll into a ball. Create an indentation in the center and place six mini marshmallows inside. Carefully fold the dough around the marshmallows, ensuring they are fully enclosed. Roll the cookie ball gently to smooth the edges.
Arrange and Bake
- Place the cookie dough balls on the prepared baking trays, leaving about 2 inches of space between each one. Sprinkle with demerara sugar if desired. Bake in the preheated oven for 9–10 minutes.
Optional Finishing Touch
- For perfectly shaped cookies, use a slightly larger round cookie cutter to swirl around each cookie immediately after removing them from the oven. This will round the edges and thicken the cookies slightly.
Cool the Cookies
- Allow the cookies to cool on the baking trays for 10–15 minutes until firm enough to handle. Transfer them to a wire rack to cool completely before serving.
Notes

I’m Bitty, owner of nodashofgluten.com, where I share simple, delicious recipes for all tastes, including gluten-free. Check out my “About Me” page for more info!


