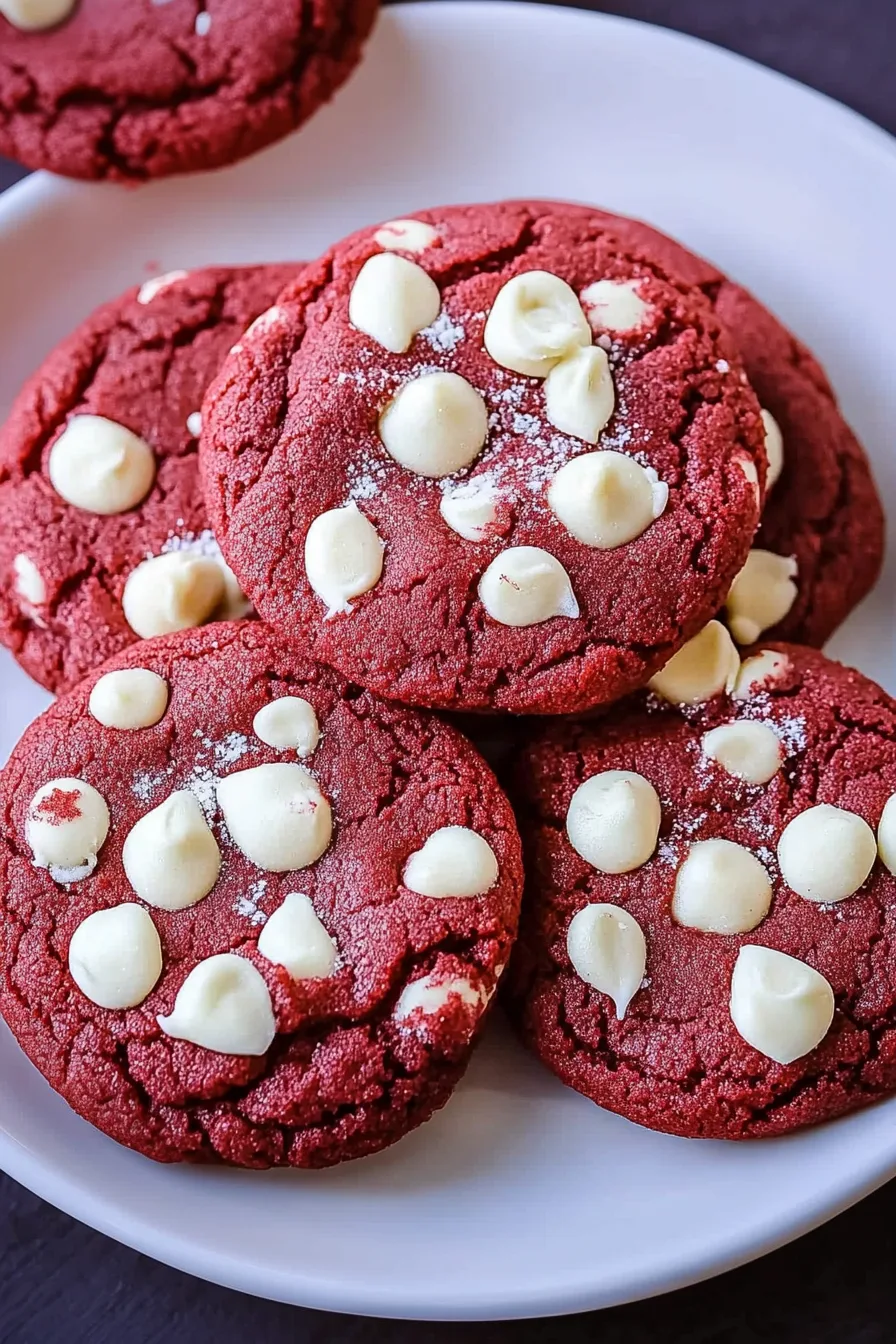
Made with butter, cream cheese, cocoa, and white chocolate chips, these Chewy Red Velvet Cookies taste like red velvet cake — only easier, faster, and way more addictive.
You know how some days you just need something sweet — not want, need? Well, that was me last weekend. It had been one of those messy, busy weeks where everything felt a little out of sync — dishes piled up, laundry half-folded, me surviving mostly on coffee and questionable motivation.
Then, like fate, I found this half-empty bottle of red food coloring sitting in my pantry, wedged between a bag of chocolate chips and a jar of peanut butter. It practically whispered, “Make something pretty.” And I thought, Red Velvet. Obviously. But not cake — I wasn’t about to drag out layer pans and frosting bags. Nope. I wanted something quick. Something I could mix in one bowl and eat in under an hour.


So I whipped these up. The dough came together like a dream — buttery, creamy from the cream cheese, with just enough cocoa to smell faintly like a chocolate hug. And when those cookies came out of the oven, still warm and gooey in the center with melty white chocolate freckles on top, I actually laughed. Because this was exactly what I needed: a little sugar, a little color, and something to make the day feel special again.
And the best part? My husband walked in mid-bite, looked at me, and said, “These taste like Christmas.” I don’t even think he realized that was the best compliment ever.
Why You’ll Love This Chewy Red Velvet Cookies Recipe?
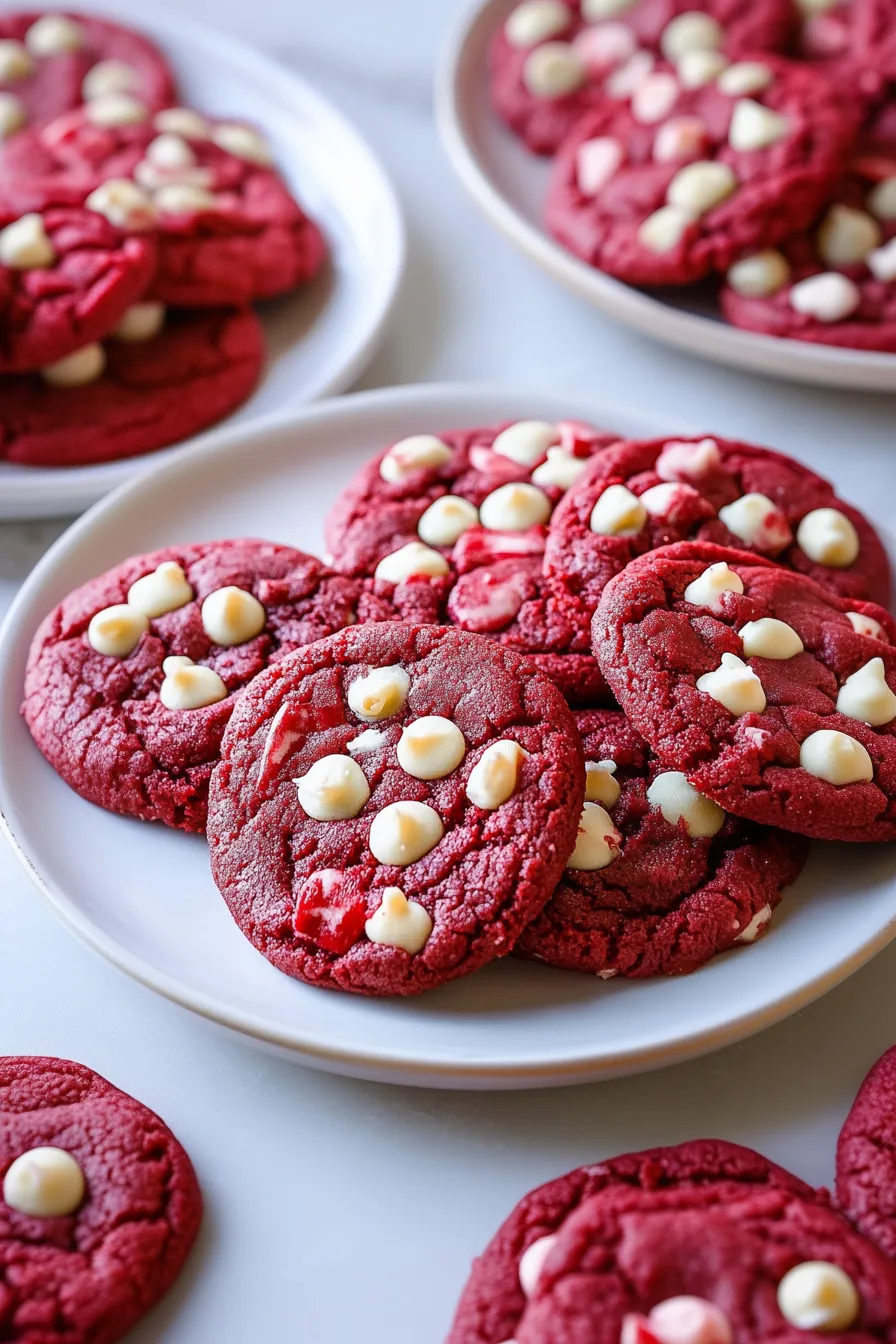
Let me be honest: I’ve made a lot of cookies in my life — chocolate chip, snickerdoodle, oatmeal (you name it) — but these Chewy Red Velvet Cookies? They hit different. They’re soft, rich, and full of that nostalgic red velvet flavor — like your favorite bakery treat but without the fuss.
They’ve got this chewy middle, slightly crisp edges, and that creamy sweetness from the white chocolate chips that just ties it all together. I swear, they’re the kind of cookie that’ll make people think you spent hours baking… when really, you mixed everything up while the dog was napping.
And if you’re a texture person like me, oh my gosh — these are heaven. A little fudgy, a little tender, perfectly balanced.
They’re also kind of romantic, in that cozy “let’s stay in and bake” kind of way. I’ve made them for Valentine’s Day, cookie exchanges, and random rainy nights — they always disappear fast.
Ingredient Notes:
These cookies don’t need anything fancy — just the good stuff. But here’s a quick run-down so you don’t miss a beat.
-
Butter: Go unsalted and room temp. It’s what makes the cookies tender and rich. Melted butter will mess up the texture — don’t do it.
-
Cream Cheese: The secret weapon. It adds moisture, flavor, and that soft chewiness that makes these stand out.
-
Sugar (Brown + White): The duo of dreams. White sugar adds structure, while brown sugar gives that caramel undertone and keeps things moist.
-
Cocoa Powder: Just a little — enough to taste chocolate but not overwhelm. Stick with natural cocoa for that true red velvet flavor.
-
Red Food Coloring: I use McCormick. Bright, bold, and classic. It’s what gives them that pop.
-
White Chocolate Chips: The finishing touch. Creamy and sweet, they make the red color shine even more.
And if you really want to show off, press a few extra chips on top after baking. People will swear you bought them from a bakery.

How To Make Chewy Red Velvet Cookies?
Alright, let’s bake. You’ll have warm cookies on the counter before your playlist even finishes.
Step 1: Prep the Oven.
Set it to 350°F (175°C) and line your cookie sheets with parchment paper. Trust me, you don’t want to scrub baked-on dough later.
Step 2: Cream the Butter and Sugar.
In your mixer, beat together the butter, cream cheese, sugars, baking soda, salt, and vanilla until it’s fluffy and smooth — kind of like frosting. Don’t rush this step. Creamy batter equals soft cookies.
Step 3: Add the Eggs and Color.
Crack in the egg, then the yolk, one at a time. Then add the red food coloring — go slow unless you want to redecorate your kitchen. Mix until that gorgeous red color shows up.
Step 4: Add the Dry Stuff.
Mix in the flour and cocoa powder just until combined. Don’t overdo it or your cookies will lose that perfect chew.
Step 5: Add the Chips.
Fold in about 1½ cups of the white chocolate chips. The rest? Save them for the top. They’re like the jewelry of the cookie world.
Step 6: Shape and Bake.
Scoop the dough into 1-inch balls. Roll them gently and space them out — these cookies like a little personal space. Bake for 11–13 minutes, just until the edges are set but the centers still look soft.
Step 7: Add the Final Touch.
While they’re still warm, press those remaining white chocolate chips on top. It makes them look professional, even if you’re still in your pajamas. Let them cool for 5 minutes before transferring to a rack.
Then… grab one. You deserve it.
Want To Save This Recipe?
Storage Options:
Here’s the best part — these cookies stay soft for days. Store them in an airtight container, and they’ll still taste amazing after 3–4 days. If you’re somehow capable of not eating them all (teach me your ways), you can refrigerate them for up to a week or freeze them for two months.
I like to microwave them for about 10 seconds before eating — they taste like they just came out of the oven.
Variations and Substitutions:
You know I can’t leave a recipe alone. Once you’ve made the classic, here are a few fun ways to switch things up:
-
Red Velvet Sandwich Cookies: Spread cream cheese frosting between two cookies. Dangerous in the best way.
-
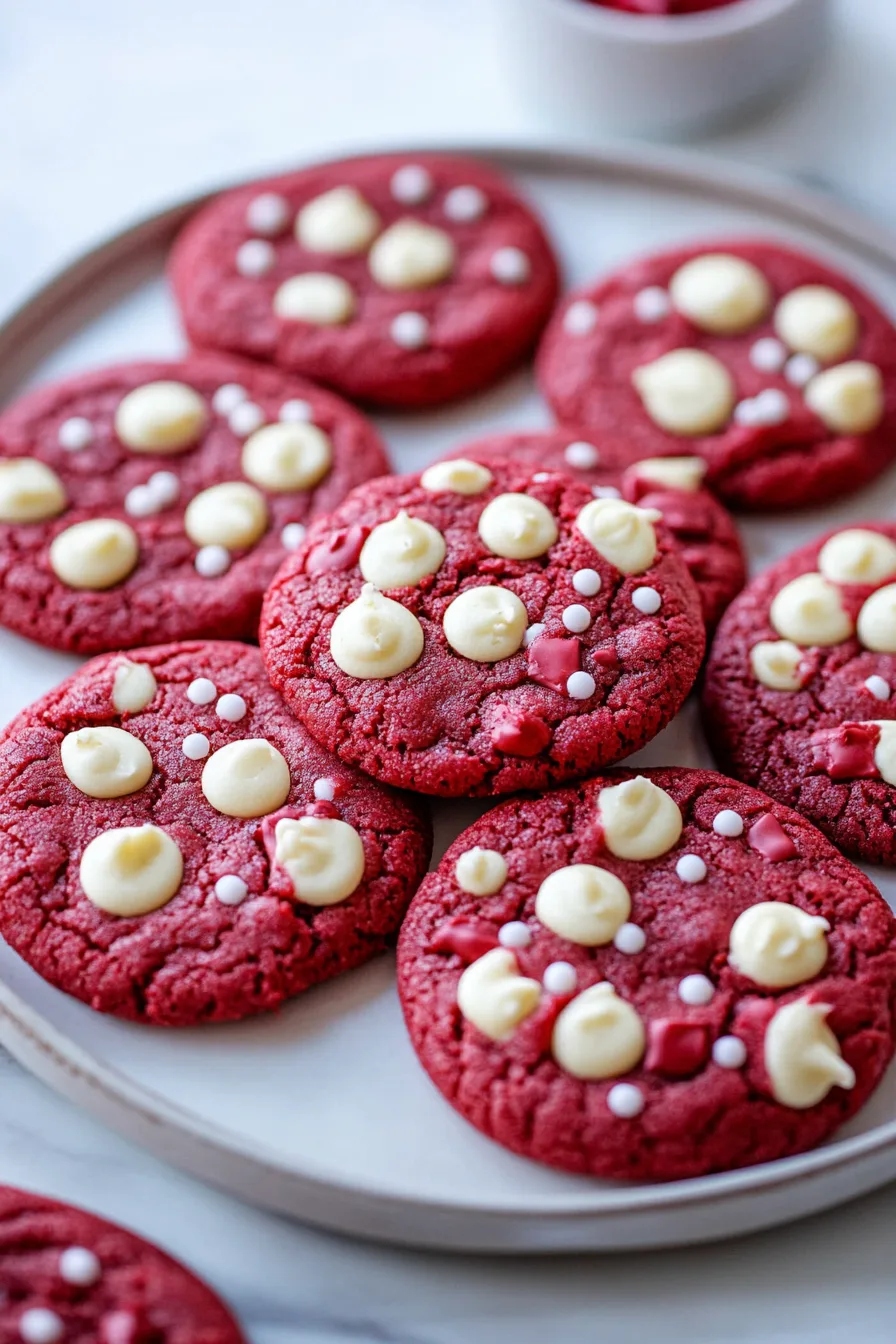
Festive Add-Ins: Throw in sprinkles or chopped white chocolate for a holiday vibe.
-
Dark Chocolate Lovers: Swap the white chips for dark or semisweet. Totally changes the mood — in a good way.
-
Mini Cookies: Perfect for gifting (or portion control… kind of). Just bake them for a few minutes less.
-
Drizzle Alert: Melt a little white chocolate and drizzle over the top once they cool. Fancy and fun.
What to Serve with Chewy Red Velvet Cookies?
Cookies this good don’t need much, but a little pairing never hurts.
-
Cold Milk: Classic, simple, perfect.
-
Coffee or Espresso: If you like your sweetness with a side of caffeine.
-
Hot Cocoa: Especially on chilly nights — red velvet + cocoa = comfort.
-
Vanilla Ice Cream: Scoop it right on top of a warm cookie. Life-changing.
-
Cream Cheese Dip: Mix cream cheese, powdered sugar, and a splash of milk. Yep, a cookie dip.
Frequently Asked Questions:
Can I skip the red food coloring?
Totally. They’ll taste the same, just won’t have that show-stopping red look.
Can I freeze the dough?
Yes! Roll the dough into balls and freeze. Bake straight from frozen — add a minute or two to the baking time.
Why are my cookies flat?
Your butter might’ve been too warm, or you mixed too much. Chill the dough for 10–15 minutes next time.
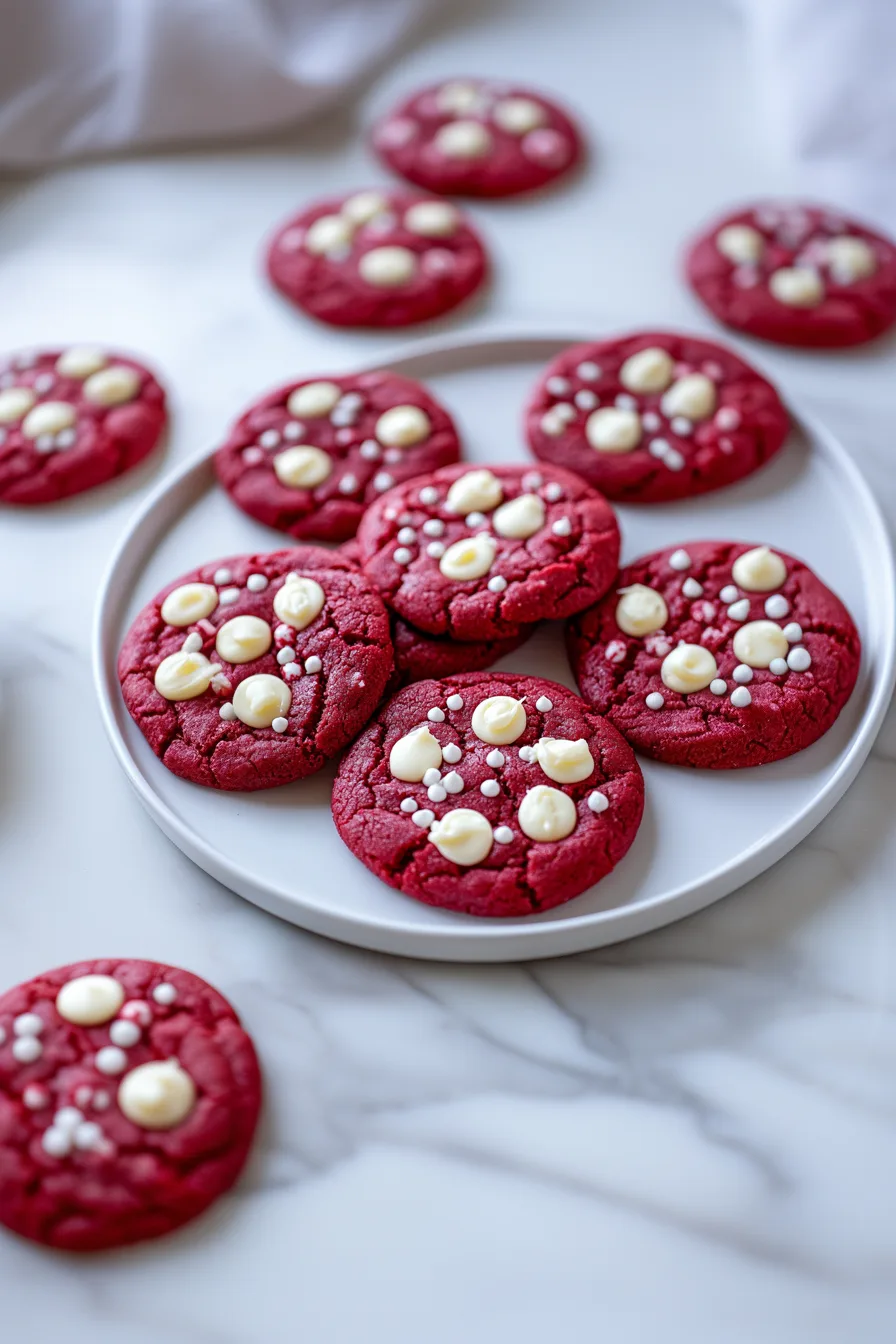
These Chewy Red Velvet Cookies aren’t just cookies — they’re a little dose of joy. The kind of treat that makes an ordinary day feel like a holiday. They’re soft, buttery, perfectly sweet, and just… comforting.
I’ve made these for friends, neighbors, bake sales — they disappear every single time. There’s something nostalgic about that red velvet flavor — it’s warm, cozy, familiar, like a hug you can eat.
So if you’re reading this wondering whether to bake them — yes. Do it. You might make a mess, you might lick the spoon, you might burn your tongue on the first one out of the oven. But that’s what makes baking fun, right?
And when you do, come back and tell me — are you team “just one” or team “I accidentally ate six”? No judgment either way.
Keep the Flavor Coming – Try These:

Chewy Red Velvet Cookies
Ingredients
- ¾ cup 170g unsalted butter at room temperature
- 4 oz 115g cream cheese at room temperature
- 1 cup 200g granulated sugar
- 1 cup 220g packed dark brown sugar
- 1 tsp baking soda
- 1 tsp kosher salt
- 2 tsp vanilla extract
- 1 large egg
- 1 large egg yolk
- 1 tbsp red food coloring preferably McCormick brand
- 2¾ cups 385g all-purpose flour
- ¼ cup 25g natural cocoa powder (not Dutch process)
- 2 cups 340g white chocolate baking chips divided
Instructions
Preheat the oven:
- Preheat the oven to 350°F (175°C). Line two baking sheets with parchment paper or silicone mats.
Cream the butter and sugars:
- In the bowl of a stand mixer fitted with the paddle attachment, combine the butter, cream cheese, granulated sugar, brown sugar, baking soda, salt, and vanilla extract. Beat on medium speed until light and creamy, about 1–2 minutes.
Incorporate the eggs and coloring:
- Scrape down the sides of the bowl. Add the egg and mix until incorporated, followed by the egg yolk. Add the red food coloring and mix on low speed until evenly tinted.
Add dry ingredients:
- In a separate bowl, whisk together the flour and cocoa powder. Gradually add the dry mixture to the wet ingredients on low speed, mixing just until combined.
Add the chocolate chips:
- Fold in 1½ cups of white chocolate chips, reserving the remaining ½ cup for topping after baking.
Shape the cookies:
- Using a cookie scoop or tablespoon, portion the dough into 1-inch balls. Arrange them on the prepared baking sheets, spacing at least 2 inches apart.
Bake:
- Bake for 11–13 minutes, or until the edges are set and the centers appear slightly soft. The cookies should remain chewy once cooled.
Finish and cool:
- Immediately after removing from the oven, press several of the reserved white chocolate chips into the tops of the warm cookies. Allow them to cool on the baking sheet for 5 minutes before transferring to a wire rack.
Notes
I’m Bitty, owner of nodashofgluten.com, where I share simple, delicious recipes for all tastes, including gluten-free. Check out my “About Me” page for more info!