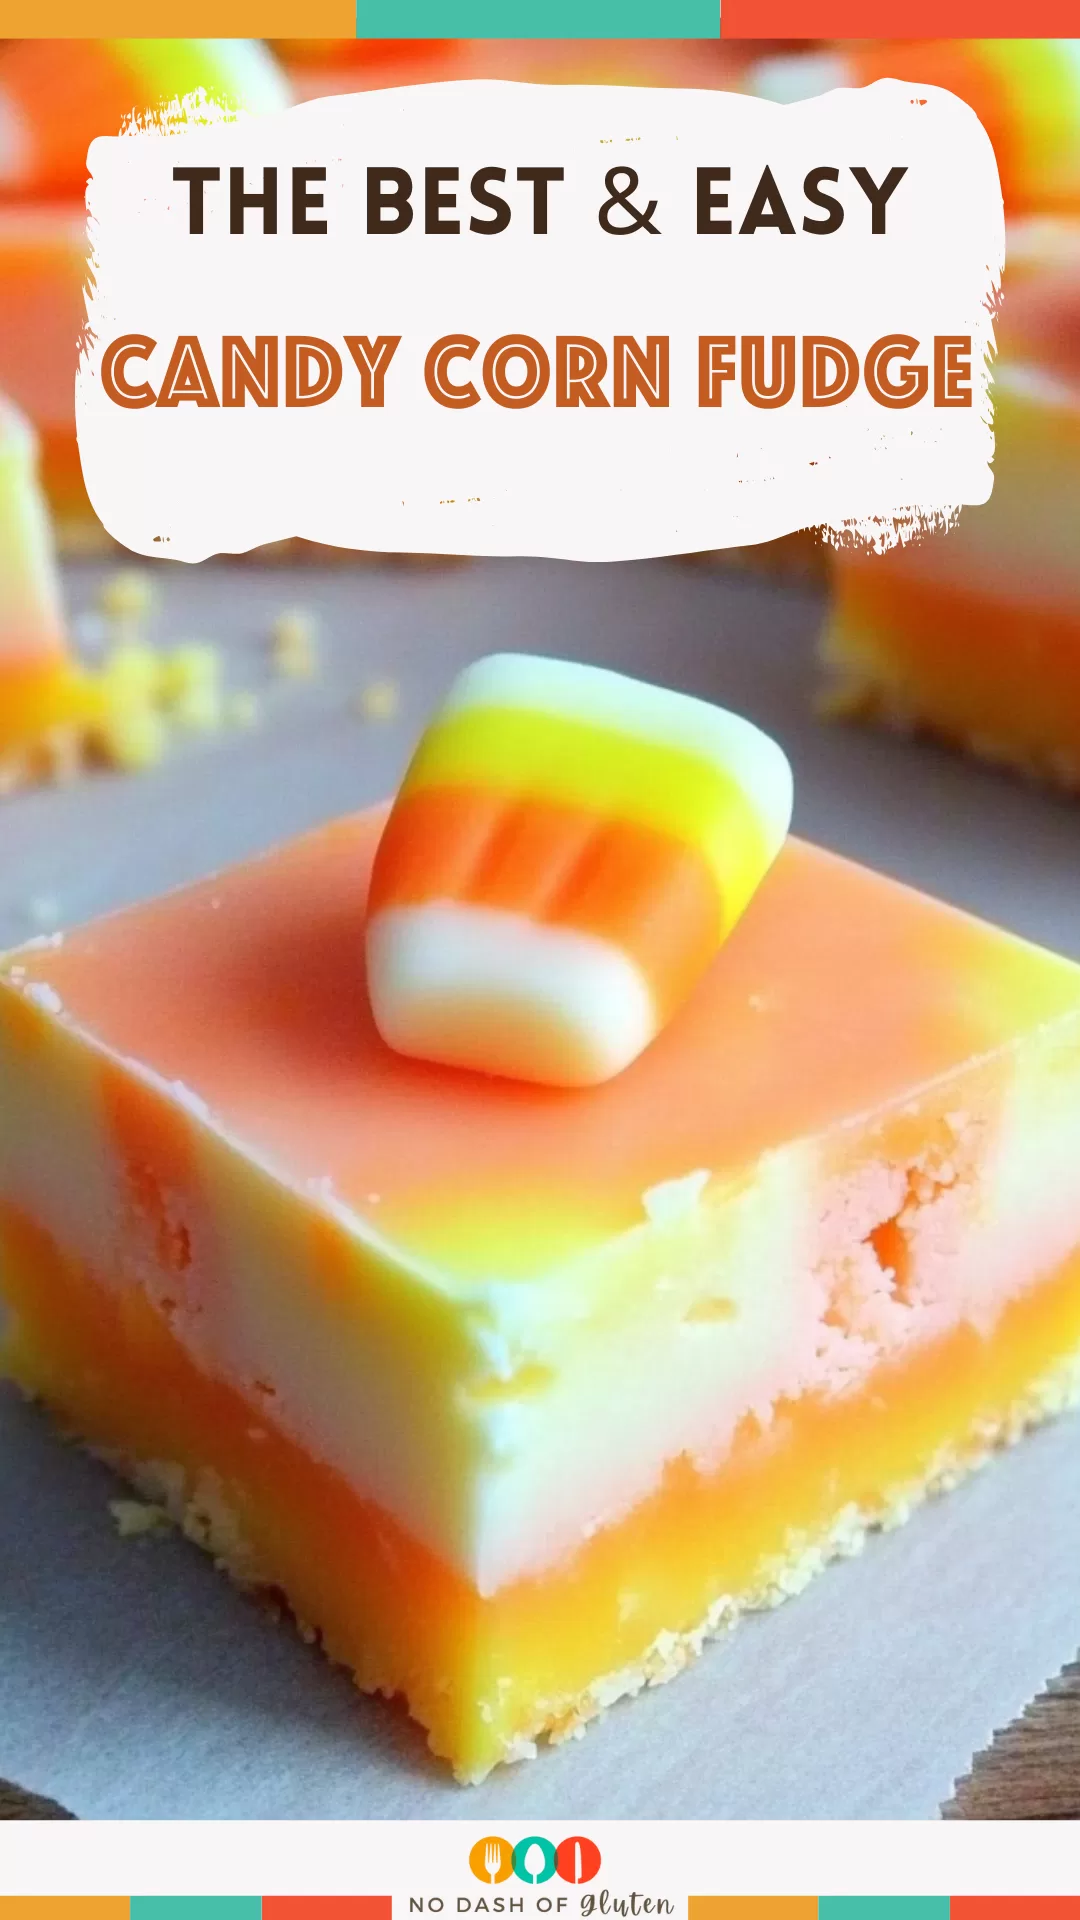
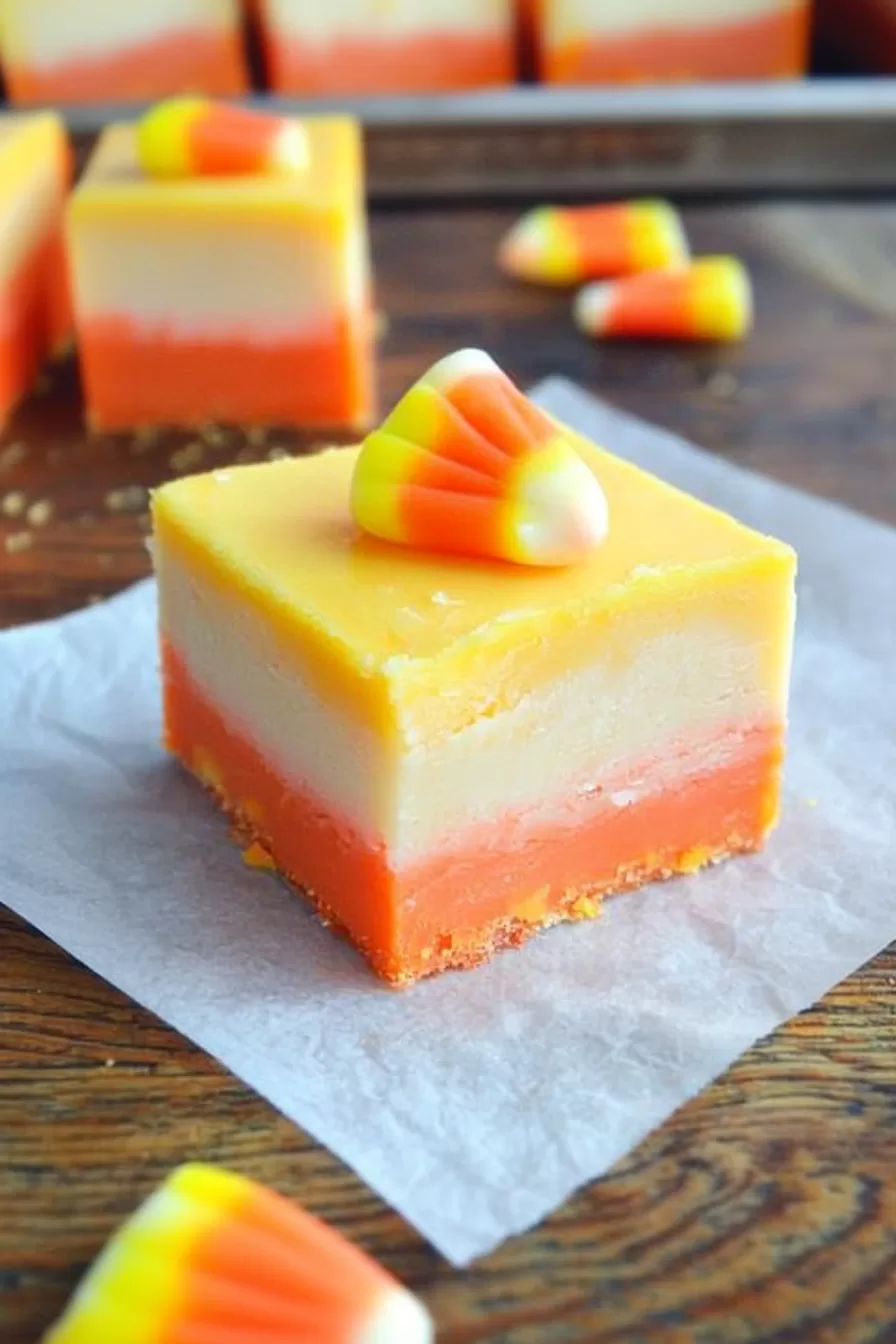
Whip up festive Candy Corn Fudge with white baking chips, condensed milk, butter, and food coloring. A simple, no-bake treat for fall fun!
Can I just say, candy corn has this weird ability to spark heated debates every fall? Some people can’t get enough of it, while others act like it’s an offense to taste buds everywhere. I fall somewhere in the middle—I love the nostalgia, but I’m not about to sit and snack on a bowl of the stuff.

That’s how this Candy Corn Fudge came to be. A few years ago, I was planning a Halloween get-together (you know, back when those were still a thing), and I wanted something festive. But I also needed something quick because, let’s be honest, life in October can feel like a marathon of pumpkin patches, costumes, and endless events. This fudge came to the rescue—no baking, minimal effort, and it’s a total showstopper with those candy-corn-inspired layers.
The first time I made it, I remember my kids fighting over who got to mix the food coloring. One of them accidentally made the orange layer way too dark, but honestly, it still looked amazing. And the compliments at the party? Endless. Now, making this fudge has become our fall tradition—it’s messy, fun, and a little chaotic, but that’s part of the charm, right?
Why You’ll Love This Candy Corn Fudge Recipe?
- Festive and Fun: The bright candy corn colors make this fudge the life of any Halloween or fall celebration.
- No-Bake Simplicity: Got 10 minutes and a microwave? You’ve got fudge.
- Crowd-Pleaser: Even candy corn skeptics love this creamy, sweet alternative.
- Customizable: You can swap the colors or flavors to suit any occasion—Christmas fudge, anyone?
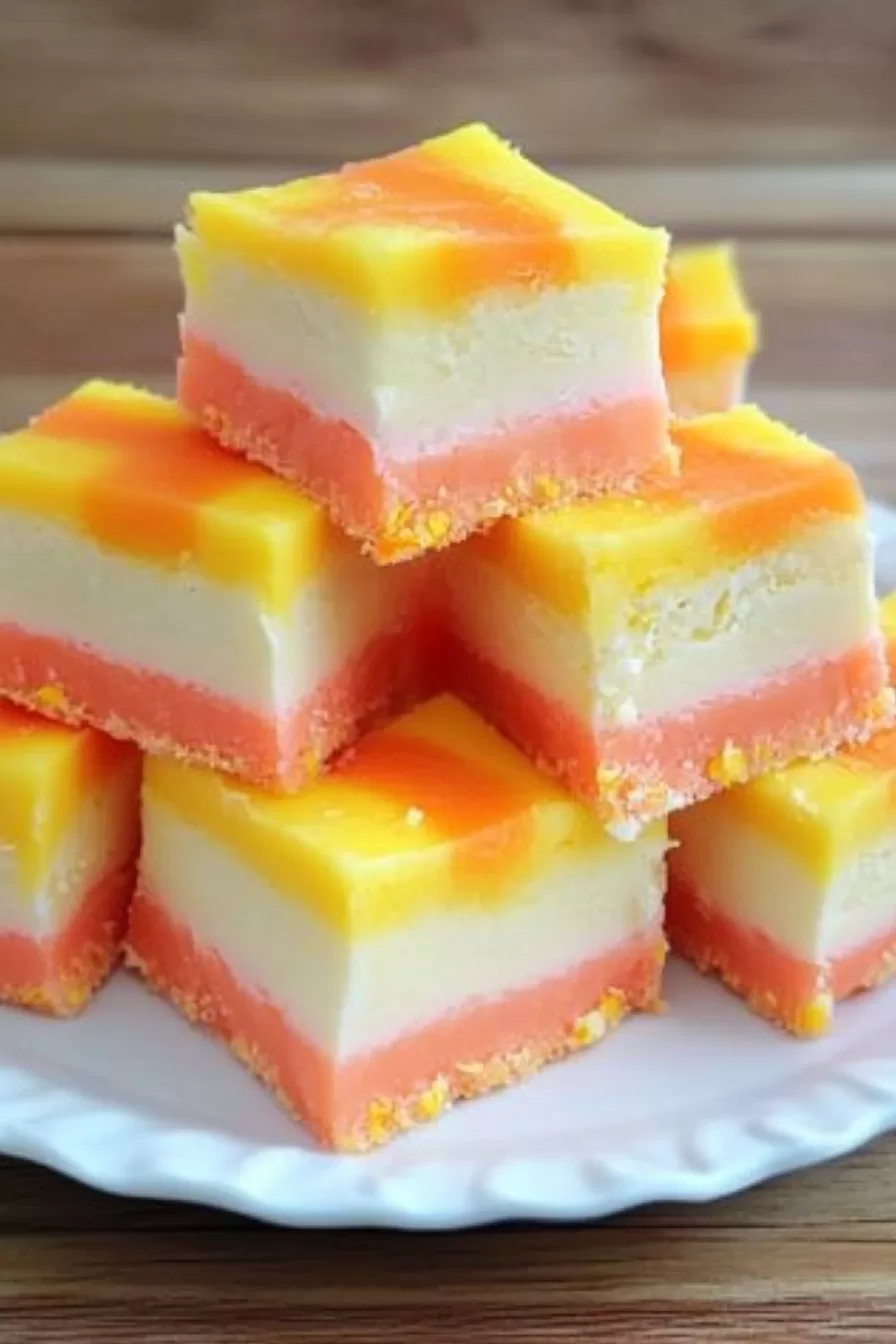
Ingredient Notes:
This Candy Corn Fudge recipe keeps it simple, but each ingredient pulls its weight. Here’s what you need to know:
- White Baking Chips: These are your base. Go for a high-quality brand because cheaper chips can sometimes seize up instead of melting smoothly.
- Sweetened Condensed Milk: The magical ingredient that gives fudge its creamy, rich texture. Don’t confuse it with evaporated milk—they’re not the same thing!
- Butter: Just a little, but it makes all the difference for silky-smooth layers.
- Food Coloring: Gel food coloring works best. It’s vibrant and doesn’t mess with the texture of the fudge like liquid food coloring might.
- Parchment Paper: Okay, not an ingredient, but seriously—don’t skip it. It makes lifting and slicing the fudge so much easier.
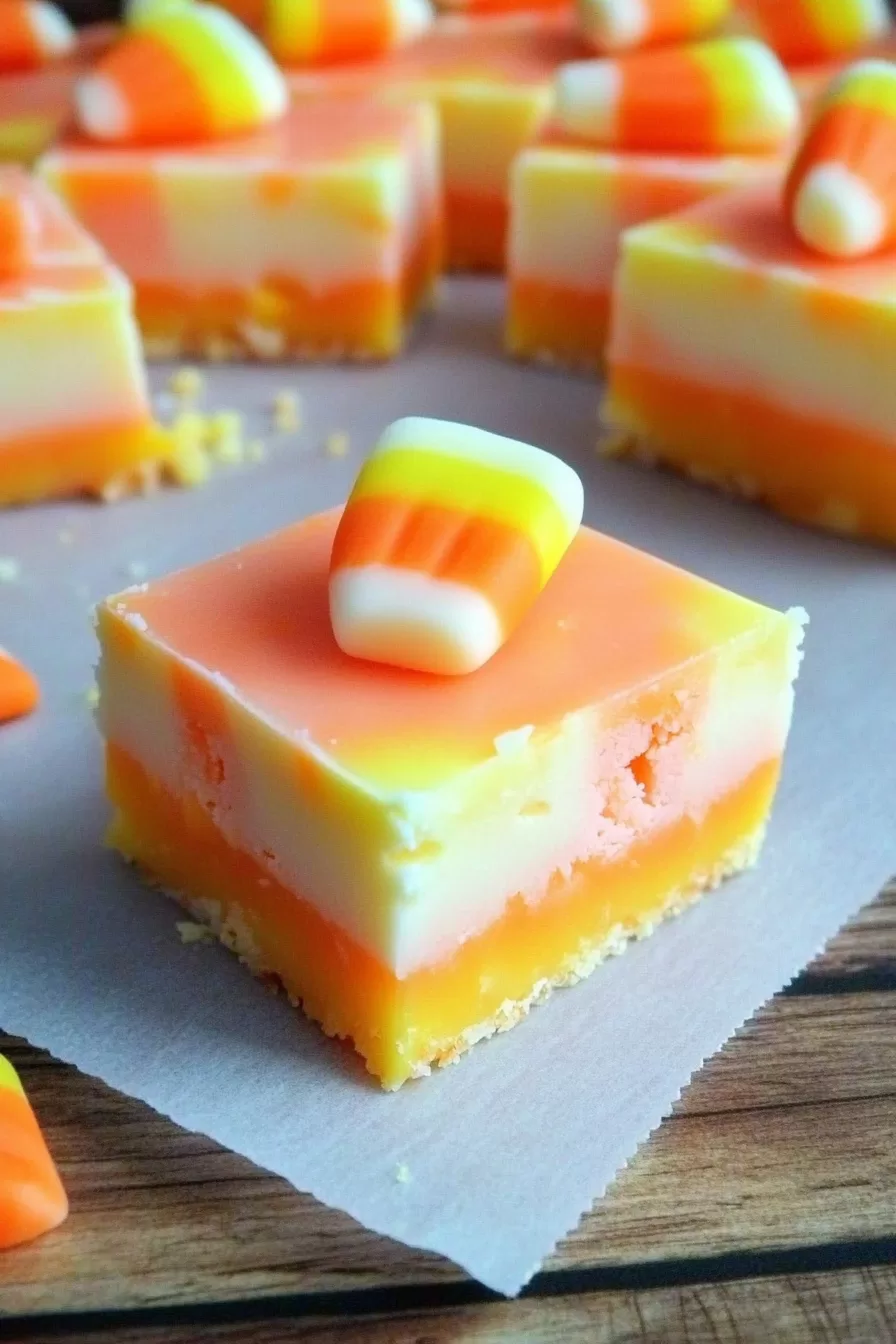
How To Make Candy Corn Fudge?
You ready to make the easiest (and cutest) Halloween treat ever? Let’s do this.
- Melt the Base Ingredients
In a large microwave-safe bowl, combine the white baking chips, sweetened condensed milk, and butter. Microwave in 20-second intervals, stirring after each, until everything is melted and smooth. Don’t rush—trust me, slow and steady wins the race here.Pro Tip: If you’re not a fan of the microwave, use a double boiler instead. It takes a little longer, but some people swear it’s easier to control. - Divide and Color
Once the mixture is silky and creamy, divide it into three bowls. Add yellow food coloring to one bowl and orange to another, leaving the third bowl white. Stir each bowl until the colors are vibrant and even. Don’t be afraid to adjust the shades if needed—you’re the artist here! - Layer the Fudge
Line a bread pan (or any similar container) with parchment paper, leaving enough overhang to lift the fudge out later. Start with the orange layer, spreading it evenly across the bottom. Add the yellow layer next, smoothing it carefully over the orange. Finish with the uncolored white layer on top.Reality Check: If your layers aren’t perfectly even, don’t stress. It’s fudge, not fine art. - Chill and Set
Pop the pan into the fridge and let the fudge chill for at least two hours, or until it’s firm enough to slice. If you’re in a hurry, a quick stint in the freezer can help, but don’t leave it too long or it’ll get too hard to slice cleanly. - Slice and Serve
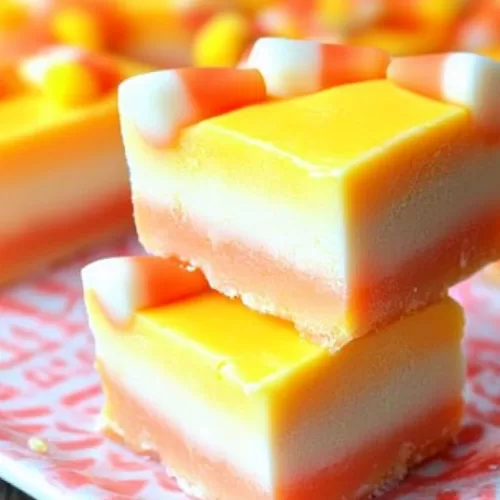
Use the parchment paper to lift the fudge out of the pan. Grab a sharp knife (bonus points if it’s clean and slightly warm), and slice into small squares. Step back and admire your candy-corn-inspired masterpiece!
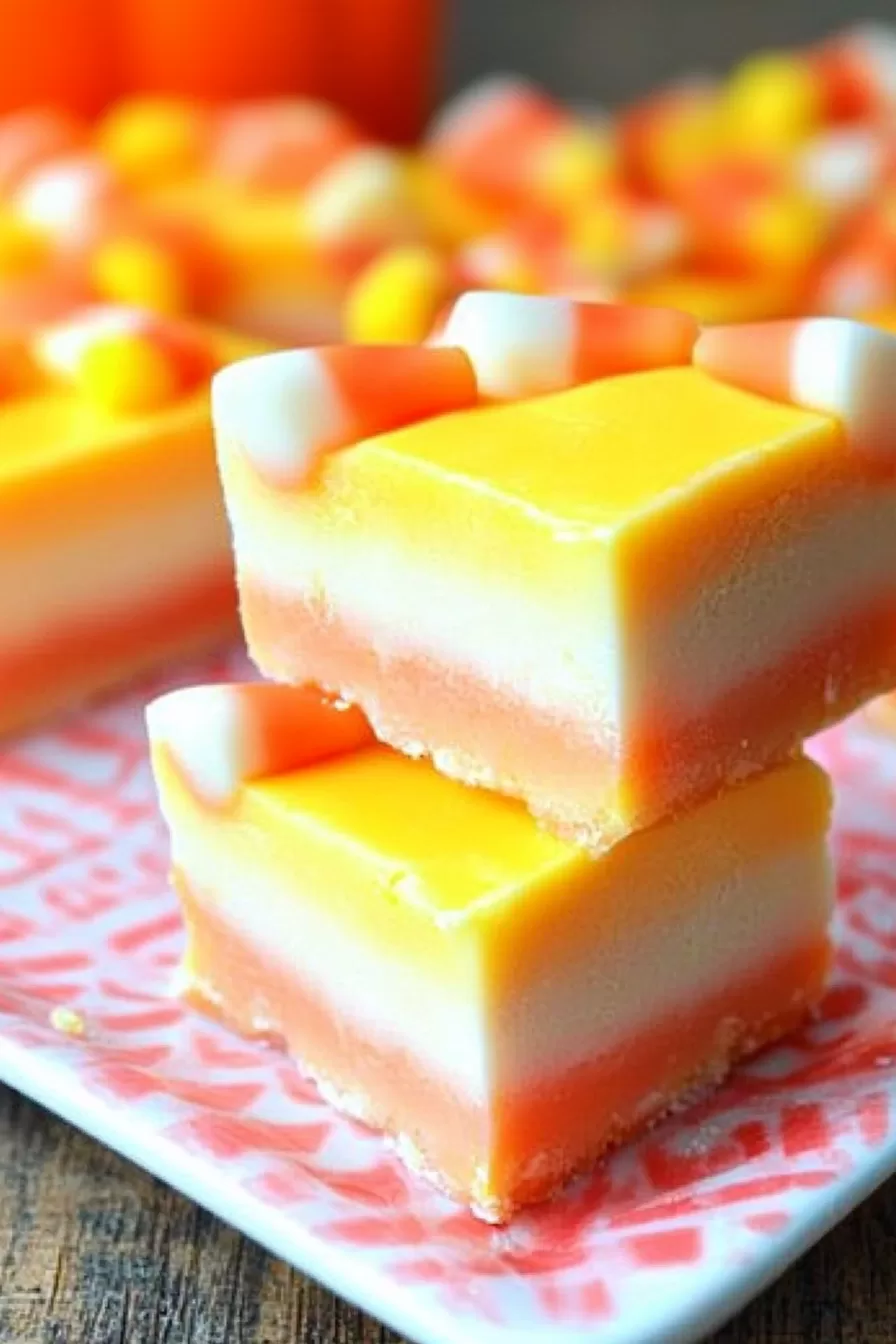
Storage Options:
One of the best things about this fudge? It stores beautifully.
Want To Save This Recipe?
Enter your email below and we'll send the recipe straight to your inbox.
- Room Temperature: Store in an airtight container for up to a week. Just keep it in a cool spot—nobody wants melty fudge.
- Refrigerator: If it’s warm where you live, stash it in the fridge. It’ll stay fresh for up to two weeks.
- Freezer: Want to make it ahead? Freeze it for up to three months. Wrap individual pieces in plastic wrap, then store in a freezer-safe container.
Variations and Substitutions:
This recipe is flexible—here are some fun ways to mix it up:
- Holiday Colors: Swap the orange and yellow for red and green for Christmas, or pastel shades for Easter.
- Flavored Fudge: Add a teaspoon of vanilla or almond extract for an extra layer of flavor.
- Sprinkles: Toss some festive sprinkles on top of each layer before chilling for a fun finishing touch.
- Chocolate Alternative: Not a fan of white chocolate? Try milk or dark chocolate instead—just know the colors won’t be as vibrant.
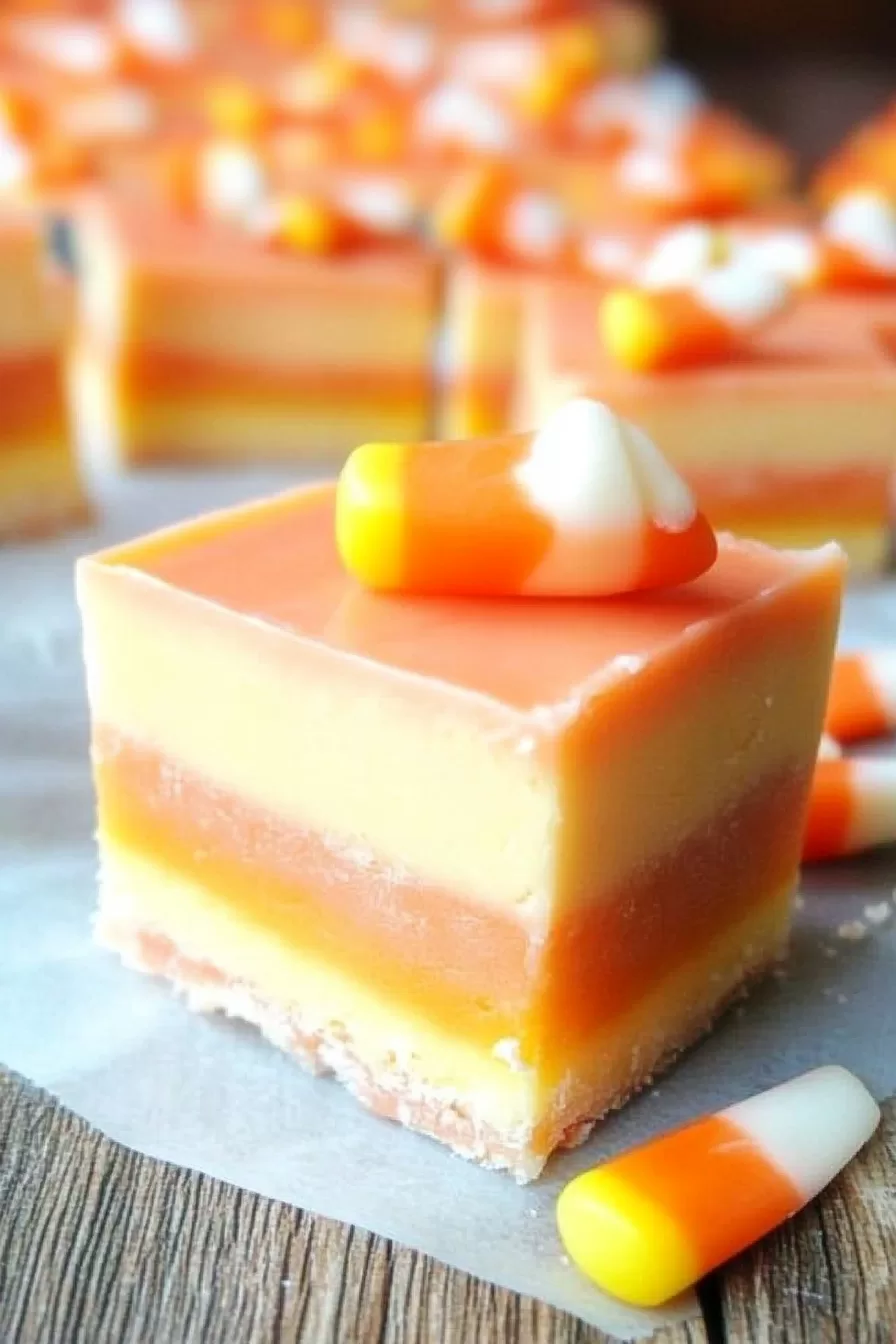
What to Serve with Candy Corn Fudge?
This fudge is a star on its own, but pairing it with other treats takes things up a notch:
- Hot Cocoa: Sweet and creamy, it’s the perfect companion for this fudge.
- Halloween Snack Mix: Serve it alongside a mix of popcorn, pretzels, and candy for a festive spread.
- Pumpkin Pie: The creamy fudge balances the spices in a pumpkin dessert beautifully.
- Apple Cider: A warm mug of cider is a cozy complement to this sweet treat.
Frequently Asked Questions:
Can I use regular chocolate chips instead of white?
Sure, but the colors won’t pop as much. If you’re okay with a more muted look, go for it!
Why didn’t my fudge set properly?
It’s usually because the butter wasn’t fully incorporated, or it didn’t chill long enough. Make sure your mixture is smooth before layering, and be patient while it chills.
Can I double the recipe?
Absolutely! Use a larger pan, like an 8×8 dish, and double all the ingredients. It’s great for feeding a crowd.
This Candy Corn Fudge is a little piece of fall magic. It’s festive, fun, and so easy to make, even on those hectic days when you’re juggling a million other things. So, what do you think? Ready to whip up a batch? I’d love to hear how yours turns out—drop me a comment below!
<Remember it later>
Planning to try this recipe soon? Pin it for a quick find later!
<Remember it later>
Planning to try this recipe soon? Pin it for a quick find later!
Keep the Flavor Coming – Try These:
Ingredients
- 12 oz white baking chips 1 bag
- 1 can sweetened condensed milk 14 oz
- 2 tablespoons unsalted butter
- Orange food coloring gel recommended
- Yellow food coloring gel recommended
Instructions
Prepare the Baking Pan
- Line a bread pan or a similar container with parchment paper, ensuring the edges overhang for easy removal later. Set aside.
Melt the Ingredients
- In a large microwave-safe bowl, combine the white baking chips, condensed milk, and butter. Heat the mixture in 20-second intervals in the microwave, stirring well after each interval, until the ingredients are fully melted and smooth. Alternatively, melt the ingredients in a double boiler over low heat, stirring frequently.
Divide and Add Food Coloring
- Separate the melted mixture into three equal portions in individual bowls. Add several drops of orange food coloring to one bowl and yellow food coloring to another, leaving the third bowl uncolored. Stir each bowl thoroughly to ensure the colors are evenly distributed.
Layer the Fudge
- Begin with the orange-colored portion, spreading it evenly across the bottom of the prepared pan. Next, layer the yellow portion on top of the orange, smoothing it carefully with a spatula. Finish with the uncolored portion, ensuring each layer is as even as possible.
Chill the Fudge
- Transfer the pan to the refrigerator and allow the fudge to set for at least two hours, or until firm. For quicker results, place it in the freezer for approximately 30 minutes, but avoid leaving it too long to prevent over-hardening.
Slice and Serve
- Once fully set, use the parchment paper to lift the fudge from the pan. Slice into small squares with a sharp knife, ensuring the candy corn-inspired layers are visible. Serve immediately or store as needed.
Notes

I’m Bitty, owner of nodashofgluten.com, where I share simple, delicious recipes for all tastes, including gluten-free. Check out my “About Me” page for more info!


