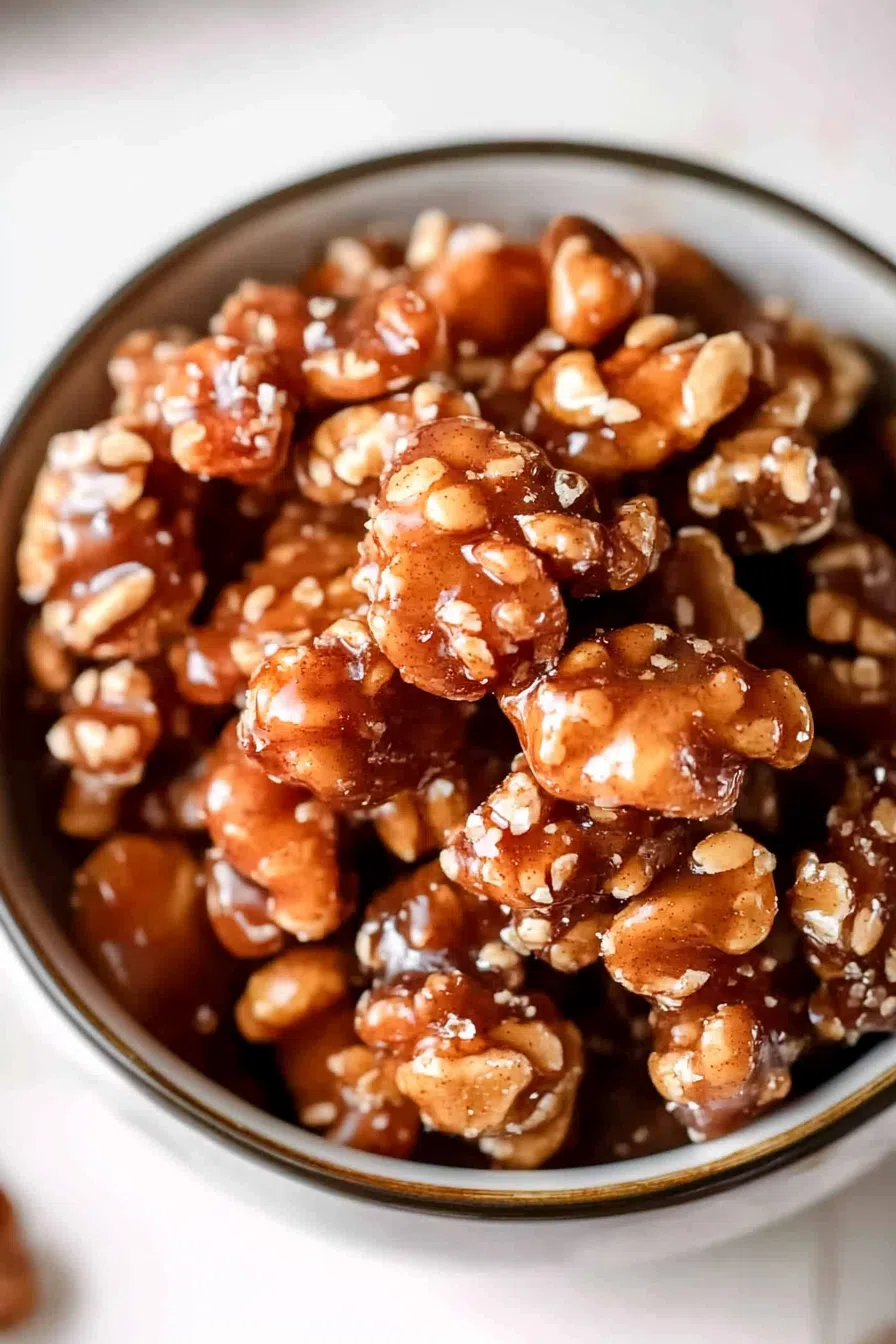
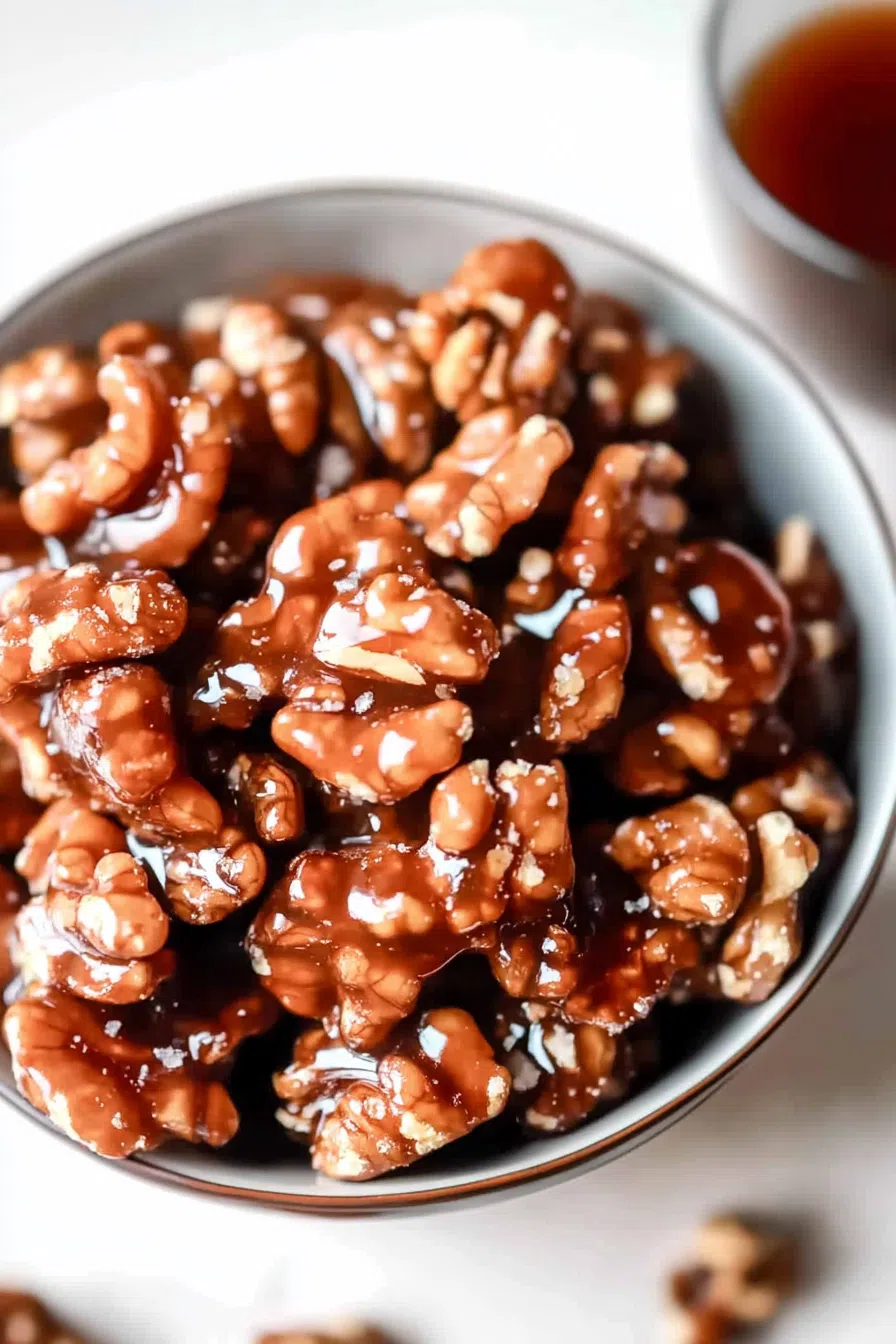
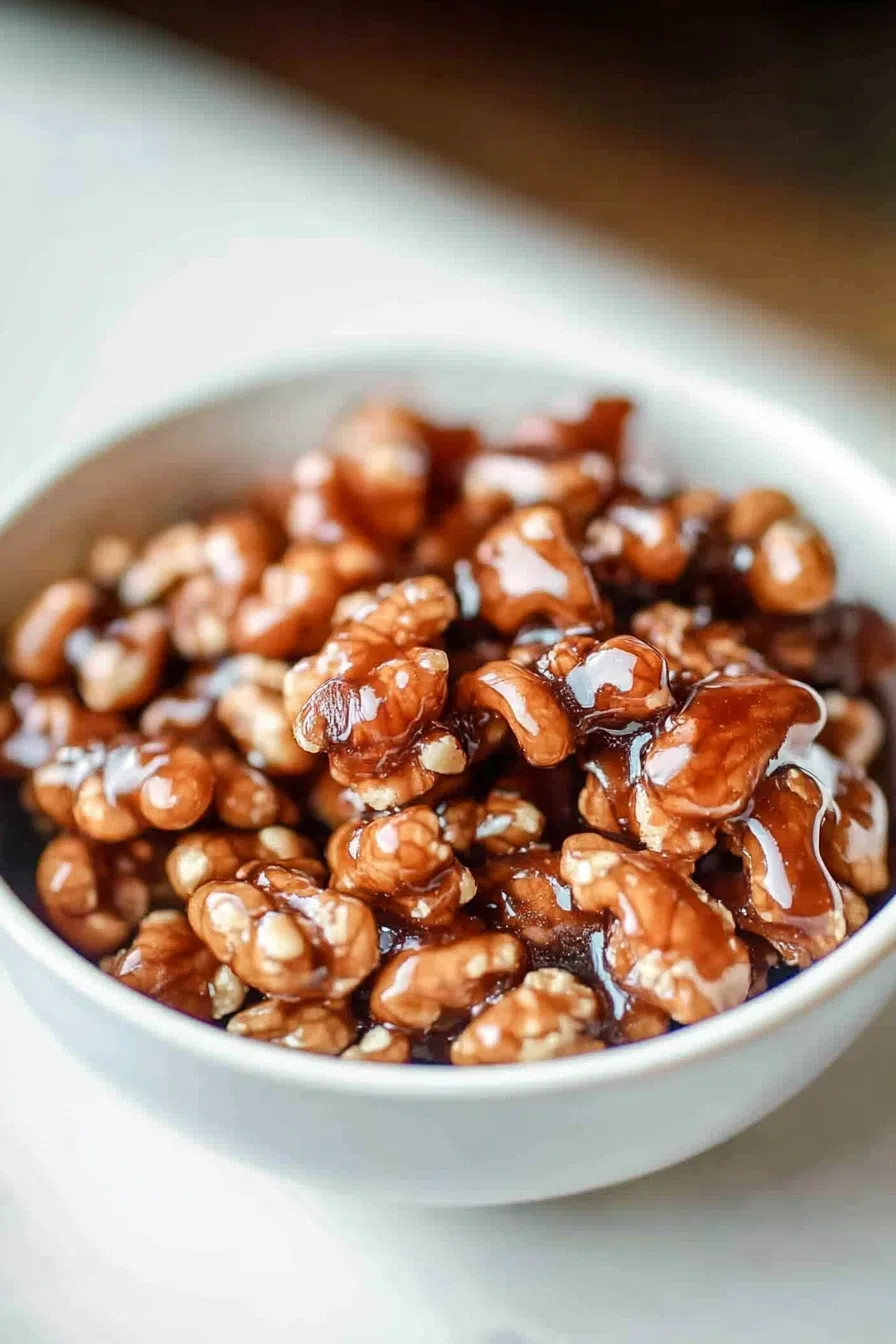
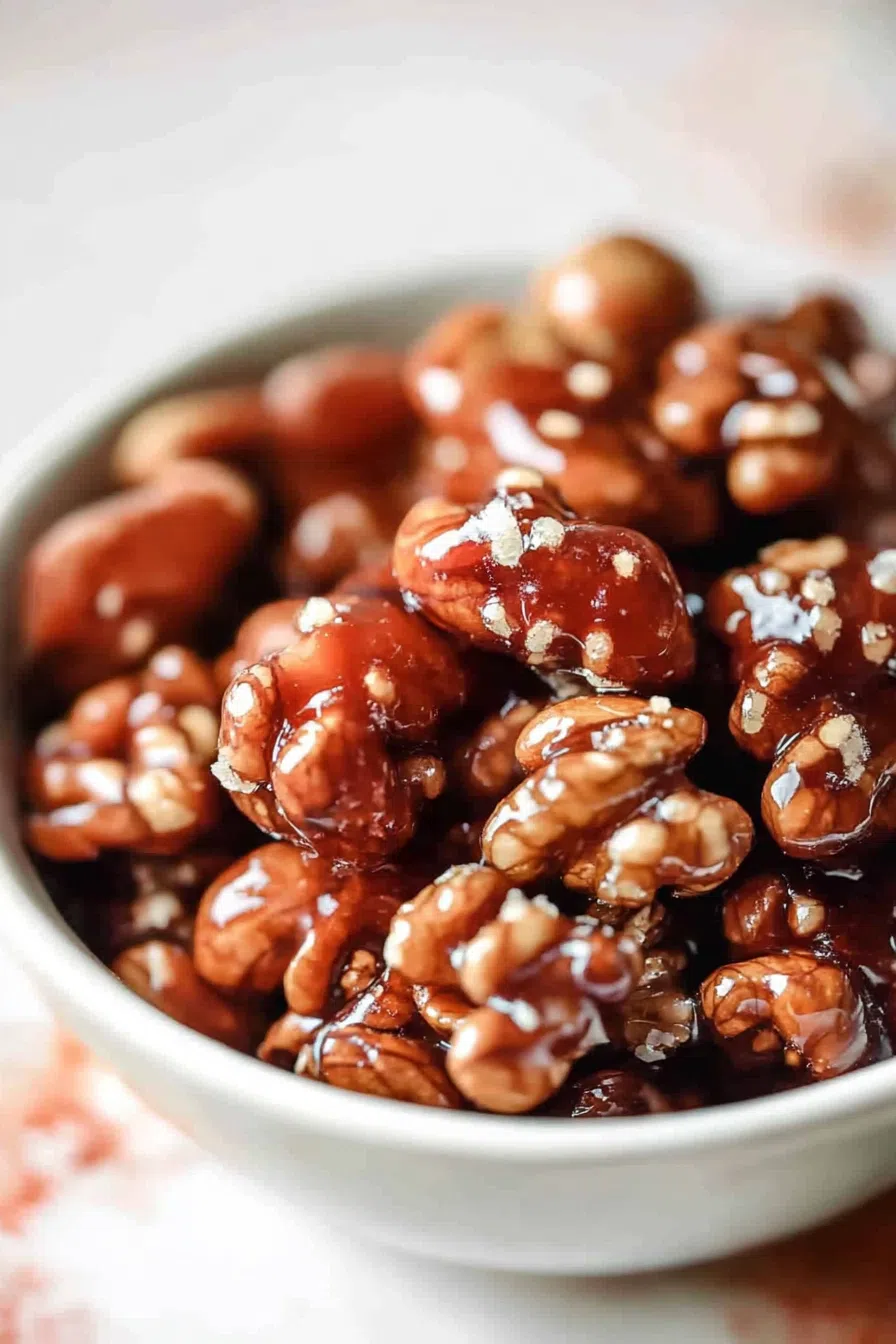
These Candied Walnuts are sweet, buttery, and perfectly crunchy, made with sugar, butter, and a hint of cinnamon. Ready in just 5 minutes!
I have this habit—maybe you do, too—of walking through grocery stores and grabbing fancy snacks that I absolutely don’t need. Last Christmas, I bought a tiny bag of overpriced candied walnuts at some gourmet shop. I’m talking tiny—like blink-and-it’s-gone tiny—and it cost more than a gallon of gas. Did I regret it? Not really, because those walnuts were magical. But did I think, I can make these at home for a fraction of the price? Oh, you bet.

Remember it later!
Planning to try this recipe soon? Pin it for a quick find later!
Remember it later!
Planning to try this recipe soon? Pin it for a quick find later!
So, I got into the kitchen, threw a few ingredients into a skillet, and crossed my fingers. Five minutes later, my house smelled like the holidays—warm sugar, melted butter, and that hint of cinnamon that makes you want to cozy up under a blanket. I snuck one walnut while it was still warm, and it was dangerously good. Crunchy, sweet, with just the right touch of salty. You know those snacks where you keep saying, “Just one more,” and then suddenly the bowl is empty? Yeah, that’s these walnuts.
Now, this recipe is a regular in my kitchen. I whip them up when I want something quick for a charcuterie board, a salad topper, or (let’s be real) a snack to devour while binge-watching a new show. If you’ve ever paid too much for a bag of candied nuts and thought, Is this really worth it?, I promise this recipe will save you. And it tastes even better because it’s homemade.
Here’s a quick peek at what’s inside:
Table of content
Why You’ll Love This Candied Walnuts Recipe?
- Ridiculously fast: Five minutes. That’s it. You’ll spend more time deciding whether to share them than actually making them.
- Perfect sweet crunch: The sugar caramelizes into this glossy, crackly coating that’s chef’s kiss.
- Endlessly versatile: Eat them by the handful, toss them on salads, or throw them on top of desserts. They’re multitaskers.
- Way cheaper than store-bought: Fancy nuts are pricey, but this homemade version? Budget-friendly and better tasting.
Ingredient Notes:
One of the things I love about this recipe is how simple the ingredients are. You probably have most of them sitting in your pantry right now:
- Walnuts: Use raw walnut halves for the best texture and flavor. Pecans and almonds also work perfectly if you want to switch things up.
- Granulated Sugar & Brown Sugar: The mix of these two sugars gives you that rich, caramelized coating that’s just sweet enough.
- Butter: Unsalted is my go-to because it lets me control the saltiness. Butter makes the sugar cling to the walnuts and adds a melt-in-your-mouth finish.
- Water: Helps dissolve the sugar evenly while cooking. It’s simple but important.
- Cinnamon (optional): Adds that cozy, warm vibe we all love. If cinnamon’s not your thing, skip it—you’ll still have incredible candied walnuts.
- Salt: Don’t forget the salt! That tiny pinch balances out all the sweetness beautifully.
How To Make Candied Walnuts?
Making candied walnuts is one of those “blink and it’s done” recipes. Here’s how to do it without any stress:
- Prep Your Baking Sheet
Before you start, line a baking sheet withparchment paper . Trust me, you don’t want sticky walnuts hardening onto your countertop.Parchment paper is your best friend here. - Combine Everything in a Skillet
Toss the walnuts, both sugars, butter, water, and cinnamon (if you’re using it) into a nonstick skillet. Put the heat on high, and give everything a good stir. At this point, it’s going to look like a mess, but don’t panic—that’s normal. - Cook and Stir Nonstop
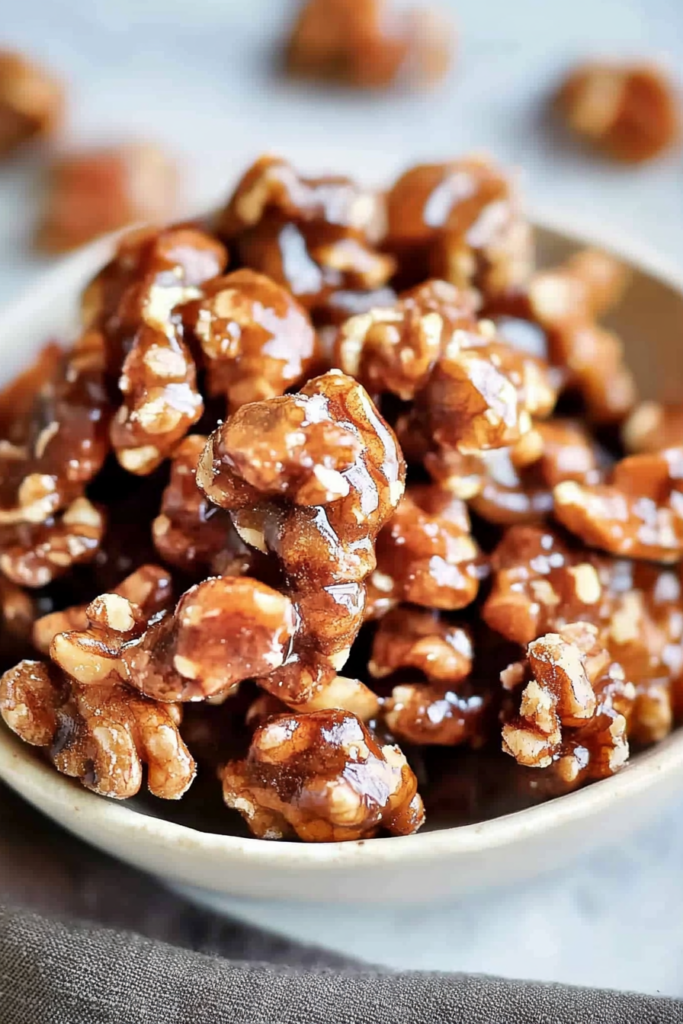
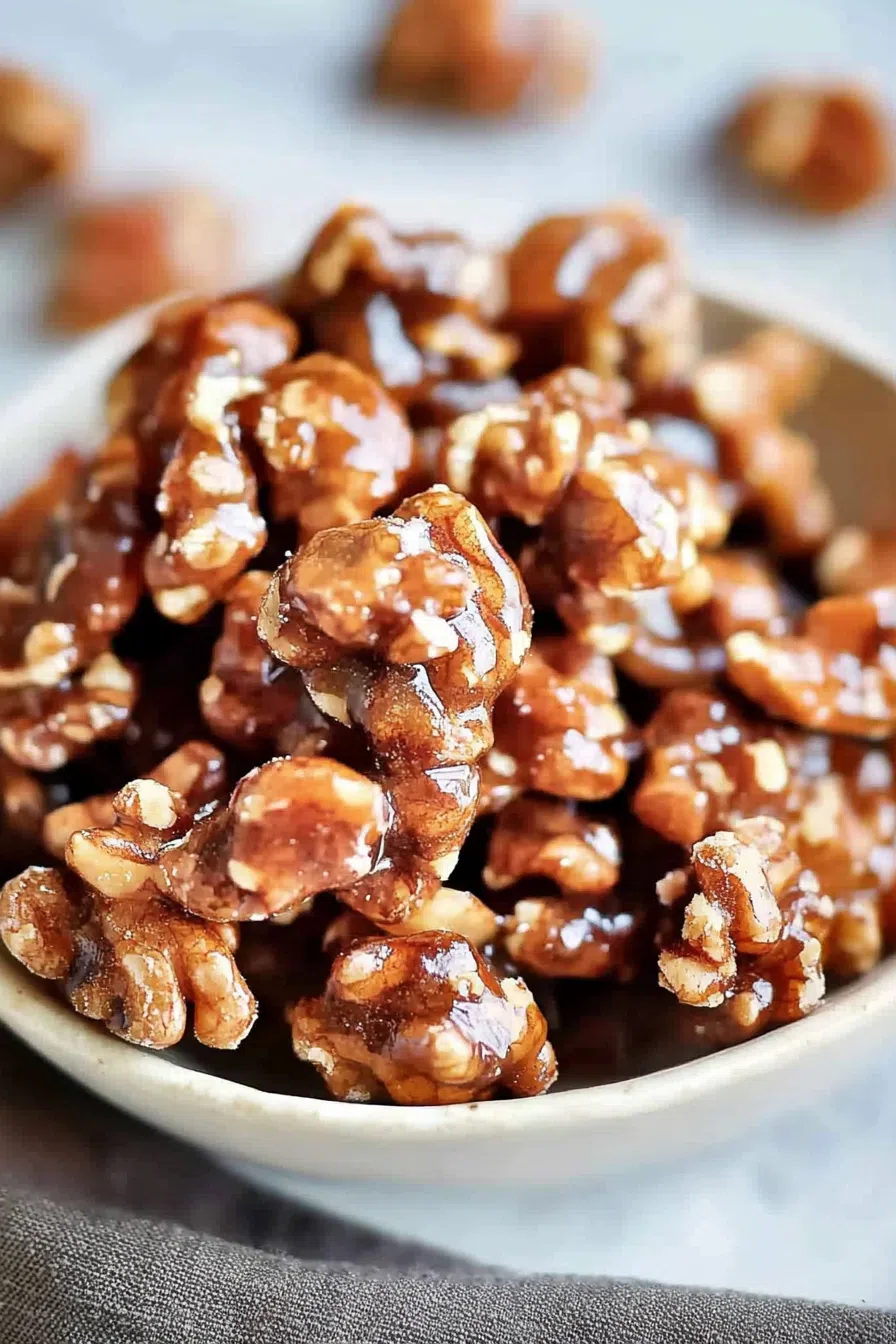
Here’s the deal: you cannot walk away from the stove. Stir everything constantly as the butter melts and the sugar dissolves into a bubbly, glossy sauce. After about 4–5 minutes, the liquid will evaporate, and the walnuts will start to clump together with a shiny caramel coating. That’s your cue to stop. - Add Salt and Spread Them Out
Quickly sprinkle in a pinch of salt, then transfer the walnuts onto your parchment-lined baking sheet. Use a spoon or spatula to spread them out so they don’t stick together as they cool. They’ll look a little soft at first, but trust me—they’ll harden into that perfect crunchy coating. - Cool Completely
Let the walnuts cool for about 10 minutes. This is technically the time to be patient, but if you sneak one while it’s still warm, I won’t judge. Once cooled, break them apart into clusters, and you’re good to go.
Storage Options:
These candied walnuts store surprisingly well—if you can keep them around long enough.
- Room Temperature: Store in an airtight container for up to 2 weeks. A glass jar works perfectly (and looks cute on the counter).
- Fridge: If it’s humid, keep them in the fridge to prevent the coating from getting sticky.
- Freezer: Freeze them in a zip-top bag for up to 3 months. Let them thaw at room temperature for a few minutes, and they’re ready to eat.
Variations and Substitutions:
Feel like getting creative? Here are some fun ways to switch things up:
- Try Different Nuts: Pecans, almonds, or cashews are great alternatives if walnuts aren’t your thing.
- Add Spice: A pinch of nutmeg, ginger, or cayenne pepper gives these a fun flavor twist. Sweet and spicy? Yes, please.
- Maple Syrup Option: Replace the brown sugar with maple syrup for a subtle, natural sweetness.
- Vanilla Twist: Stir in a teaspoon of vanilla extract at the end for a little extra flavor.
What to Serve with Candied Walnuts?
These little gems are incredibly versatile. Here are a few ideas to get you started:
Want To Save This Recipe?
Enter your email below and we'll send the recipe straight to your inbox.
- Salads: Add them to a spinach salad with apples, blue cheese, and balsamic dressing. The crunch is everything.
- Cheese Boards: Pair them with brie, gouda, or sharp cheddar for the perfect sweet-savory combo.
- Breakfast Bowls: Sprinkle them on top of oatmeal, yogurt, or pancakes to feel a little fancy in the morning.
- Desserts: Use them as a topping for ice cream, brownies, or even a cheesecake. Instant upgrade.
- Straight from the Jar: Honestly, they don’t need anything else. Just grab a handful and enjoy.
Frequently Asked Questions:
Why are my candied walnuts sticky?
They probably didn’t cook long enough. Make sure the liquid fully evaporates, and the sugar starts clumping around the walnuts before you take them off the heat.
Can I use salted butter?
Yep! Just skip the extra pinch of salt at the end.
How long do these walnuts stay crunchy?
They’ll stay fresh and crunchy for about 2 weeks if stored properly in an airtight container.
There you have it—Candied Walnuts that are quick, easy, and so good you’ll want to make a double batch. Whether you’re snacking straight from the jar, adding them to salads, or gifting them to friends, they’re guaranteed to be a hit.
So, are you team sweet snack or savory topper? Give these a try, and let me know how you’re using them. Just don’t blame me when you can’t stop eating them!
Remember it later!
Planning to try this recipe soon? Pin it for a quick find later!
Remember it later!
Planning to try this recipe soon? Pin it for a quick find later!
Keep the Flavor Coming – Try These:
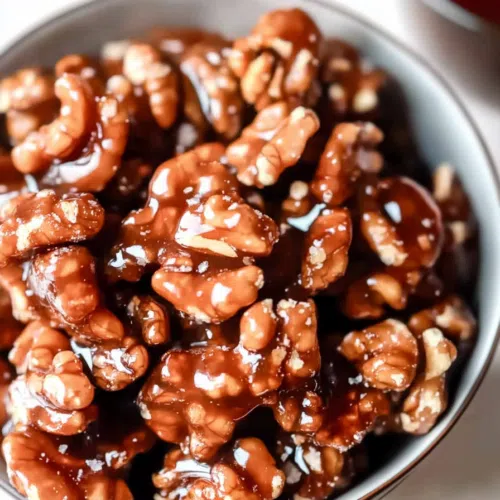
Candied Walnuts
Ingredients
- 2 c walnuts
- 1/2 c granulated sugar
- 3 tbsp light brown sugar
- 1/2 c water
- 2 tbsp unsalted butter
- 1/4 tsp salt
- 1/2 tsp cinnamon optional
Instructions
- Prepare a baking sheet by lining it with parchment paper.
- In a skillet that's not prone to sticking combine walnuts, both types of sugar, water and butter. If you like you can add cinnamon as well.
- Cook over high heat while stirring continuously until the moisture evaporates and the walnuts start clumping. This should take 5 minutes.
- Add salt to the mixture. Then transfer the nuts onto the baking sheet. Spread them out evenly.
- Allow the nuts to cool down completely before breaking them into pieces. Enjoy!
Notes

I’m Bitty, owner of nodashofgluten.com, where I share simple, delicious recipes for all tastes, including gluten-free. Check out my “About Me” page for more info!



One Response
Just so easy and delicious.