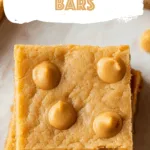
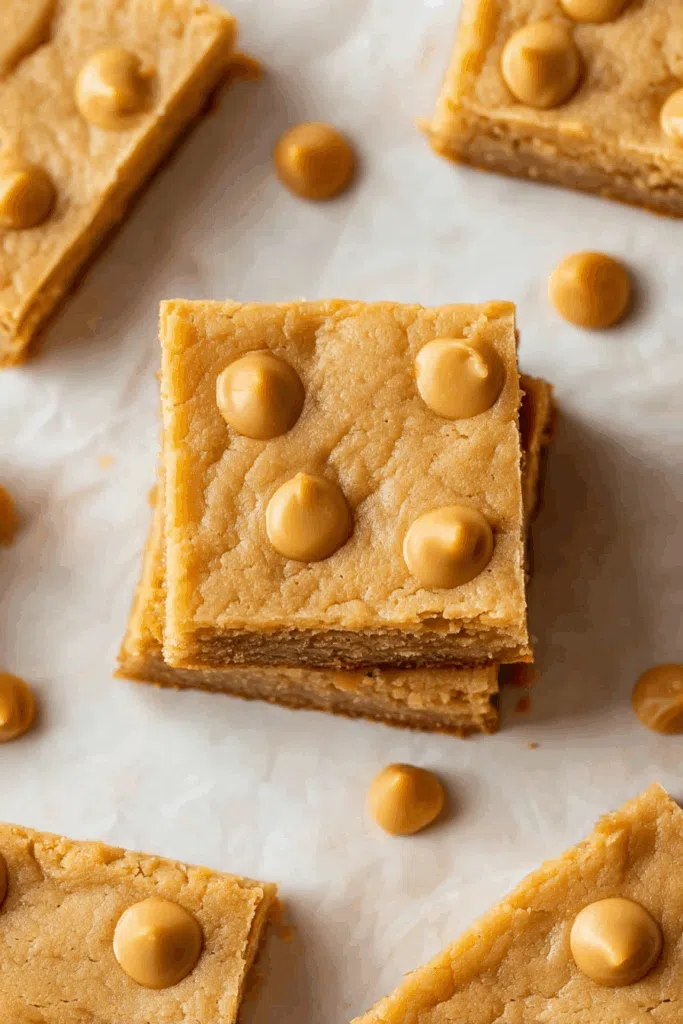
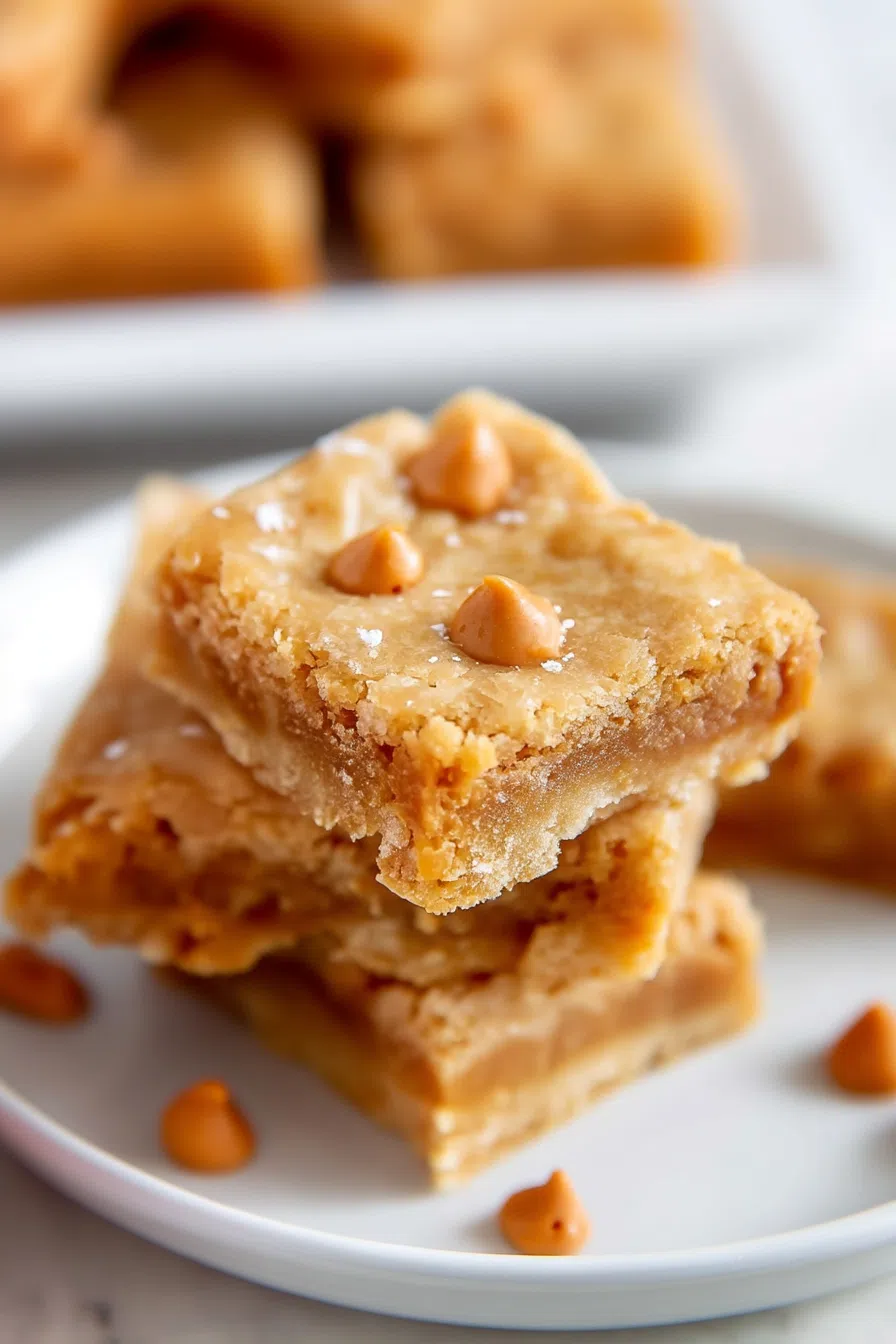
Made with brown sugar, butter, flour, and butterscotch chips, these chewy Butterscotch Bars are a warm, nostalgic favorite. One bowl, no fuss.
Let me paint you a picture. It’s a rainy Saturday, I’m in socks that don’t match, the house smells like wet dog (no actual dog, just that weird spring scent), and I’m staring into the pantry hoping for inspiration.
There it was. A half-open bag of butterscotch chips I’d forgotten about. Possibly left over from a cookie recipe that never happened. Or maybe I snacked on them one night while watching reruns of The Office and never sealed the bag. Classic.
Anyway, I wasn’t really in the mood to bake-bake, you know? I wanted something easy. No rolling, no chilling, no drama. Just a warm square of chewy, golden something to go with my coffee and melancholy weather.
So I tossed together a basic bar batter. I melted butter, stirred in some brown sugar, folded in the butterscotch chips (okay, I snacked on a few too), and hoped for the best.


What came out of the oven was… oddly perfect. Not in a “fancy Instagram post” kind of way. More like the kind of dessert that disappears from the pan in a day and has your kid asking, “Are there any more of those bar things?”
And now, this is the recipe I make when I need dessert to feel like a soft landing.
Why You’ll Love This Butterscotch Bars Recipe?
They’re simple. Like, “I made these with stuff I already had” simple.
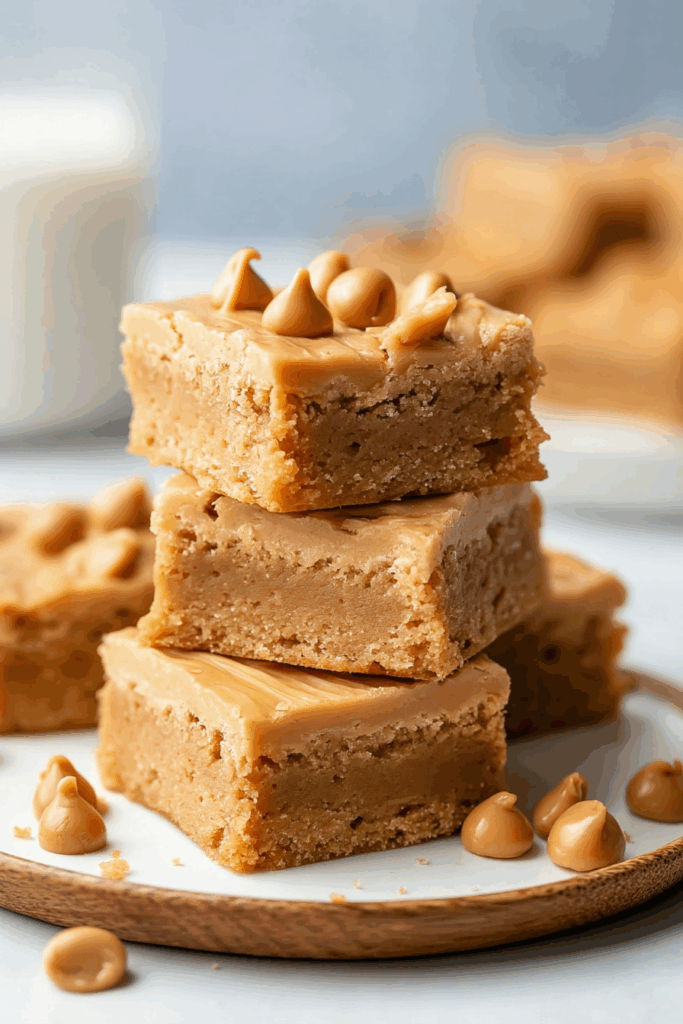
But that texture. That’s the real deal here. The edges get just a little crisp, the middle stays soft and dense (in a good way), and the butterscotch chips melt into little pockets of caramel-y joy.
Plus, there’s something so nostalgic about butterscotch. It’s underrated, right? We all grew up around it—maybe in grandma’s candy dish or those chewy Lifesavers that always stuck to the paper. But in these bars? It’s like butterscotch grew up and put on its comfy pants.
Also, no mixer required. No chilling. No fancy ingredients. Just the kind of baking you do in your “I probably won’t see anyone today” sweatshirt.

Ingredient Notes:
Let’s talk ingredients. Nothing weird. Nothing complicated. Just a few pantry staples and a solid reason to finally use those egg yolks.
-
Salted Butter (melted) – Yes, salted. This isn’t the time for restraint. Melt it and let it cool a bit so you don’t cook the eggs by accident. Been there.
-
Brown Sugar + Granulated Sugar – The combo gives chew, caramel flavor, and a slightly crackly top. Brown sugar is doing the heavy lifting here.
-
1 Whole Egg + 2 Yolks – The yolks make these bars rich and fudgy. I used to skip this step and wonder why my bars weren’t as good. Don’t skip it.
-
Vanilla Extract – The more vanilla, the cozier the flavor. I never measure this with a spoon, and maybe that’s a character flaw.
-
All-Purpose Flour – Basic, reliable, grounding. Just don’t overdo it or your bars will be dry and you’ll blame me. And I’ll cry.
-
Cornstarch – Not essential, but it makes a difference. Helps keep everything soft and dreamy.
-
Baking Powder – Gives it a little lift. Not too much—this isn’t a cake.
-
Butterscotch Chips – Obviously. But also… these things are kind of aggressive, right? So I use some in the batter, then sprinkle more on top for looks and balance.
How To Make Butterscotch Bars?
Step 1: Preheat and Prep
350°F. Parchment-lined 9×13 pan. Leave some overhang so you can lift the whole thing out later like a magician.
Step 2: Mix the Wet Stuff
Whisk your melted butter with the sugars until smooth and glossy. Then add the egg and yolks, one at a time. It’ll get thick, almost mousse-like. Stir in vanilla. Smell it. Smile.
Step 3: Add the Dry
In a separate bowl (or right on top if you’re feeling chaotic), whisk the flour, cornstarch, and baking powder. Fold it in gently. Don’t overmix—this isn’t a CrossFit class.
Step 4: Butterscotch Time
Fold in about ¾ cup of chips. Save the rest to sprinkle on top. Or don’t. Maybe you need more in the batter today. You decide.
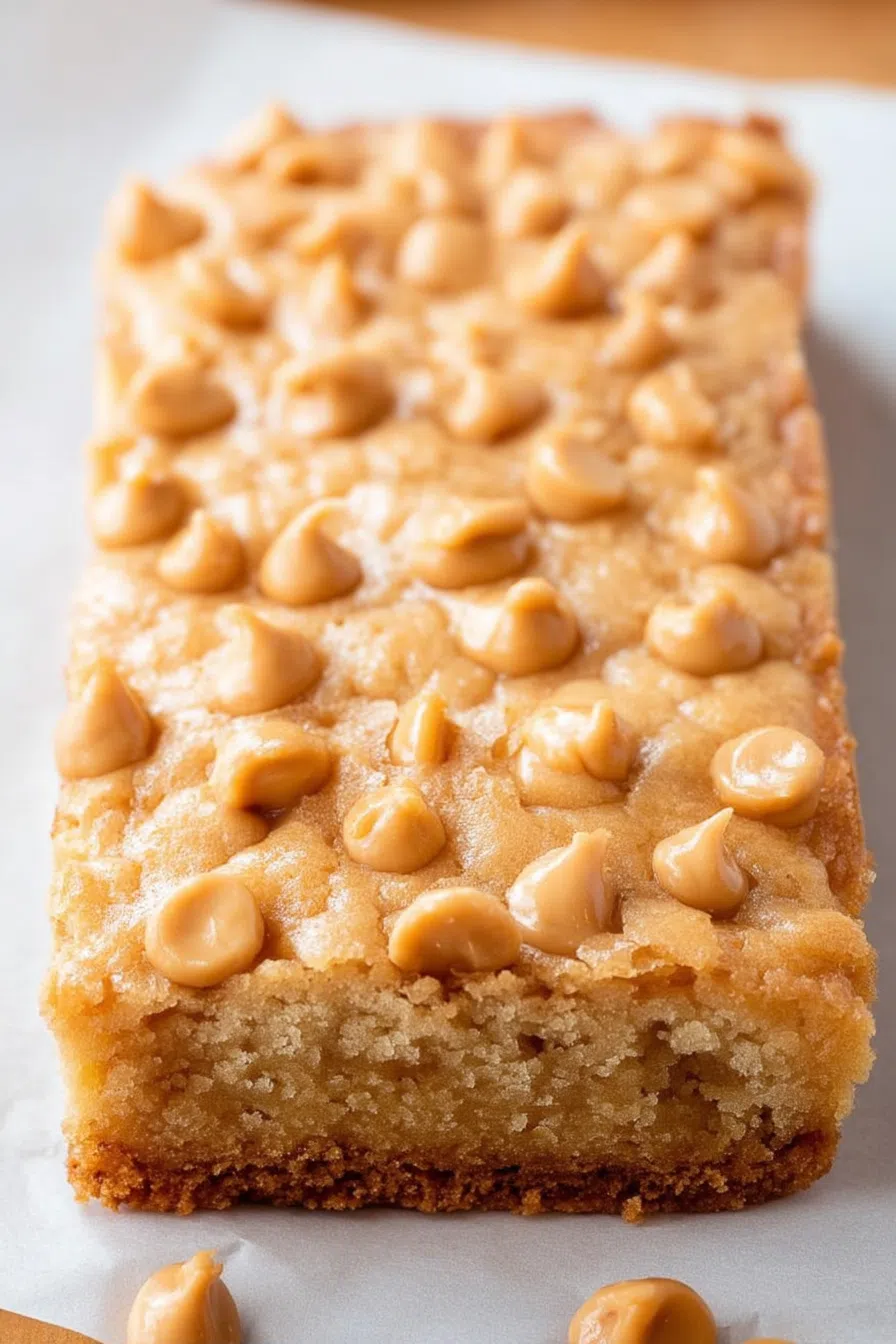
Step 5: Spread and Bake
The batter is thick—almost like cookie dough. Press it into your prepared pan and smooth it out. Sprinkle with the rest of those chips. Bake for 25–30 minutes. The top should be golden, the center just set.
Step 6: Cool (Yes, You Have To)
Let it cool completely in the pan. This part is rude, but necessary. Warm bars fall apart. Unless you’re eating them with a spoon, in which case… you do you.
Want To Save This Recipe?
Storage Options:
-
Counter: Airtight container, 3–4 days. Still soft on day 3. Kind of magical.
-
Fridge: Fine if you prefer them a little firmer or live in a warm place. Bring to room temp before serving if you can wait.
-
Freezer: Wrap ’em tight. Freeze for up to 2 months. I keep a stash hidden behind the frozen peas.
Variations and Substitutions:
Good. That means you’re already thinking like a home baker.
-
Add Chocolate Chips – Half and half with the butterscotch? Yes.
-
Top with Sea Salt – If you’re into that salty-sweet thing (I very much am).
-
Fold in Nuts – Pecans, walnuts, whatever speaks to you.
-
Drizzle with Caramel – Because sometimes subtlety is overrated.
-
Use browned butter – If you’re feeling extra. It adds depth and a slightly nutty vibe. 10/10 would recommend.
What to Serve with Butterscotch Bars?
-
Coffee – Black, bold, slightly bitter. It balances the sweetness and makes you feel like a grown-up.
-
Milk – Classic pairing. Bonus points if it’s in a tall glass with a bendy straw.
-
Ice Cream – Vanilla, caramel, or butter pecan. You can’t go wrong.
-
A quiet afternoon and zero obligations – Highly recommended.
Frequently Asked Questions:
Do I have to use cornstarch?
Nah. But the bars will be a little firmer and less chewy without it. Still good, just not quite chef’s kiss level.
Can I cut back on the sugar?
A bit, yes. But not too much or it’ll mess with the texture. These are dessert bars, not salad.
What if I don’t have parchment?
Grease the pan well. Like, really well. And maybe say a little prayer when you try to get them out.
Here’s the truth: these butterscotch bars aren’t trendy or flashy or frosted. But they show up. They’re that reliable, crowd-pleasing, just-one-more-bite kind of dessert that makes you feel like you did something good—without making your kitchen look like a crime scene.
And honestly? That’s enough.
Make them. Eat them. Save a few for someone you like. Or don’t. Either way, I’d love to hear if you try them—especially if you go off-script. Did you add chocolate chips? Burn the first batch and eat them anyway? Tell me everything.
Keep the Flavor Coming – Try These:
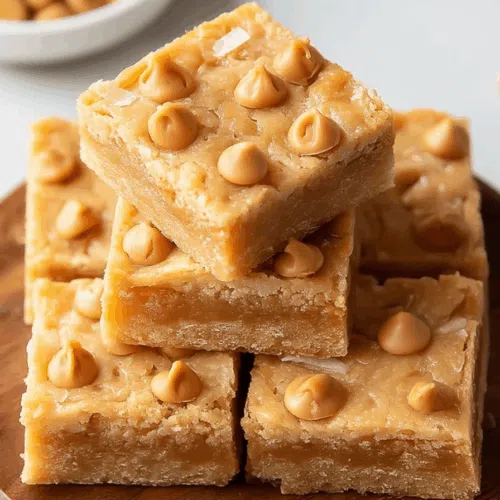
Butterscotch Bars
Ingredients
- 1 cup 2 sticks salted butter, melted and cooled slightly
- 1 cup light brown sugar packed
- 1 cup granulated sugar
- 1 large egg
- 2 large egg yolks
- 1 tablespoon vanilla extract
- 2½ cups all-purpose flour
- 1 tablespoon cornstarch
- 1 teaspoon baking powder
- 1 cup butterscotch chips divided
Instructions
Preheat and Prepare the Baking Pan
- Preheat the oven to 350°F (175°C). Grease and line a 9×13-inch baking pan with parchment paper, leaving an overhang on two sides to facilitate removal of the bars after baking.
Combine the Wet Ingredients
- In a large mixing bowl, whisk together the melted butter, brown sugar, and granulated sugar until smooth and well incorporated. Add the whole egg and egg yolks one at a time, whisking after each addition until fully blended. Stir in the vanilla extract.
Add the Dry Ingredients
- In a separate bowl, whisk together the flour, cornstarch, and baking powder. Gradually add the dry ingredients to the wet mixture, stirring until mostly combined. Avoid overmixing at this stage.
Incorporate the Butterscotch Chips
- Fold ¾ cup of the butterscotch chips into the batter, ensuring they are evenly distributed. The batter will be thick.
Transfer to the Pan and Bake
- Spread the batter evenly into the prepared pan. Sprinkle the remaining ¼ cup of butterscotch chips over the surface. Bake for 25 to 30 minutes, or until the top is golden brown and a toothpick inserted in the center comes out with moist crumbs but no raw batter.
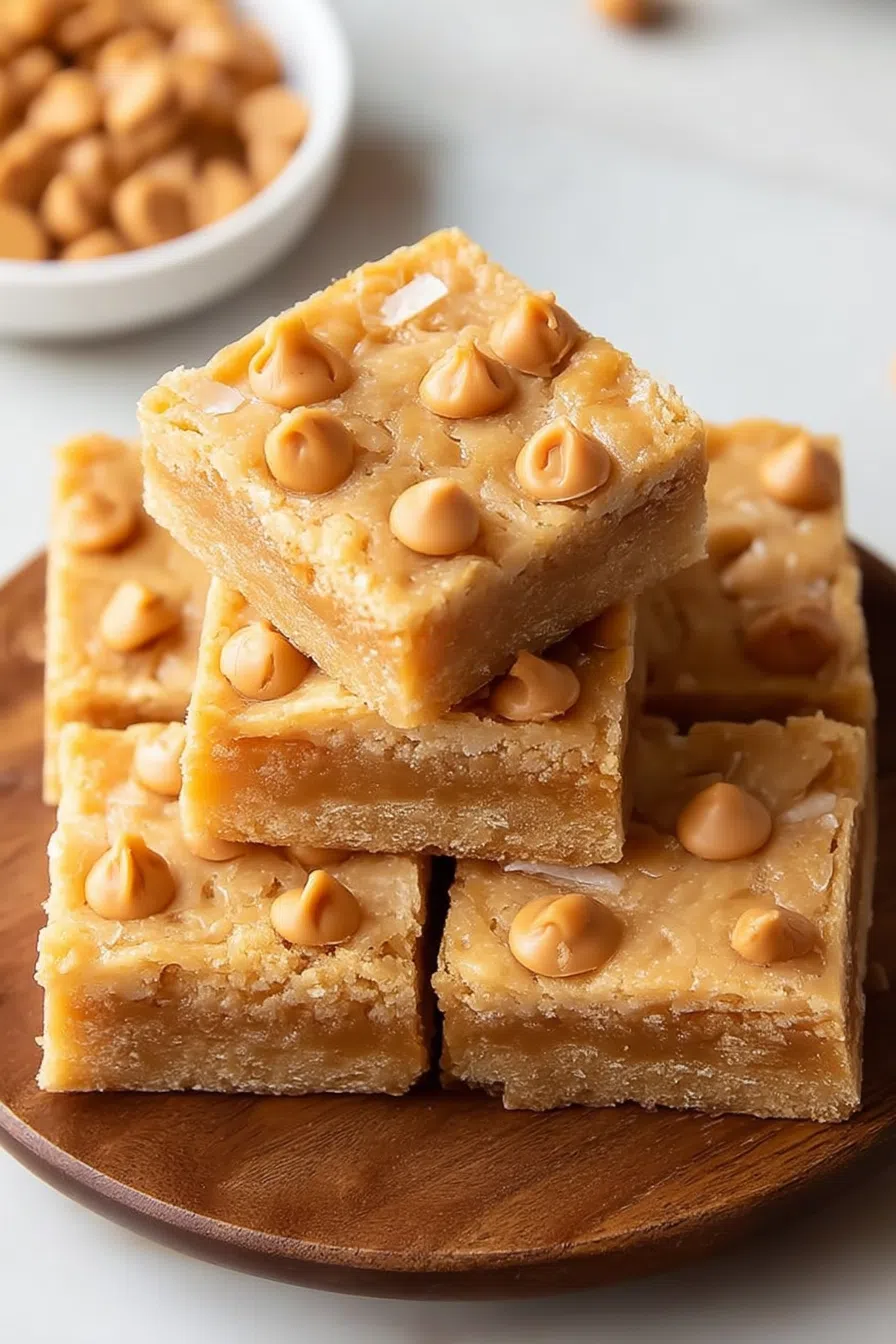
Cool and Serve
- Allow the bars to cool completely in the pan. Once cooled, use the parchment overhang to lift the bars out of the pan. Slice into squares and serve.
Notes
I’m Bitty, owner of nodashofgluten.com, where I share simple, delicious recipes for all tastes, including gluten-free. Check out my “About Me” page for more info!