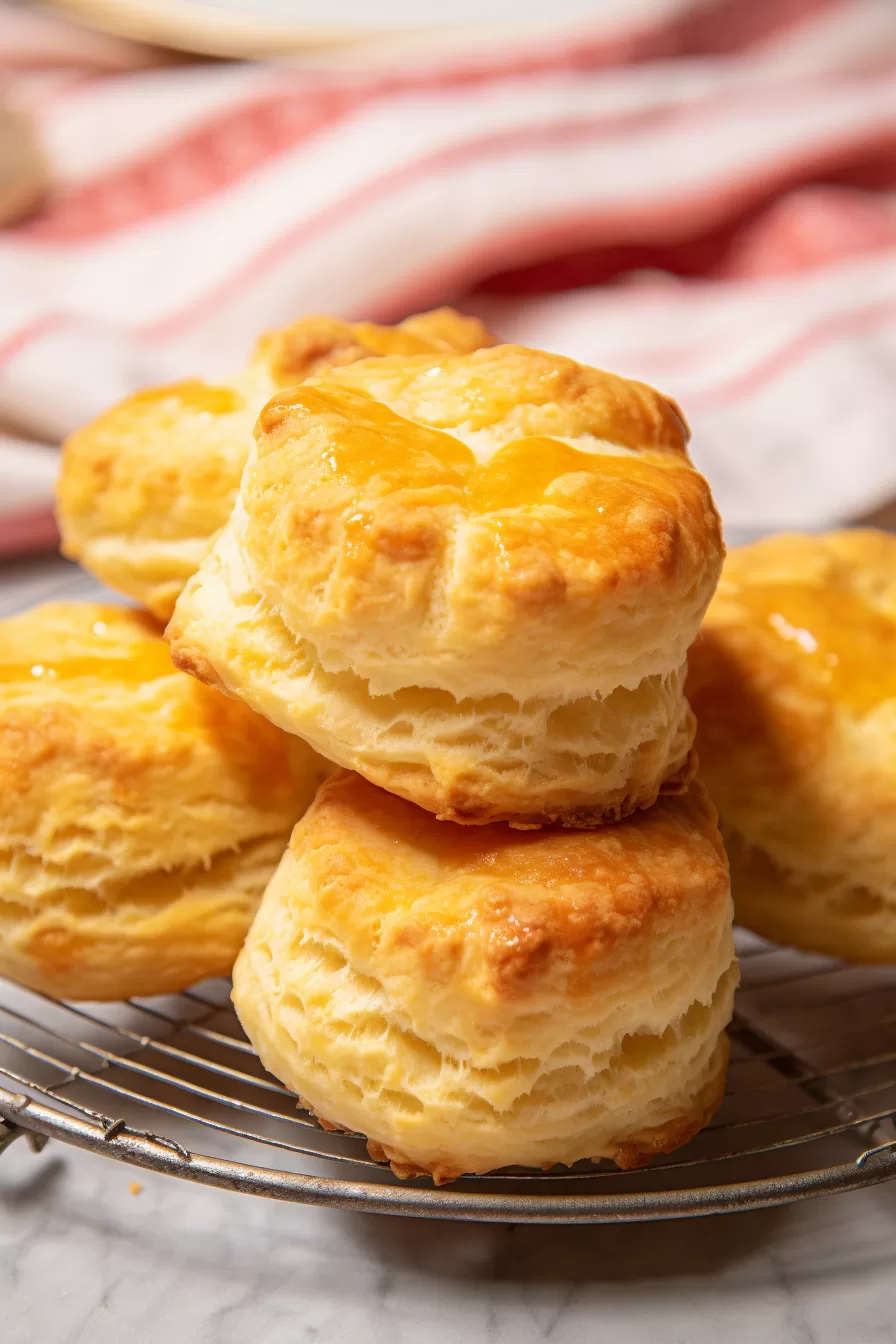
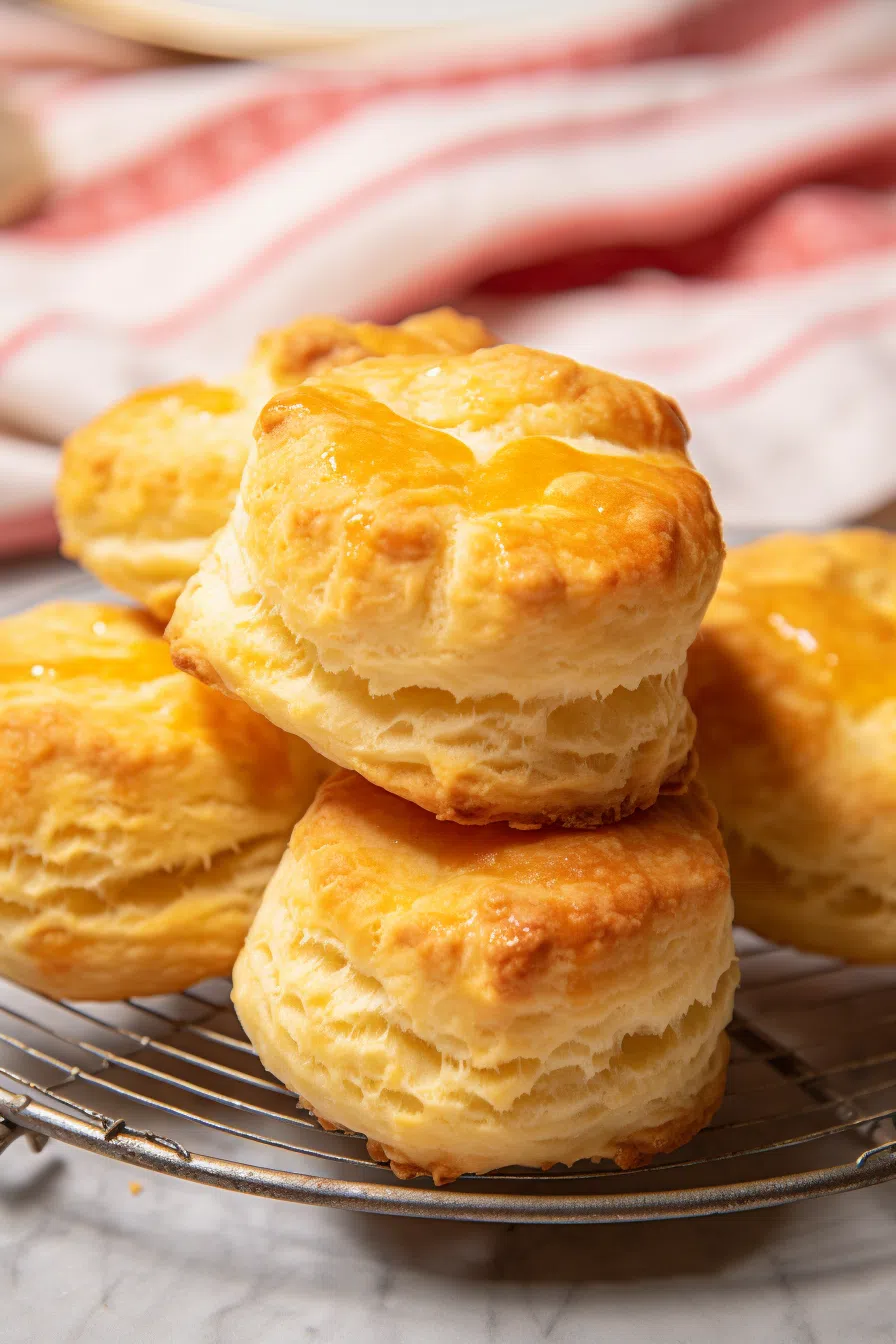
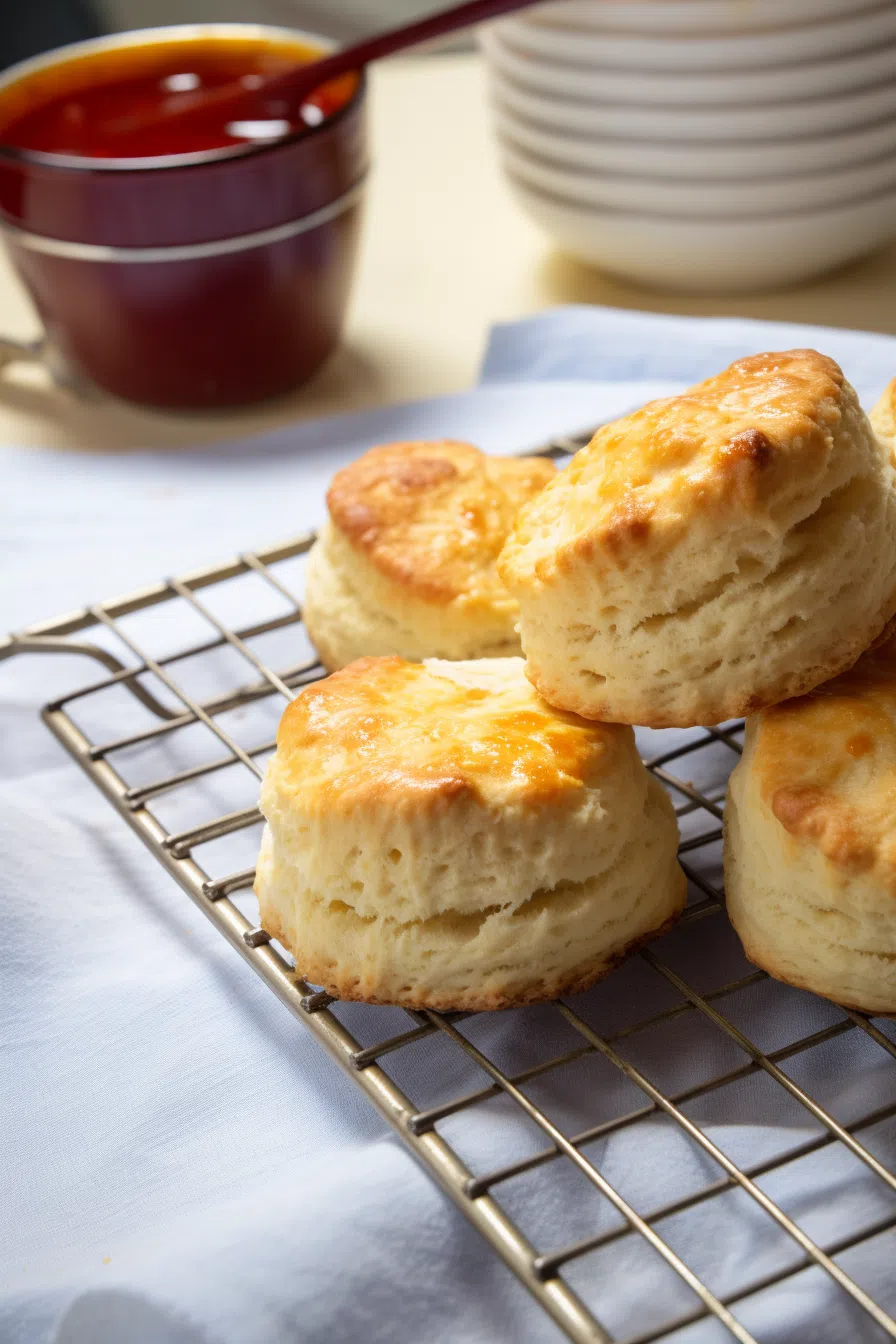
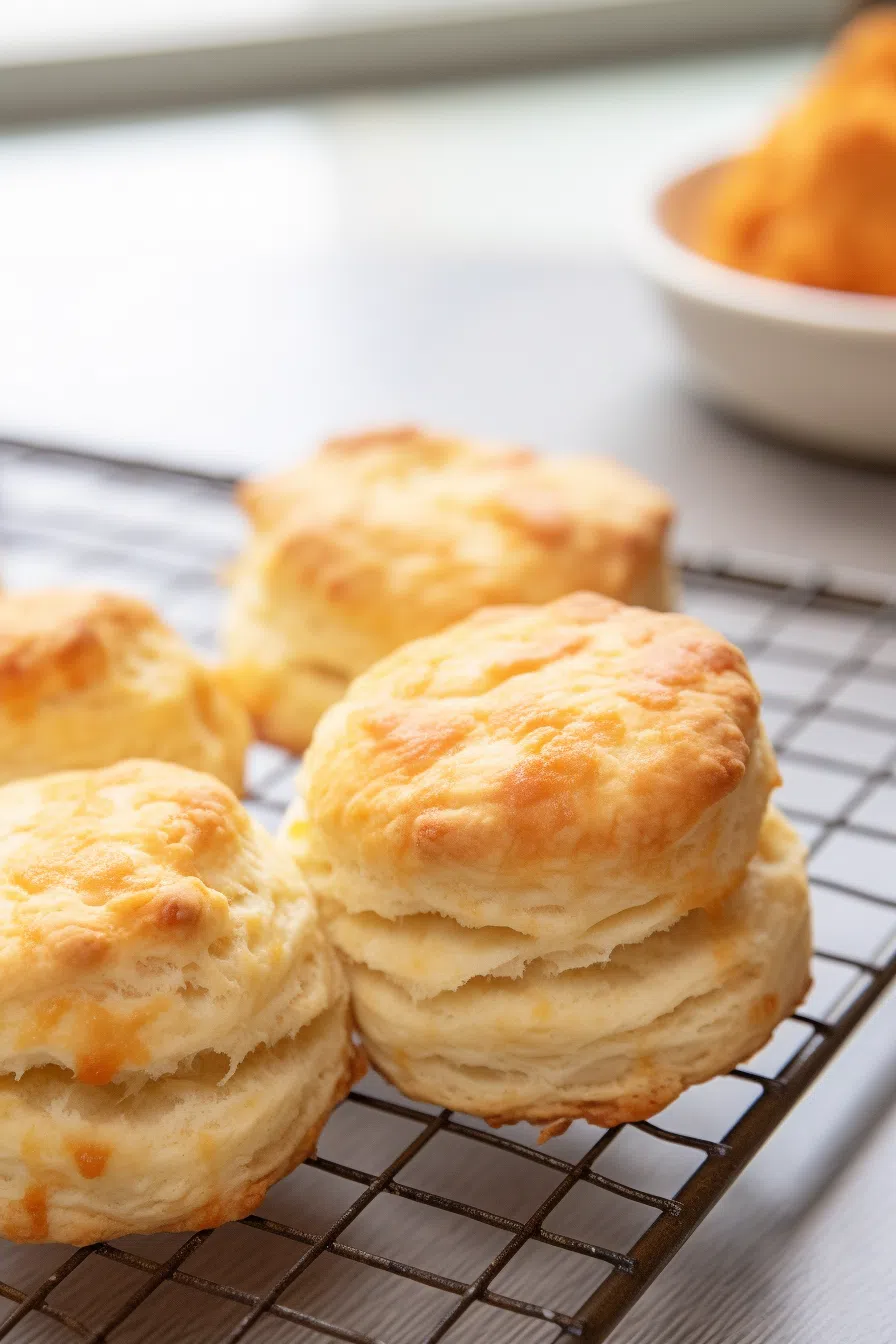
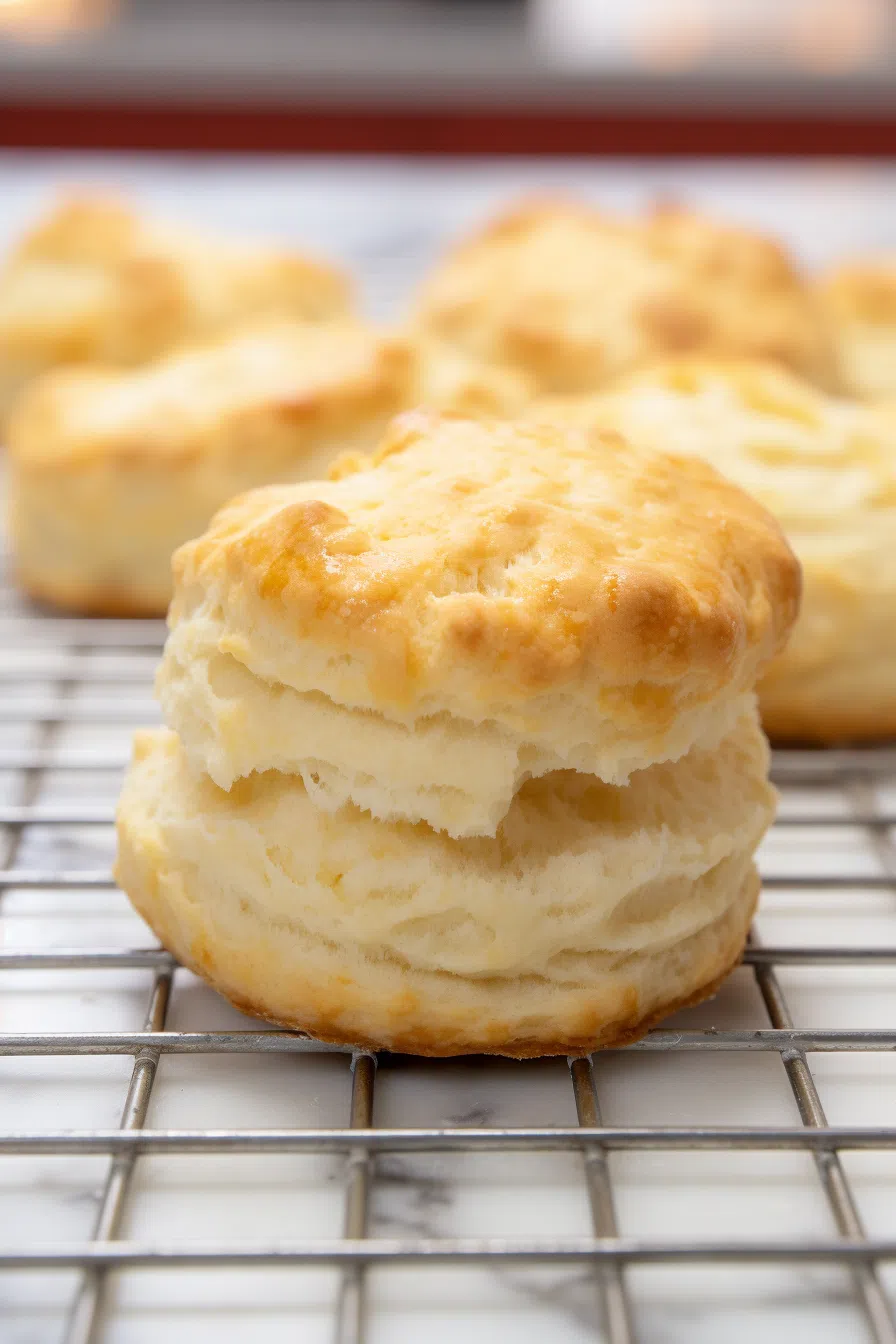
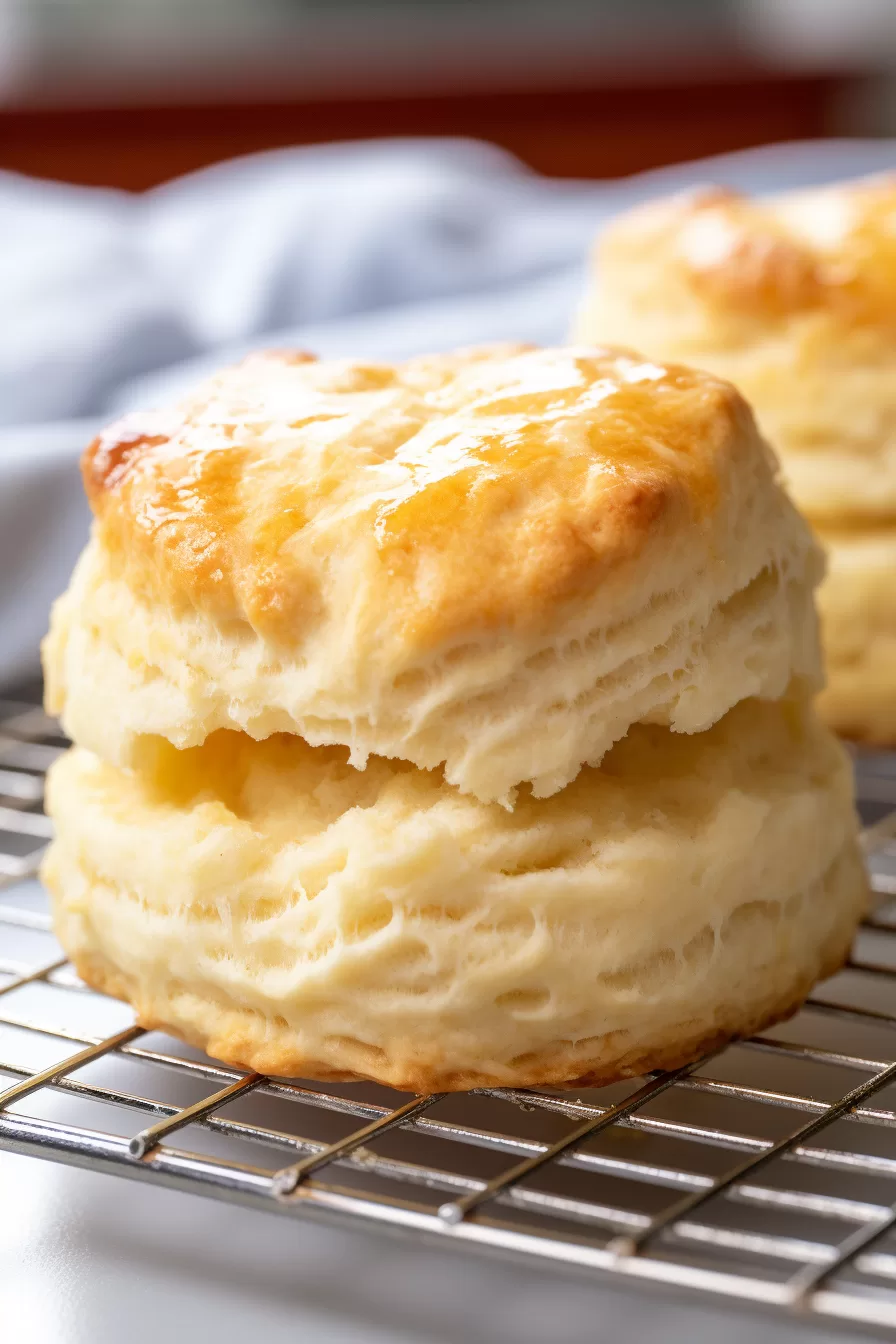
Angel Biscuits – Experience the flavor of Angel Biscuits, a Southern classic that will take your bread enjoyment to new heights. These biscuits are light and absolutely irresistible – a true breakfast table gem or the perfect complement, to any meal. The recipe showcases a blend of ingredients including a yeast mixture that guarantees a rise every single time along with the combination of butter and butter-flavored shortening for that iconic flaky texture. Key ingredients in this mouthwatering recipe include all-purpose flour, granulated sugar, buttermilk and a hint of whipping cream – ensuring each bite is as delightful, as the last.

Remember it later!
Planning to try this recipe soon? Pin it for a quick find later!
Remember it later!
Planning to try this recipe soon? Pin it for a quick find later!
When I first ventured into making Angel Biscuits my goal was to bring a slice of charm into my kitchen. I can still vividly recall how the tantalizing scent of baked bread filled up the space while my anticipation grew watching those biscuits puff up in the oven. It was my husband – an admirer of Southern cuisine – who eagerly took the first bite and his eyes instantly lit up with pure joy. Even our little one, known for being quite selective when it comes to food choices couldn’t resist their fluffy texture; they even asked for seconds! I felt a sense of pride when I realized that I had brought a touch of Southern comfort to my family dining table.
Here’s a quick peek at what’s inside:
Table of content
What makes this Angel Biscuits truly special?
What makes these Angel Biscuits truly special is the combination of both yeast and baking powder guaranteeing a flawless rise and a soft airy texture every single time. The addition of butter and butter-flavored shortening gives them a buttery taste while still maintaining that flakiness. The recipe is simple and forgiving making it perfect, for bakers of all levels of expertise. The end result is a batch of biscuits that’s equally delicious straight, out of the oven or the following day.
What You Need To Make This Angel Biscuits Recipe?
Warm Water (125 F): Precision is key! Ensure the water is warm enough to activate the yeast but not too hot that it kills it. A kitchen thermometer is a great tool for this.
Granulated Sugar: This acts as “food” for the yeast, helping it to activate and do its job in making the biscuits rise. For the biscuits, just a touch to balance the flavors without making the biscuits sweet.
Rapid Rise Instant Yeast: The secret weapon for a quick and reliable rise. If you’re in a pinch, traditional active dry yeast can be substituted, but be prepared to add a little extra time to let the yeast do its work.
All-Purpose Flour (preferably White Lily Flour): The Southern baker’s choice, White Lily Flour is milled from soft red winter wheat, resulting in lighter, fluffier biscuits.
Baking Powder & Baking Soda: This dynamic duo works with the buttermilk and yeast to give the biscuits their signature rise.
Salt: Enhances all the flavors; it’s the unsung hero of baking.
Unsalted Butter: Provides rich, buttery flavor and contributes to the flaky texture. Make sure it’s cold for the best results.
Butter-Flavored Shortening: Adds to the flakiness and keeps the biscuits tender. It’s the secret ingredient for that authentic Southern touch.
Buttermilk: The acidity reacts with the baking powder and soda for leavening, and it adds a lovely tang. The richer the better!
Heavy Whipping Cream: Used for brushing the tops of the biscuits, it helps achieve that beautiful golden brown color.
Steps To Make Angel Biscuits:
Step 1: First start by grabbing a bowl or a glass measuring cup to begin the process. Let’s wake up the yeast by combining water and sugar stirring until the sugar is completely dissolved. The goal is to create a sweet environment, for the yeast to come alive. Sprinkle the Rapid Rise Instant Yeast on top. Give it a stir before letting it sit. You’re looking for a frothy and bubbly mixture – that’s when you know the yeast is ready to do its thing.
Step 2: In a bowl whisk together flour, sugar, baking powder baking soda and salt. This step sets the foundation for your biscuits. Think of it as creating a stage where all the ingredients can perform at their best.
Step 3: Now comes the fun part. Take your butter that has been chopped into pieces along with some shortening. Use either a pastry cutter, two knives or even your fingers to cut these fats into the flour mixture. Aim for a texture, with bits of butter and shortening throughout. These little bits are what will give your biscuits their irresistible quality.
Step 4: Create a well in the center of your ingredients – this is where all the magic will happen! Pour in both the yeast mixture and buttermilk into this well.
Now gently mix the ingredients together starting from the center and gradually incorporating the flour mixture. The goal is to bring everything without overmixing. We want our biscuits to be tender, not tough.
Step 5: Transfer the dough onto a floured surface. It might appear a bit uneven or rough. That’s perfectly fine. Carefully knead it enough to combine all the elements. Feel the dough beneath your hands – it’s alive and brimming with potential. Now fold it over a few times; this is what creates those layers in your biscuits.
Step 6: Shape the dough into a rectangle that’s 1 inch thick. Get your biscuit cutter ready; it’s time to shape these beauties! Press down and lift up; avoid twisting as we don’t want to seal the edges. Our goal is for these biscuits to rise beautifully.
Want To Save This Recipe?
Enter your email below and we'll send the recipe straight to your inbox.
Step 7: Arrange the biscuits, on a greased baking pan making sure they are close but not touching each other. Loosely cover them with plastic wrap. Find a cozy spot for them to rise further. This is their moment to expand and become more heavenly.
Step 8: Once they have risen for an hour it’s time to bake them! Preheat your oven to 400 degrees Fahrenheit lightly brush the tops of the biscuits with a layer of whipping cream (to achieve that beautiful golden color) and place them in the oven. Keep an eye on them especially if you decide to broil them for a minute at the end to add that touch of golden perfection. Just be cautious; there’s a balance, between achieving a hue and risking burning.
Step 9: Out of the oven generously brush melted butter onto the biscuits. It’s, like giving them a butter bath and believe me when I say they truly deserve it.
Step 10: Now comes the moment you’ve eagerly been anticipating. Split one of those biscuits open and witness the steam gracefully rise. Take a bite. Let yourself be whisked away to biscuit heaven. You’ve accomplished it—Angel Biscuits have been. Trust me when I say they live up to their name. Savor every moment!
Tip:
One of the unique things, about this Angel Biscuits recipe is the combination of both butter and butter-flavored shortening in the dough. This blend plays a role as it brings together the best of both worlds; the irresistible flavor of butter along with the incredible flakiness provided by shortening.
However, to make the most out of these ingredients it’s important to ensure they are thoroughly mixed into the flour mixture while still leaving some bits and pieces. When incorporating the fats aim for a texture with bits of butter and shortening visible throughout resembling peas in size. As these pockets of fat melt during baking, they create steam that results in those sought-after flaky layers which make Southern biscuits so extraordinary.
Remember that it’s absolutely fine if the mixture isn’t even. In fact those bits of butter and shortening are what give your Angel Biscuits their texture and flavor. So take your time and enjoy each step of the process. Know that with every slice from your pastry cutter, you’re on your way, to achieving biscuit perfection!
Frequently Asked Questions:
Can I use regular yeast instead of Rapid Rise?
Yes, you can definitely use yeast instead of Rapid Rise. Just make sure to dissolve it in water and let it sit until it becomes frothy, which might take a little longer.
Can I freeze these biscuits?
Absolutely! Angel Biscuits freeze well. Simply place them on a baking sheet until they are frozen solid and then transfer them to a freezer bag. You can bake them directly from the freezer; just add a few minutes to the baking time.
Can I make these biscuits ahead of time?
Yes, you can prepare the dough, cut out the biscuits and then refrigerate them overnight. When you’re ready to bake allow them to come to room temperature and rise as instructed before putting them in the oven.
Remember it later!
Planning to try this recipe soon? Pin it for a quick find later!
Remember it later!
Planning to try this recipe soon? Pin it for a quick find later!
Keep the Flavor Coming – Try These:
Angel Biscuits
Ingredients
Yeast Mixture:
- 1/4 c warm water 125 F
- 1 tsp granulated sugar
- 1 package Rapid Rise Instant yeast 1/4 ounces, (2¼ tsp)
Biscuits:
- 2½ c all-purpose flour preferably White Lily flour
- 1/4 c granulated sugar
- 1 tsp baking powder
- 1/2 tsp baking soda
- 1 tsp salt
- 1/4 c unsalted butter chopped (plus more for brushing finished biscuits)
- 1/4 c butter-flavored shortening
- 1 c buttermilk
- 1 tbsp heavy whipping cream
Instructions
- To make the dough start by combining 1/4 cup of water and 1 teaspoon of sugar in a bowl. Stir until the sugar is dissolved. Then sprinkle 2¼ teaspoons (or one 1/4 ounce package) of Rapid Rise Instant Yeast, over the mixture. Gently stir it in. Set it aside to activate and become frothy.
- In a bowl whisk together 2½ cups of all-purpose flour, 1/4 cup of granulated sugar, 1 teaspoon of baking powder, 1/2 teaspoon of baking soda and 1 teaspoon of salt.
- Next, add 1/4 cup of chopped butter and 1/4 cup of butter-flavored shortening to the ingredients. Use either a pastry cutter or your fingers to work these fats into the flour until you get crumbs.
- Create a well in the center of the ingredients and pour in the activated yeast mixture along, with 1 cup of buttermilk. Stir enough to incorporate the liquids and form a dough.
- Transfer the dough onto a floured surface. Gently knead it to bring everything together then fold it over itself a few times to create layers.
- Shape the dough into a rectangle that's an inch thick. Using a biscuit cutter measuring around 2.5 inches in diameter cut out biscuits by pressing straight down without twisting.
- Place the biscuits on a baking sheet that has been lightly greased making sure to leave, about half an inch of space between each one.
- Loosely cover the baking sheet with plastic wrap. Allow the biscuits to rise in a draft-free area for approximately 1 hour.
- Preheat your oven to 400°F (200°C). Remove the plastic wrap from the pan. Gently brush the tops of the biscuits with 1 tablespoon of whipping cream. Bake them for 10 to 12 minutes until they turn golden brown. If you desire a touch of color you can broil them for 1 to 2 minutes at the end of baking but be careful not to let them burn.
- Out of the oven immediately brush some melted butter over the biscuits.
- Now you can savor your delicious homemade Angel Biscuits while they are still warm and fresh, from the oven!
Notes

I’m Bitty, owner of nodashofgluten.com, where I share simple, delicious recipes for all tastes, including gluten-free. Check out my “About Me” page for more info!


