Tender, crispy chicken baked in a tangy sweet and sour sauce made with ketchup, soy sauce, and apple cider vinegar. The ultimate family favorite!

Okay, confession time. I didn’t exactly plan to make this Baked Sweet and Sour Chicken. It all started with one of those “I have no idea what’s for dinner” nights. You know, the ones where you open the fridge about ten times hoping something new will magically appear? Spoiler: it doesn’t.
I was this close to giving up and ordering takeout (again), but then I thought, “What if I just… made it myself?” The kids were already whining about being hungry, my husband was looking skeptical, and I was determined to prove I could pull it off. So I grabbed some chicken, a few pantry staples, and a lot of hope.
And guess what? It worked. Like, really worked. That first bite was an explosion of tangy, sweet, and savory goodness. It’s since become our go-to for nights when we want something that feels like takeout but tastes even better. Plus, there’s something oddly satisfying about saying, “Oh, I made that,” when everyone’s raving about it.
Why You’ll Love This Baked Sweet and Sour Chicken Recipe?
- Takeout vibes without the guilt: You get all the crispy, saucy deliciousness, but it’s baked, not fried.
- Crazy easy: Once you’ve got the hang of it, this recipe is a breeze. And bonus—you don’t need a deep fryer!
- Family-approved: Even my pickiest eater devours this like it’s candy. (And honestly, who can blame them?)
- That sauce, though: Sweet, tangy, with just enough kick from the soy sauce. It’s the kind of sauce you want to put on everything.
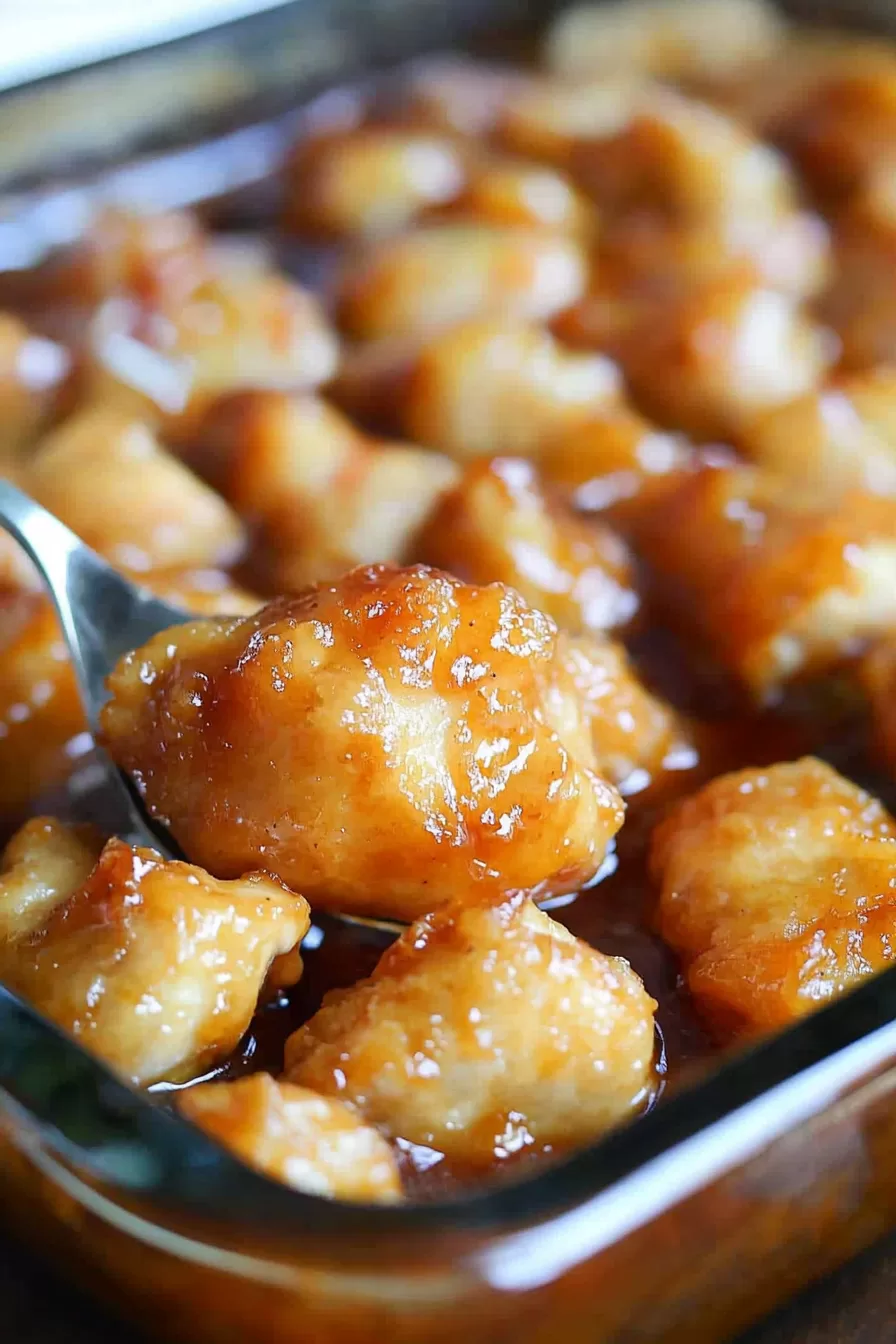
Ingredient Notes:
Here’s the lowdown on the ingredients. They’re simple, but trust me, each one has a job to do.
- Chicken breasts: I use boneless, skinless breasts because they’re easy to cut and cook evenly, but thighs are also a great option if you prefer something juicier.
- Cornstarch: The secret to that light, crispy coating. Flour works in a pinch, but cornstarch really takes it up a notch.
- Apple cider vinegar: This stuff is non-negotiable. It gives the sauce that perfect tang that balances the sweetness.
- Ketchup: Sounds basic, right? But it’s what ties the whole sauce together. Sweet, tangy, and just a little savory.
- Soy sauce: Adds depth and a touch of saltiness. I usually go with low-sodium, but use whatever you’ve got.
Pro Tip: If you’re feeling fancy, sprinkle some sesame seeds over the chicken before serving. It adds a little crunch and makes it look like you ordered from a restaurant.
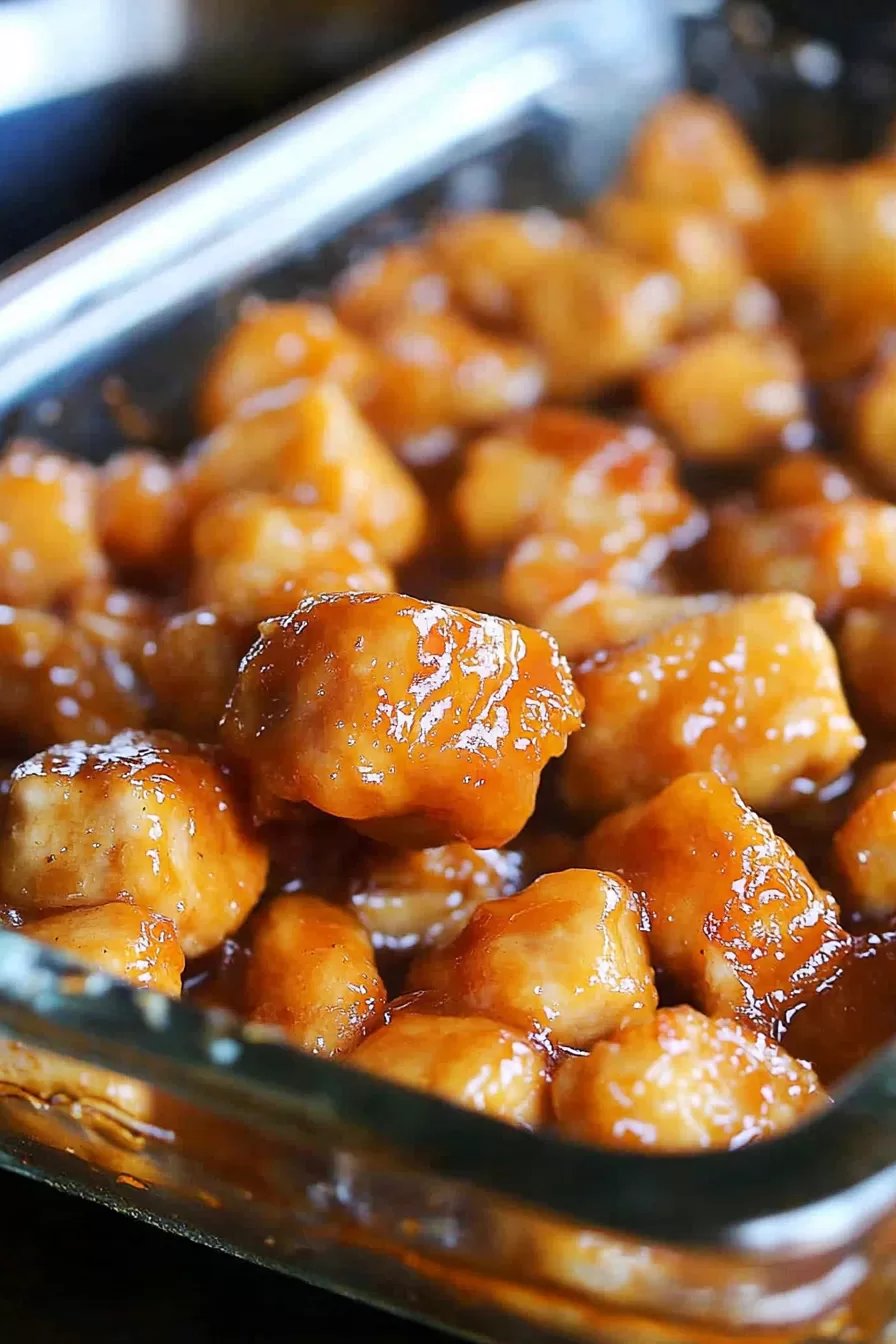
How To Make Baked Sweet and Sour Chicken?
Step 1. Prep your chicken.
Start by cutting the chicken into bite-sized pieces. Why bite-sized? Because it cooks faster and is way more fun to eat. Plus, it feels a little like eating popcorn chicken, which is always a win.
Step 2. Shake it up.
Toss the chicken pieces in a ziplock bag with cornstarch, salt, and a little pepper. Give it a good shake—this is your chance to channel your inner chef without any of the pressure.
Step 3. Dip and sear.
Beat the eggs in a bowl and dip each chicken piece in until it’s fully coated. Then sear them in a hot skillet with a bit of oil. You’re just browning the outside here, not cooking them through. This step gives them that golden crust we all love.
Step 4. Make the sauce.
Whisk together ketchup, soy sauce, apple cider vinegar, sugar, and garlic powder. It’s ridiculously simple but packs a ton of flavor. And yes, it’s okay to sneak a little taste—it’s that good.
Step 5. Bake it up.
Transfer the seared chicken to a baking dish, pour the sauce over the top, and toss to coat. Bake at 325°F for an hour, stirring halfway through. This is when the magic happens. The sauce thickens, the chicken gets caramelized, and your kitchen starts to smell like a dream.
Want To Save This Recipe?
Enter your email below and we'll send the recipe straight to your inbox.
Step 6. Serve and devour.
Let the chicken rest for a few minutes after baking—if you can wait. Serve it over rice, noodles, or even straight out of the dish. No judgment here.

Storage Options:
Somehow managed to have leftovers? Lucky you! Here’s how to keep them fresh:
- Refrigerator: Store in an airtight container for up to three days. Reheat in the microwave or oven, and it’s just as good as fresh.
- Freezer: Freeze individual portions for up to two months. Let them thaw in the fridge overnight, then warm them up when you’re ready.
Variations and Substitutions:
Want to mix things up? Here are some ideas to try:
- Change the protein: Swap the chicken for pork, shrimp, or even tofu. They all work beautifully with the sauce.
- Add veggies: Bell peppers, pineapple chunks, or snap peas are great additions. Toss them in with the chicken before baking for a stir-fry vibe.
- Spice it up: Add a splash of sriracha or a sprinkle of red pepper flakes if you like a little heat.
- Make it gluten-free: Use tamari or coconut aminos instead of soy sauce, and make sure your cornstarch is certified gluten-free.
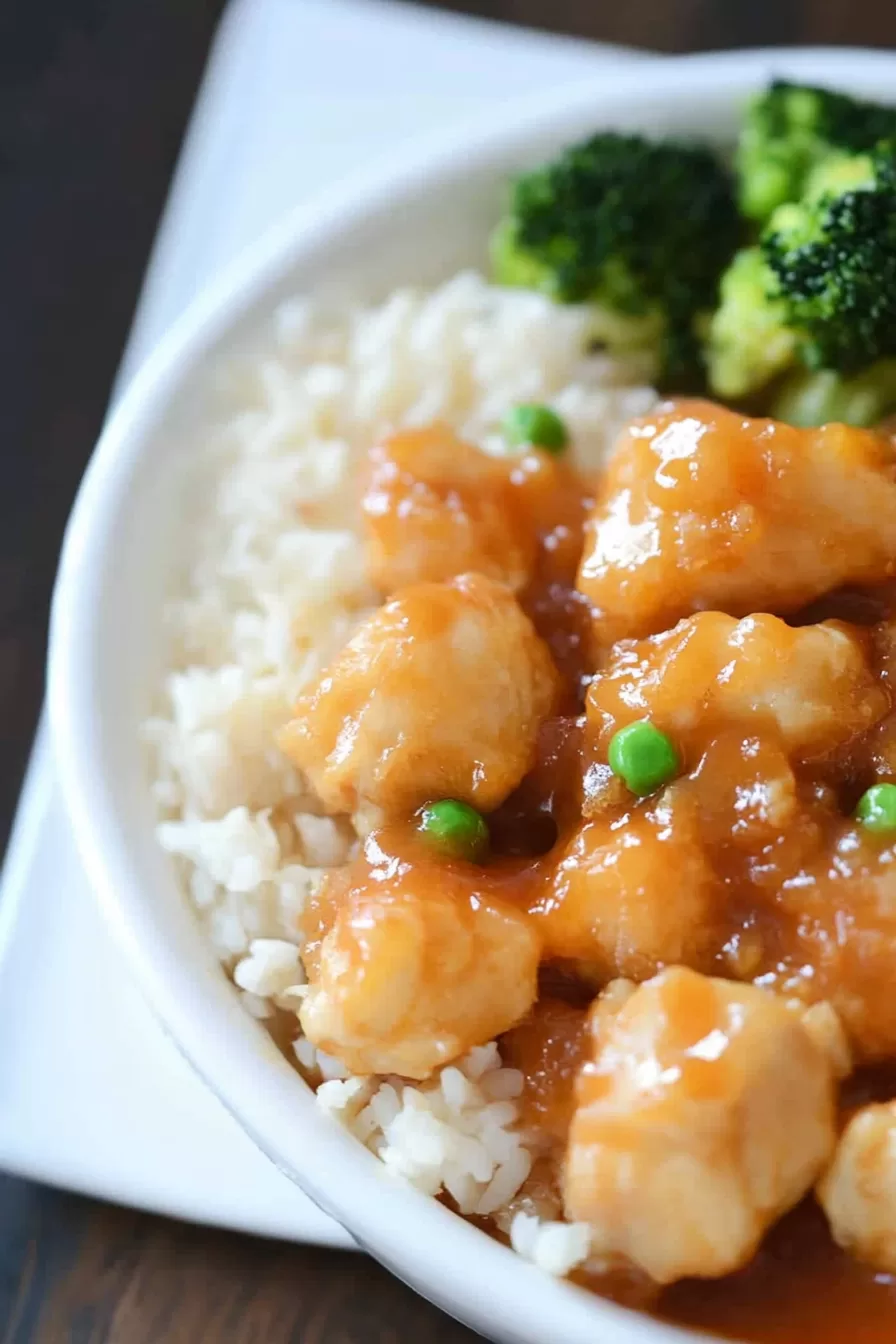
What to Serve with Baked Sweet and Sour Chicken?
This dish is the star of the show, but a few sides can make it even better:
- Steamed white or jasmine rice: The perfect base to soak up all that amazing sauce.
- Roasted broccoli: Adds a fresh, green crunch to balance the rich flavors.
- Garlic noodles: Toss some noodles in sesame oil and garlic for a quick, flavorful side.
Frequently Asked Questions:
Can I use chicken thighs instead of breasts?
Absolutely! Thighs are juicier and work just as well. Just keep the pieces bite-sized for even cooking.
Do I really have to sear the chicken first?
Technically, no, but it’s worth the extra step. Searing gives the chicken a crispy edge that holds up beautifully in the sauce.
Can I make the sauce ahead of time?
Definitely. Mix it up and store it in the fridge for up to a week. It’s great to have on hand for a quick weeknight dinner.

So, what do you think? Ready to skip the takeout and make this Baked Sweet and Sour Chicken at home? I’d love to hear how it turns out—and if you add your own spin, let me know! Cooking’s always better when we share the fun.
<Remember it later>
Planning to try this recipe soon? Pin it for a quick find later!
<Remember it later>
Planning to try this recipe soon? Pin it for a quick find later!
Keep the Flavor Coming – Try These:

Easy Baked Sweet and Sour Chicken
Ingredients
- 4 skinless Chicken breasts cut into 1-inch pieces
- 2 large eggs beaten
- 1 cup of cornstarch
- ¼ cup vegetable oil
- ¼ cup ketchup
- ½ cup sugar
- ½ tsp sea salt
- 2 tablespoons soy sauce
- ½ cup apple cider vinegar do not substitute anything else
- 1 teaspoon powdered garlic
Instructions
- Preheat your oven to 325°F (165°C). Line a 9x13 baking dish, with parchment paper for easy cleanup.
- Cut the chicken breasts into bite pieces measuring about 1 inch.
- In a ziplock bag mix together cornstarch, sea salt and a pinch of pepper.
- Add the chicken pieces to the bag. Shake it vigorously so that they are evenly coated with the cornstarch mixture.
- In a bowl beat the eggs until they become smooth in texture.
- Heat some oil in a skillet over medium-high heat. To check if it's hot enough you can flick a drop of water into the pan – it should sizzle when ready.
- Dip each piece of chicken coated with cornstarch into the beaten eggs making sure that they are fully coated. Then place them gently onto the skillet.
- Cook each side of the chicken until it turns brown. Once done transfer these seared chicken pieces to the baking dish.
- In a bowl whisk together ketchup, soy sauce, apple cider vinegar, sugar and garlic powder until you get a smooth and fragrant sauce.
- Pour this sour sauce over the chicken pieces to ensure that they are thoroughly coated with it.
- Bake the chicken for 1 hour. Remember to flip and stir halfway through cooking to even guarantee cooking and achieve an appetizing glaze.
- Enjoy the taste of Easy Baked Sweet and Sour Chicken by serving it alongside a bowl of rice!
Notes

I’m Bitty, owner of nodashofgluten.com, where I share simple, delicious recipes for all tastes, including gluten-free. Check out my “About Me” page for more info!





2 Responses
Everything is Soo good. Easy to follow directions!!!!
Made this recipe and it is really yummy 😋