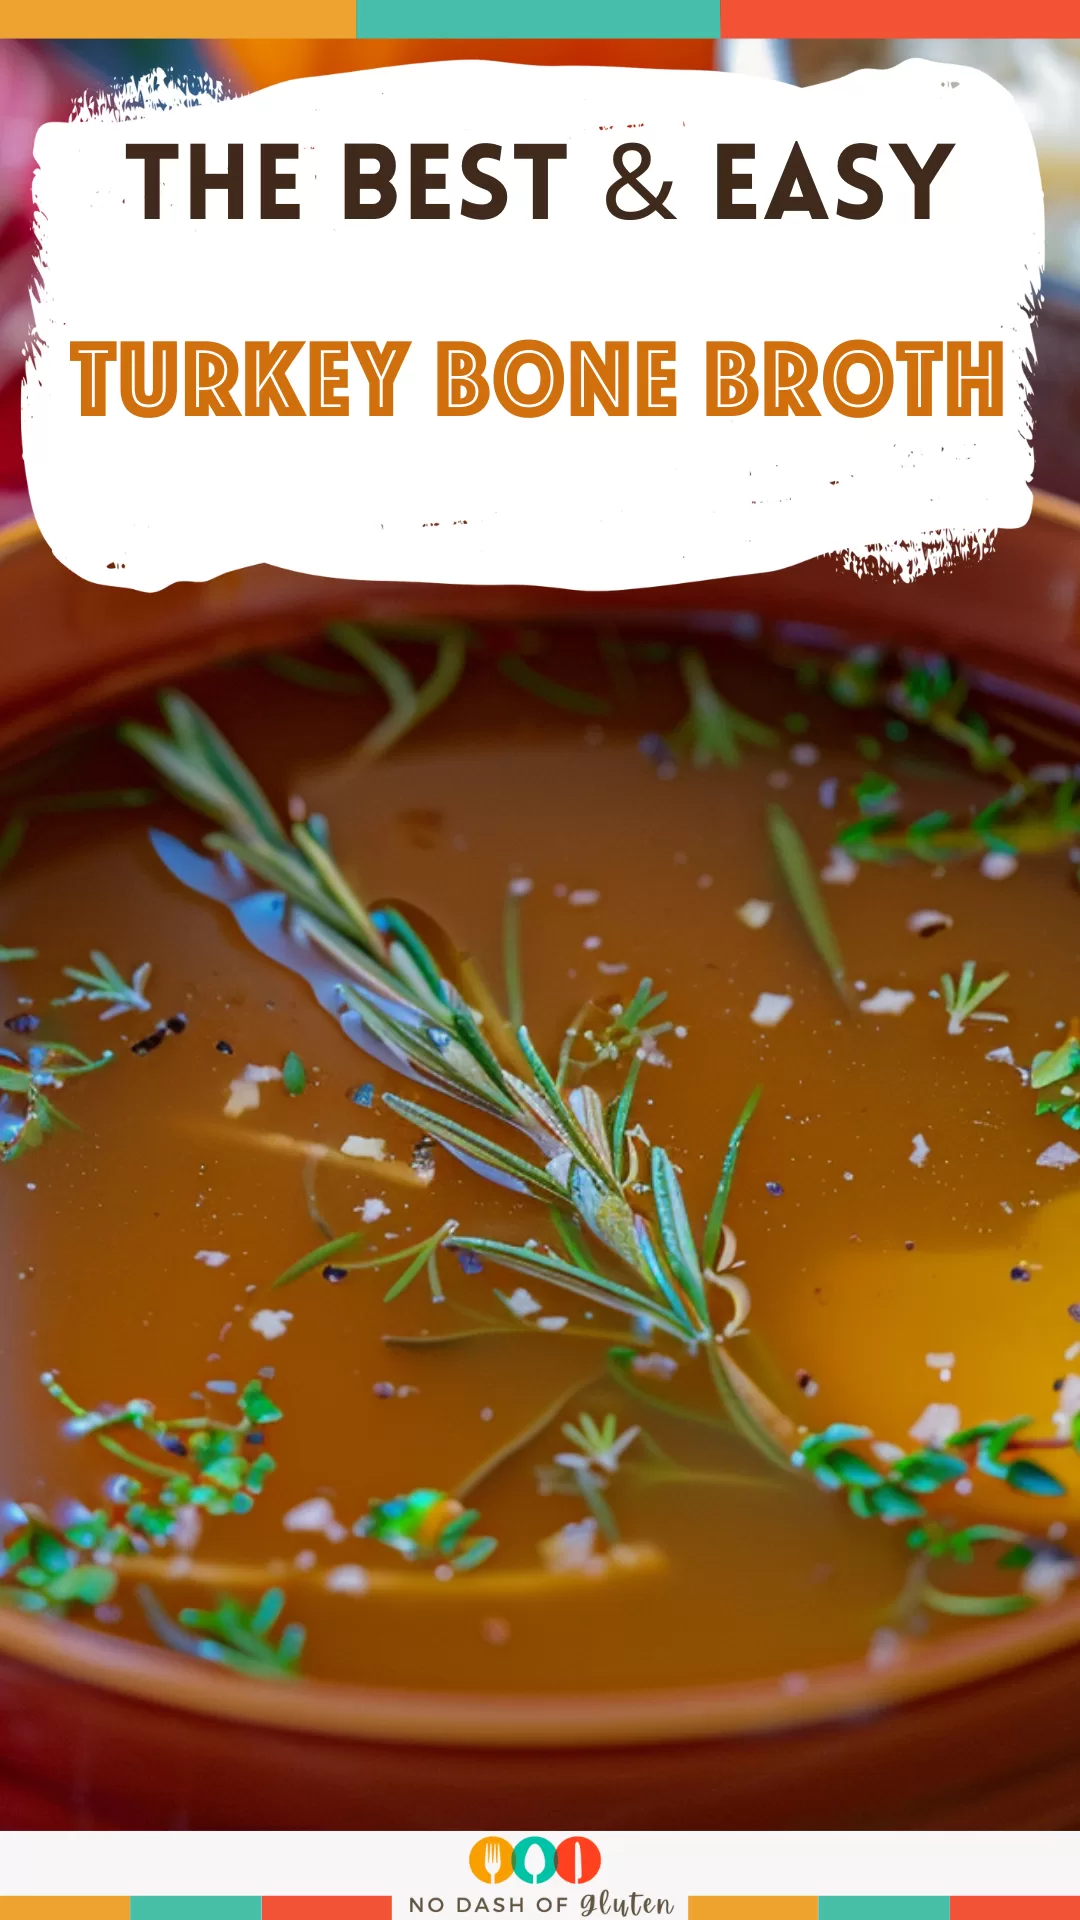
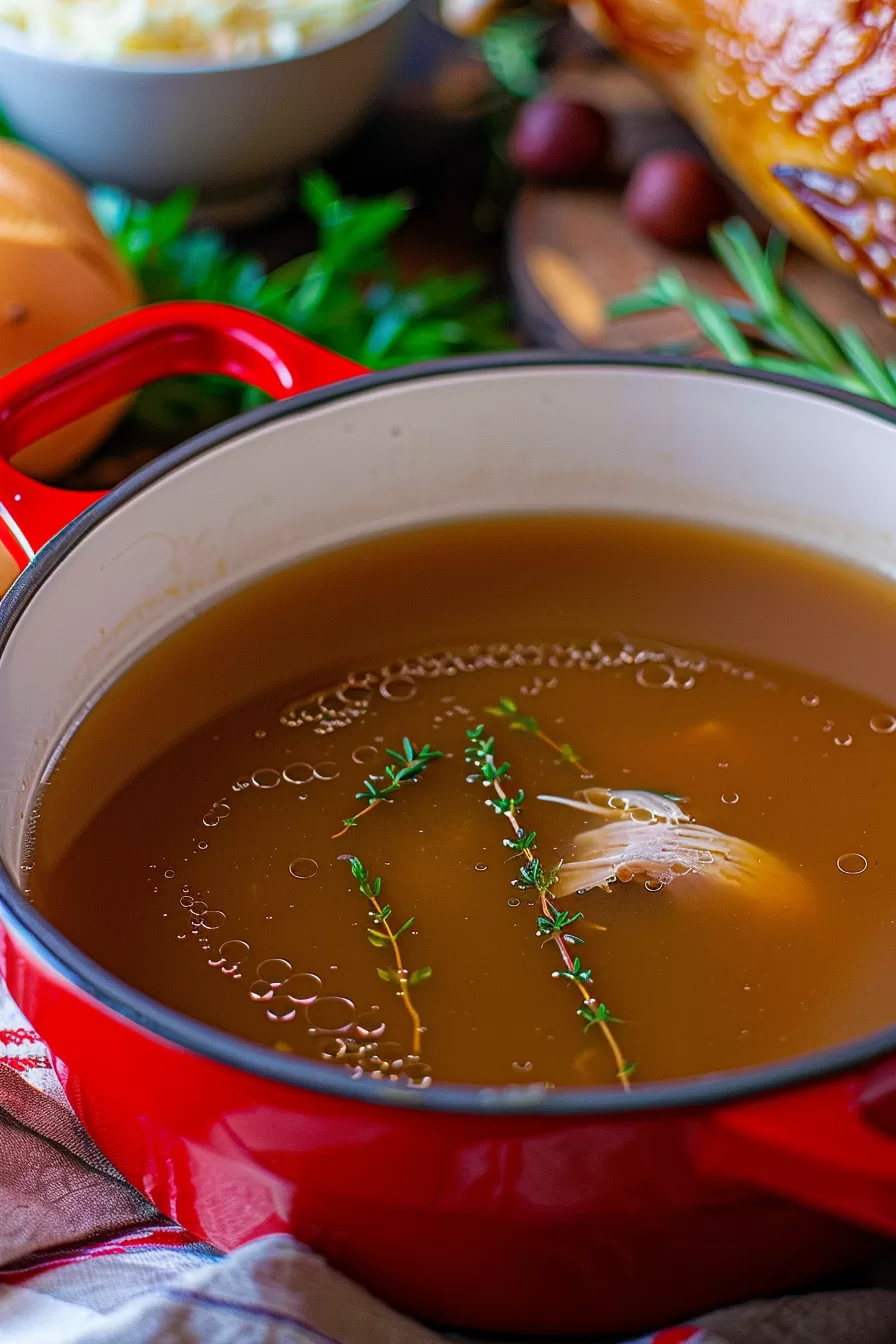
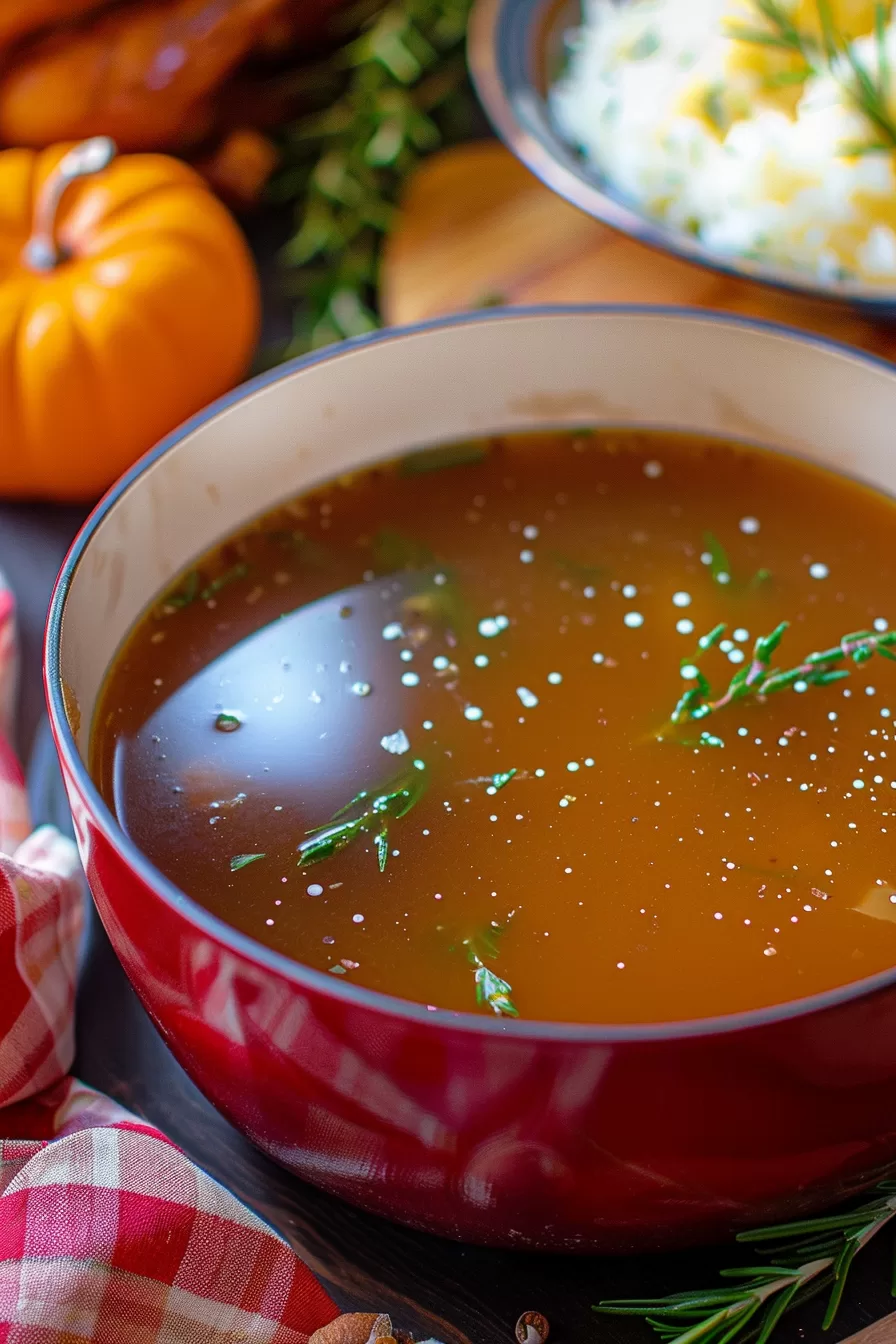
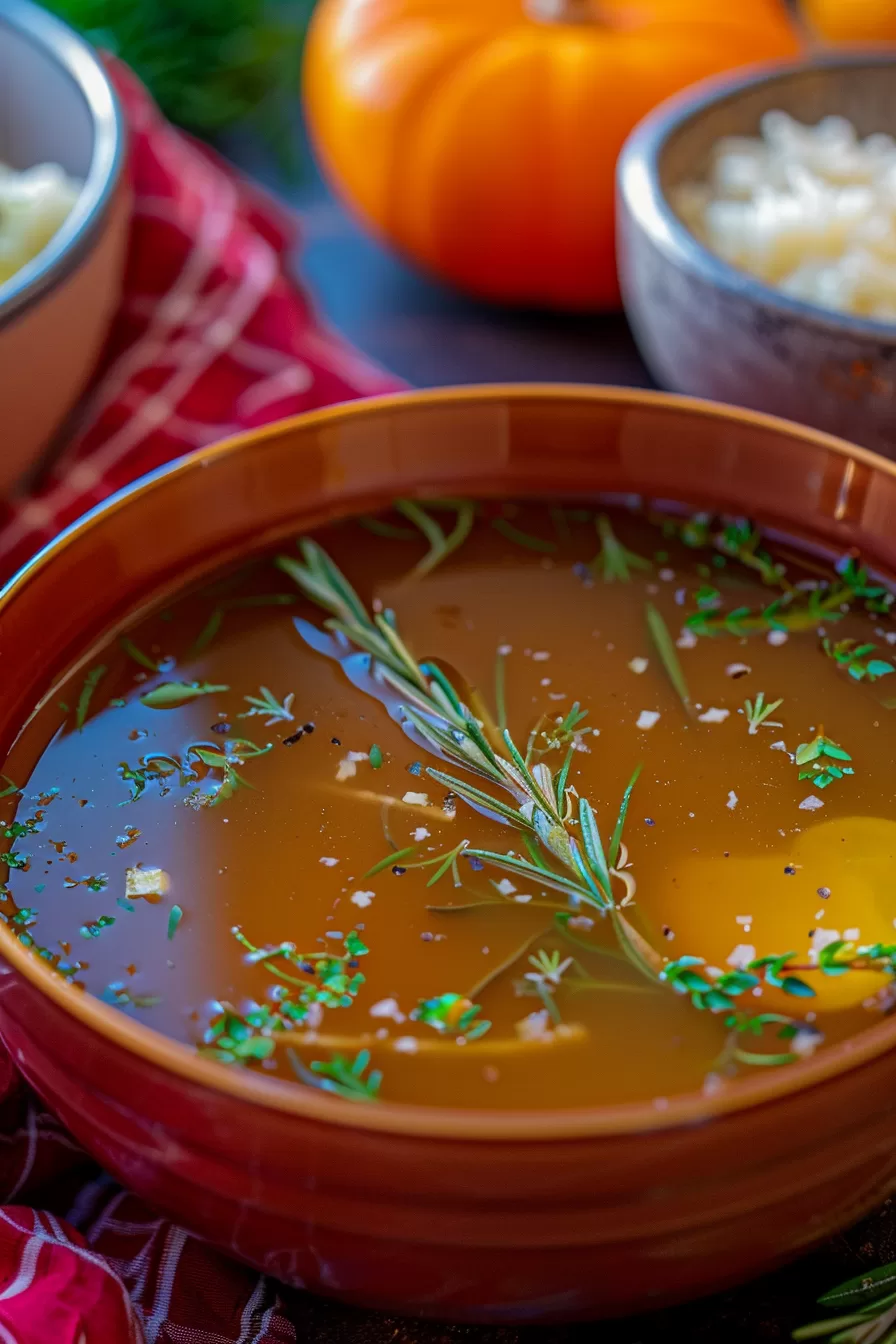
Turn your leftover turkey bones into a rich, cozy turkey bone broth with fresh herbs, onions, carrots, and garlic—perfect for soups or sipping.
You know that feeling after Thanksgiving? When you’re standing in a kitchen that looks like a hurricane hit it, and you’ve got this massive turkey carcass staring back at you like, “Well? Now what?” Yeah, me too.
For years, I’d just toss the bones without a second thought. The turkey had served its purpose, right? But then—cue mom guilt—my mother-in-law (a cooking purist, mind you) gave me that look. You know the one. The “you’re wasting perfectly good food” look.

Remember it later!
Planning to try this recipe soon? Pin it for a quick find later!
Remember it later!
Planning to try this recipe soon? Pin it for a quick find later!
So, one year, I decided to give turkey bone broth a shot. I figured, worst case? I’d make a weak soup and go back to my boxed broth life. But oh my goodness. My entire house smelled like Thanksgiving had come back for an encore performance, and the broth? Deep, rich, savory—like a warm hug in a mug.
Now, it’s the thing I look forward to after the feast. Weird, right? But trust me, once you make turkey bone broth, you’ll start craving it too.
Here’s a quick peek at what’s inside:
Table of content
Why You’ll Love This Turkey Bone Broth Recipe?
Listen, this isn’t just broth—it’s the kitchen hack you didn’t know you needed. Here’s why:
- Total Comfort Food: It’s basically Thanksgiving coziness you can sip.
- No Waste: That turkey carcass? Gold waiting to happen.
- Boosts Everything: Soups, stews, gravies—this broth makes everything taste better.
- Nutrient-Packed: Collagen, vitamins, all the good-for-you stuff.
- Surprisingly Easy: No fancy steps. No hard-to-find ingredients.
Honestly, it makes me feel like I’ve got my life together when I’m sipping homemade broth.
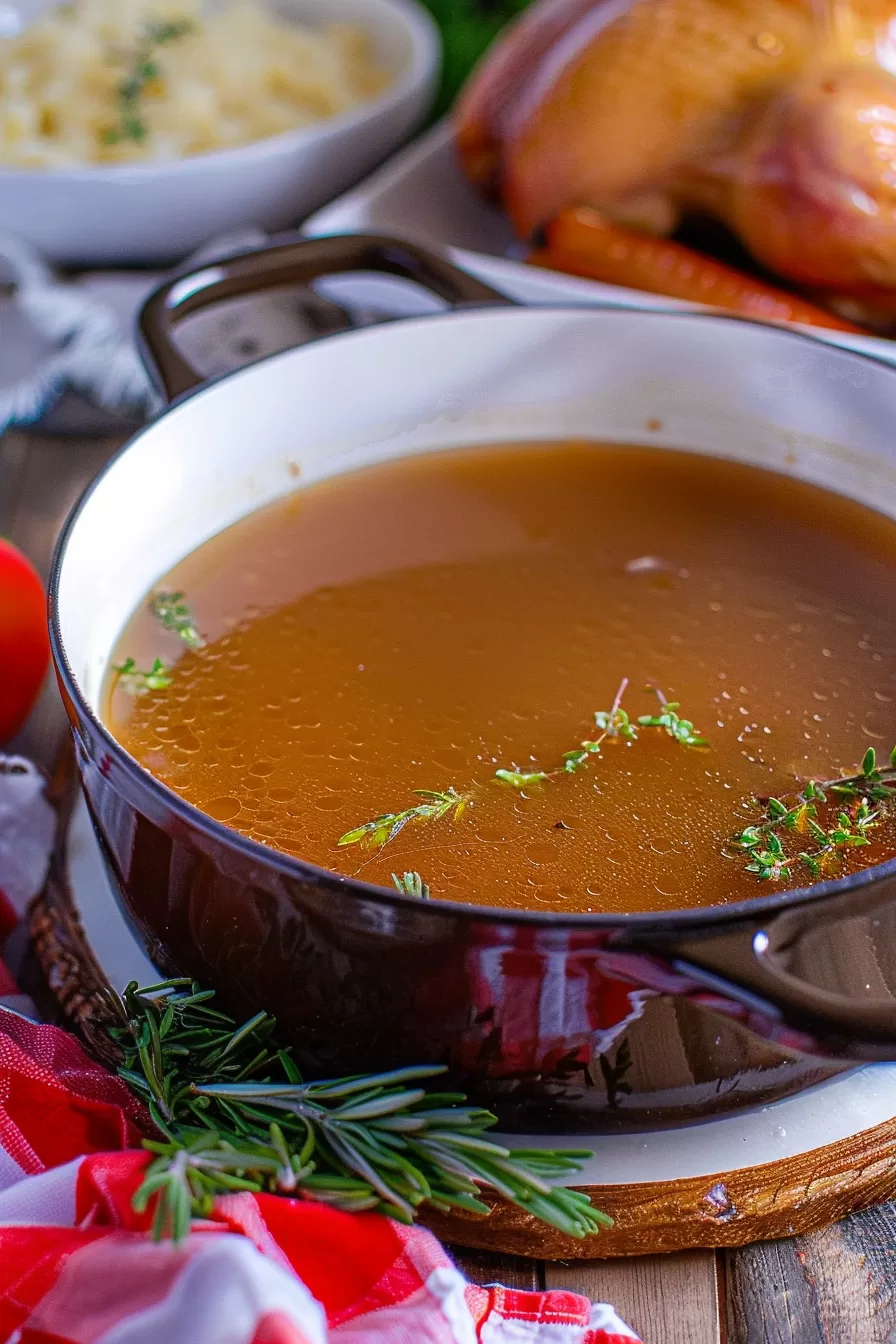
Ingredient Notes:
This turkey bone broth recipe keeps things real simple. You probably already have these on hand—leftover holiday feast, anyone?
- Turkey Carcass: The star of the show. If you’ve got the neck, giblets, or turkey drippings too, toss them in for even more flavor.
- Onion: Just quarter it. No need to dice—this broth is chill like that.
- Garlic: Smash it and leave the skins on. Less work, more flavor.
- Carrots: Sweetens the broth naturally.
- Celery (with Leaves): The leaves bring even more flavor. Don’t skip them!
- Fresh Herbs: Sage, thyme, rosemary, parsley—basically Thanksgiving in herb form.
- Bay Leaves & Peppercorns: A couple of each for earthy, peppery vibes.
- Water: Plain, good ol’ water. That’s it.
Pro Tip: Don’t stress if you’re missing an herb. This broth forgives you.
How To Make Turkey Bone Broth?
This process is so simple, you’ll wonder why you haven’t been making it forever.
- Load Up Your Pot:
Grab your biggest stockpot and toss in the turkey carcass. Got the neck? Giblets? Extra skin? Drippings? All of it can go in. It’s like building flavor layers without extra work. - Add the Veggies and Herbs:
Toss in the onion, carrots, garlic, and celery. I don’t even peel the carrots—just a rough chop works fine. Then tear up the herbs a bit (releasing those oils faster) and add the bay leaves and peppercorns. - Cover with Water:
Pour enough water into the pot to cover everything. If the bones stick out a bit, it’s cool—they’ll still do their job. - Bring It to a Boil, Then Chill the Heat:
Crank the heat to high and let it come to a rolling boil. Once boiling, drop the heat to a gentle simmer. Not a rolling boil—just tiny, happy bubbles. Simmering pulls out all the good stuff without making the broth cloudy. - Simmer Low and Slow:
Let it simmer for 2 to 4 hours. The longer, the richer. Skim off any foam or weird bits floating on top. Check it every so often, but this is mostly hands-off magic. - Strain the Broth:
Place a colander over a large bowl and strain the broth, catching all the bones and veggies. They’ve done their job—you can discard them. - Skim the Fat (Optional):
If you like a richer broth, keep the fat. Otherwise, chill the broth and scoop off the solidified fat on top once cooled. - Cool and Store:
Let the broth cool completely before storing. Mason jars work for the fridge, and freezer bags are perfect for long-term storage.
Storage Options:
- Fridge: Store in an airtight container for up to 5 days.
- Freezer: Freeze in jars or bags for up to 3 months.
- Pro Tip: Freeze in ice cube trays for small, ready-to-use portions!
Variations and Substitutions:
This turkey bone broth is pretty flexible, so feel free to mix things up:
Want To Save This Recipe?
Enter your email below and we'll send the recipe straight to your inbox.
- Different Bones: No turkey? Chicken bones work beautifully too.
- Extra Veggies: Toss in mushrooms, leeks, or even a bit of fennel for a unique twist.
- Spicy Kick: Add a few slices of ginger or crushed red pepper for warmth.
- Collagen Boost: Toss in a few chicken feet (yes, really!) for extra collagen.
What to Serve with Turkey Bone Broth?
You could sip it straight from a mug (and you should), but it also works beautifully with:
- Turkey
Noodle Soup: Use this as the base for the best leftover soup. - Rice & Grains: Swap water for broth when cooking rice—it’s a total flavor boost.
- Gravy: Makes turkey gravy next-level rich.
- Stews & Curries: Adds depth to slow-cooked dishes.
Frequently Asked Questions:
Can I make turkey bone broth in a slow cooker?
Totally! Add everything to a slow cooker, cover with water, and cook on low for 10-12 hours. Same rich flavor, zero stovetop babysitting.
How do I know when it’s done?
The broth should be golden, smell amazing, and taste rich. If it still tastes bland after a couple of hours, let it simmer longer.
Can I reuse the bones?
Technically, yes—but the second batch will be much lighter. If you try it, toss in fresh herbs and veggies to keep the flavor strong.
If you try this turkey bone broth, I’d love to hear how it turns out! Drop a comment, tag me, or just tell me what you used it for—cozy soup? Epic risotto? Or did you just sip it straight from a mug like I do? Can’t wait to hear!
Remember it later!
Planning to try this recipe soon? Pin it for a quick find later!
Remember it later!
Planning to try this recipe soon? Pin it for a quick find later!
Keep the Flavor Coming – Try These:
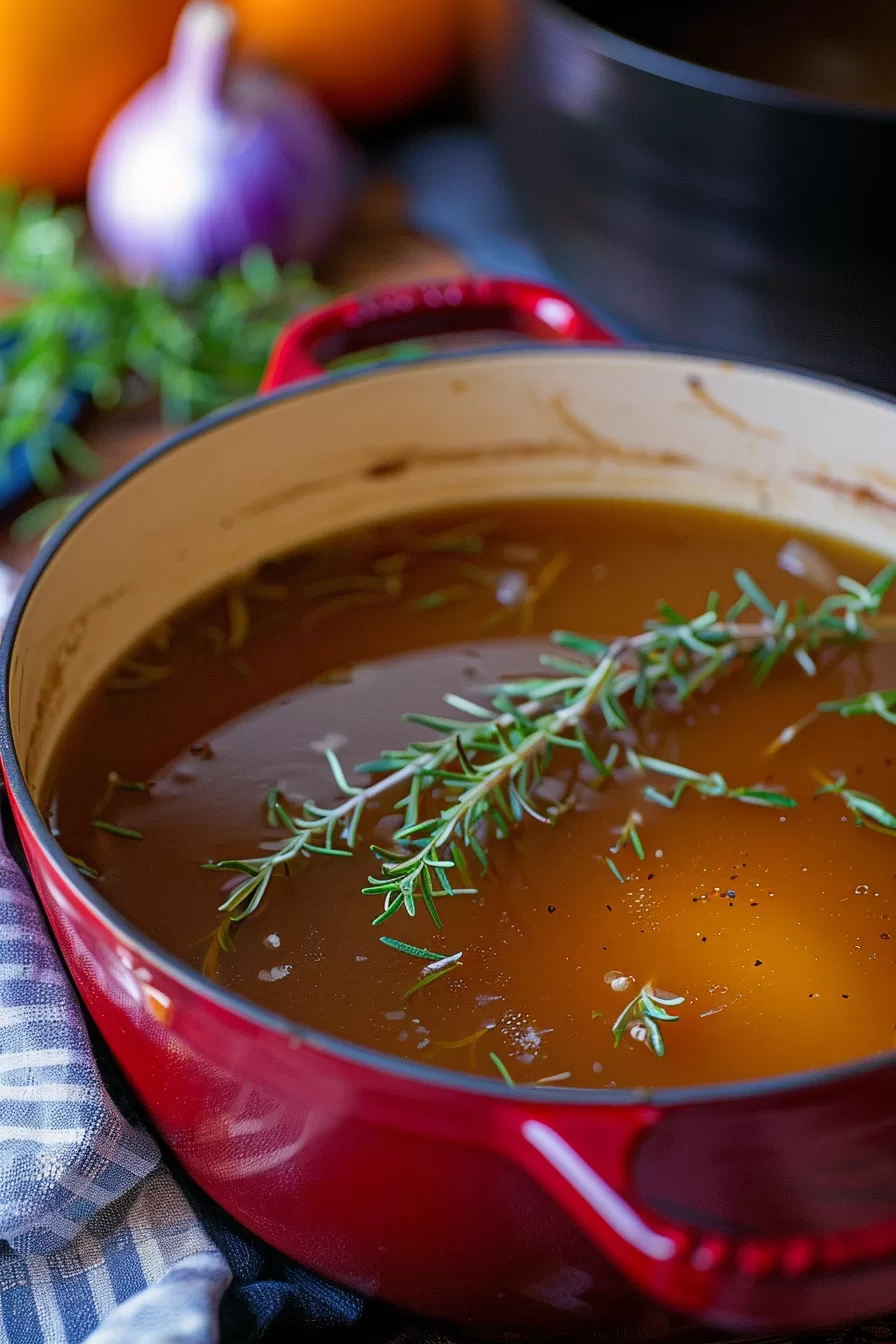
Turkey Bone Broth
Ingredients
- 1 turkey carcass 12-15 pounds, picked over
- Turkey neck if available
- Giblets if available
- Leftover turkey drippings optional
- 1 onion peeled and quartered
- 4 garlic cloves smashed
- 2 large carrots scrubbed and cut into thirds
- ⅓ head of celery leaves included
- 1 large bunch of parsley roughly torn
- ½ bunch of sage roughly torn
- 3-4 sprigs of fresh rosemary
- 5 sprigs of thyme
- 3 bay leaves
- 8-10 whole peppercorns
- 4 quarts of water or enough to cover
Instructions
Prepare the Pot:
- Place the turkey carcass into a large stockpot (at least 6 quarts). If available, add the turkey neck, giblets, and any remaining skin or turkey drippings for additional richness.
Add Vegetables and Aromatics:
- Add the quartered onion, smashed garlic cloves, chopped carrots, and celery. Incorporate the parsley, sage, rosemary, and thyme, tearing the herbs slightly to help release their essential oils.
Incorporate Seasonings:
- Add the bay leaves and whole peppercorns to the pot.
Add Water:
- Pour approximately 4 quarts of water into the pot, or enough to mostly submerge the turkey carcass and vegetables. If some parts of the carcass remain above the waterline, they will still contribute to the broth’s flavor.
Bring to a Boil and Simmer:
- Bring the contents to a rolling boil over high heat. Once boiling, reduce the heat to maintain a gentle simmer. The liquid should move lightly, with small bubbles visible but no vigorous boiling.
Simmer for Several Hours:
- Allow the broth to simmer for 2 to 4 hours. Longer simmering will result in a richer, more flavorful stock. Occasionally check the broth, skimming off any foam or impurities that rise to the surface. If the water reduces significantly and bones become exposed, add additional water and return to a gentle simmer.
Strain the Broth:
- Once the broth has reached the desired richness, carefully strain it through a colander or mesh sieve into a large bowl, discarding the bones, vegetables, and herbs.
Separate the Fat (Optional):
- If desired, use a fat separator to remove excess fat from the broth. Alternatively, allow the broth to cool and refrigerate it, then skim the solidified fat from the surface.
Cool and Store:
- Let the strained broth cool to room temperature before transferring it to airtight containers. Mason jars work well for refrigeration, while freezer-safe bags or containers are ideal for long-term storage.
Notes

I’m Bitty, owner of nodashofgluten.com, where I share simple, delicious recipes for all tastes, including gluten-free. Check out my “About Me” page for more info!


