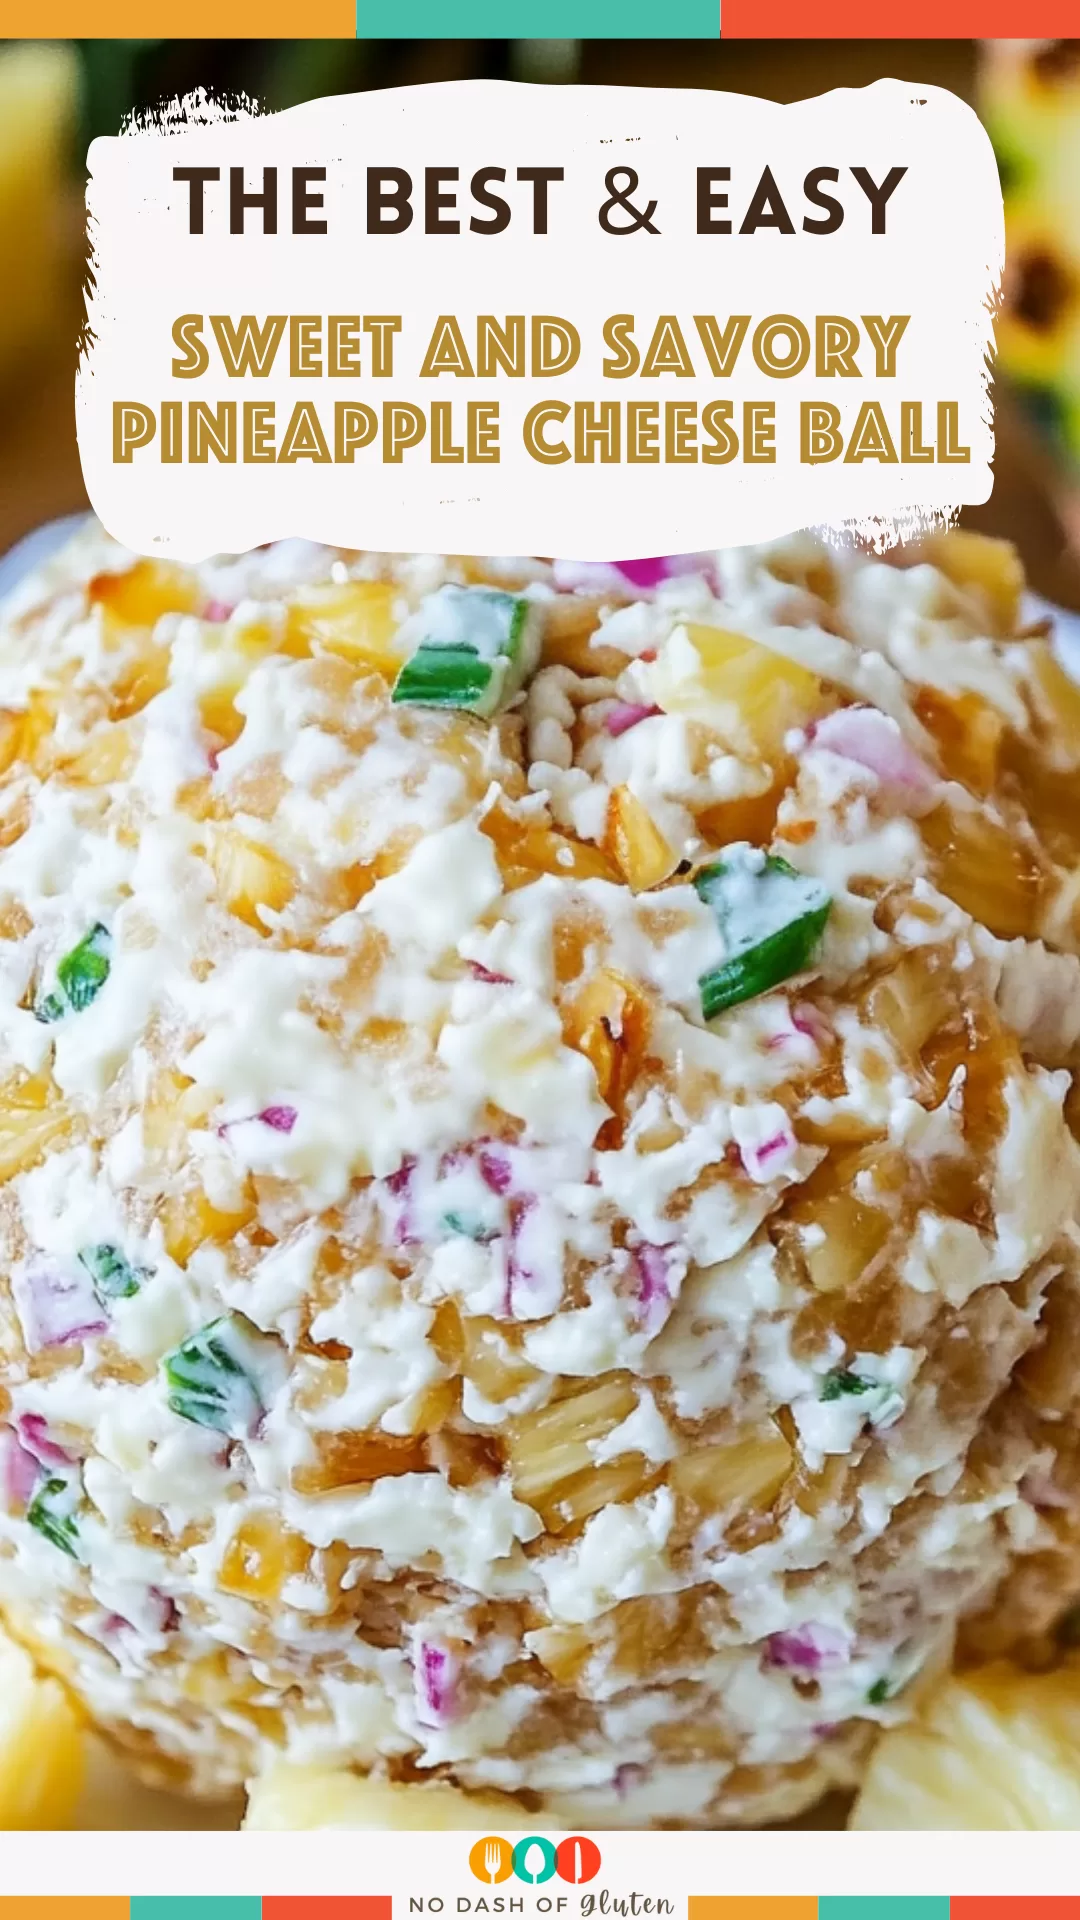
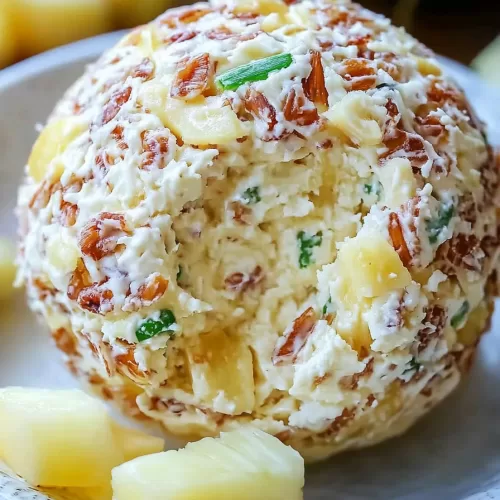
Sweet and Savory Pineapple Cheese Ball – This Sweet and Savory Pineapple Cheese Ball combines creamy, tangy, and nutty flavors into a perfect party appetizer. Softened cream cheese, sweet crushed pineapple, and savory green pepper and onion come together with a hint of seasoned salt, then get rolled in crunchy walnuts. Serve it with crackers or fresh veggies, and it’s guaranteed to be a hit!

The first time I made this pineapple cheese ball, I wasn’t sure what to expect—pineapple in a cheese ball? But after mixing it up and letting it chill, it turned out to be the star of our little family gathering. My husband couldn’t stop dipping crackers into it, and my child loved the hint of sweetness from the pineapple. Now, it’s one of our favored appetizers to assemble for holidays or just a delightful family night. It’s simple to make but has that “wow” factor!
What makes this Sweet and Savory Pineapple Cheese Ball truly special?
This Sweet and Savory Pineapple Cheese Ball has the perfect mix of flavors and textures. The sweetness of the pineapple pairs beautifully with the creamy, tangy cheese, while the green pepper and onion give it a subtle savory kick. Rolling it in walnuts adds a tasty crunch and a pretty display, making it fantastic for entertaining. Plus, it’s super easy to make ahead of time, so you can just pull it out of the fridge when you’re ready to serve.
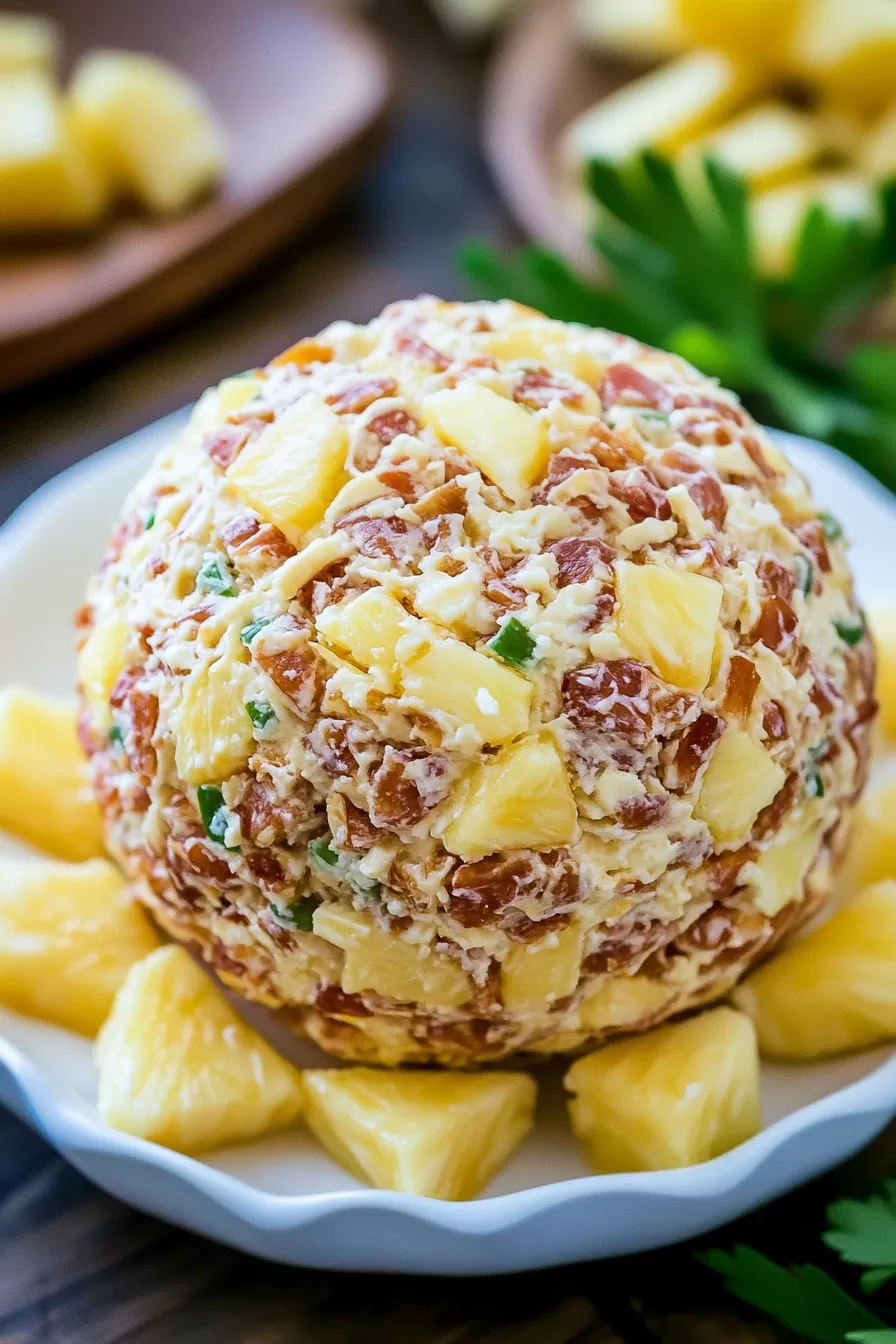
What You Need To Make This Sweet and Savory Pineapple Cheese Ball Recipe?
Cream Cheese: The main ingredient here, bringing that creamy, tangy goodness that makes this cheese ball irresistible. Let it soften up a bit so it’s easier to mix everything together smoothly.
Crushed Pineapple: The unexpected hero! This adds a touch of sweetness and a little tropical vibe. Just make sure it’s really well-drained; we want flavor, not extra juice.
Green Pepper: Adds a little crunch and a hint of fresh, savory flavor. It’s subtle but makes a big difference, balancing out the sweetness from the pineapple.
Onion: Just a bit of onion here, enough to add a slight bite without being too overpowering. It keeps each bite interesting without being too strong.
Seasoned Salt: A small but mighty addition! This seasoning brings everything together and gives the cheese ball that extra pop of flavor.
Walnuts: The finishing touch! They add that satisfying crunch and a bit of nuttiness that goes perfectly with the creamy cheese. Plus, rolling the cheese ball in walnuts gives it a fancy look that’s perfect for serving.
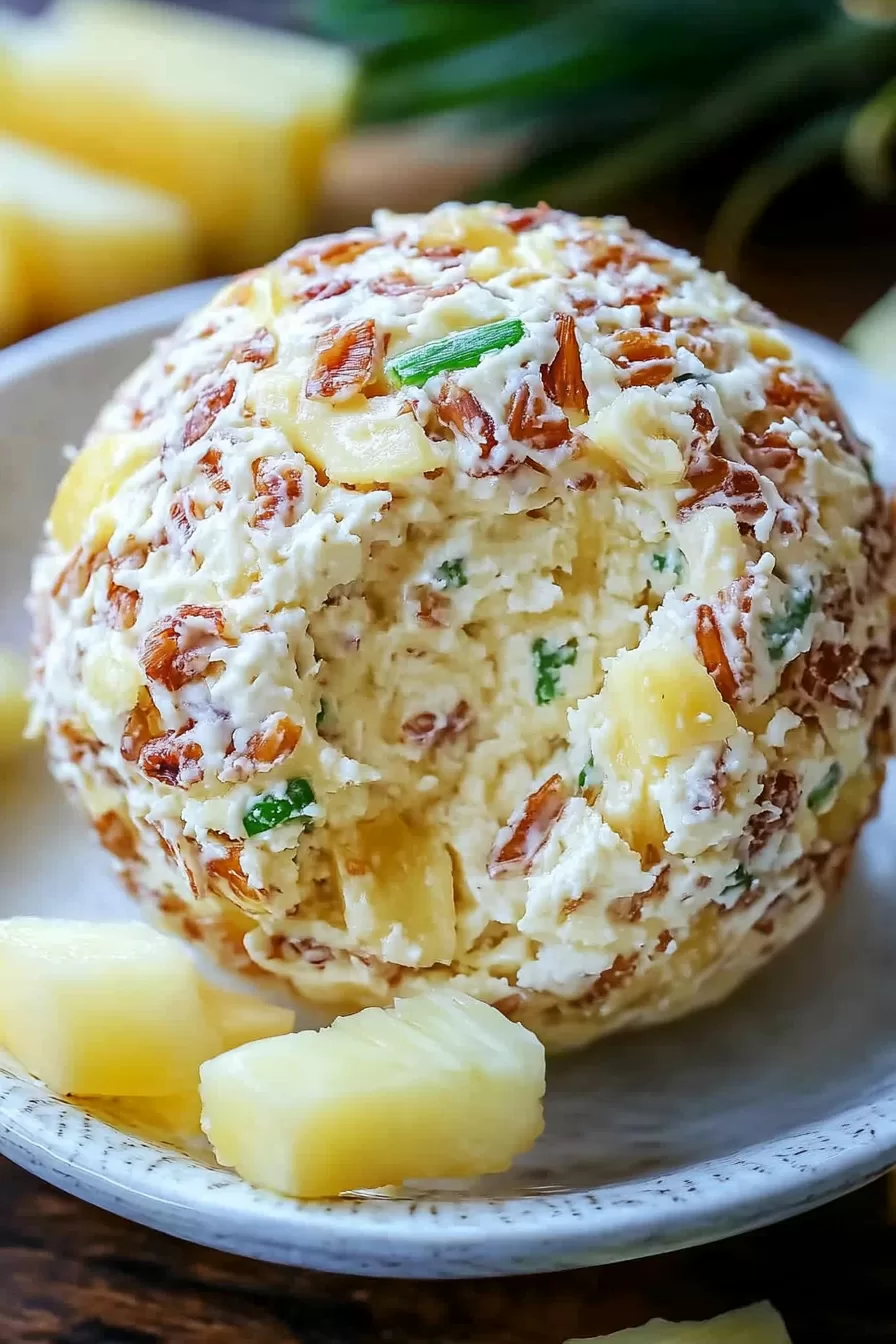
Steps To Make Sweet and Savory Pineapple Cheese Ball:
Mix the Cheese Base: Grab a medium-sized mixing bowl and toss in the softened cream cheese. Add the drained pineapple, chopped green pepper, chopped onion, and seasoned salt. Use an electric mixer to blend everything together until smooth and well-mixed. Cover the bowl with plastic wrap and pop it in the fridge for about 30 minutes—this helps the flavors meld and gives the mixture a chance to firm up a bit.
Want To Save This Recipe?
Enter your email below and we'll send the recipe straight to your inbox.
Shape the Cheese Ball: Take the cheese mixture out of the fridge. Scoop it onto a piece of plastic wrap, and use the wrap to help shape it into a ball. It might be a little soft, but that’s okay! The plastic wrap will help you keep it together without too much mess.
Roll in Walnuts: Spread the chopped walnuts on a plate or shallow dish. Carefully unwrap your cheese ball and roll it around in the walnuts, pressing gently so they stick all over. This adds crunch and gives it that nice, finished look.
Chill and Serve: Rewrap the cheese ball in fresh plastic wrap and stick it in the fridge overnight. This step really helps it firm up so it holds its shape. When you’re ready to serve, place it on a platter with some crackers and fresh veggies, and you’re all set!
Tip:
For the best flavor, make this cheese ball a day ahead! Letting it chill overnight gives all the flavors—sweet pineapple, savory onion, and seasoned salt—a chance to blend together perfectly. Plus, the extra time in the fridge helps the cheese ball firm up, making it easier to slice and spread. When rolling the cheese ball in walnuts, press them in gently to create an even coating. If you’re not a fan of walnuts, you can swap them out for pecans or even crushed pretzels for a different texture and flavor twist. Just make sure to wrap it well in plastic wrap so it stays fresh and doesn’t pick up any fridge odors.
Frequently Asked Questions:
Can I make this cheese ball without nuts?
Yes, you can! If you’d rather skip the nuts, try coating the cheese ball with crushed pretzels or even finely chopped parsley. Both will give a nice texture and presentation.
How long does this cheese ball last in the fridge?
This cheese ball will stay fresh for about 3-4 days if it’s wrapped tightly. Just make sure to store it in an airtight container or wrap it well in plastic wrap to keep it from drying out.
Can I freeze the cheese ball?
While you technically can freeze it, the texture may change a bit once thawed. Cream cheese doesn’t always freeze well and can become a little grainy. It’s best enjoyed fresh within a few days of making it.
<Remember it later>
Planning to try this recipe soon? Pin it for a quick find later!
<Remember it later>
Planning to try this recipe soon? Pin it for a quick find later!
Keep the Flavor Coming – Try These:
Sweet and Savory Pineapple Cheese Ball
Ingredients
- 16 oz cream cheese softened
- 8 oz unsweetened crushed pineapple thoroughly drained
- 1/4 c green pepper finely chopped
- 2 tbsp onion finely chopped
- 2 tsp seasoned salt
- 1 1/2 c walnuts finely chopped
- Assorted crackers and fresh veggies for serving
Instructions
- Mix It All Together: Start by grabbing a medium bowl and tossing in the softened cream cheese. Add the drained pineapple, green pepper, onion, and a pinch of seasoned salt. Blend it all with a mixer until everything’s nice and smooth. Cover the bowl with plastic wrap and let it chill in the fridge for about 30 minutes—this gives the flavors a chance to blend and helps the mixture firm up a bit.
- Shape the Cheese Ball: Once it’s chilled, take it out of the fridge. Scoop the mix onto a piece of plastic wrap, then use the wrap to help shape it into a ball. It’ll be a little soft, but using the plastic wrap makes it easy to mold without too much mess.
- Add the Walnuts: Spread the chopped walnuts out on a plate. Carefully unwrap the cheese ball and roll it in the walnuts, pressing lightly to get an even coating all around. The nuts add a nice crunch and make it look extra fancy.
- Chill and Serve: Wrap it up in fresh plastic wrap and pop it back in the fridge overnight. This extra chill time helps it firm up and hold its shape. When you’re ready to serve, put it on a platter with some crackers and veggies, and you’re good to go!
Notes

I’m Bitty, owner of nodashofgluten.com, where I share simple, delicious recipes for all tastes, including gluten-free. Check out my “About Me” page for more info!


