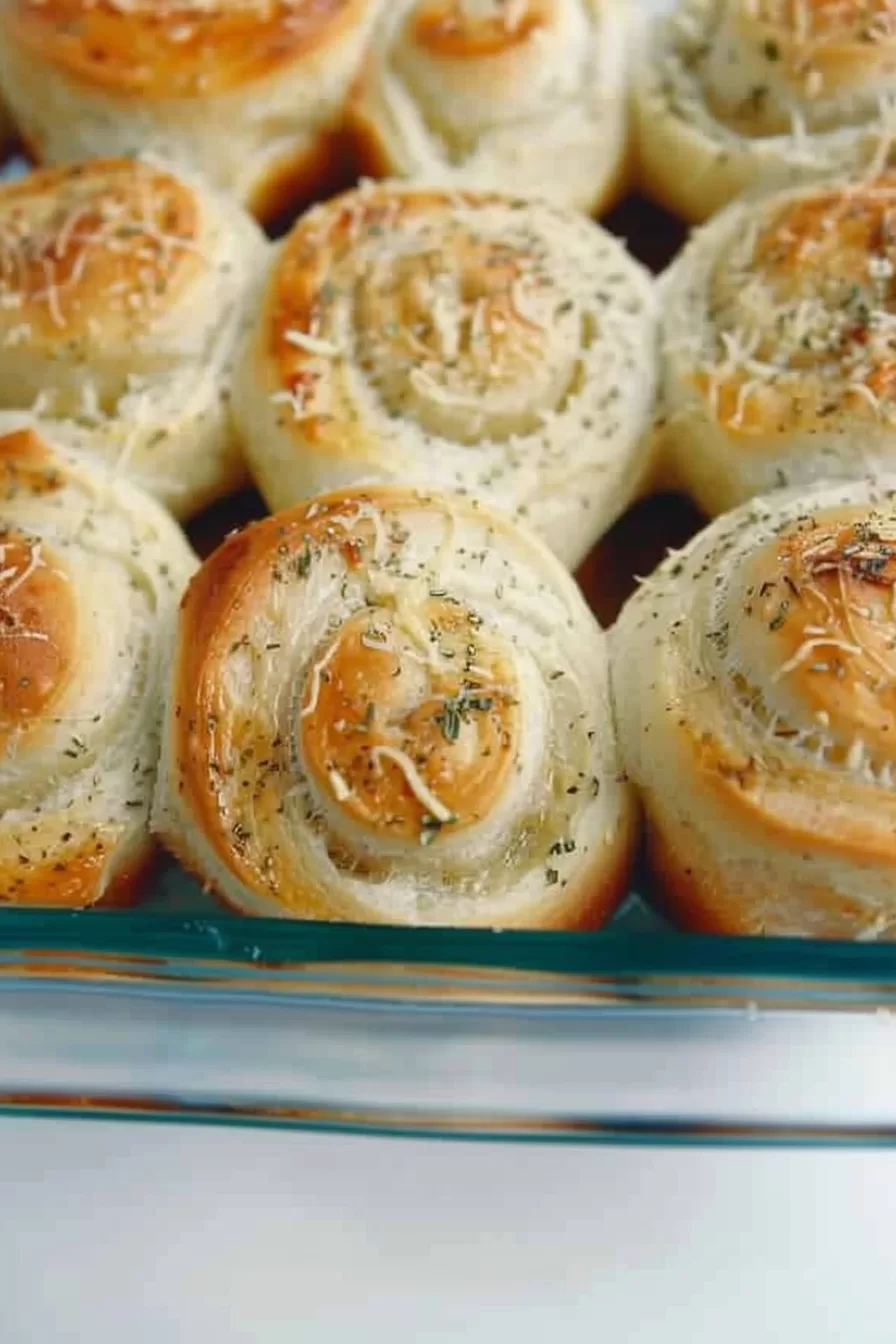
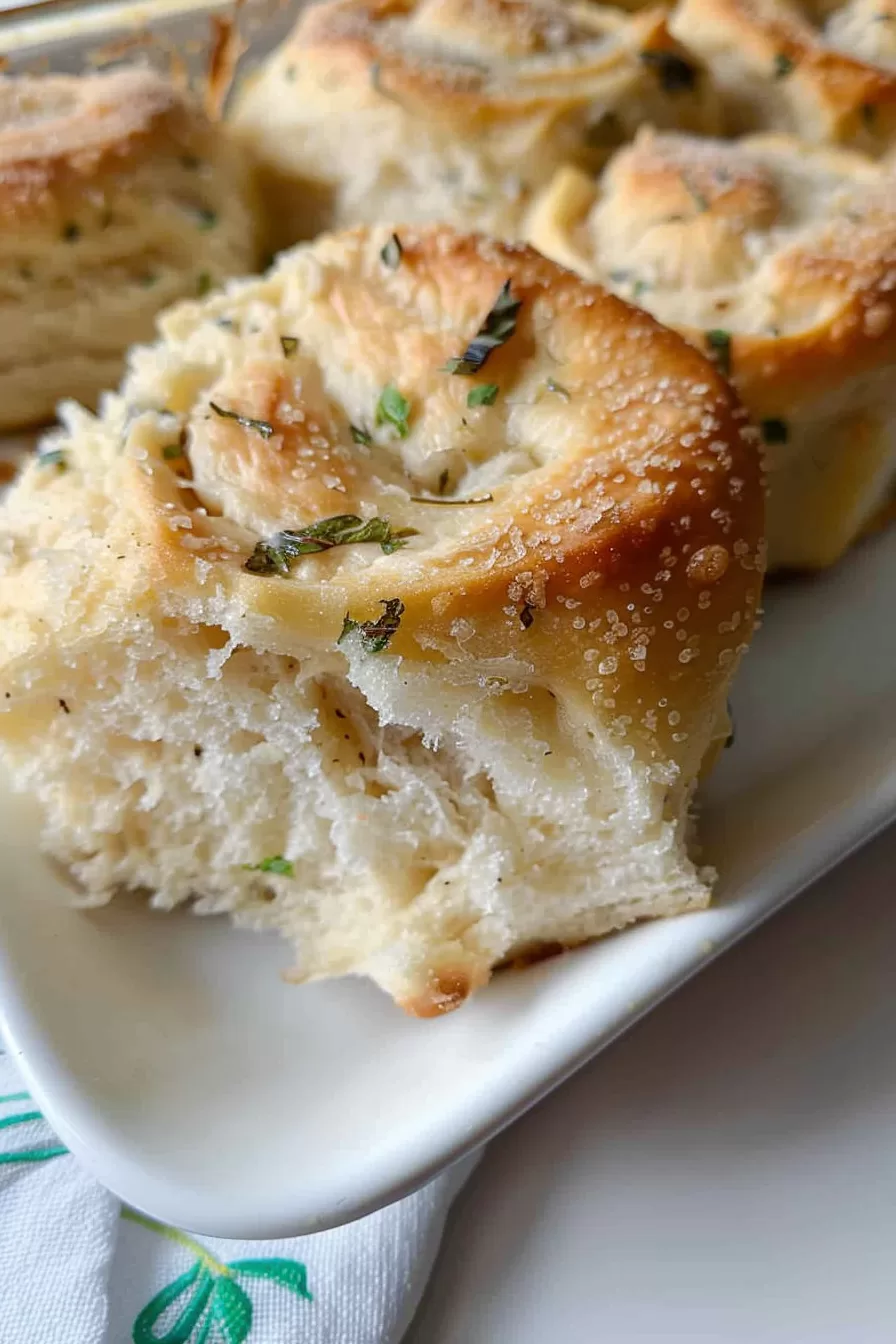
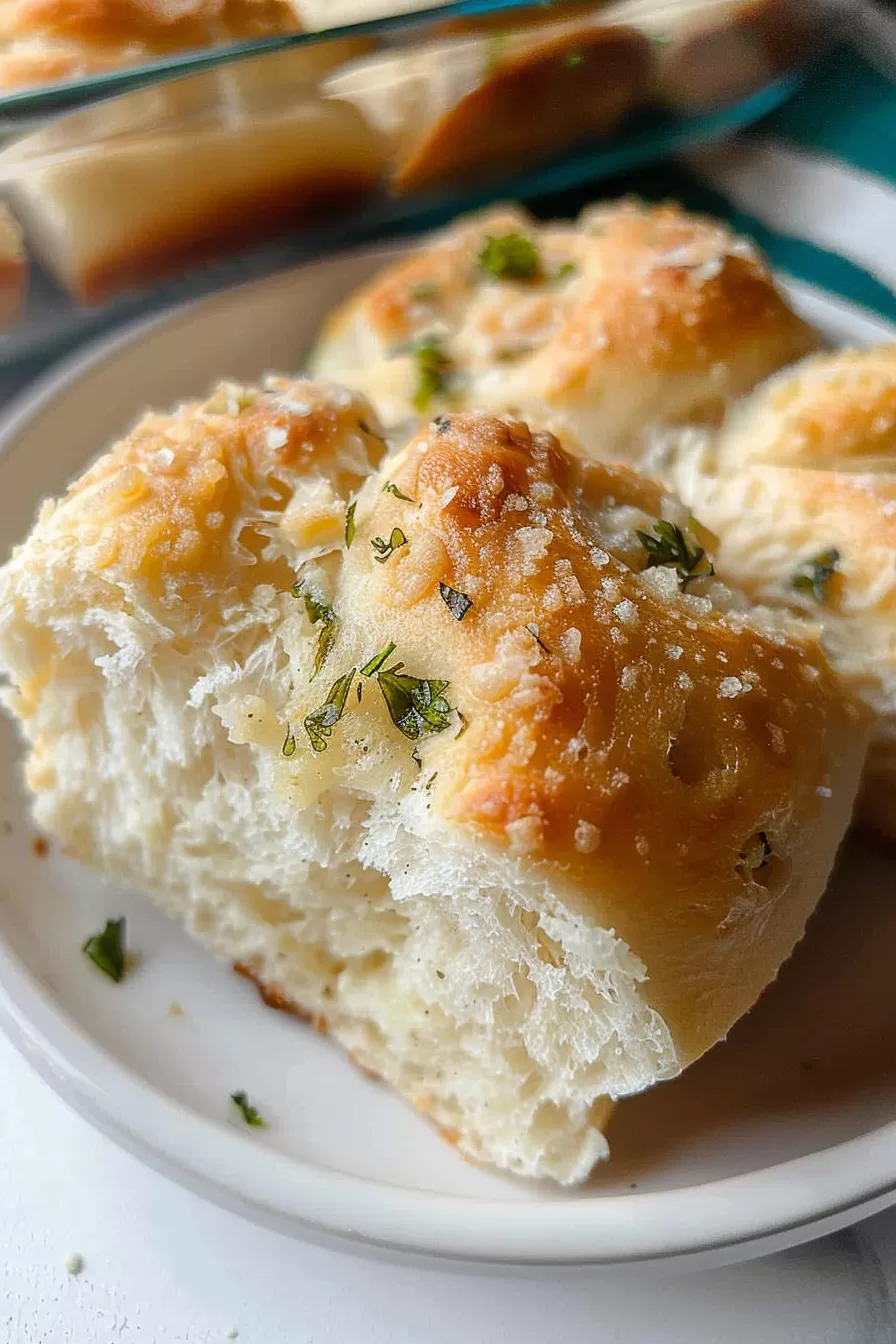
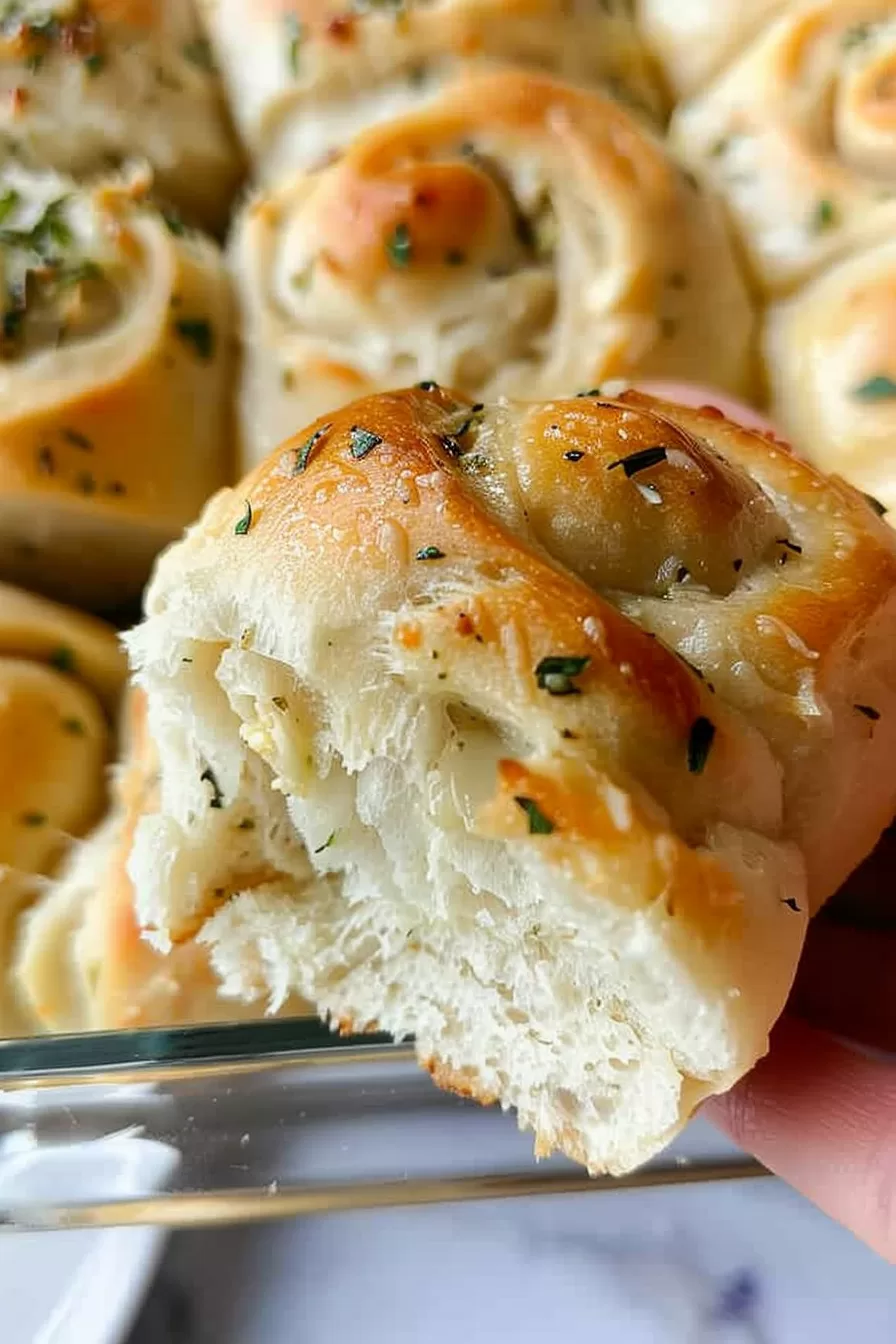
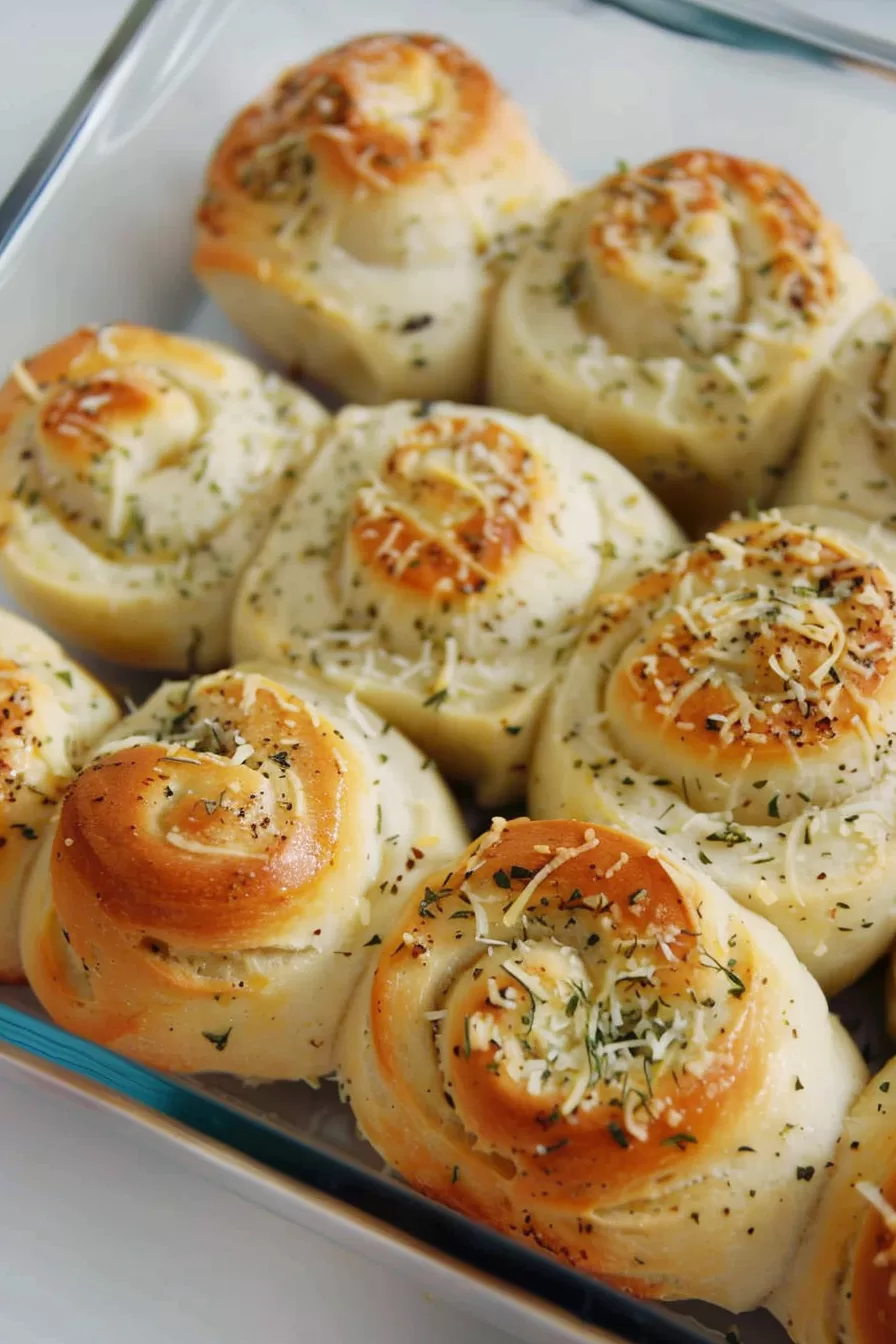
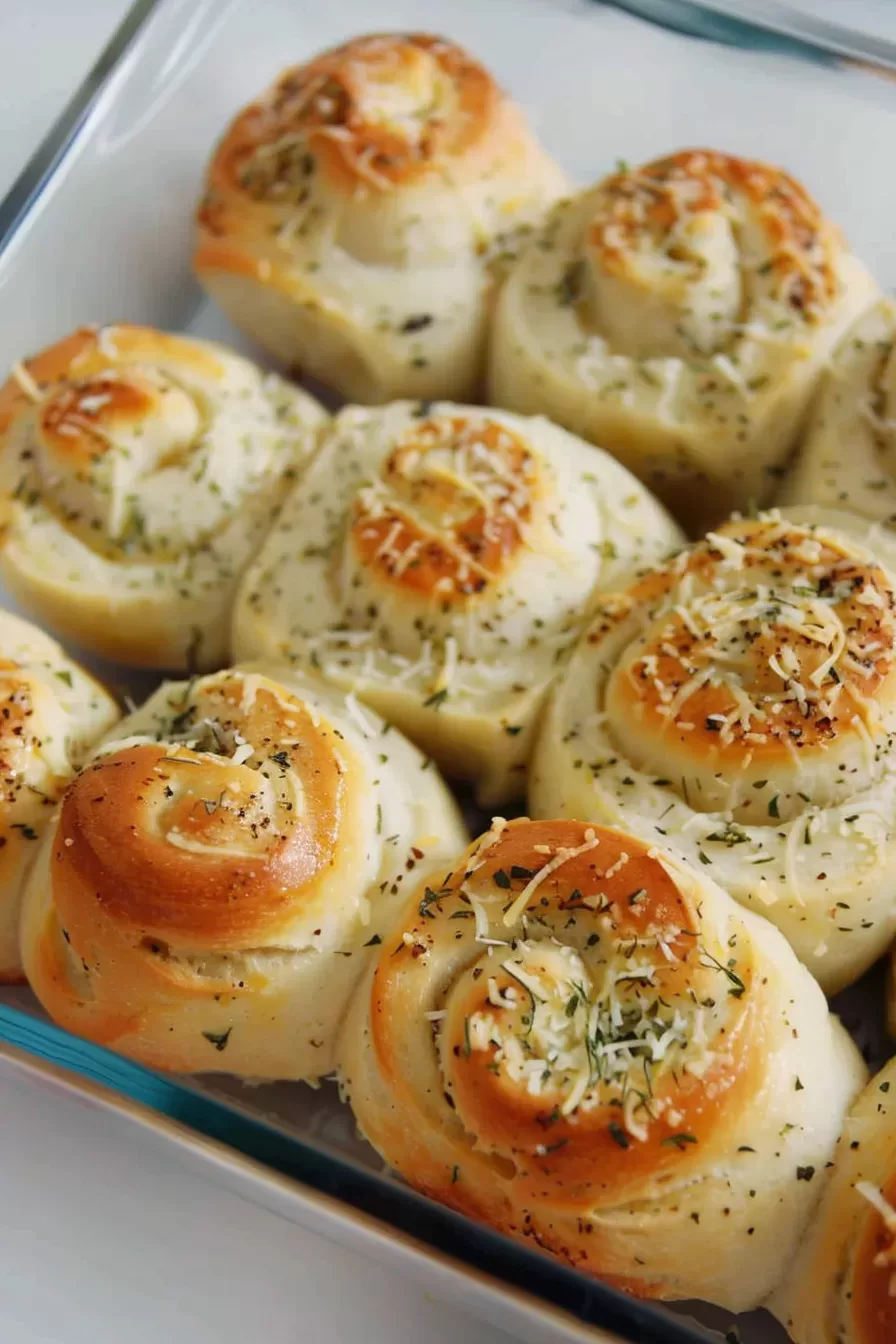
Soft Garlic Butter Rolls – If you’ve been looking for the perfect homemade bread. To accompany your meals. These Soft Garlic Butter Rolls. Are an absolute must-try. With fluffy dough, a rich buttery garlic filling, and a sprinkle of parmesan. These rolls will leave your kitchen smelling heavenly. Ready in just under 3 hours. They’re the perfect combination of soft, garlicky, and delicious. Whether it’s a family dinner. Or a gathering. These rolls will be the talk of the table.

Remember it later!
Planning to try this recipe soon? Pin it for a quick find later!
Remember it later!
Planning to try this recipe soon? Pin it for a quick find later!
The first time I made these rolls. It was a rainy Sunday afternoon. My husband had been craving. Something warm and comforting. And I wanted to surprise him. With homemade bread—something I don’t make too often. But knew he’d love. Our little one was running around the kitchen. Intrigued by the smell of garlic. And melted butter. The moment I pulled them out of the oven. The golden tops glistening with butter. My husband couldn’t wait to dig in. My child took one bite. Grinned. And then reached for another roll. Needless to say. These have become a family favorite. That I now bake regularly!
Here’s a quick peek at what’s inside:
Table of content
What makes this Soft Garlic Butter Rolls truly special?
What sets these Soft Garlic Butter Rolls apart? Is their incredibly tender texture. And the luscious garlic butter filling. That melts into every bite. They’re not only easy to prepare. But also incredibly versatile—perfect for special occasions, and dinner parties. Or simply as an indulgent treat. On a quiet night in. Plus, the added parmesan creates a slightly crispy topping. Adding even more flavor. To these already delightful rolls.
What You Need To Make This Soft Garlic Butter Rolls Recipe?
Yeast: We’re using dry active yeast here. Which needs to be activated. Before adding to the dough. Make sure your water is warm, not hot! Too hot. And you’ll risk killing the yeast. Too cold. And it won’t activate. When it gets all bubbly and frothy. You’ll know it’s ready. To work its magic.
Butter: You’ll want to use melted butter for the dough. To give it a rich, tender texture. For the filling. Softened butter is key. So you can spread it evenly. Without tearing the dough. More butter means more flavor. So don’t hold back!
Garlic: Fresh garlic is a must. For this recipe. You can adjust the number of cloves. Depending on how garlicky you want your rolls to be. I personally love a strong garlic flavor. But if you’re cooking for kids. Or someone sensitive to garlic. Two cloves will be just right.
Parsley: Fresh parsley adds a burst of color. And a little herbal freshness. To balance the rich butter and garlic. If you’re in a pinch. Dried parsley works too. But fresh is always better in my book.
Parmesan Cheese: The parmesan on top. Gives these rolls a little extra savory kick. And helps form a deliciously golden crust. Grated fresh parmesan is always ideal. But pre-grated works in a pinch. It’s a small touch. That makes a big difference.
Steps To Make Soft Garlic Butter Rolls:
Step 1: Start by activating the yeast. Combine the dry active yeast. With the warm water. And a tablespoon of sugar. In a small bowl. Let it sit. For about 5-10 minutes. Until it gets all frothy. And bubbly—that’s how you know. Your yeast is alive. And ready to go.
Step 2: In the meantime. Grab a large mixing bowl. And add 2 cups of flour, the remaining sugar, melted butter, milk, and salt. Once your yeast mixture is ready. Fold it into this bowl. And stir. Until a shaggy dough. Starts to form. If the dough feels. A bit too wet. Add in more of the remaining flour little by little. Until it all comes together.
Step 3: Now, it’s time to let that dough rise. Cover the bowl. With a clean towel. And place it in a warm spot. For about an hour. I like using my oven. Set to the lowest temperature. Or if your oven. Has a proofing setting. That works like magic.
Step 4: While the dough is rising. Make the garlic butter filling. In a small bowl. Mix the softened butter. With the minced garlic, and parsley. Salt, and pepper. Set it aside—it’s going to bring so much flavor to these rolls.
Step 5: After the dough has had a good rise. Dust your work surface. With a bit of flour. Turn the dough out. And knead it. For about 2 minutes. Just enough to get it nice. And smooth. Then, roll it out. Into a rectangle. About 12×16 inches.
Step 6: Spread that garlic butter mixture. All over the dough—you want every inch covered. In that goodness. Now, slice the dough. Into 1-inch strips. Roll each one up tightly. And place them cut-side down. Into a greased baking pan. Cover. And let them rise again. For about 45 minutes.
Want To Save This Recipe?
Enter your email below and we'll send the recipe straight to your inbox.
Step 7: Preheat your oven to 375°F. Once the rolls. Have had their second rise. Sprinkle them generously. With grated parmesan cheese.
Step 8: Pop them in the oven. And bake for 15-20 minutes. Until the tops are golden brown. And your kitchen smells like pure heaven. Let them cool. For at least 15 minutes. Before serving—if you can wait that long!
Tip:
The key to making these Soft Garlic Butter Rolls truly irresistible. Lies in how you handle the dough. Be sure to give it plenty of time to rise. Allowing the yeast. To work its magic. And create that light, fluffy texture. When spreading the garlic butter filling. Don’t skimp—make sure each roll is generously coated. To ensure every bite. Is packed with rich, buttery flavor. Finally, don’t rush cooling! Let them sit. For at least 15 minutes after baking. So the flavors can fully develop. And the rolls can firm up slightly.
Frequently Asked Questions:
Can I use instant yeast instead of active dry yeast?
Absolutely! If you’re using instant yeast. You can skip the proofing step. And mix it directly. Into the flour. Your dough will still rise beautifully.
Can I make these rolls ahead of time?
Yes! You can prepare the dough. And shape the rolls. A day in advance. Just let them rise. In the fridge overnight. And bake them fresh the next day.
Can I freeze these rolls?
Definitely! After baking, let the rolls cool completely. Then wrap them tightly. In plastic wrap or foil. And store in a freezer-safe bag. When you’re ready to eat. Just reheat in the oven. For a few minutes. And they’ll be just as soft and delicious!
Remember it later!
Planning to try this recipe soon? Pin it for a quick find later!
Remember it later!
Planning to try this recipe soon? Pin it for a quick find later!
Keep the Flavor Coming – Try These:
Soft Garlic Butter Rolls
Ingredients
For the dough:
- 1 7 g packet dry active yeast
- 1/2 c warm not hot water
- 1/4 c granulated sugar divided
- 4 c all-purpose flour divided
- 6 tbsp butter melted
- 1 c milk
- 1 1/2 tsp salt
For the filling and topping:
- 8 tbsp butter softened
- 2-4 cloves garlic minced
- 1/3 c chopped fresh parsley
- Salt and pepper to taste
- 1/4 c grated parmesan cheese
Instructions
- In a small bowl. Mix the yeast, warm water, and 1 tbsp of sugar. Let it rest. For about 5-10 minutes. Until it turns frothy. Stir in 1 cup of flour. Until well combined. Then set the mixture aside.
- In a large bowl. Mix 2 cups of flour. With the remaining sugar, melted butter, milk, and salt. Gradually fold the yeast mixture. Into this bowl. Until you have a shaggy dough. If it feels too sticky. Gradually add more flour. Until the dough comes together.
- Cover the bowl. And let the dough rise. In a warm spot. For about 60 minutes. If your oven. Has a proofing setting. It works perfectly for this. Or simply set your stovetop. To the lowest heat setting.
- While the dough rises. Prepare the filling. By combining the softened butter. With minced garlic, and chopped parsley. Salt, and pepper. In a small bowl.
- Once the dough has risen. Dust your work surface with flour. And knead the dough. For about 2 minutes. Roll it out. Into a 12”x16” rectangle. Spread the garlic butter mixture evenly. Across the surface. Cut the dough. Into 1-inch strips. And tightly roll each one. Place the rolls. Cut-side down. In a greased baking dish. Cover. And let them rise. For another 45 minutes. Sprinkle the rolls. With parmesan cheese before baking.
- Preheat your oven to 375°F. And bake the rolls. For 15 to 20 minutes. Or until the tops. Are golden brown. Let the rolls cool. For at least 15 minutes before serving.
Notes

I’m Bitty, owner of nodashofgluten.com, where I share simple, delicious recipes for all tastes, including gluten-free. Check out my “About Me” page for more info!


