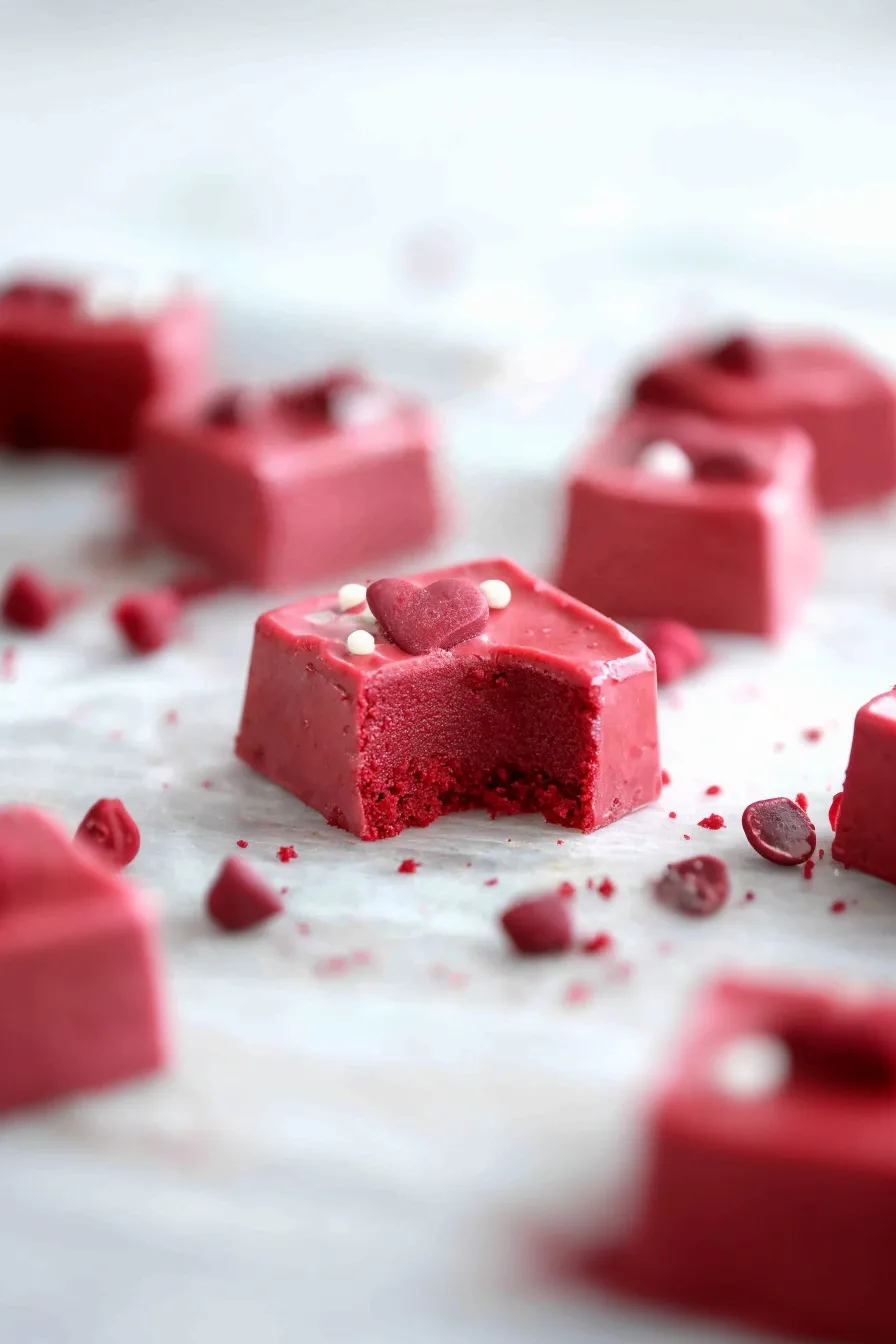
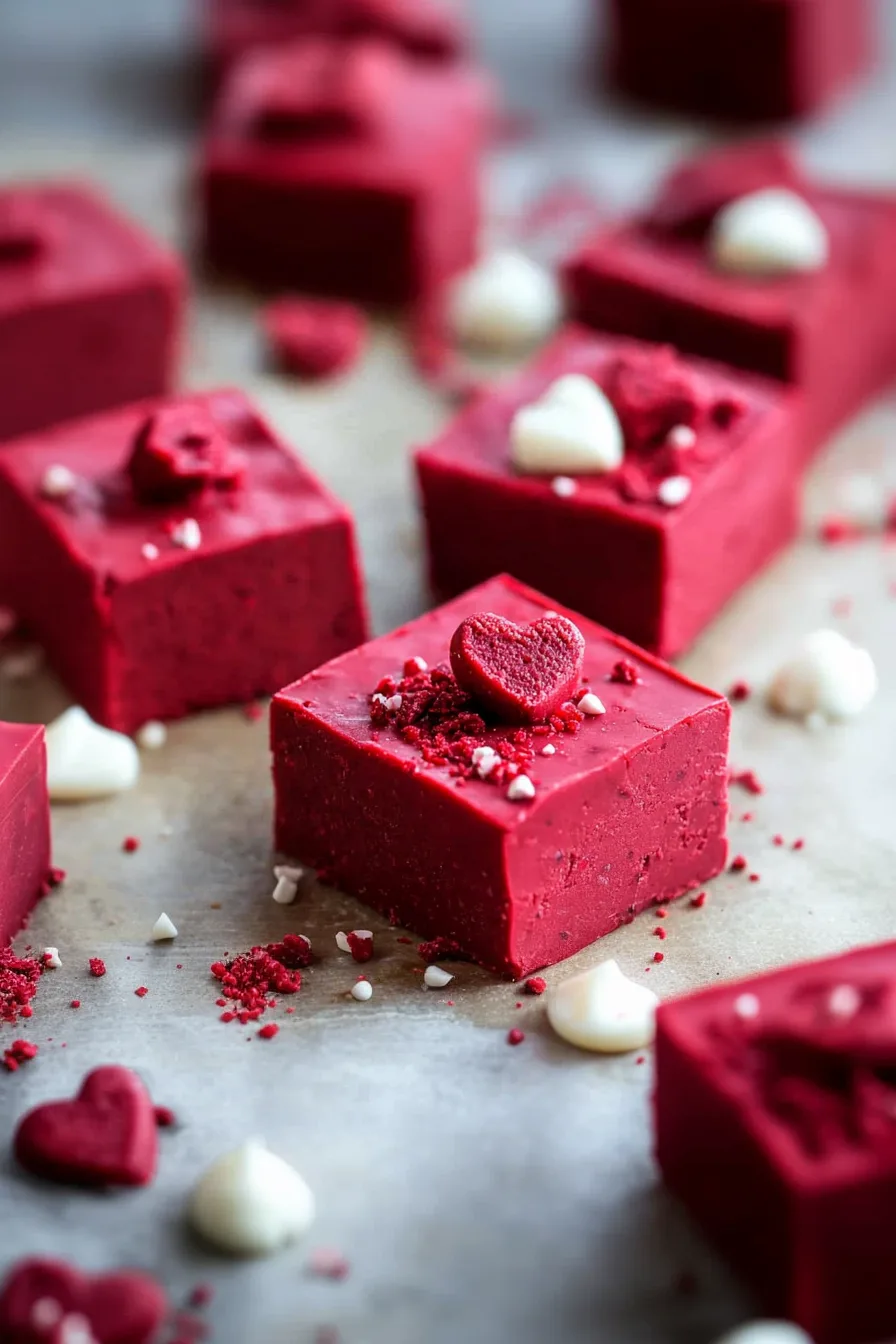
Red Velvet Fudge made with red velvet cake mix, powdered sugar, butter, and milk for a rich, festive, no-bake treat anyone can make.
It’s funny how certain recipes—like this Red Velvet Fudge—seem to tap on your shoulder at the exact moment you need something simple and sweet in your life. I can’t tell you how many times I’ve stumbled into my own kitchen after a long day, opened the pantry, and spotted a half-used box of red velvet cake mix sitting there like, “Hey… remember me?”
Red velvet anything has always reminded me of Valentine’s Day… but not the romantic, roses-and-chocolate version—more like those chaotic school Valentine parties where everyone traded little cards with cartoon characters on them, and someone’s mom (there was always one) brought a fancy dessert that somehow made all the kids quiet for at least 30 seconds. My mom tried so hard to be that mom, bless her heart, even though she usually just grabbed cupcakes from the store and added extra sprinkles to make them look “special.”


This Red Velvet Fudge kind of brings that same energy for me. It’s low effort but still looks like you tried. It tastes nostalgic in a way I can’t fully describe—like something you’d find in a small bakery that still uses handwritten labels. And maybe it’s silly, but every time I stir the butter into the cake mix, I get this tiny emotional flash, like a soft reminder that joy doesn’t always have to be complicated or Pinterest-perfect. Sometimes it’s just… four ingredients in a bowl.
Ever have a dessert do that to you? Just pull up a memory you didn’t realize was still in your pockets?
Why You’ll Love This Red Velvet Fudge Recipe?
Here’s the thing: this Red Velvet Fudge feels fancy, but it behaves like the easiest recipe in the world. And honestly, I adore that contradiction. In a world where some recipes expect you to own a candy thermometer, a marble slab, and the patience of a monk, there’s something refreshing about a fudge that basically says, “Hey, wanna stir a few things and call it a day?”
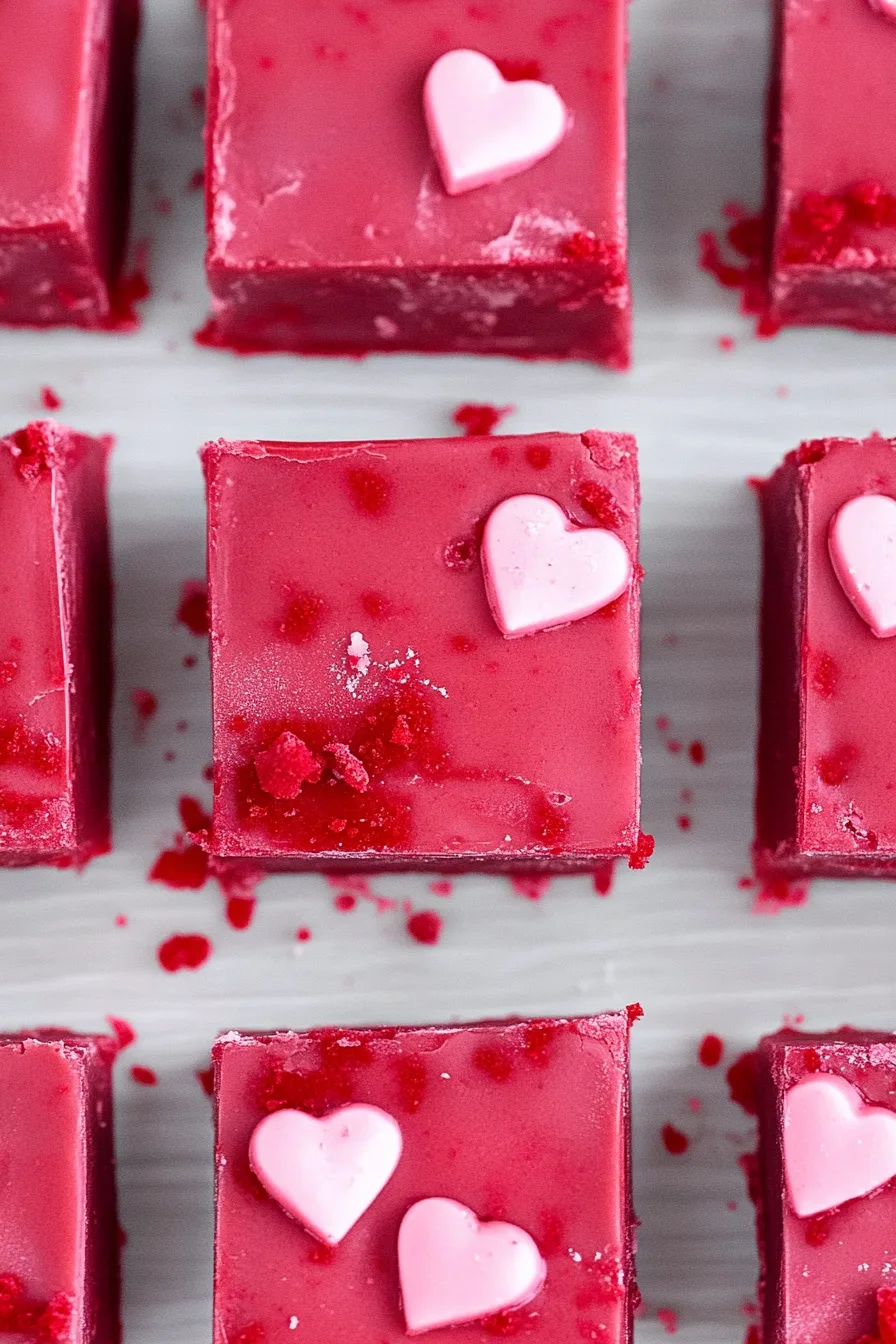
Is it the deepest, most complex fudge flavor in the history of desserts? Probably not. But is it delicious, strikingly red (in that festive, Rudolph’s-nose kind of way), and extremely good at making people think you spent more time in the kitchen than you actually did? Absolutely.
It’s also weirdly reassuring—like one of those dishes you can always count on. No surprises, no stress, just smooth, creamy, chocolate-adjacent red velvet goodness that makes people smile when they bite into it. And sometimes that’s all a dessert needs to be.
Do you agree, or is that just me being sentimental?
Ingredient Notes:
Before we start mixing like we’re contestants on some low-stakes baking show, here’s a quick chat about the ingredients going into your Red Velvet Fudge. Nothing technical—just the things I think when I pull each ingredient off the shelf.
The soul of the whole recipe. It brings that cocoa-buttermilk flavor and the iconic color without you having to deal with food coloring stains that never come out of your shirt. I’ve… learned this the hard way.
Powdered Sugar
Think of it as the quiet background character that actually holds the whole plot together. Without powdered sugar, Red Velvet Fudge would just be a bowl of sadness.
Butter
Butter is butter. It makes everything better. It softens the mix, carries the richness, and somehow just feels like the heart of any good no-bake fudge.
Milk
Just enough to loosen the mixture. Add too little and you’re wrestling cement. Too much and you’re eating red velvet pudding. I’ve landed somewhere in the middle, which seems like a good metaphor for life.
How To Make Red Velvet Fudge?
Let’s make this Red Velvet Fudge together—you on your side of the kitchen, me on mine, both of us pretending we’re being productive when we probably should be folding laundry.
Step 1: Melt the Butter
Simple enough. Melt your butter until it’s completely liquid. You can microwave it or use the stove—whatever mood you’re in. I usually microwave it because patience is not one of my core strengths.
Step 2: Combine Everything
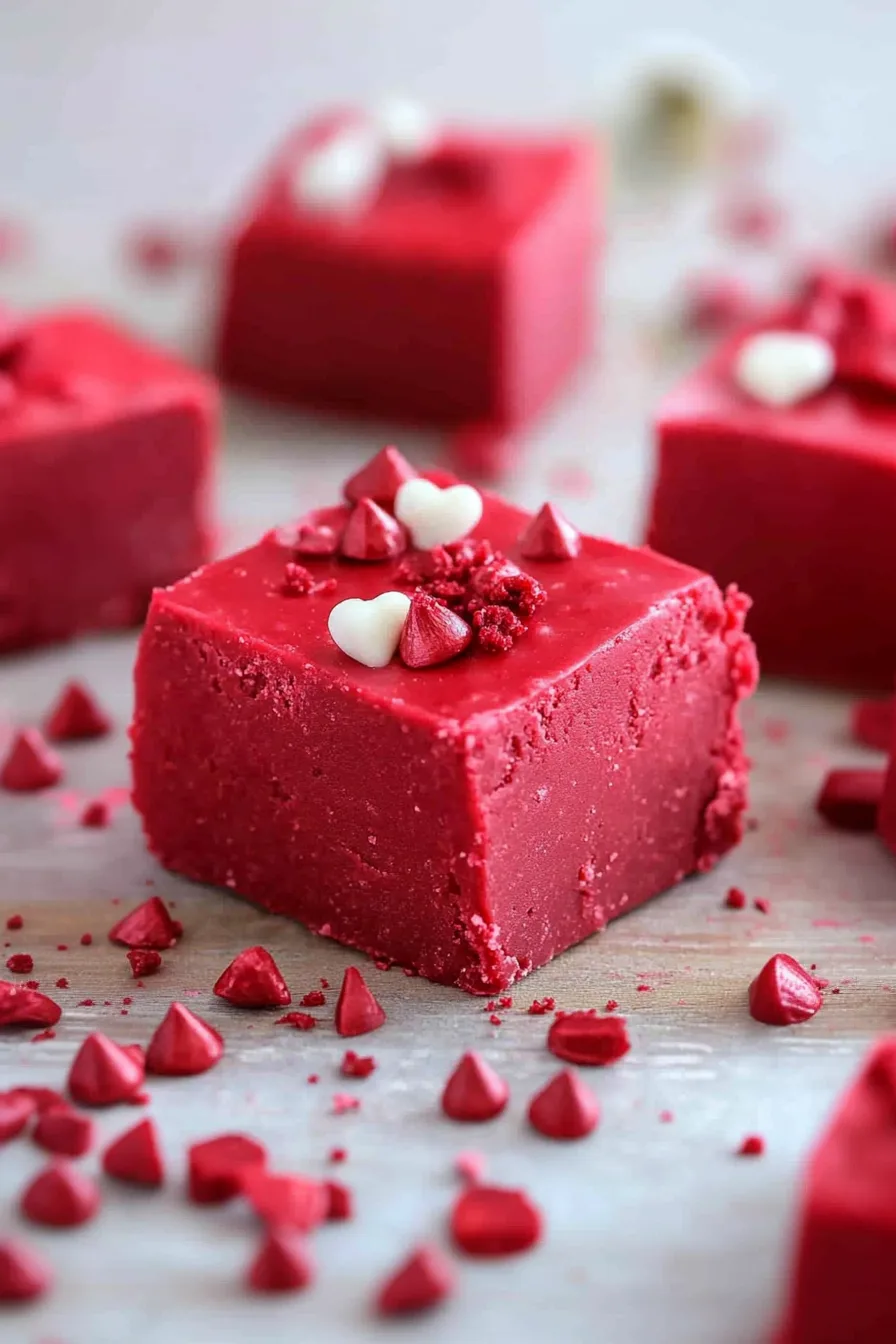
Add the cake mix, powdered sugar, melted butter, and milk into a big bowl. At first it might look a little… questionable. Like, “Is this really becoming fudge?” But give it a minute. It comes together in this thick, smooth, dough-like texture that smells like a bakery at Christmas.
Step 3: Prep Your Pan
Line your pan with parchment paper—but let a little hang over the sides. Think of them as tiny handles for Future You. Trust me, Future You will be grateful.
Step 4: Spread the Fudge
Press the fudge mixture into the pan. It doesn’t have to be perfect. In fact, the slightly uneven edges make it look more like something made in a human kitchen instead of a factory.
Want To Save This Recipe?
Step 5: Chill Time
Refrigerate for 2–4 hours. This is the hardest step, emotionally speaking, because staring at the fridge door doesn’t make it set faster. I’ve tried.
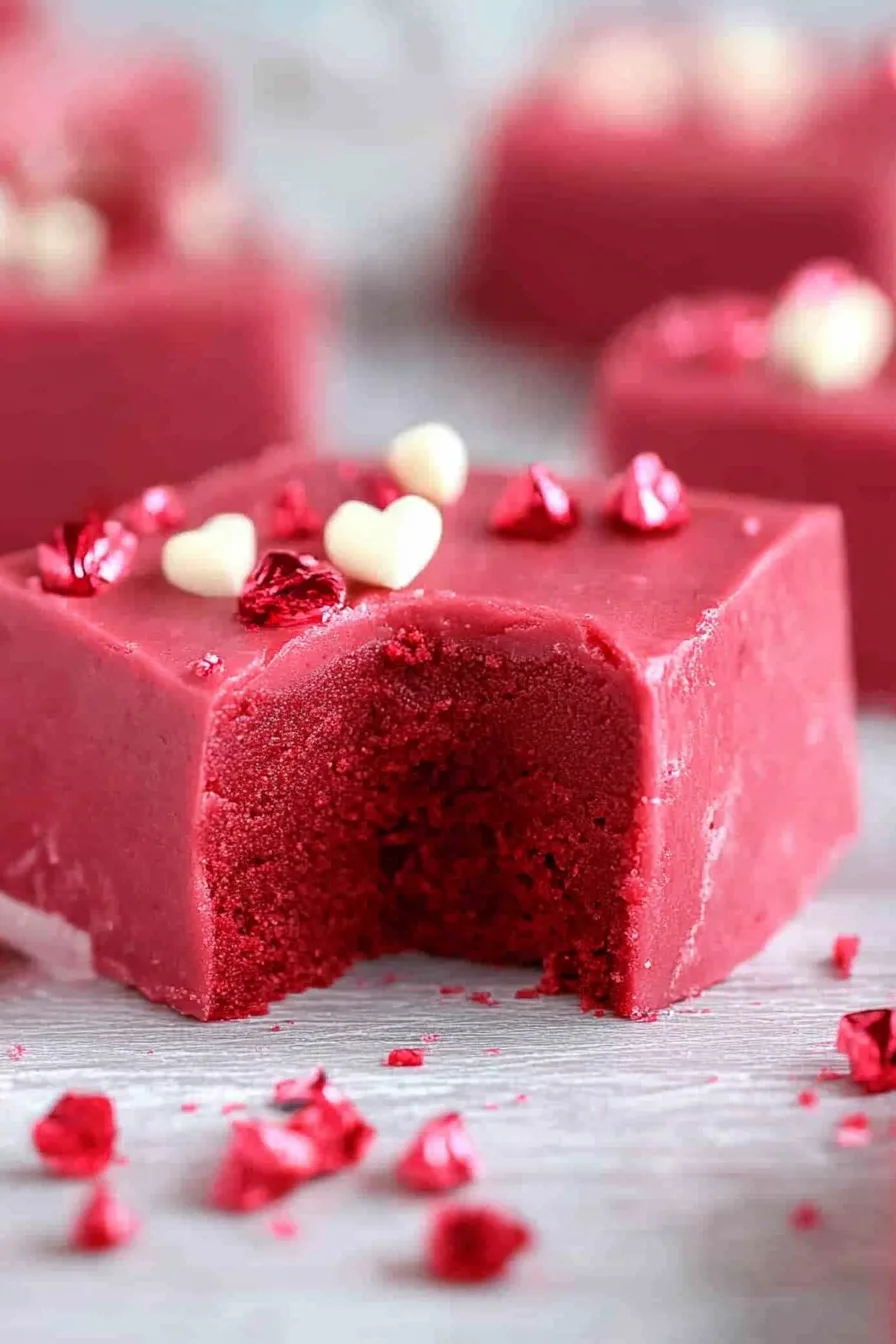
Step 6: Slice & Enjoy
Once it’s firm, slice it into squares. The first piece is always a little wonky, and I’m convinced that’s the universe’s way of saying, “Go ahead—eat that one now.”
Storage Options:
You can store Red Velvet Fudge in the fridge for up to a week, but let’s be honest… it rarely makes it that long. You can also freeze it for long-term storage, though I’ve never had enough self-control to test the full freezer lifespan.
Variations and Substitutions:
This Red Velvet Fudge recipe is basically the cool aunt of desserts—it lets you improvise without yelling at you.
-
White Chocolate Swirl: Looks fancy with minimal effort.
-
Sprinkles: A vibe. Especially for birthdays or when the holidays roll in.
-
Cream Cheese Frosting Drizzle: Red velvet’s soulmate.
-
Add Nuts: Pecans or walnuts add crunch if you’re into that.
-
Chocolate Chips: Fold them in if you want surprise bites of melty goodness.
Have you ever added something weird to fudge? Because I once added crushed pretzels and honestly… it wasn’t bad.
What to Serve with Red Velvet Fudge?
If you want to build a whole little dessert moment, here are a few ideas:
-
Coffee: Always the right answer.
-
Hot cocoa: Especially if it’s snowing or you’re pretending it is.
-
Ice cream: Vanilla + Red Velvet Fudge = emotional support dessert.
-
Holiday dessert boards: Adds color and texture instantly.
Frequently Asked Questions:
Can I use a different cake mix?
Yep! But then it’s not really Red Velvet Fudge. Still delicious though.
My fudge is too soft—help?
Probably needs more chilling time. Or maybe a little extra powdered sugar. Happens to the best of us.
Can I make Red Velvet Fudge ahead of time?
Yes. And honestly? It tastes even better the next day.
And that’s the whole beautiful, messy, nostalgic experience of making Red Velvet Fudge. If you try it, I genuinely hope it brings you a tiny spark of joy—or at least a moment where you stop and go, “Huh, that was easier than I expected.”
Let me know how yours turns out—I’d really love to hear.
Keep the Flavor Coming – Try These:


Red Velvet Fudge
Ingredients
- 2 cups red velvet cake mix
- 2 cups powdered sugar
- 1/2 cup butter melted
- 1/4 cup milk
Instructions
Prepare the Butter
- Melt the butter fully, either on the stovetop or in a microwave-safe container. Set aside for immediate use.
Combine the Ingredients
- In a large mixing bowl, add the red velvet cake mix, powdered sugar, melted butter, and milk. Mix thoroughly until the ingredients form a smooth, uniform fudge mixture.
Prepare the Pan
- Line an appropriate baking pan with parchment paper, ensuring excess parchment hangs over the sides to facilitate lifting once the fudge is set.
Spread the Fudge Mixture
- Transfer the prepared fudge mixture into the parchment-lined pan. Spread evenly using a spatula to achieve a smooth, level surface.
Chill the Fudge
- Place the pan in the refrigerator and allow the fudge to set for 2 to 4 hours, or until firm to the touch.
Slice and Serve
- Once fully set, lift the fudge out of the pan using the parchment overhang. Cut into even pieces and serve or store as desired.
Notes
- Confirm that the cake mix, powdered sugar, and butter are produced in gluten-free facilities.
- Use parchment paper and clean utensils to avoid cross-contamination.
- Store the fudge separately from gluten-containing desserts if serving to individuals with celiac disease or gluten sensitivity.
I’m Bitty, owner of nodashofgluten.com, where I share simple, delicious recipes for all tastes, including gluten-free. Check out my “About Me” page for more info!